
Tutorials
Learn
The path, from beginner to expert
1Beginner
-
My first image
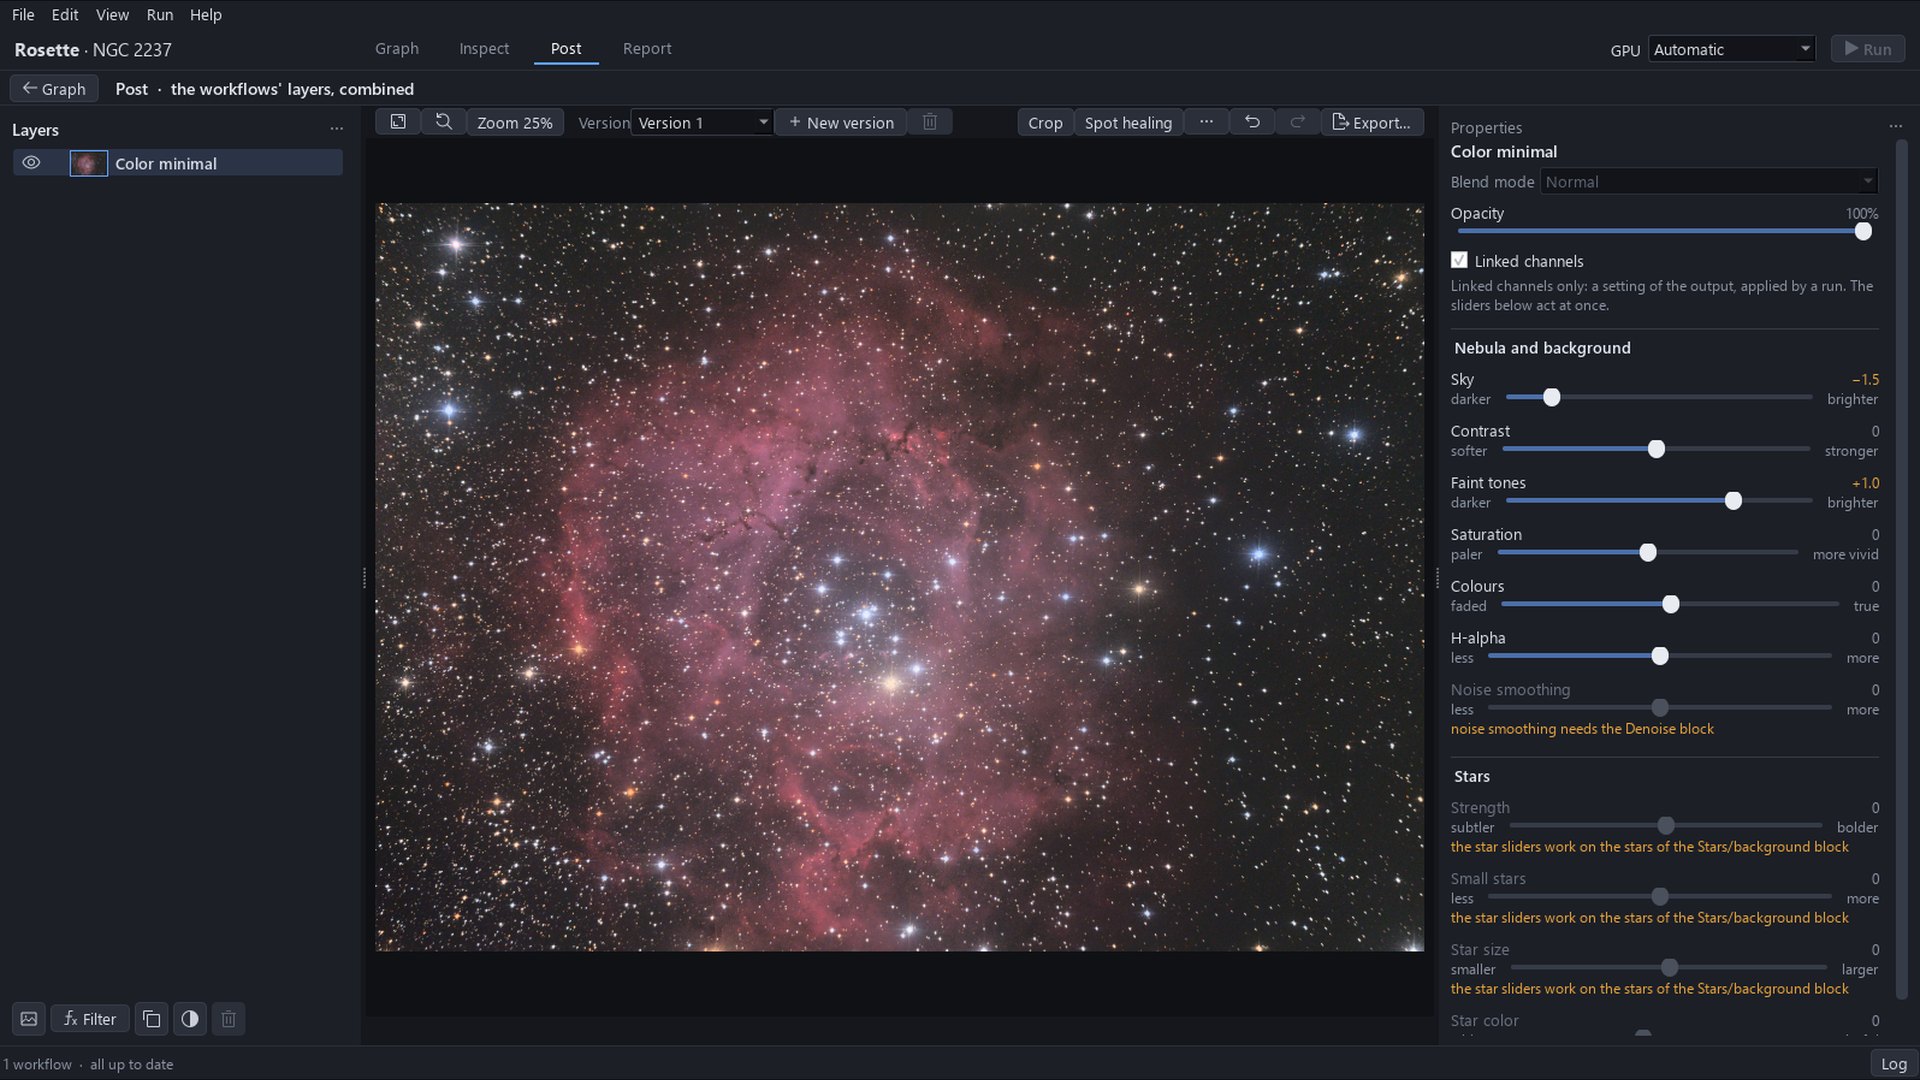
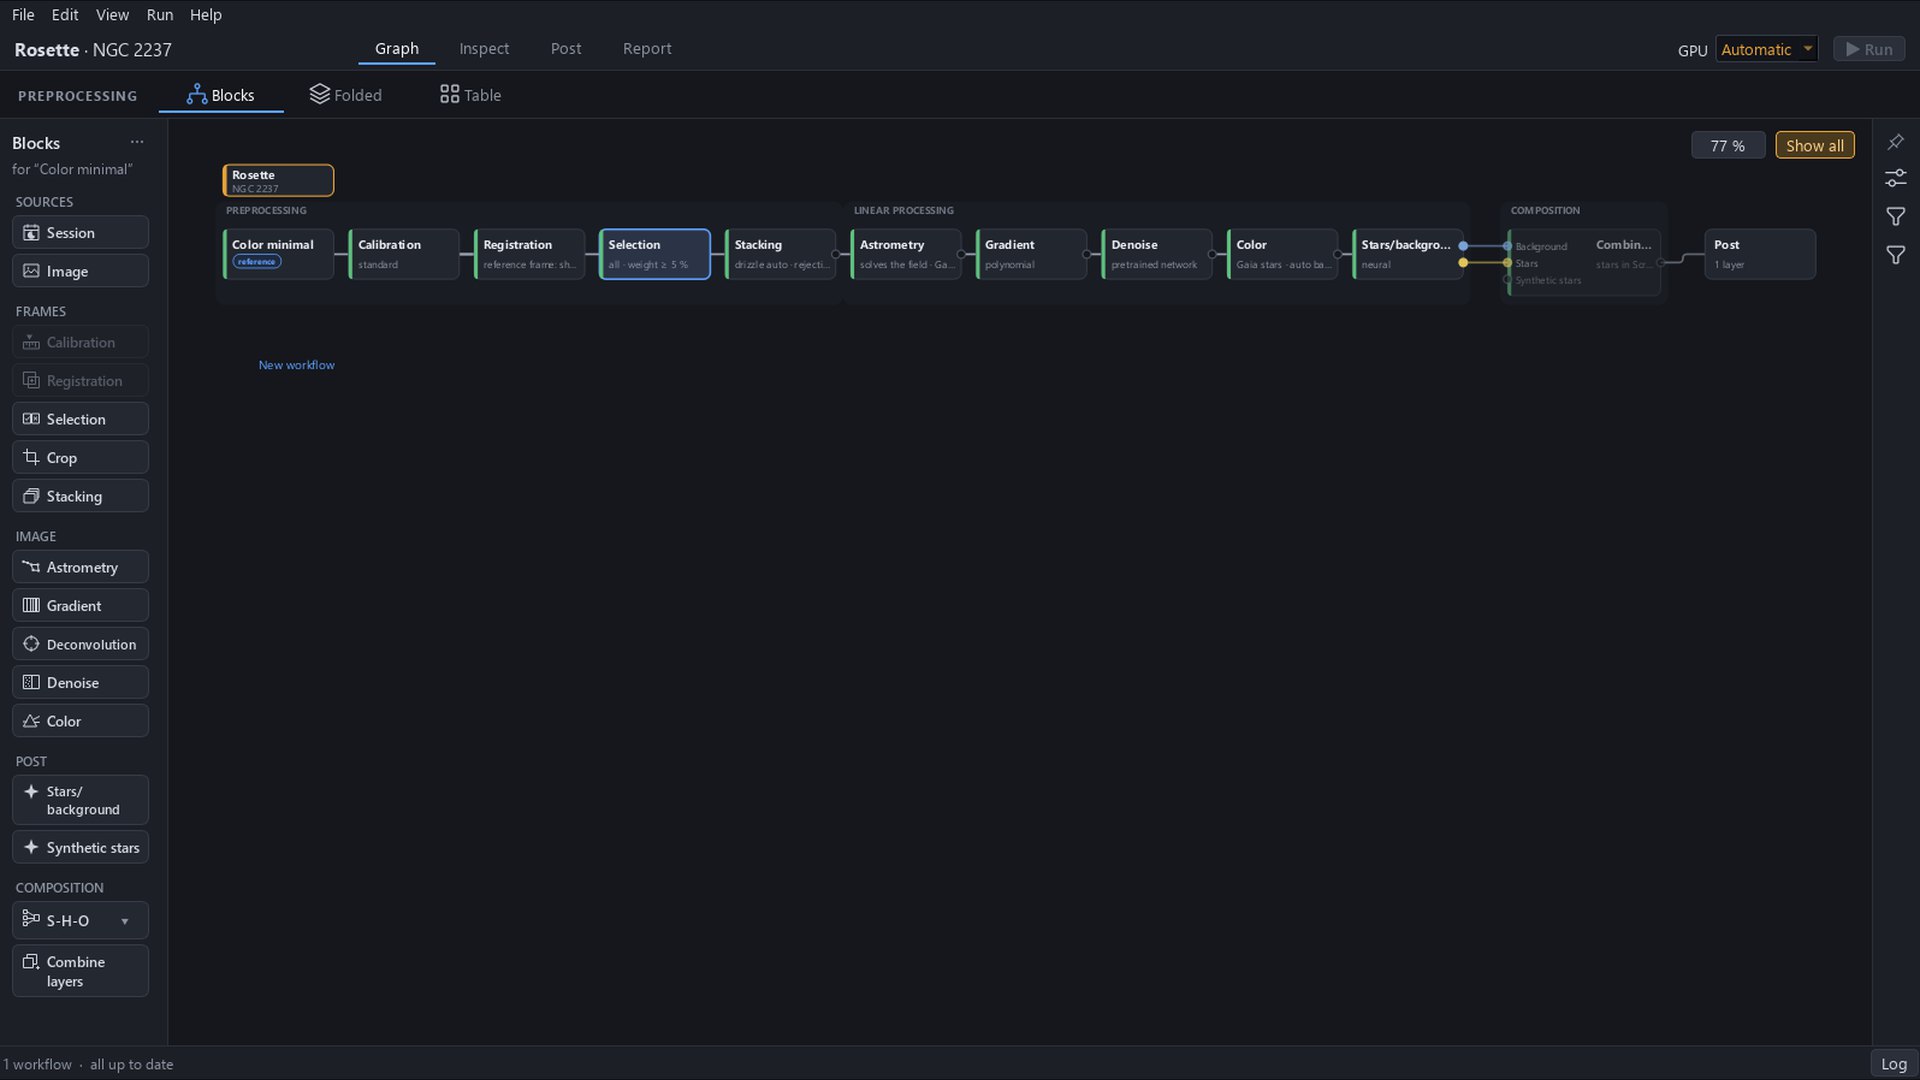
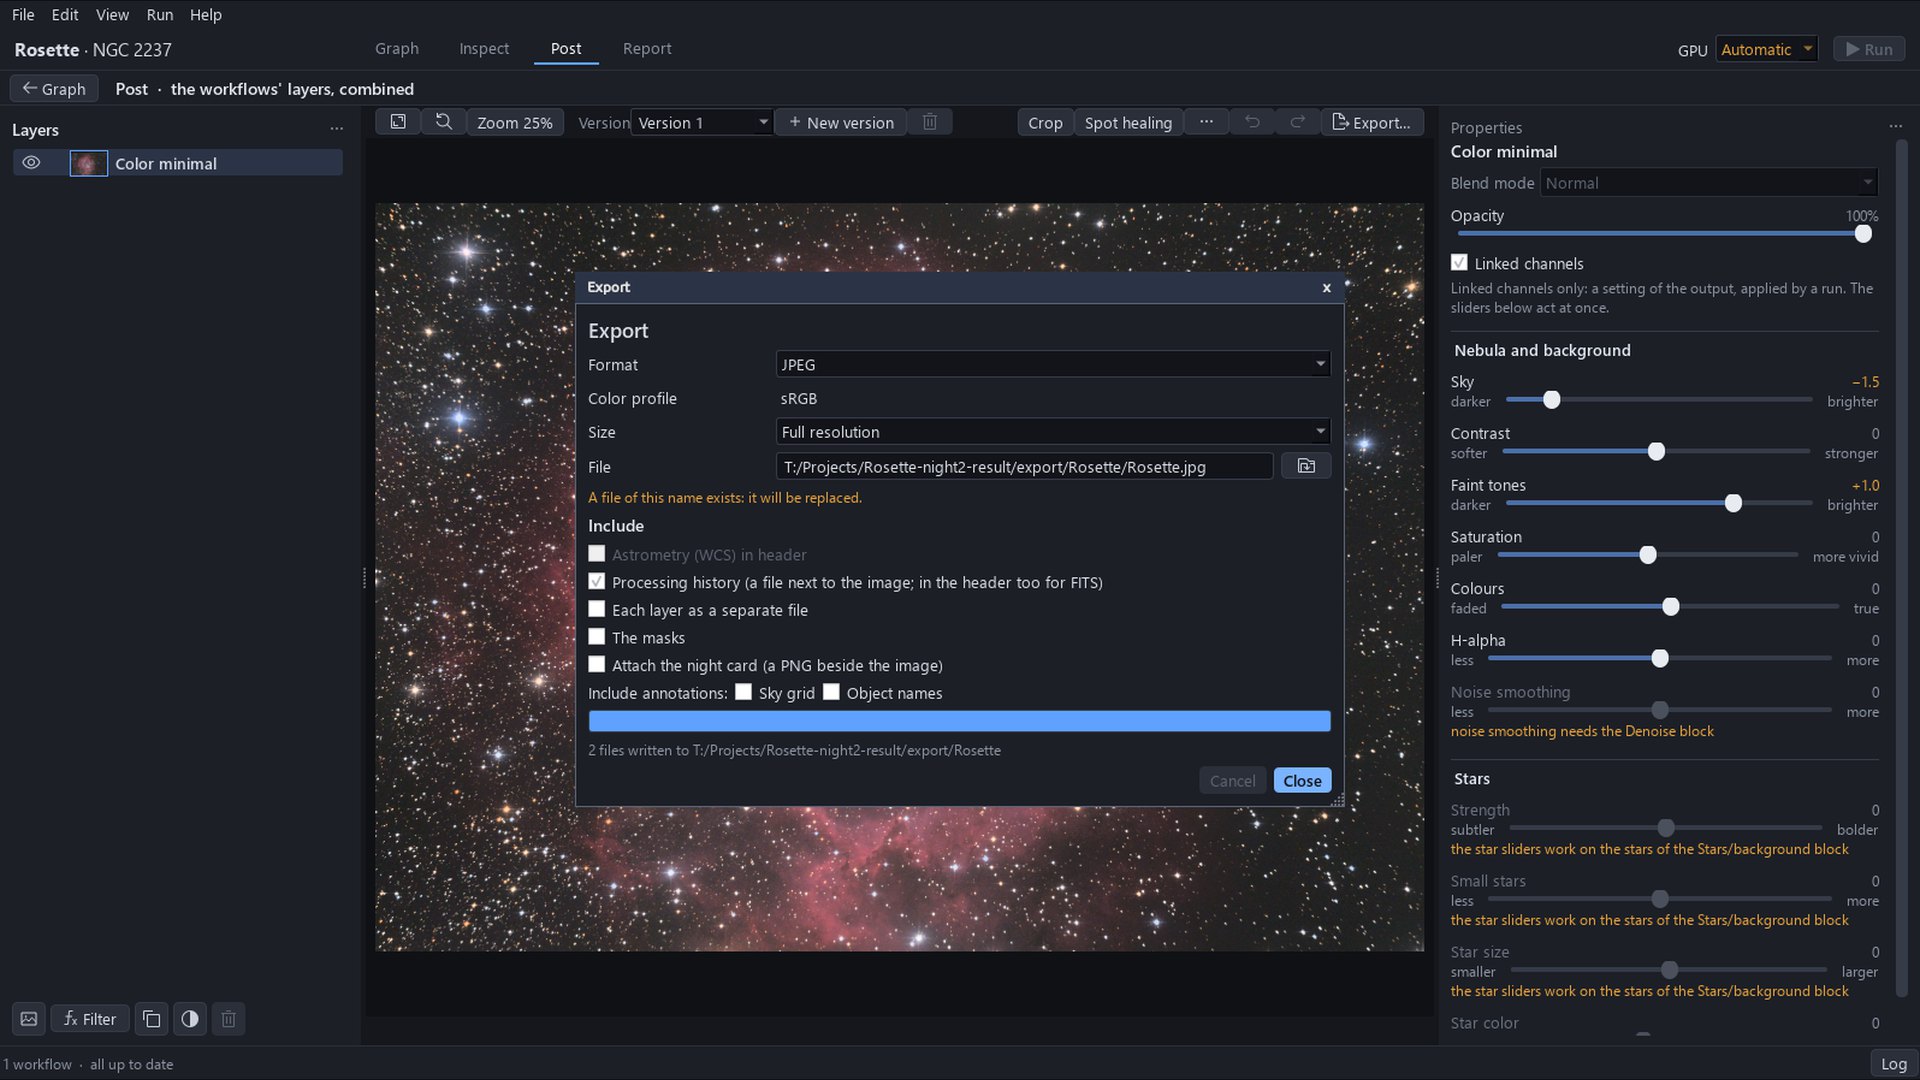
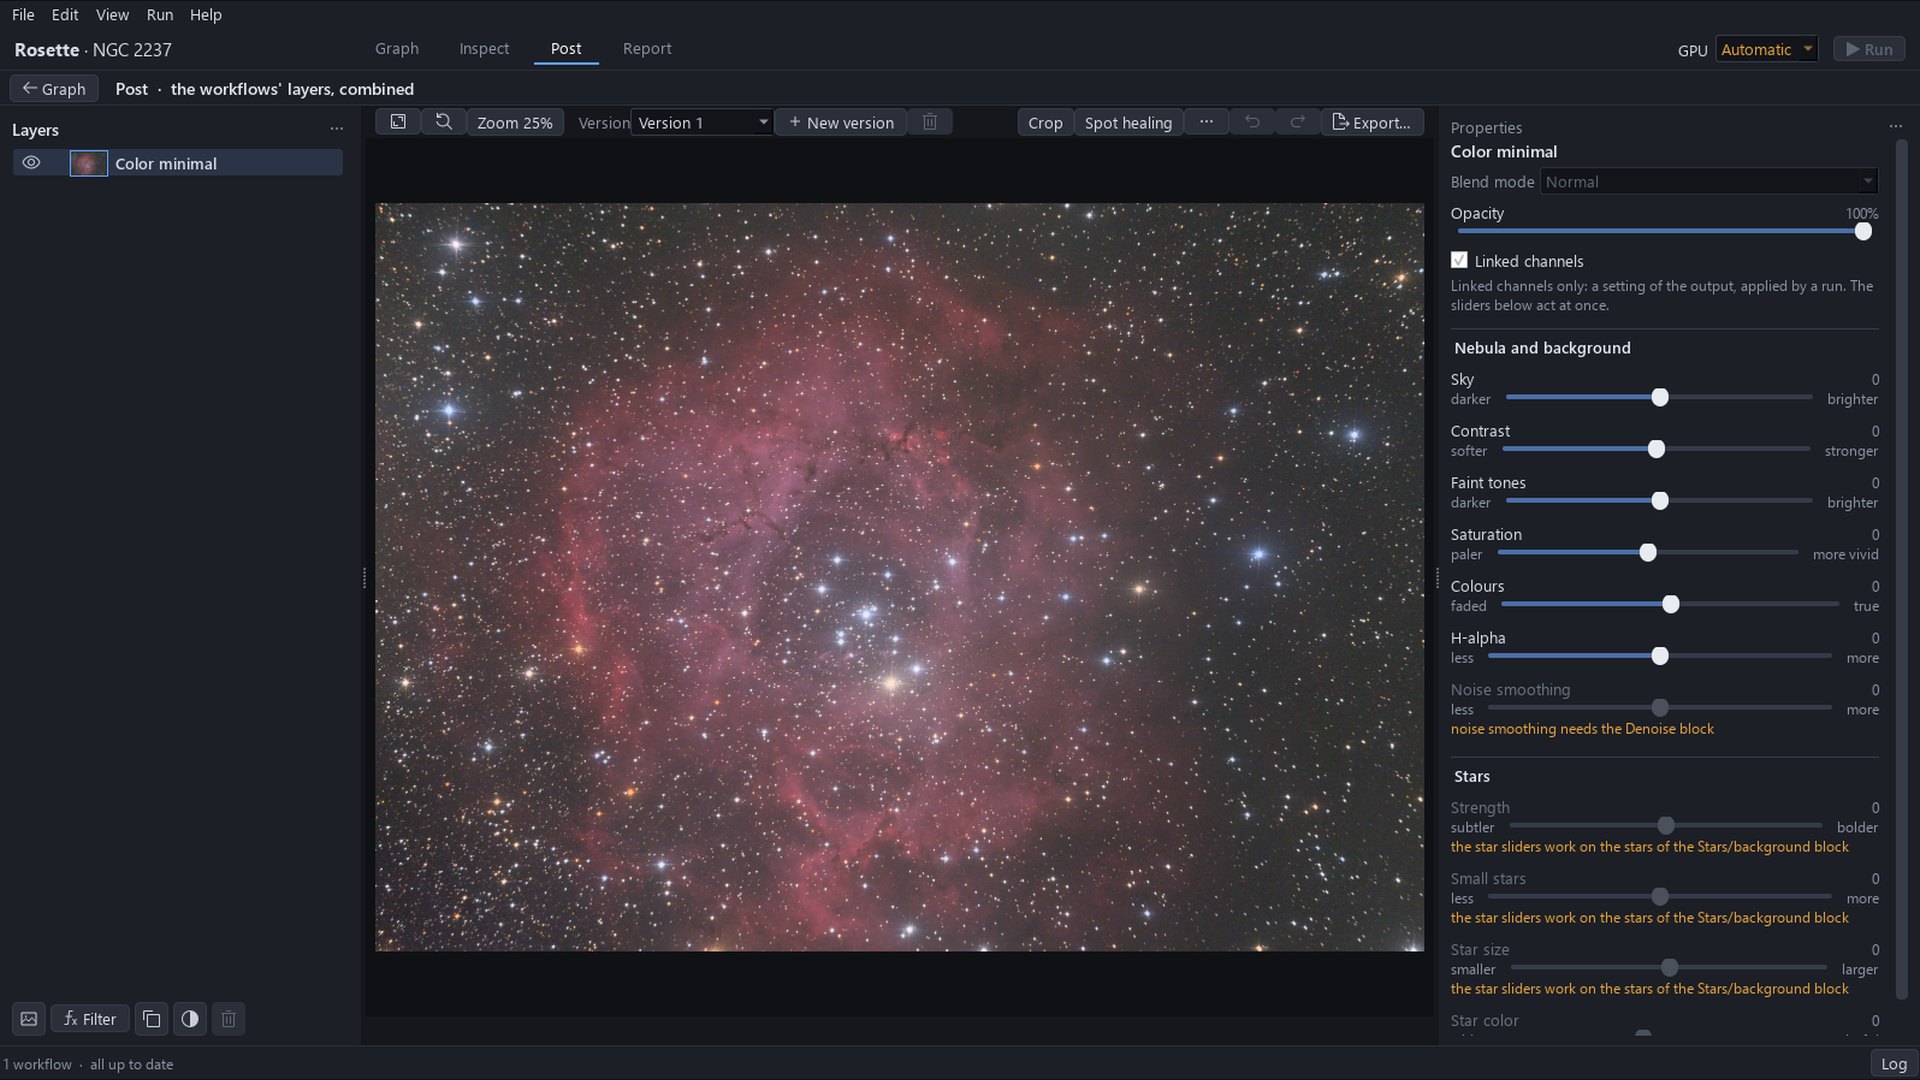
You create a project from the Color minimal template, give it the lights, darks and flats of the Rosette Nebula and run the workflow. In Post you read what is wrong with the image, correct it with three gestures, Sky, Faint tones and Crop, and export it.
2Intermediate
-
The full processing: stars apart
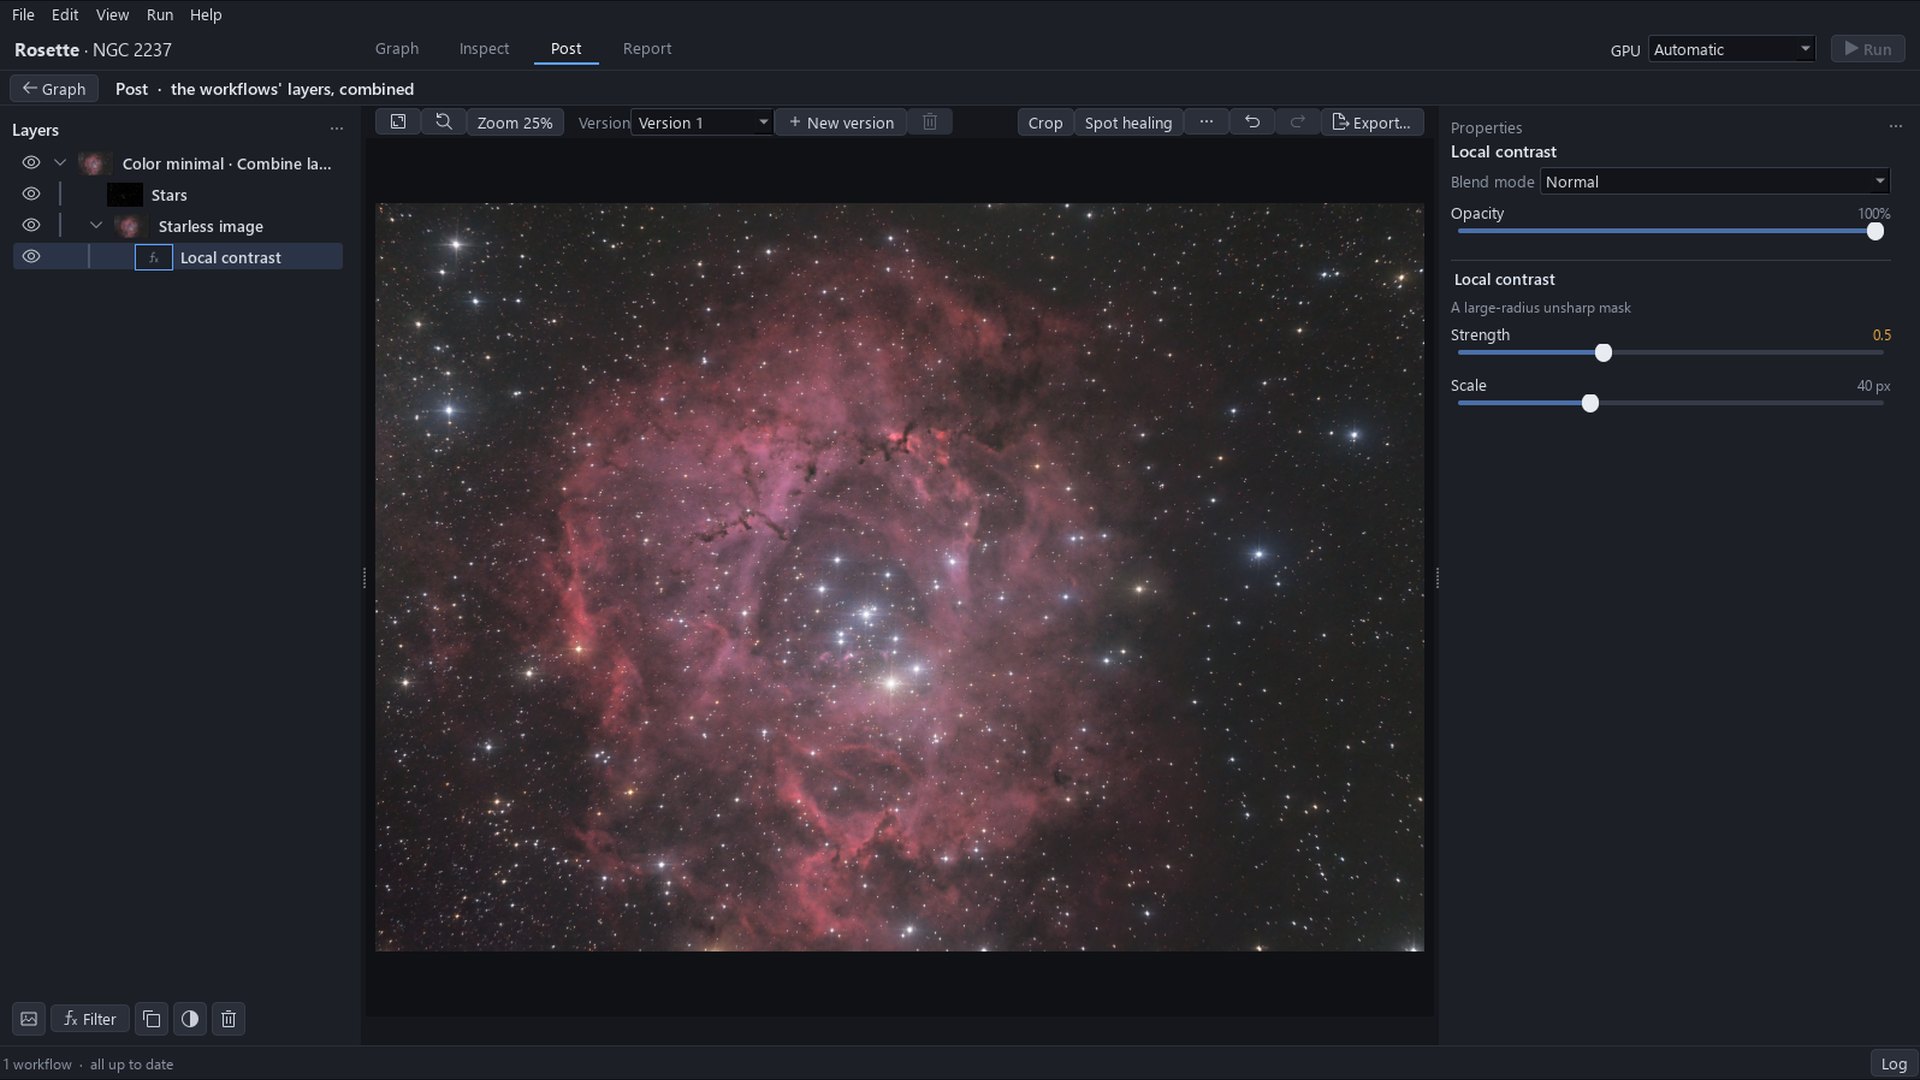
You open the project of the first tutorial and add two blocks to its workflow, Denoise and Stars/background: the run computes only what follows them, about a minute. In Post you quieten the stars, thin the tiny ones and give the starless image its local contrast, then you export.
-
Without darks or flats
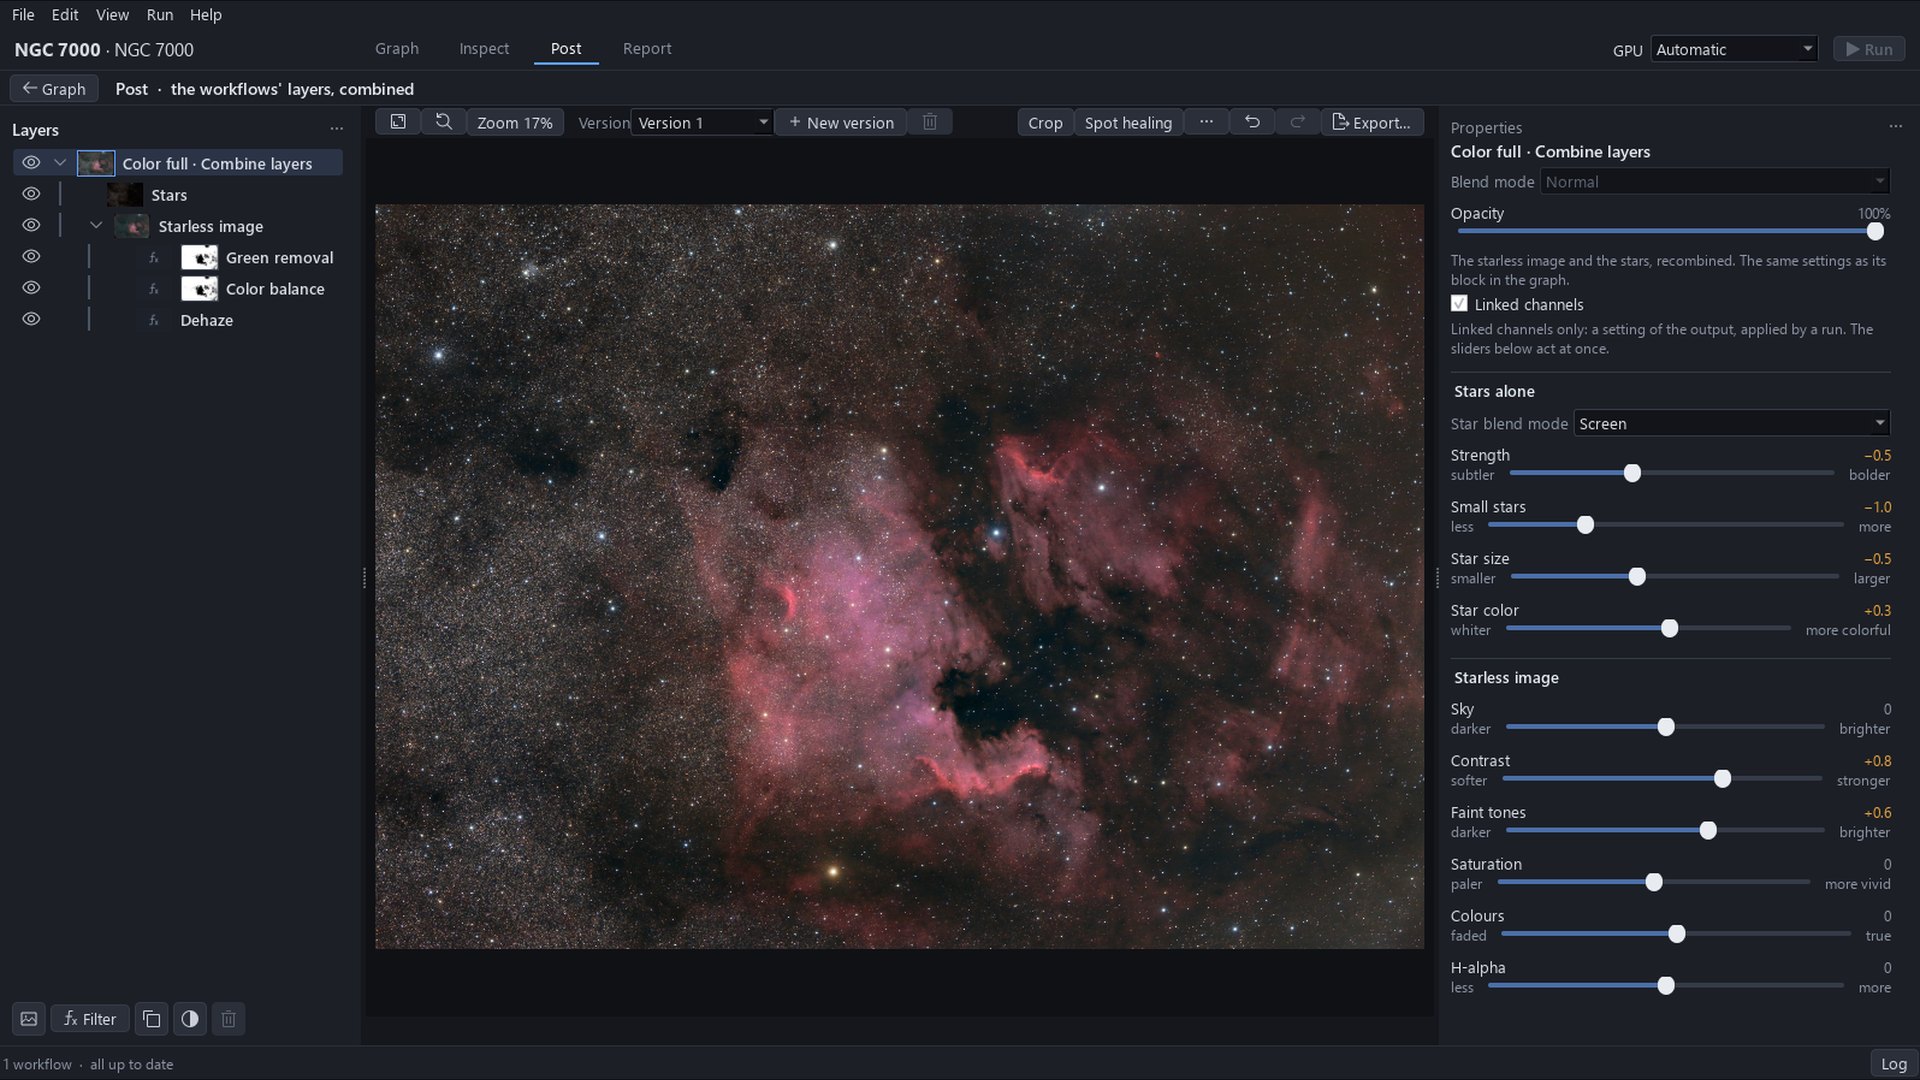
A night of light frames alone, with no darks and no flats, goes through the whole workflow to a finished image of NGC 7000 and the Pelican. The window says what it does about the missing frames, and Post corrects what they would have corrected: the corners, the veil and the green of the sky.
-
Try a variant
A variant of the workflow is started after Gradient to try the neural-network deconvolution (beta) beside the original. The two results are compared in Inspect and in Post, then the variant is deleted.
-
The three views of a project: Blocks, Folded, Table
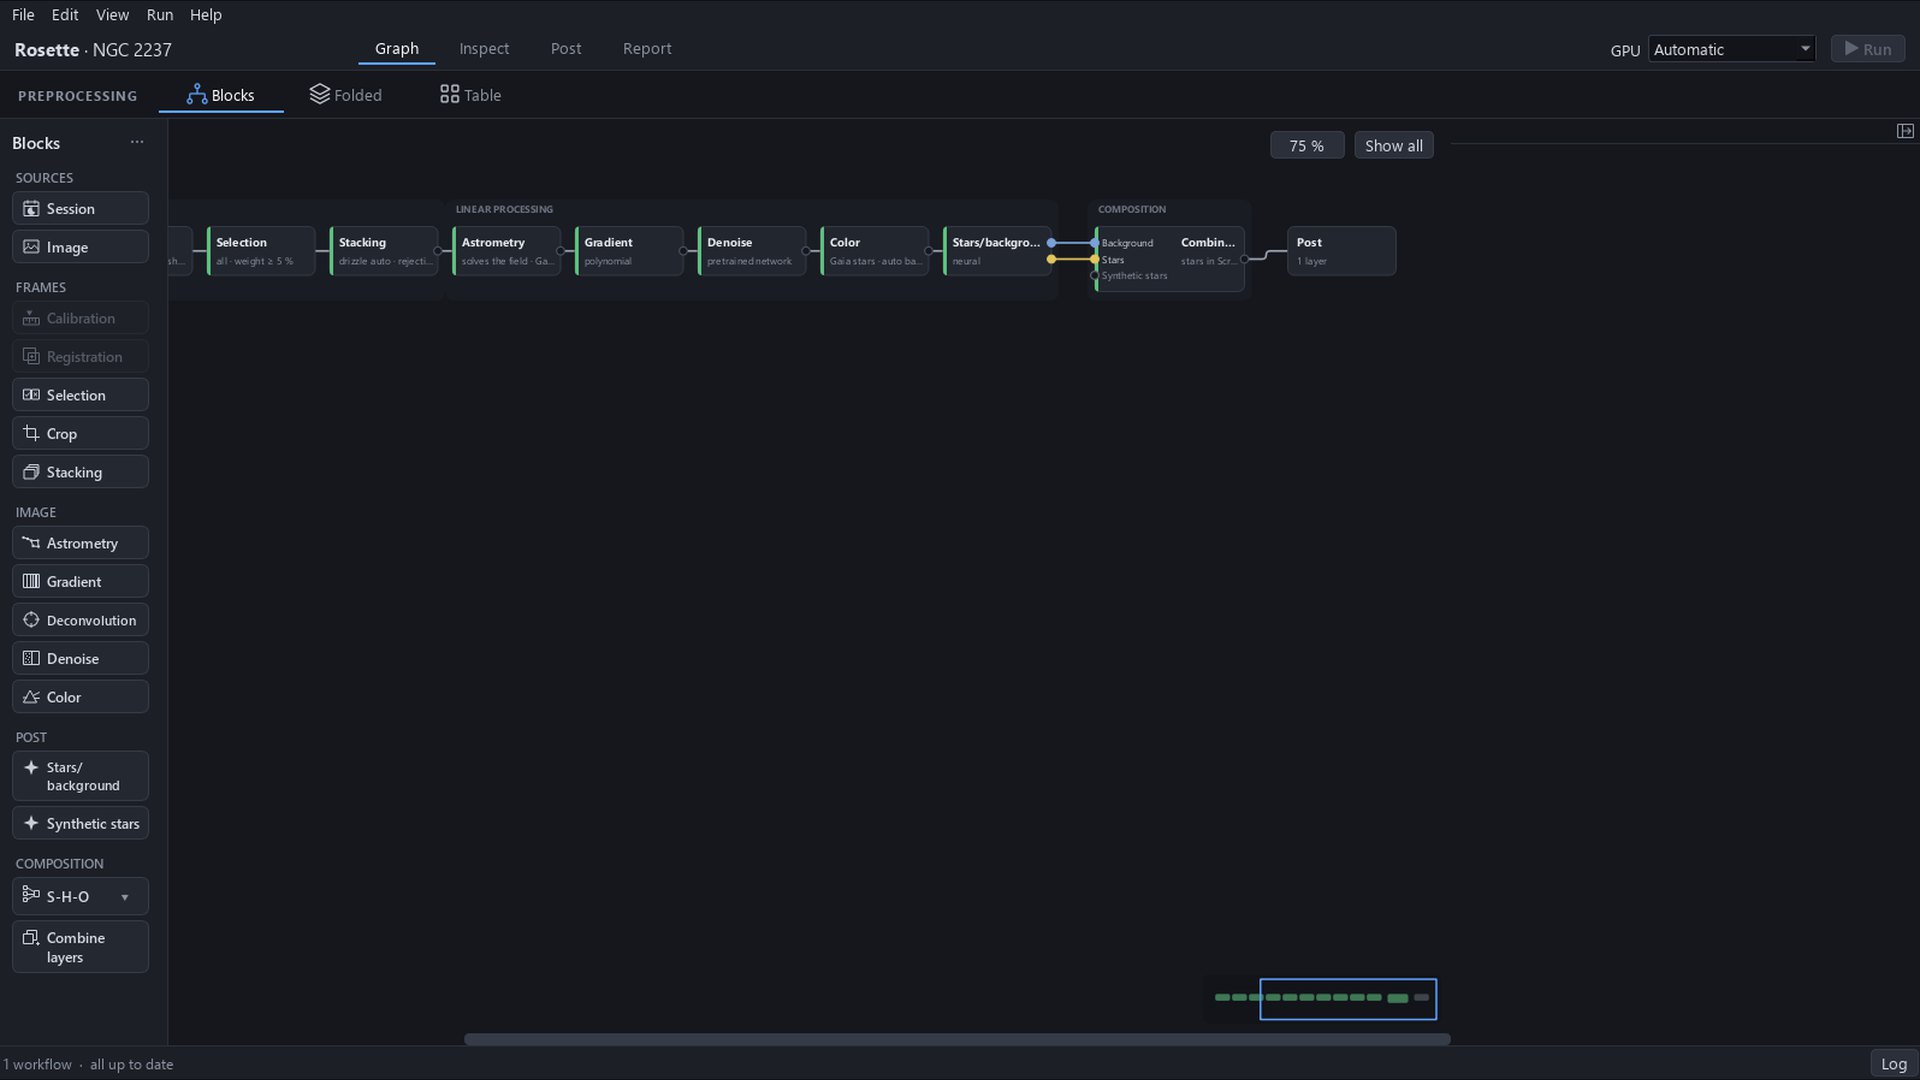
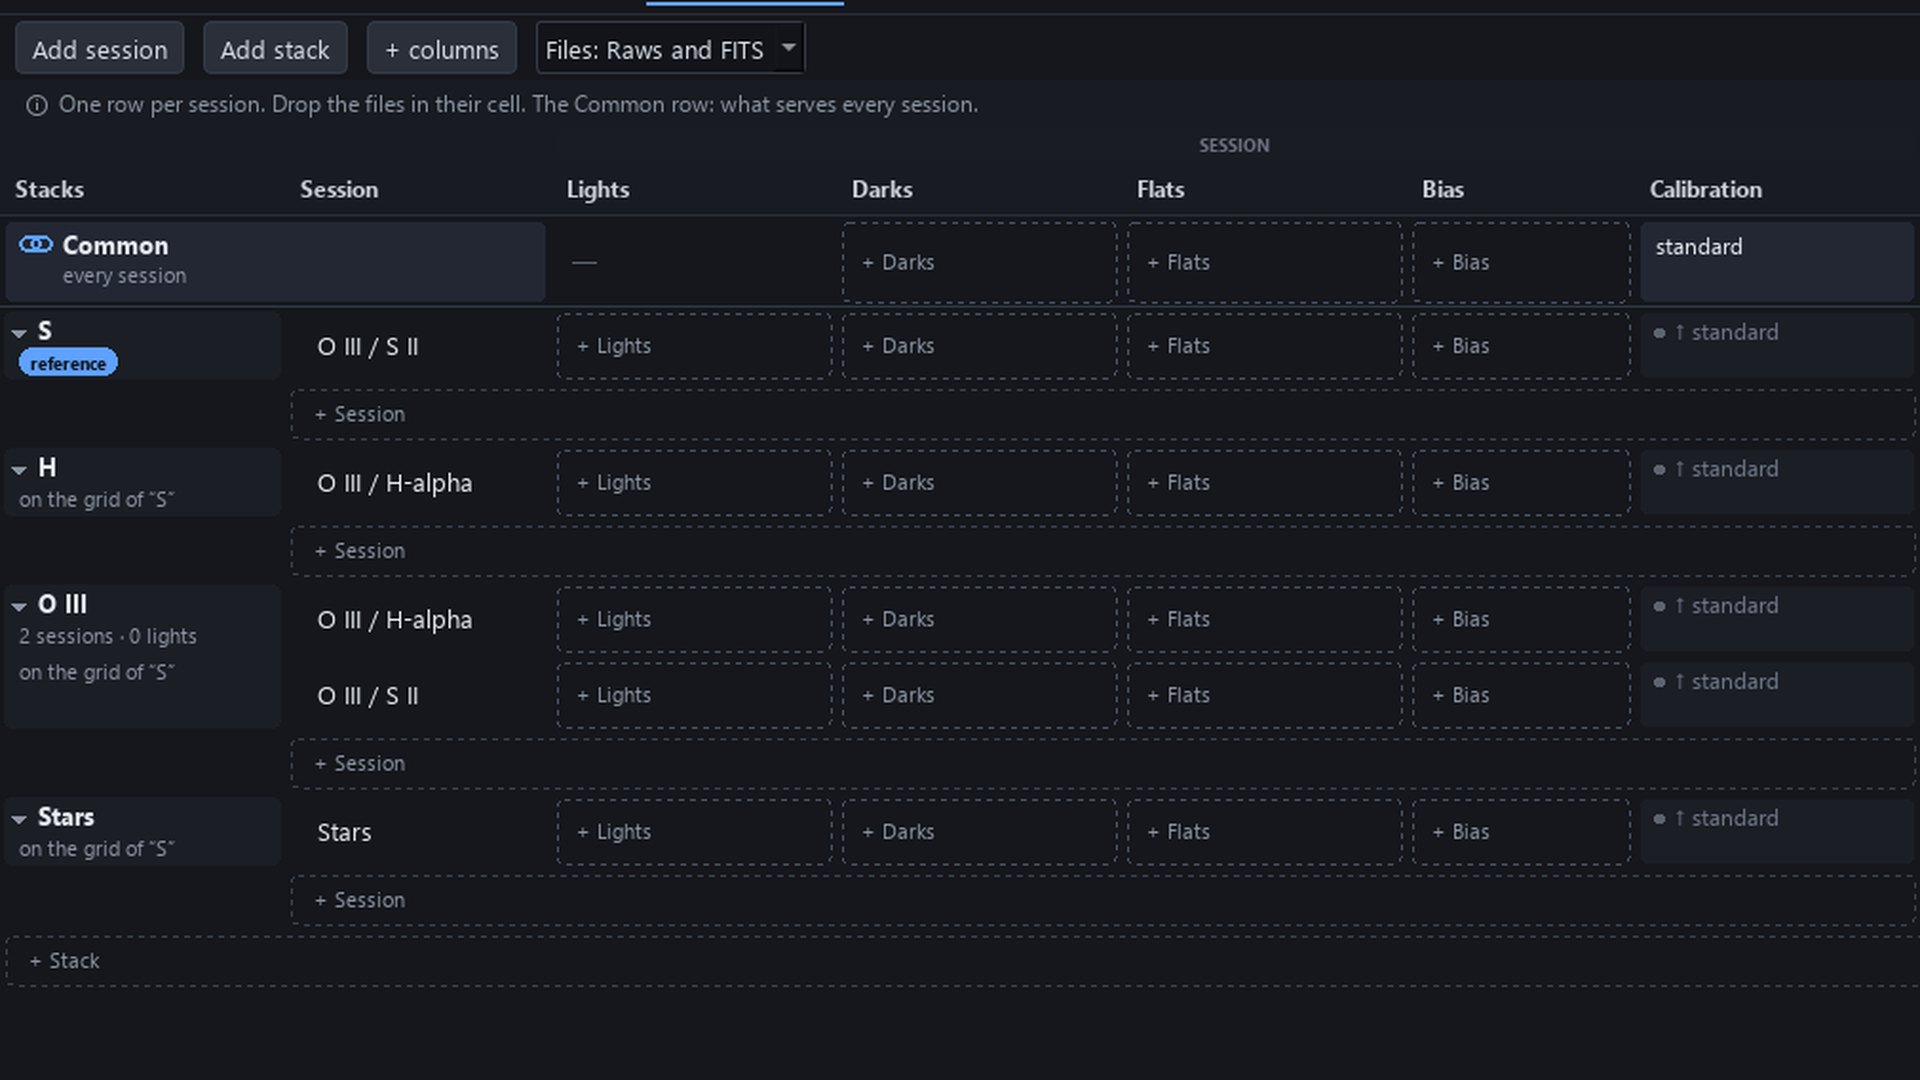
The finished project of the second tutorial is looked at in its three views: Blocks shows the processing chain, Folded shows many workflows at once and Table manages the files. A session is added and undone, then the settings panel, the GPU list and Run are found.
-
Add a second night
A second night of the same target is added to the project of the first tutorial as a second session of its workflow, named by its night, with its 358 lights and the darks and flats of the first night reused. The computation takes 38 min, then the project is opened again: 754 frames are kept of 794, Post is unchanged, and the faint gas has 3 to 12 % less noise at 100 %.
3Advanced
-
Repair instead of cropping
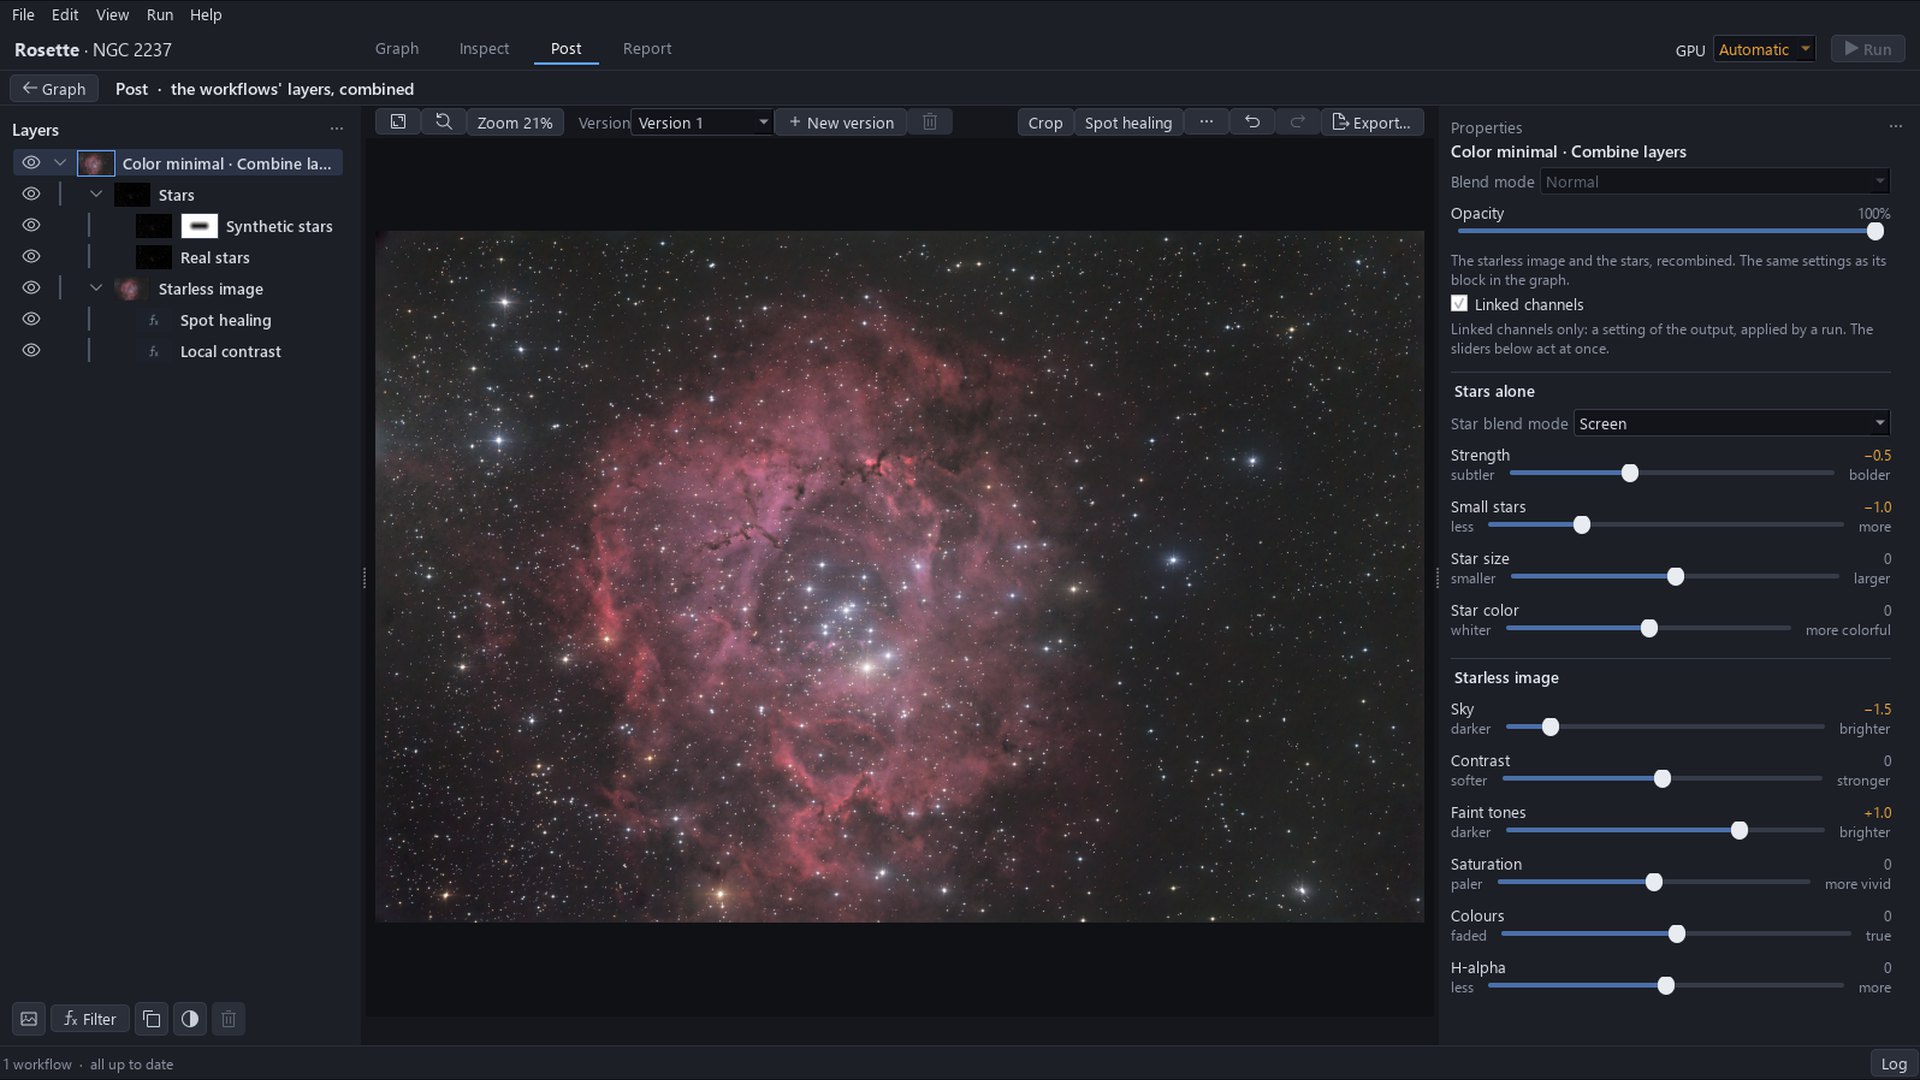
The project of the second tutorial is opened again and its crop loosened to the whole field, a third more area. A dust stain is healed with Spot healing, and the comet-shaped stars of the edges are redrawn by the Synthetic stars block, the real stars being painted back at the centre.
4Expert
-
The finish: three gestures, and what to leave out
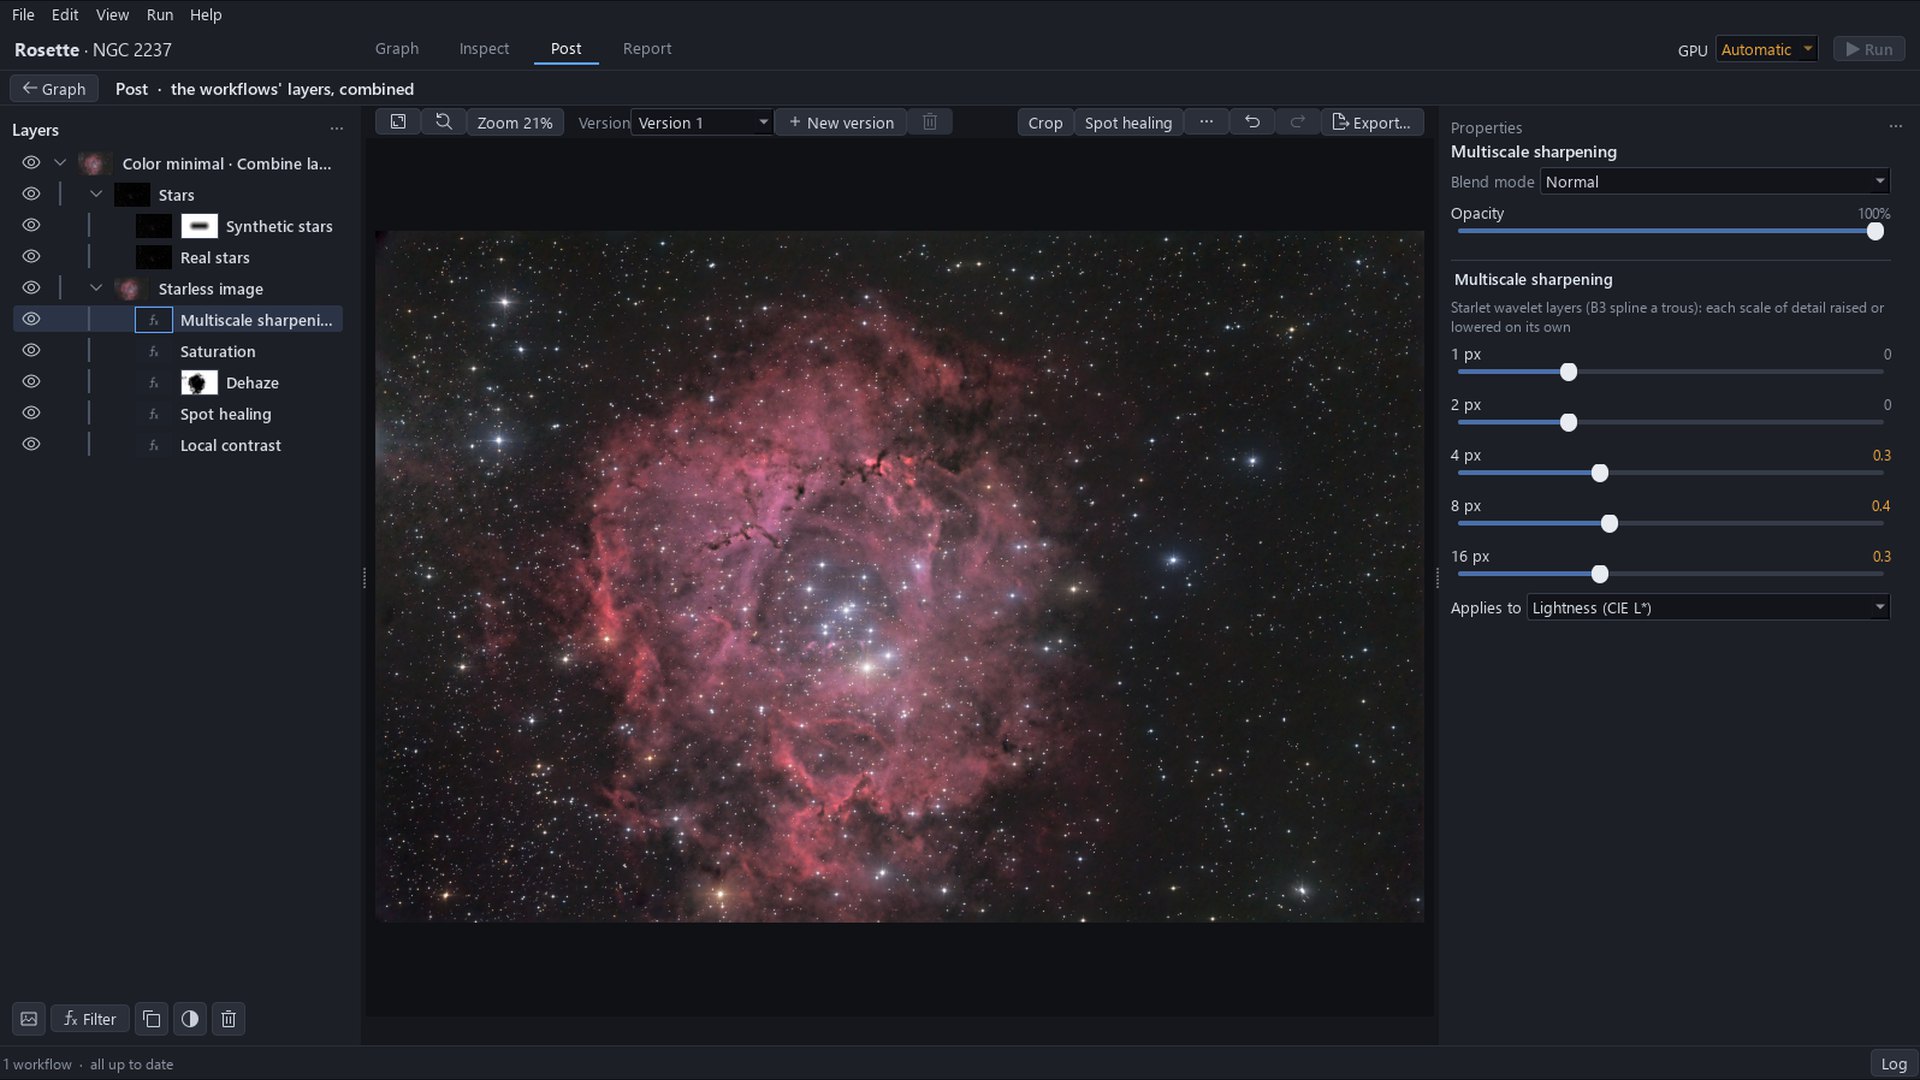
The project of the third tutorial is finished in Post with three gestures, all on the starless image: Dehaze under a luminance mask for a deeper sky, Saturation for a more vivid ring and Multiscale sharpening for the fine structure at full size. The filters tried and left out are listed, each with its reason.
-
Reading the graph of an S-H-O image made with a colour camera
A guided tour of the Graph page of a finished project: NGC 7000 in S-H-O, shot with a colour camera behind two dual-band filters. You see how the three sessions, the four workflows, Align on, the S-H-O combination and the source of the stars fit together, then how to start the same graph from a template.
-
The default S-H-O, read then corrected
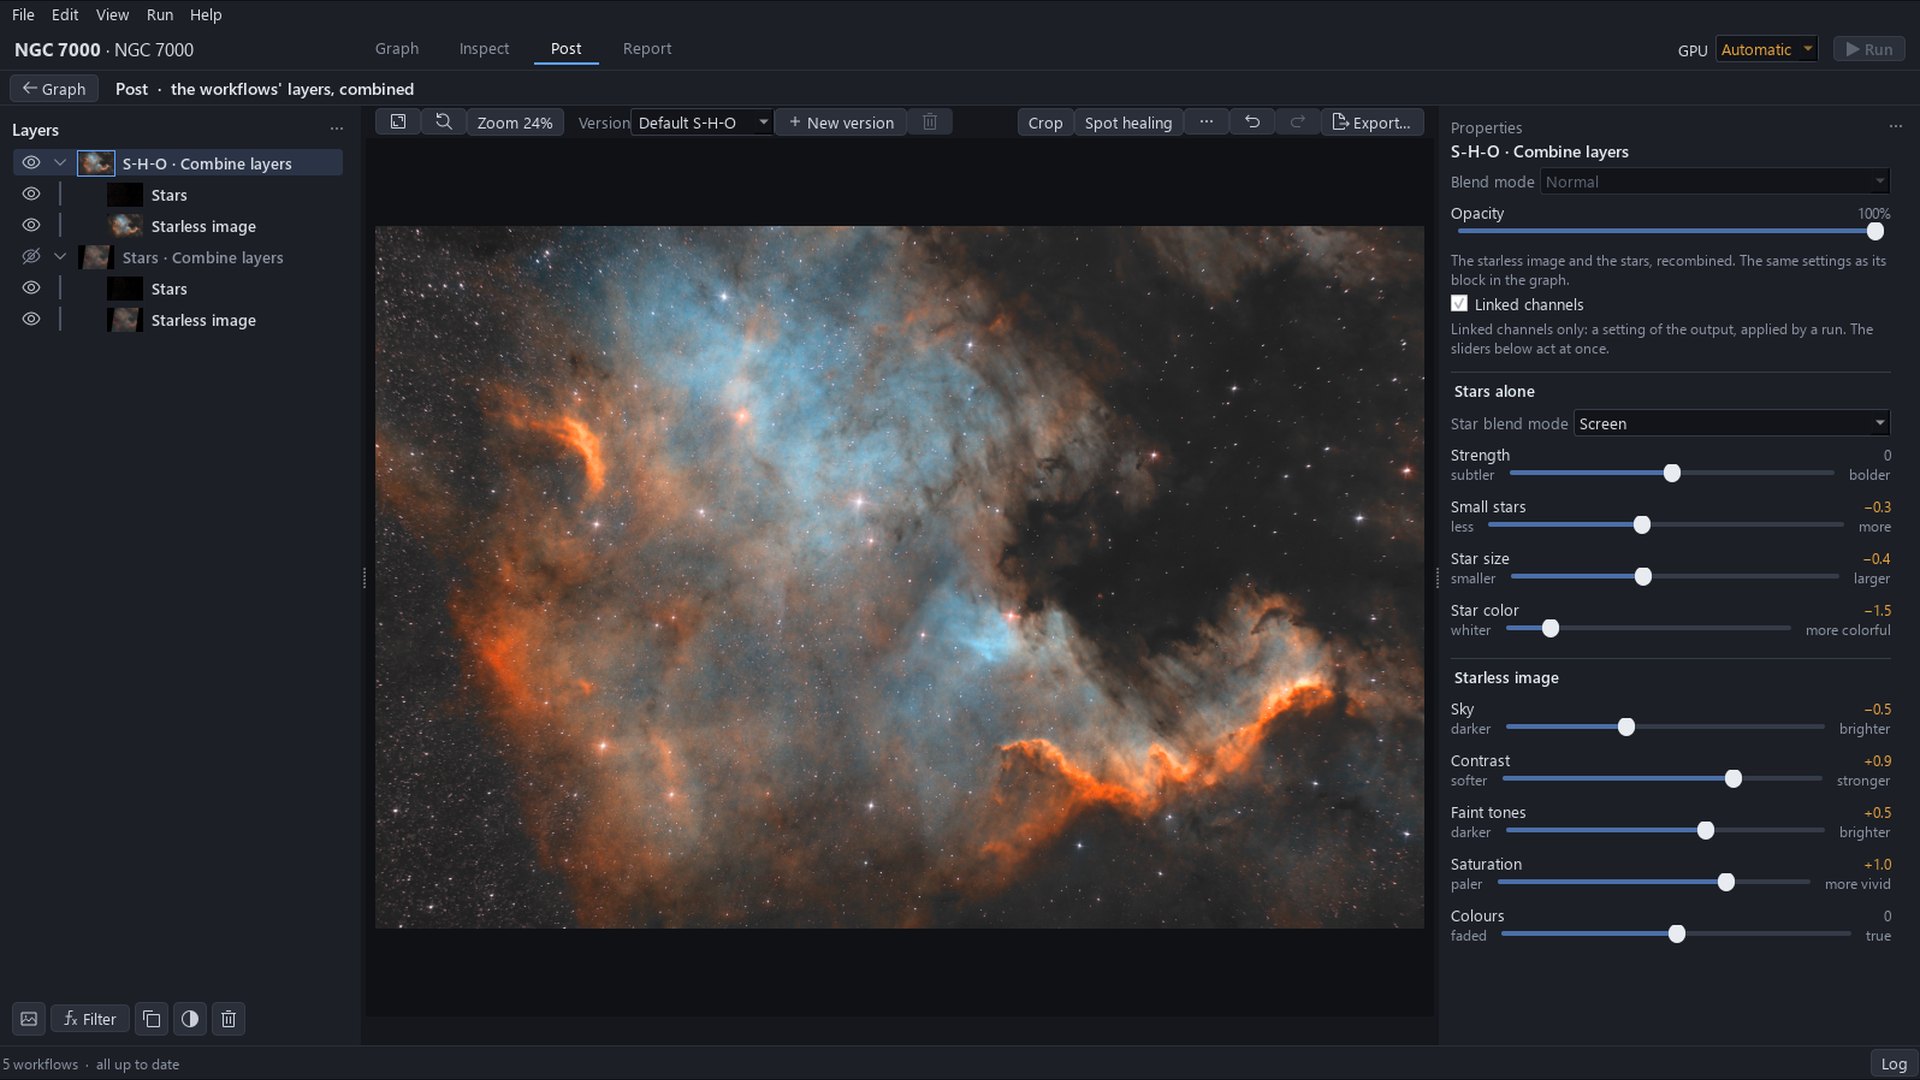
You open the S-H-O image as Post gives it, read what is wrong on it before touching anything, then correct it in six gestures: Crop, Sky, Contrast and Faint tones, Saturation, Star color, then Star size and Small stars. You name the version Default S-H-O and export it as a JPEG.
-
Palette and finish
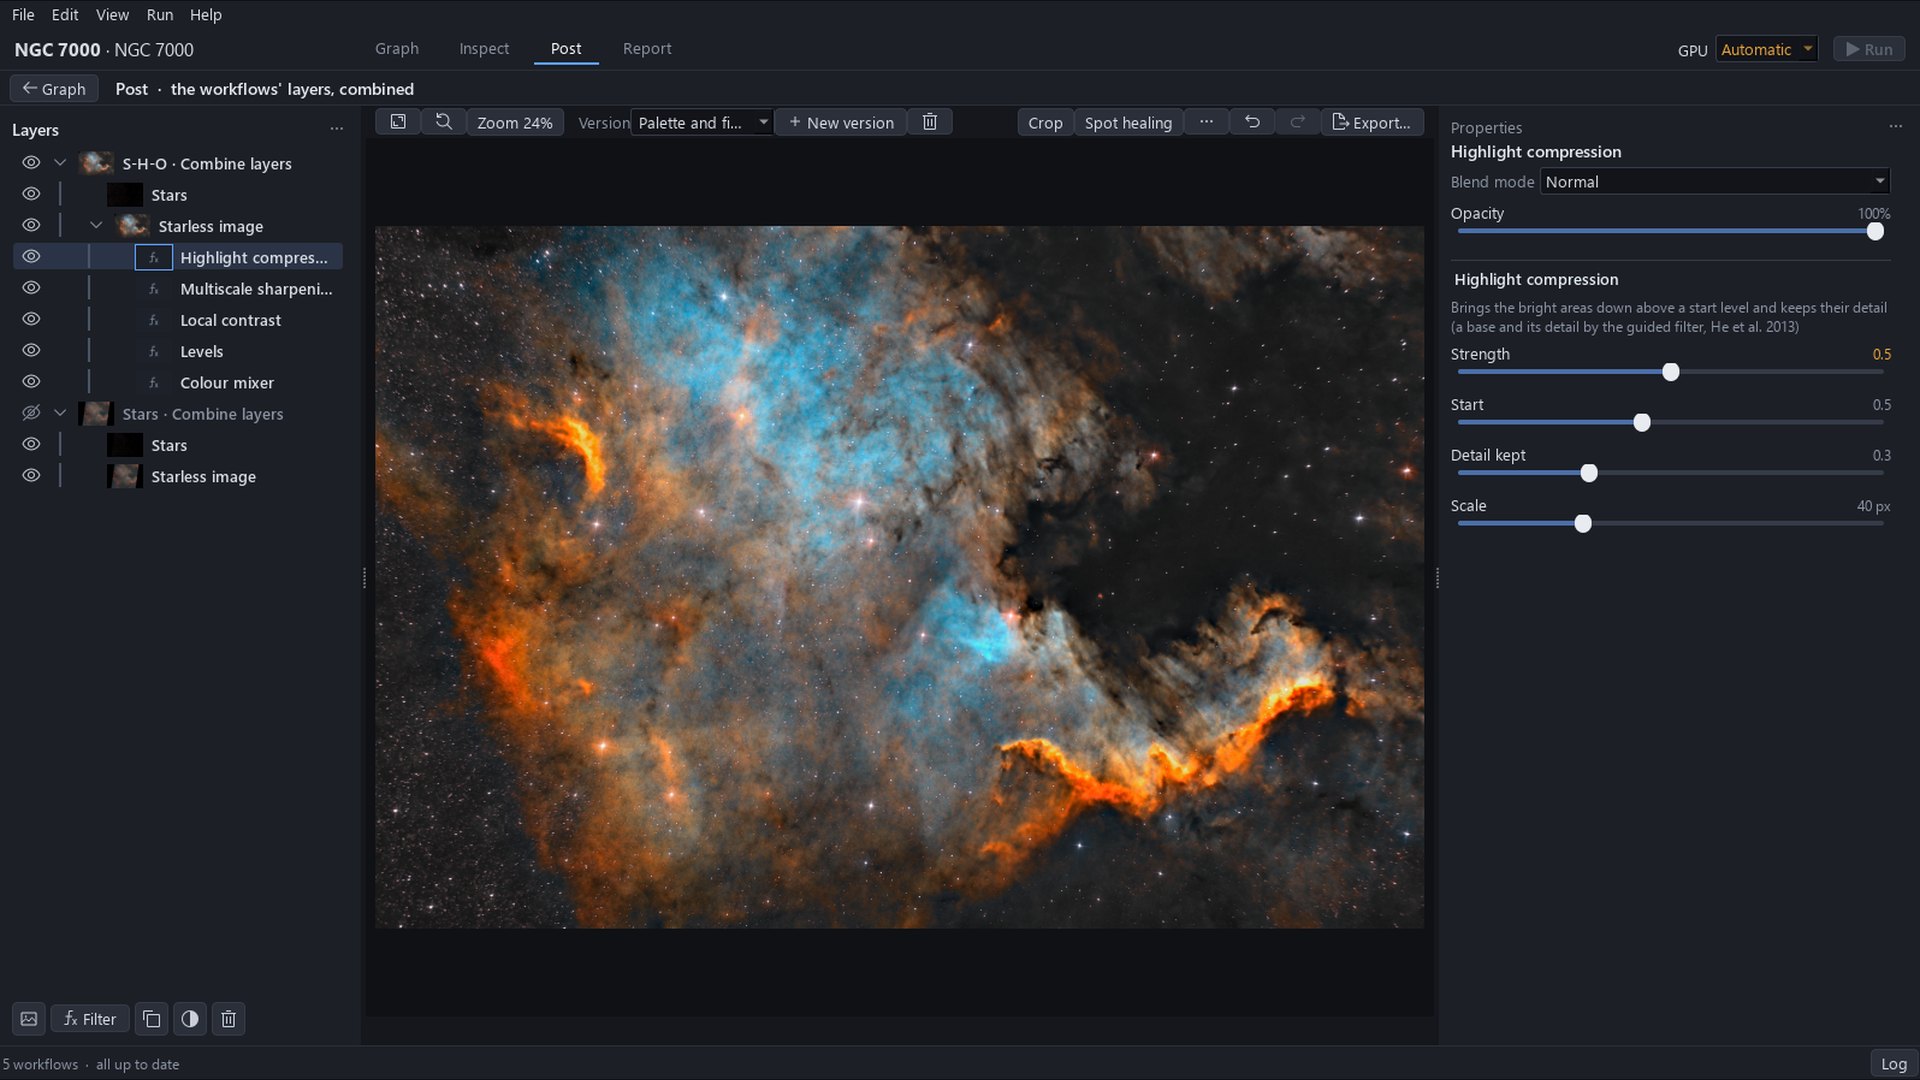
You duplicate the version Default S-H-O as Palette and finish, read what is still timid in it, then push the palette and finish the image with five filters on the starless image: Colour mixer, Levels, Local contrast, Multiscale sharpening and Highlight compression, in that order. You export it as a JPEG.
Post
Everyone uses Post, whatever the level: these tutorials do not follow the path and can be read in any order.
-
Post: the essentials
The picture of the first tutorial is read in Post before any gesture, then corrected with three gestures: Sky, Faint tones and Crop. Zoom, before and after, undo and redo, and the export complete the tour of the page.
-
Post: layers and filters
The layers of Post are read, then two filters are added to the starless image: Local contrast for the dark globules and the folds of the ring, Saturation for the colour. A filter is switched off, changed, deleted and taken back, duplicated and dosed with its opacity, and the project is saved, closed and reopened with its filters.
-
Post: masks
A brush mask paints the real stars back at the centre of the Synthetic stars row, and its settings are tried: view, feather, density, invert, show and hide, undo and clear. A luminance mask then limits Dehaze to the dark tones of the sky, and both masks are kept with the project.
-
Post: the versions of an image
Two versions of the Rosette are kept side by side in one project: Whole field, the picture as it is for a screen view, and Finish, with Dehaze under a luminance mask, Saturation and Multiscale sharpening for full size. The versions are switched, undone, deleted and taken back, exported to their own files and saved.
Build a graph, right here
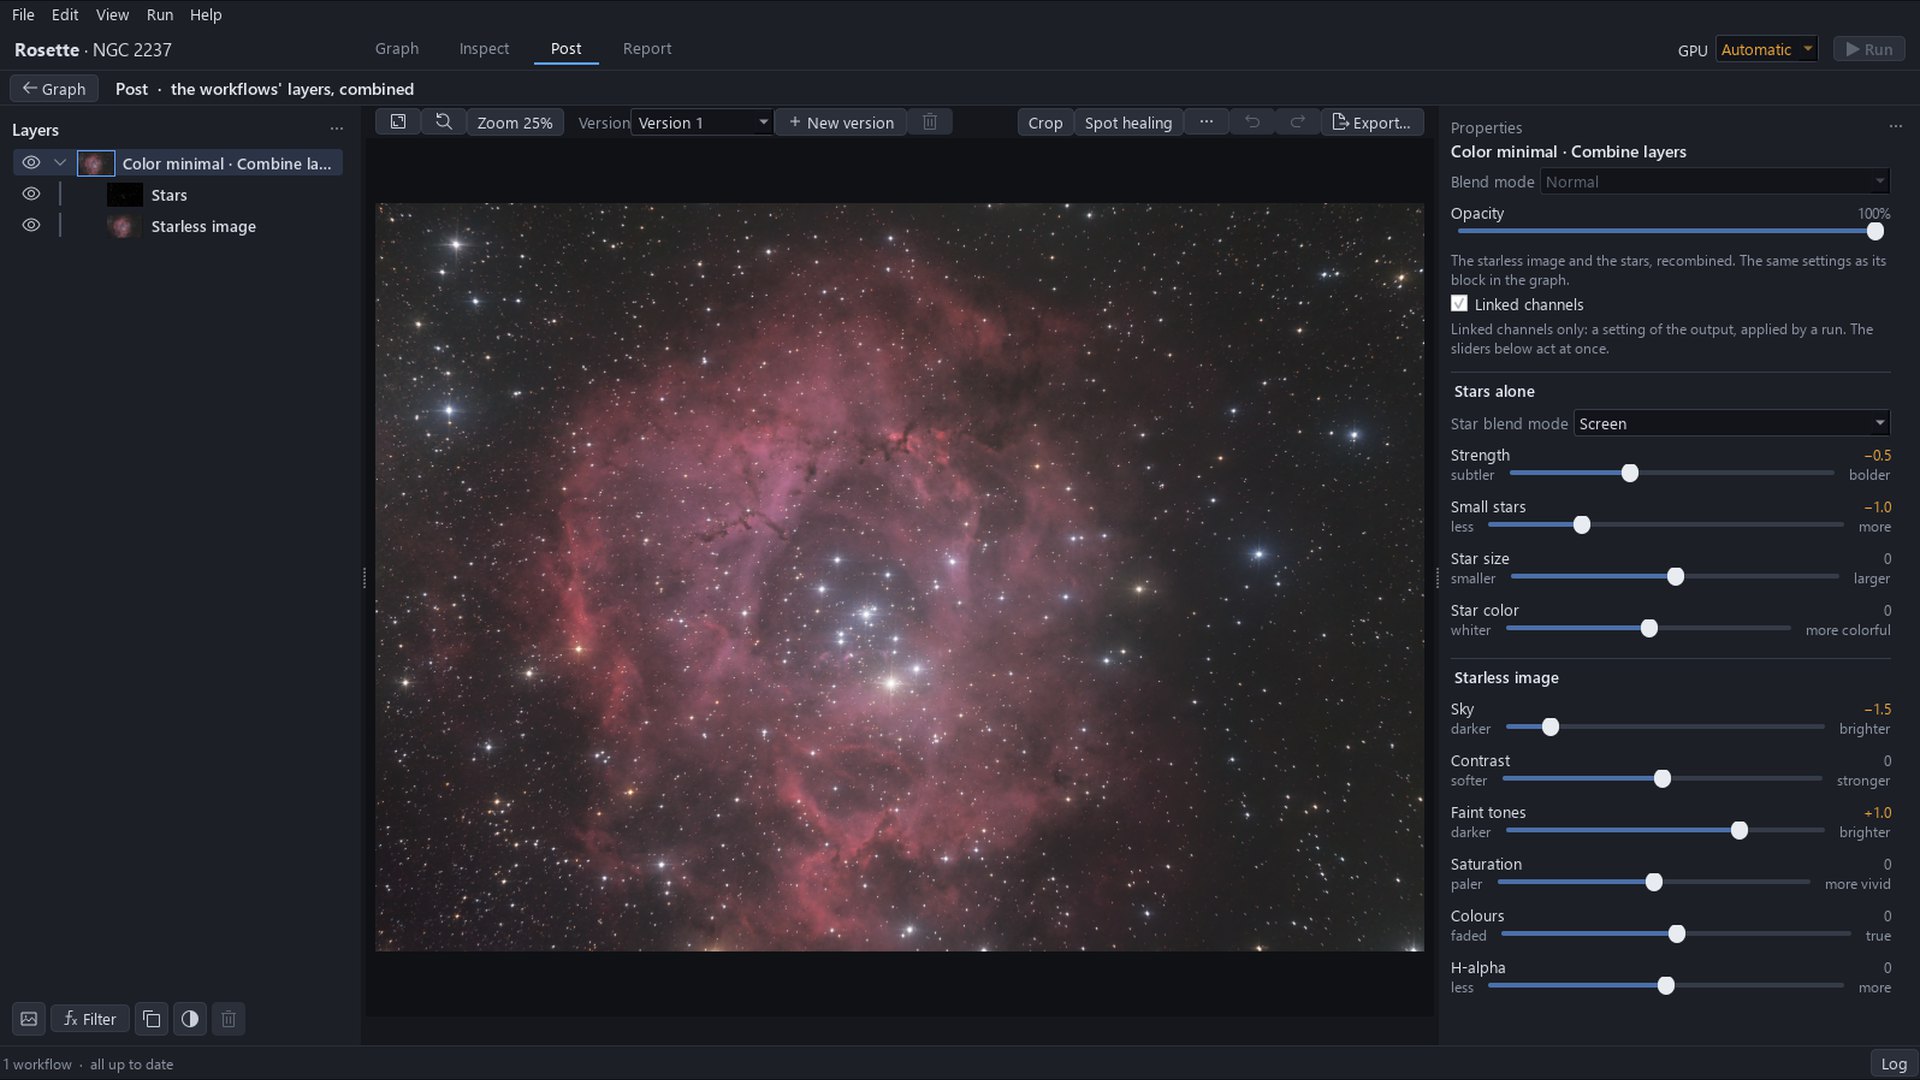
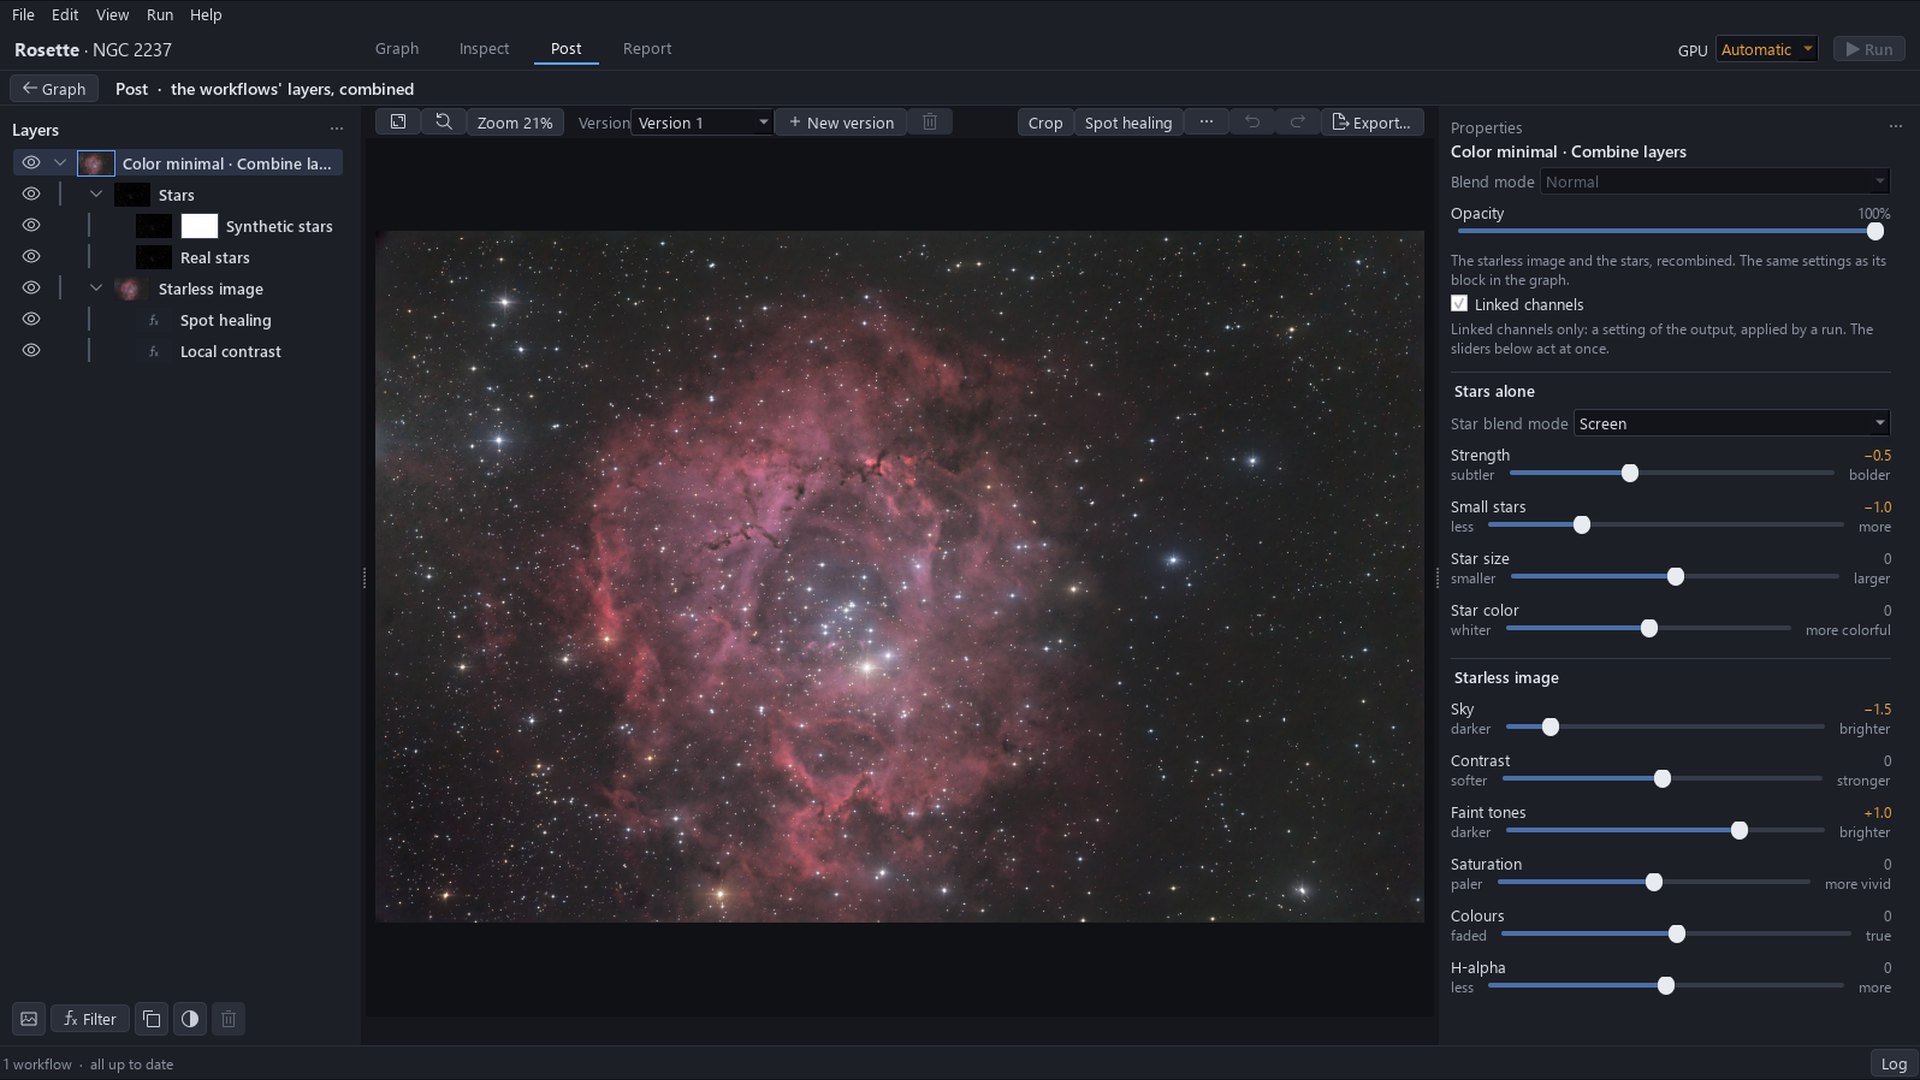
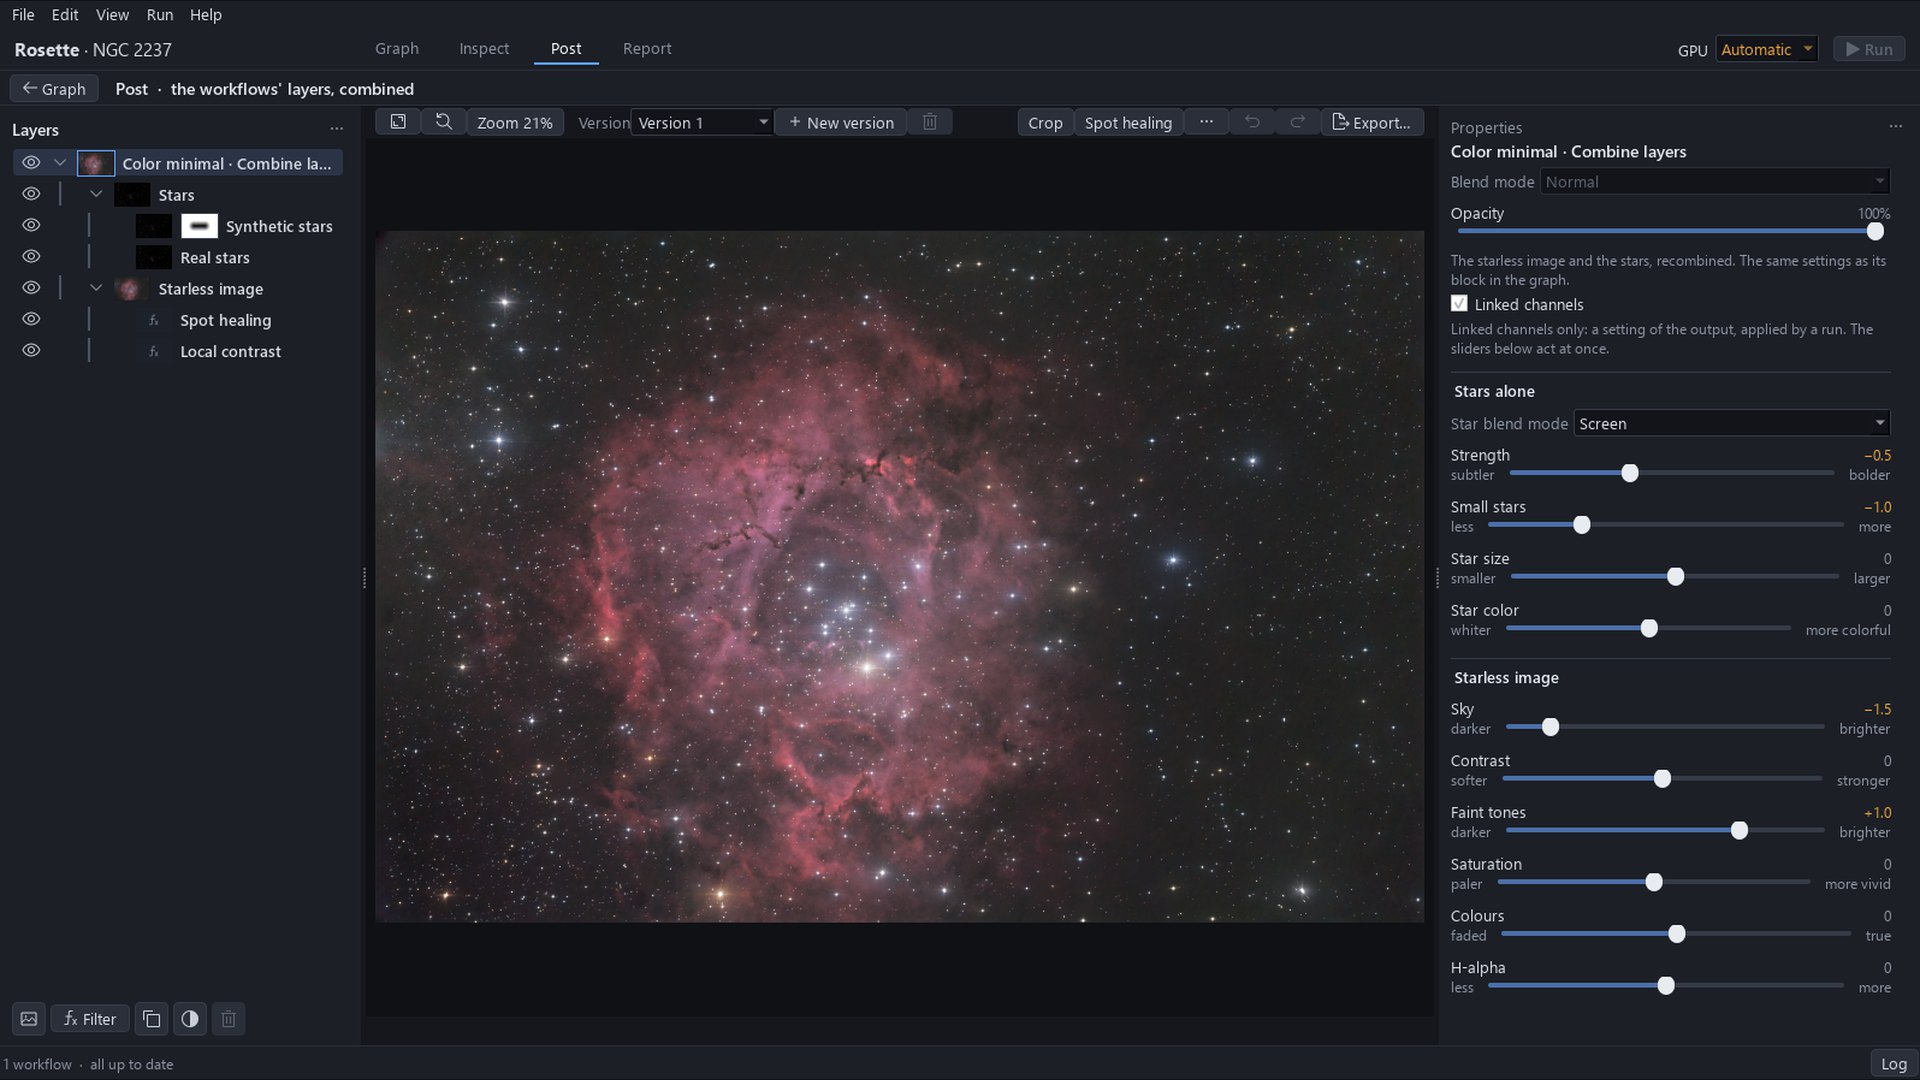
A replica of the Graph page and of Post, guided step by step: start from a blank page, place the blocks, run, change a setting, finish the image. Nothing is computed here; the names, actions and states are those of FLOAT.
Blocks
Sources
Frames
Image
Post
Composition
Layers
Properties
The guided tour needs a wider screen.