Post
Post: layers and filters
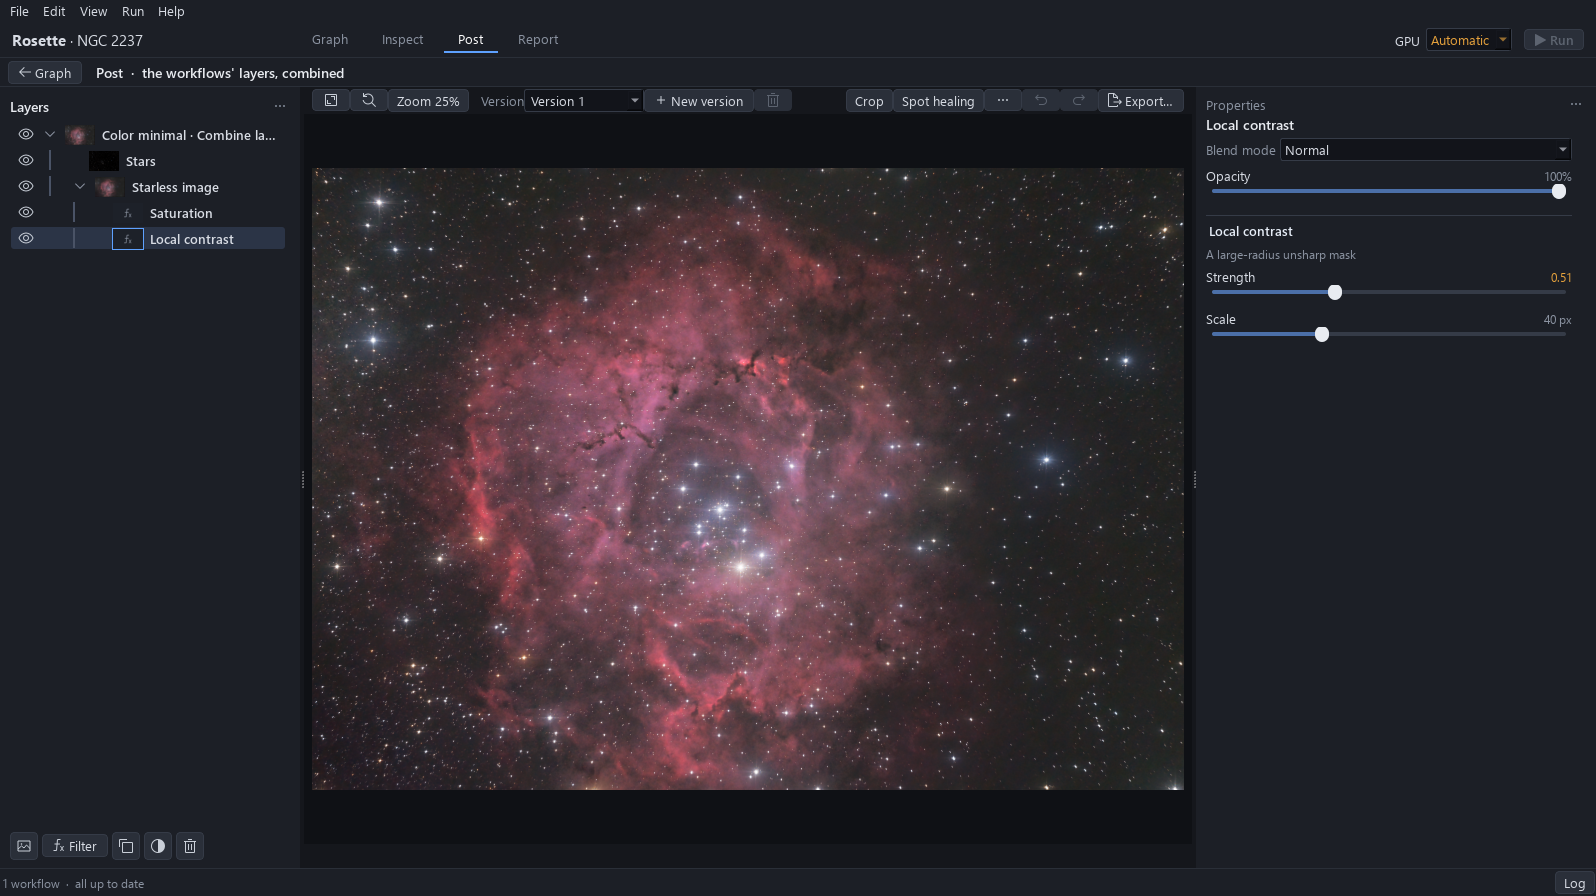
The layers of Post are read, then two filters are added to the starless image: Local contrast for the dark globules and the folds of the ring, Saturation for the colour. A filter is switched off, changed, deleted and taken back, duplicated and dosed with its opacity, and the project is saved, closed and reopened with its filters.
| Duration | About 12 min, with no computing |
|---|---|
| Requirements |
|
| Data set | Rosette Nebula (NGC 2237) · Sony A7S, 15 s at ISO 4000 · 130/900 Newtonian · 436 lights (1.8 h), 48 darks, 62 flats, the authors of FLOAT; size 6.9 GB. The frames will be offered for download; the link will be given here |
1Open the project
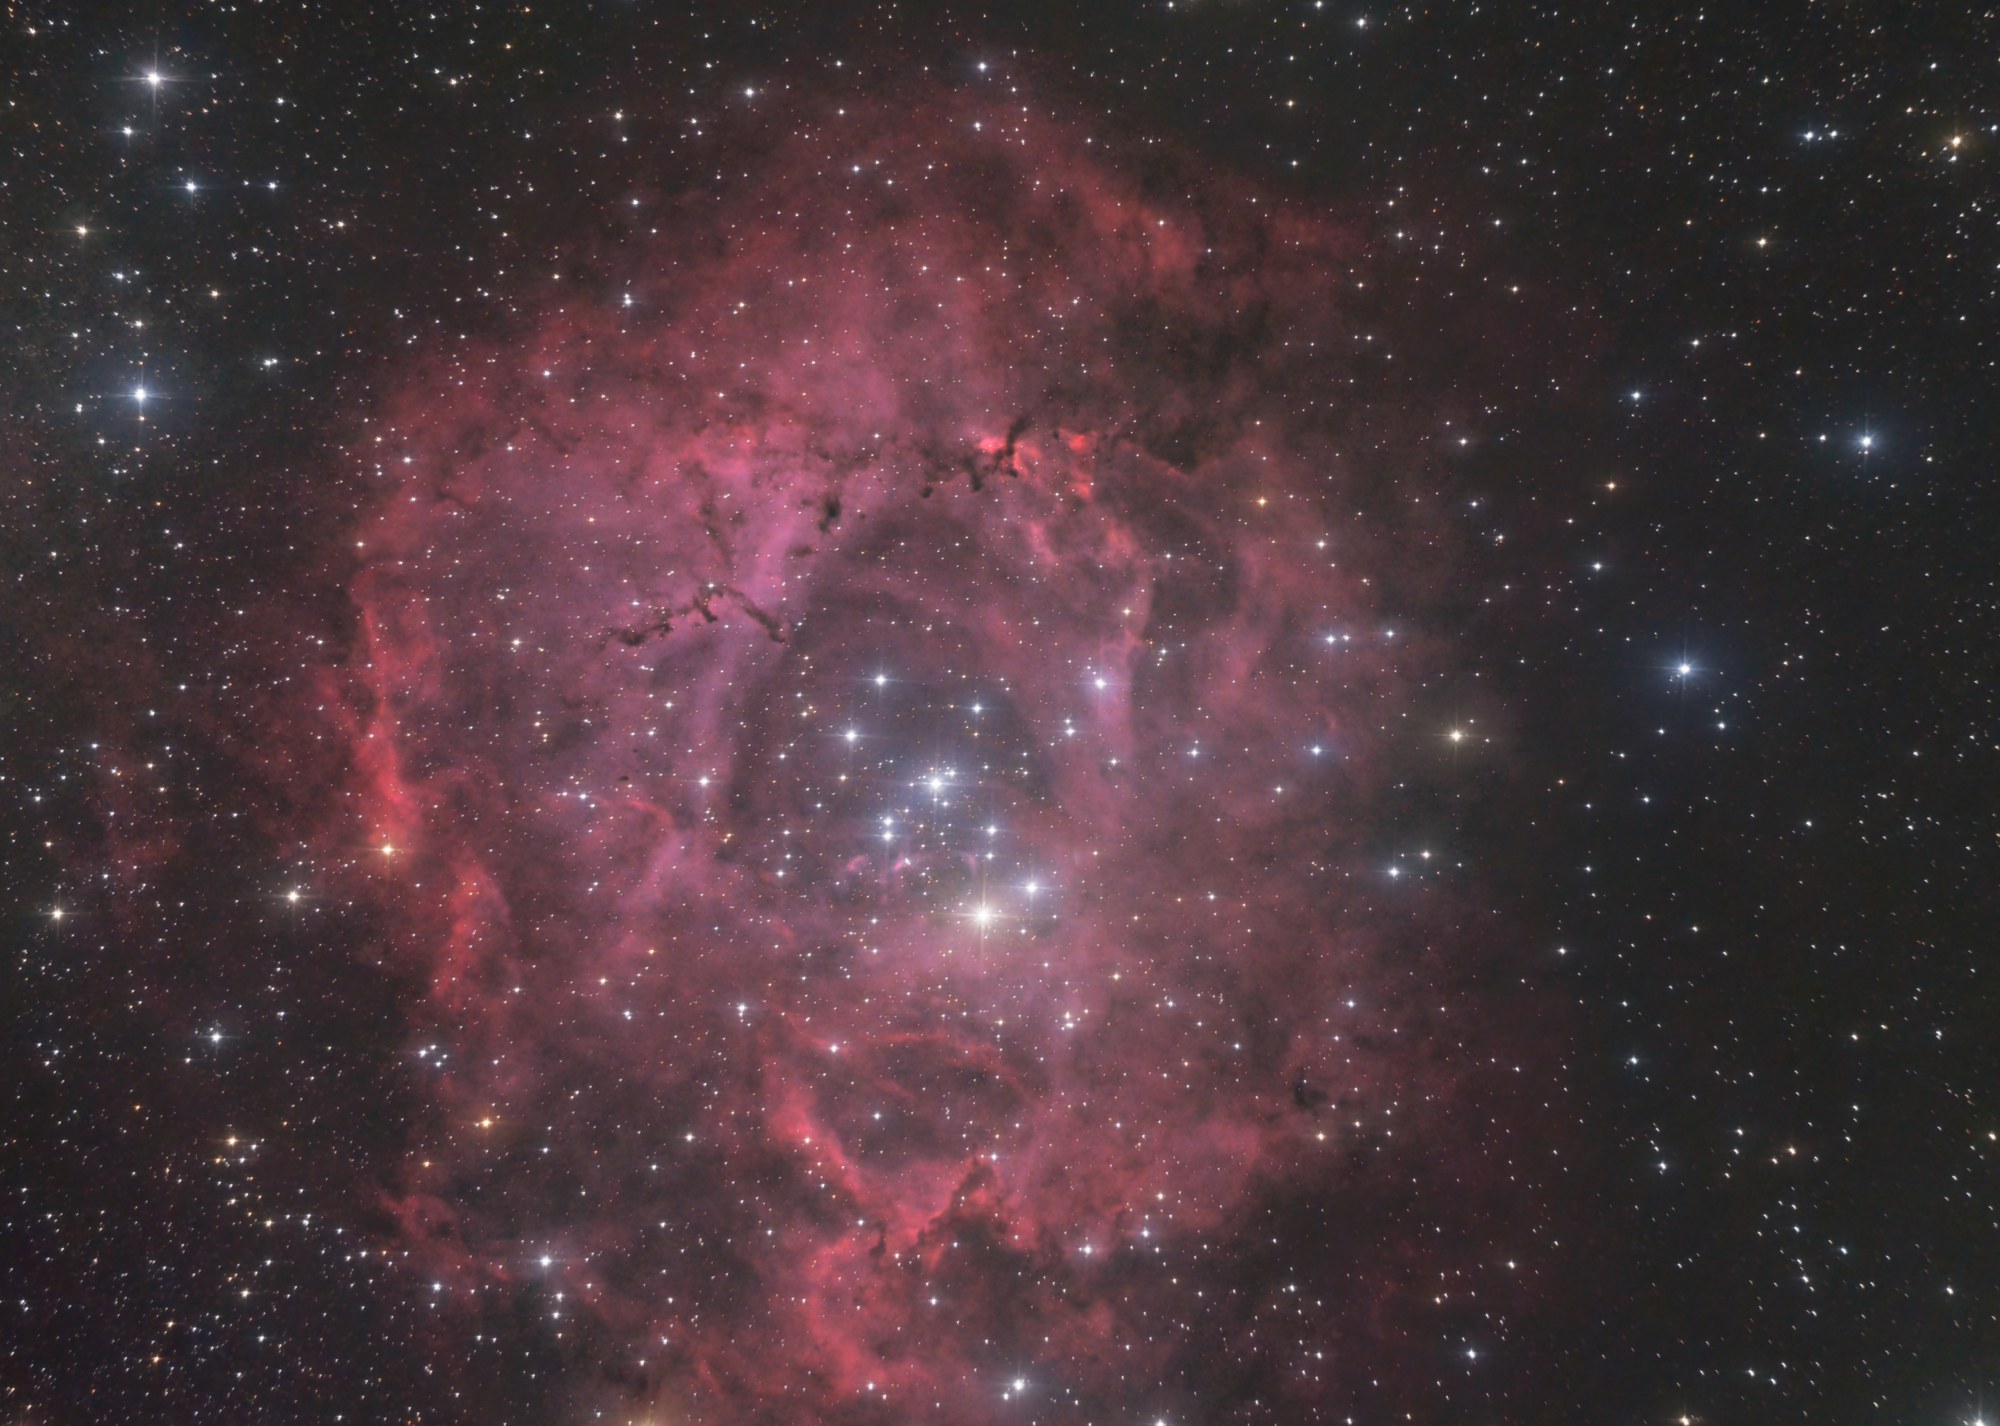
On the Home screen click Open project… and choose a copy of the finished project of the tutorial The full processing: stars apart, taken before its Local contrast filter. The project opens up to date: nothing is to be computed.
Expected result. The status bar reads all up to date, and the Run button is greyed.
2The diagnosis, before any gesture
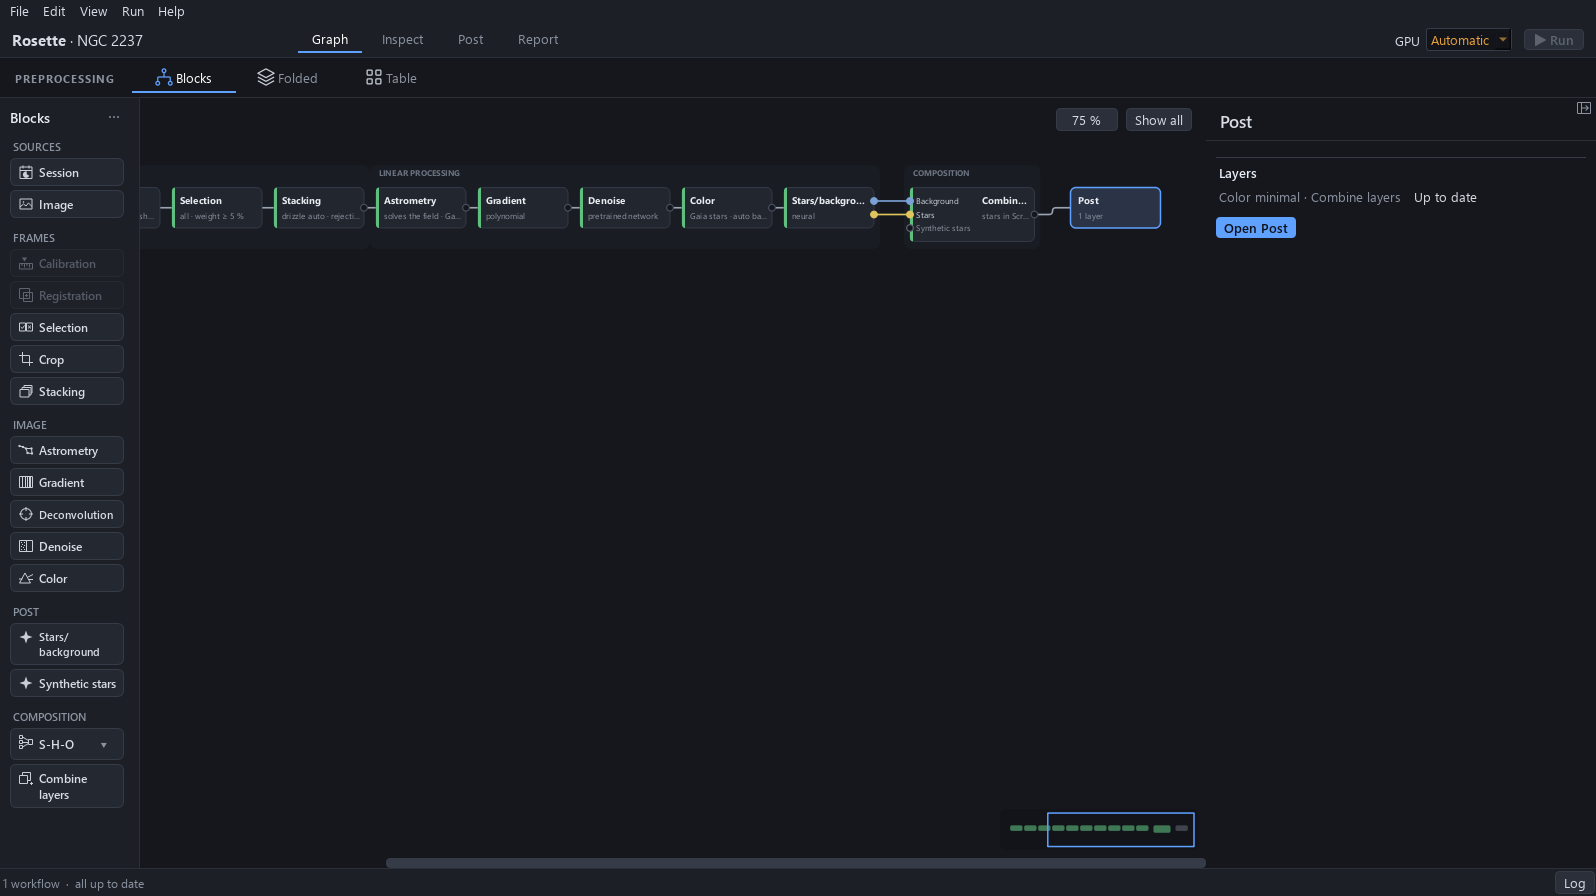
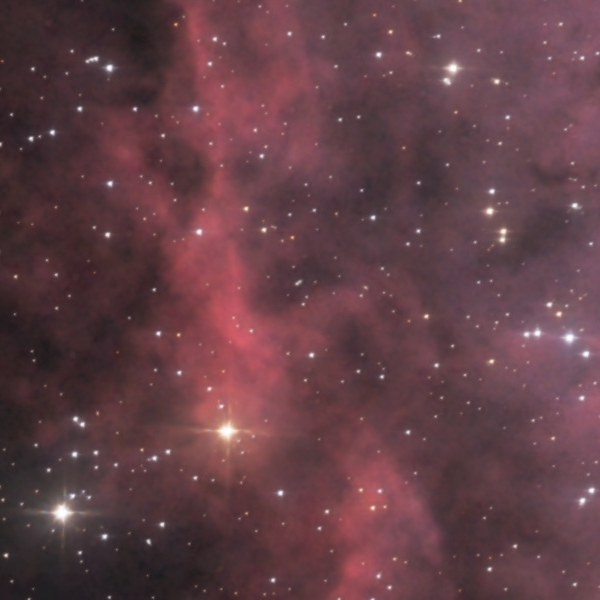
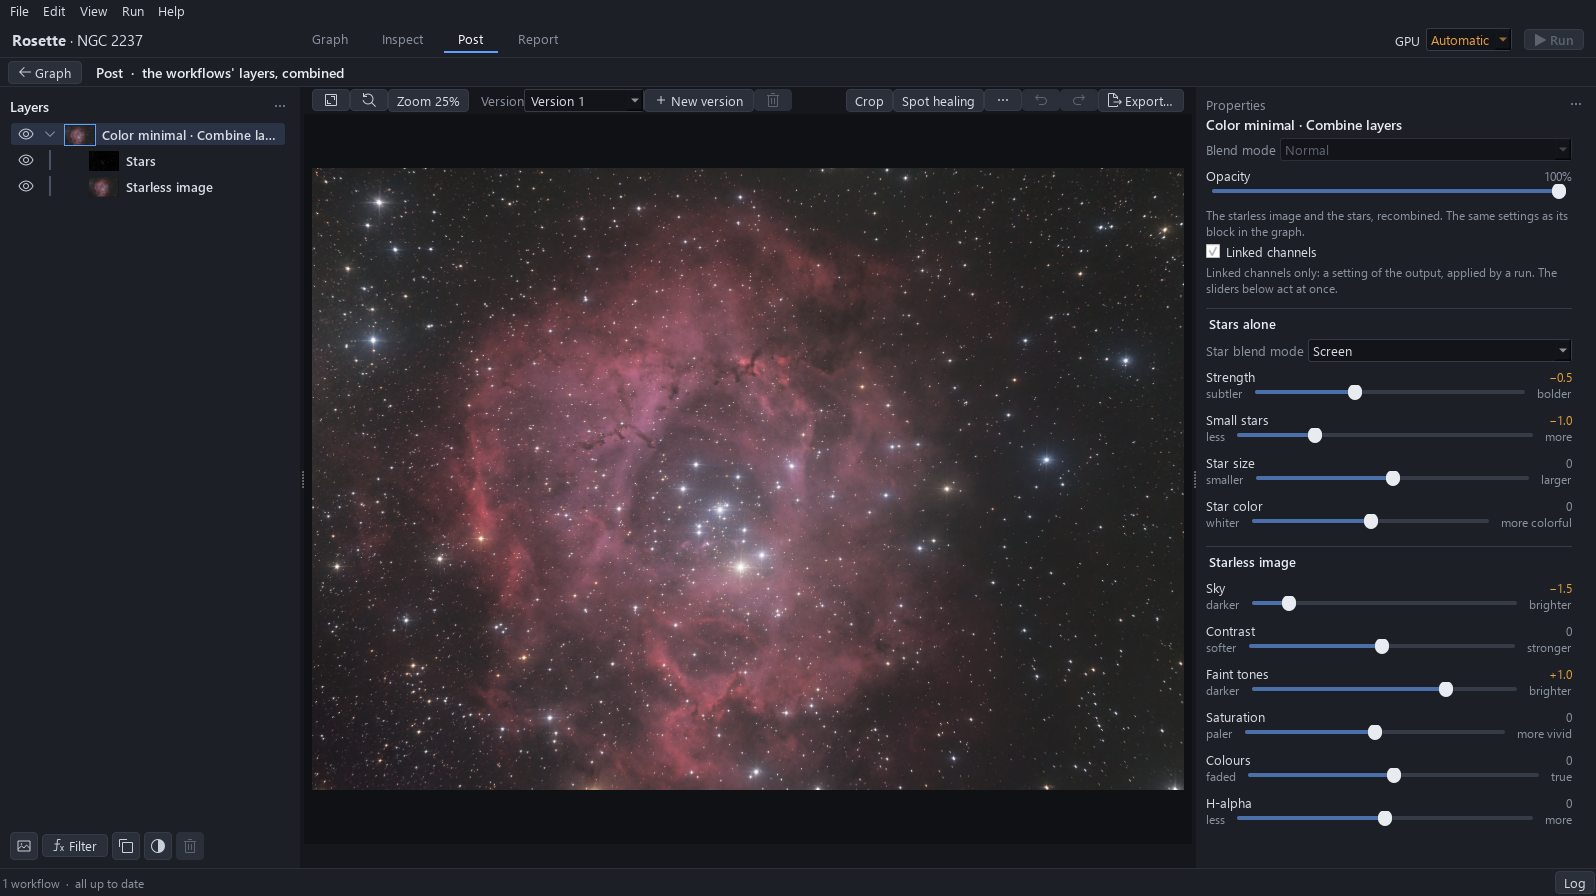
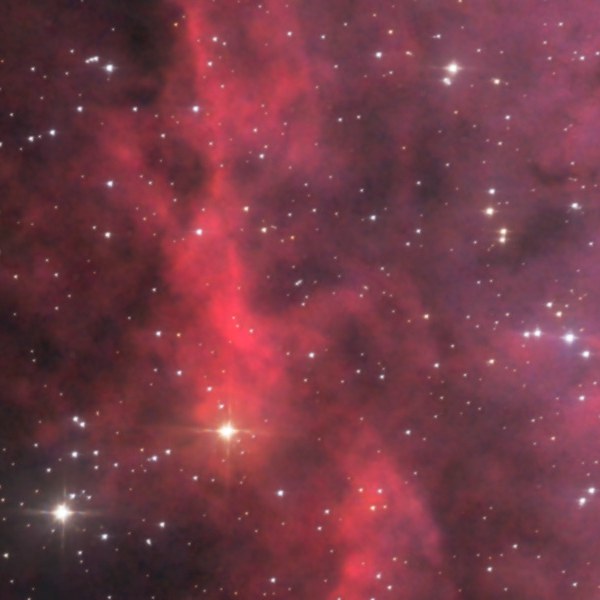
Click Post. The picture is the one of the second tutorial: stars quieter and fewer, sky dark grey and neutral. Right, and to leave alone: the stars, with Strength at −0.5 and Small stars at −1.0, and the sky. Two points are to be corrected, read as in the table.
Expected result. The globules look flat and the ring pale; the stars and the sky are as they should be.
| What is wrong | How it is read | What corrects it |
|---|---|---|
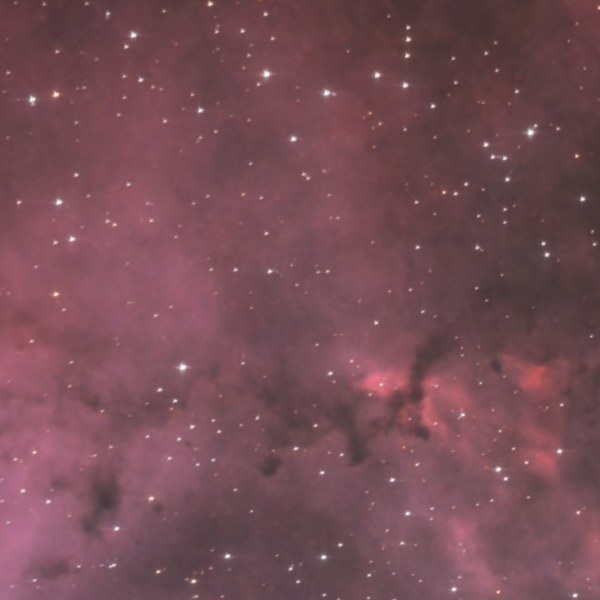
| The dark globules and the folds of the ring are flat. | At 100 % on the globules at the top of the ring: they melt into the gas around them and the folds have no relief. | Local contrast on the starless image. (step 4) |
| The ring could be a little more vivid. | The ring is pink-red with magenta, correct but pale; the sky is a neutral grey that must stay so. | Saturation on the starless image. (step 5) |
3The layers of Post
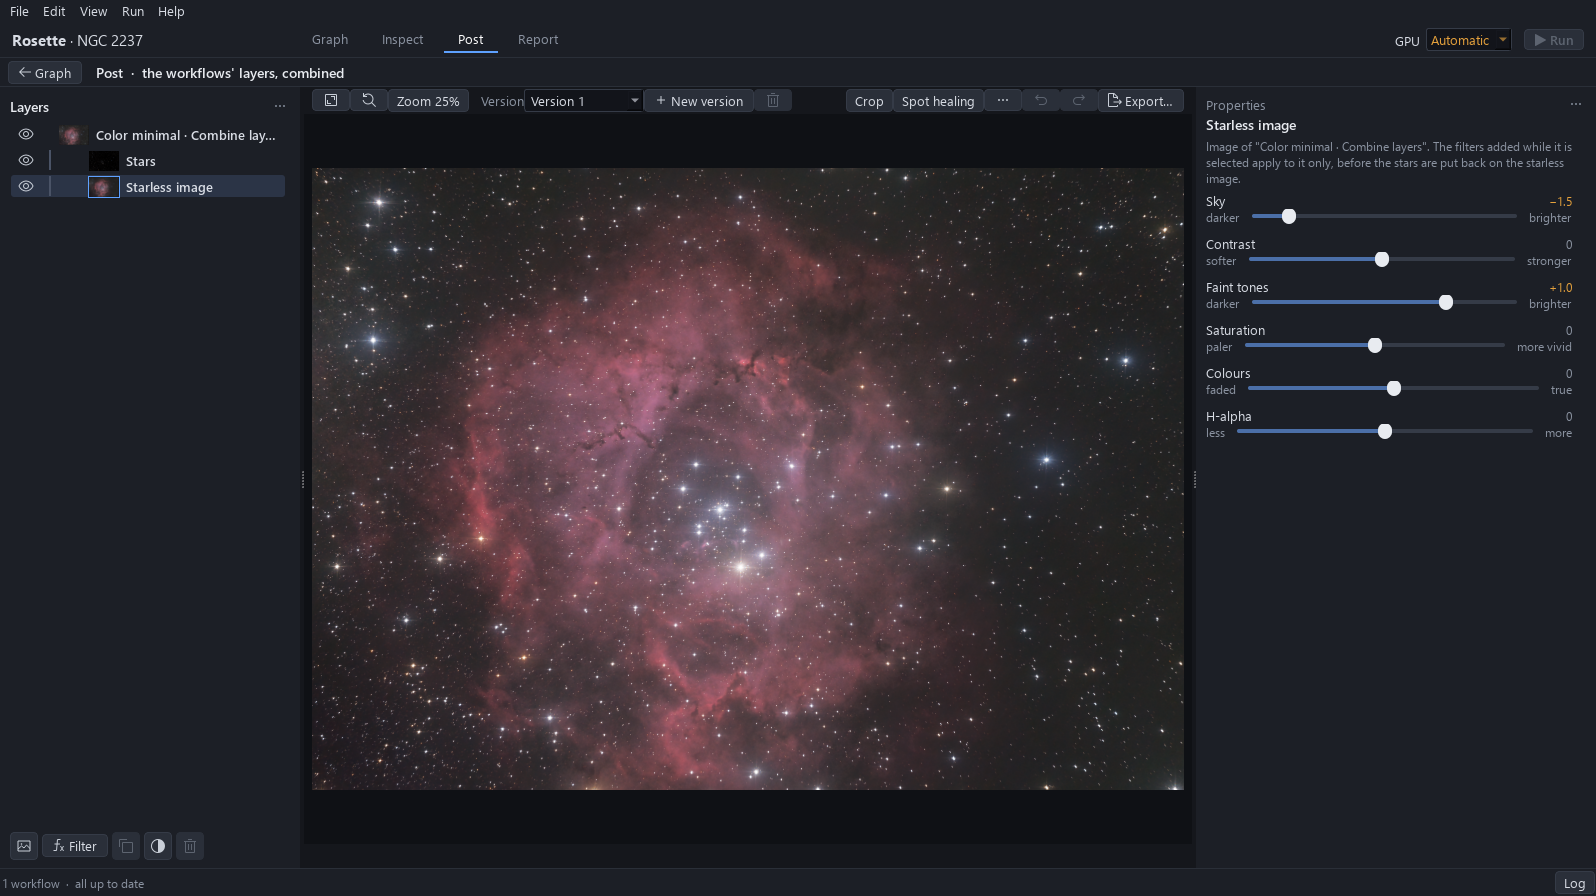
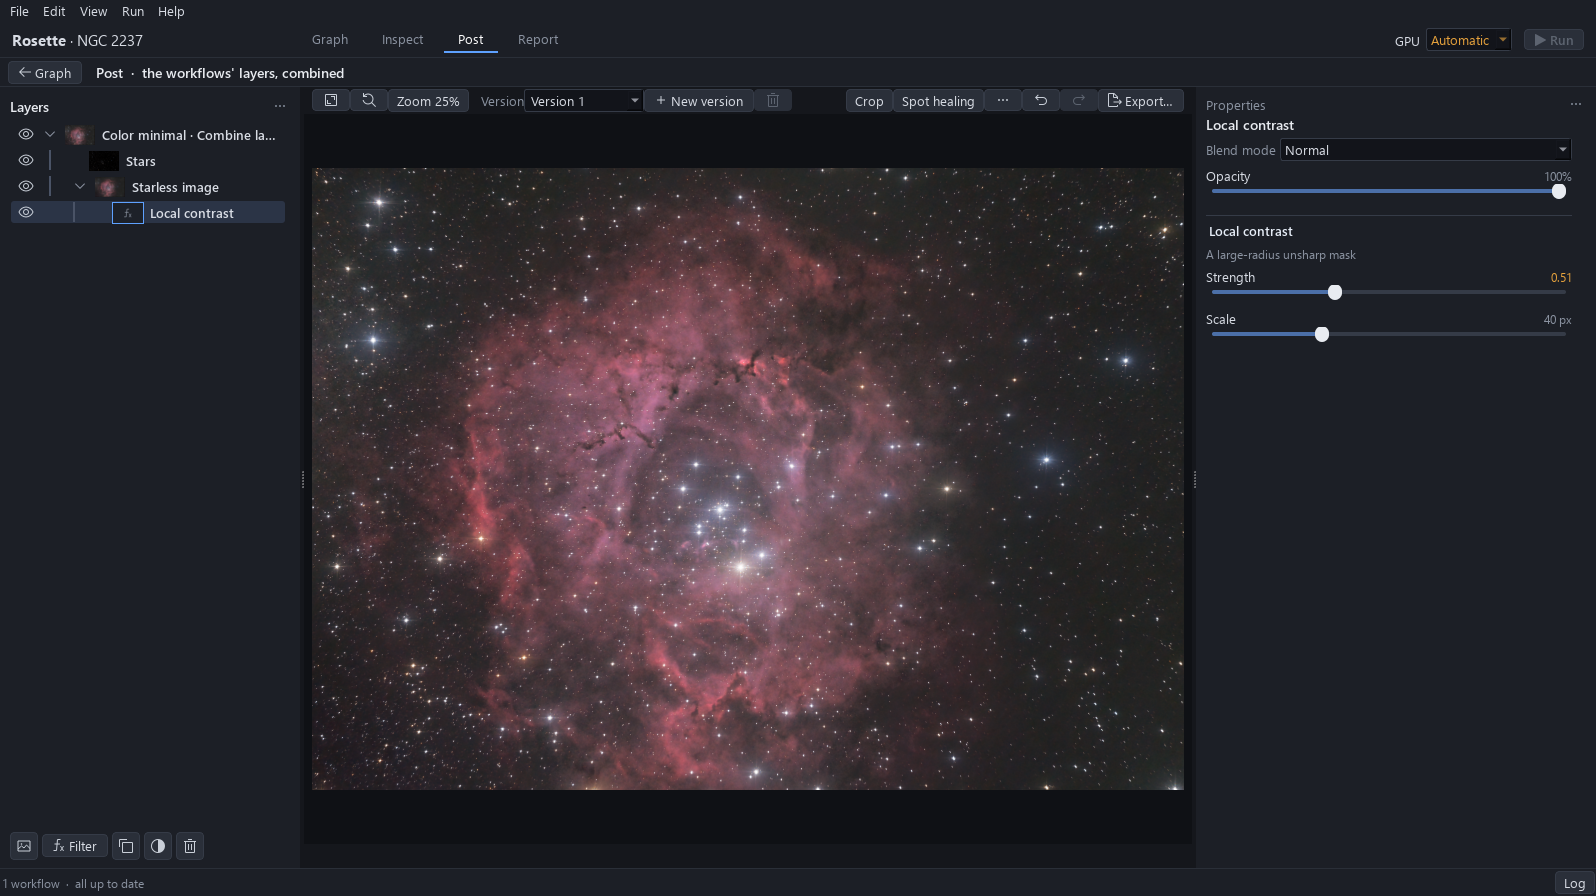
Click the combined layer: it holds two rows, Stars and Starless image. The stars are added over the starless image in Screen mode. Click Stars: its sliders, Strength and Small stars, act on the stars only. Click Starless image: its filters apply to it only, before the stars are put back.
Why. The Screen mode adds the light of the stars to the starless image without darkening it anywhere. The stars were separated from the gas so that a filter can be given to the gas alone.
Expected result. The Stars row shows Strength −0.5 and Small stars −1.0.
4A first filter: Local contrast
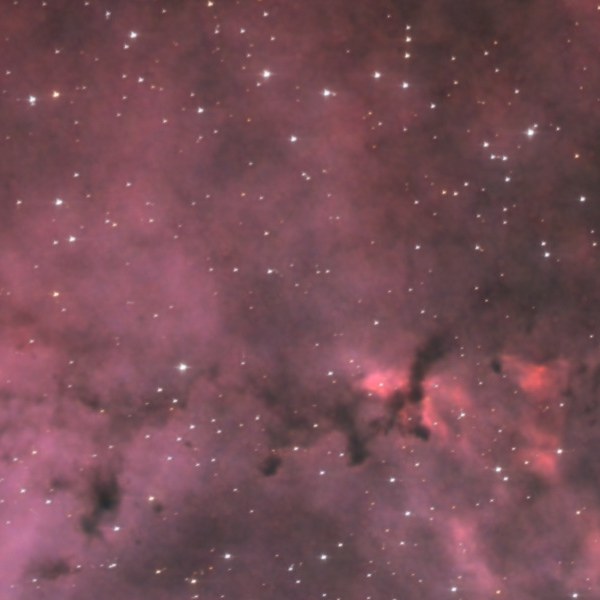
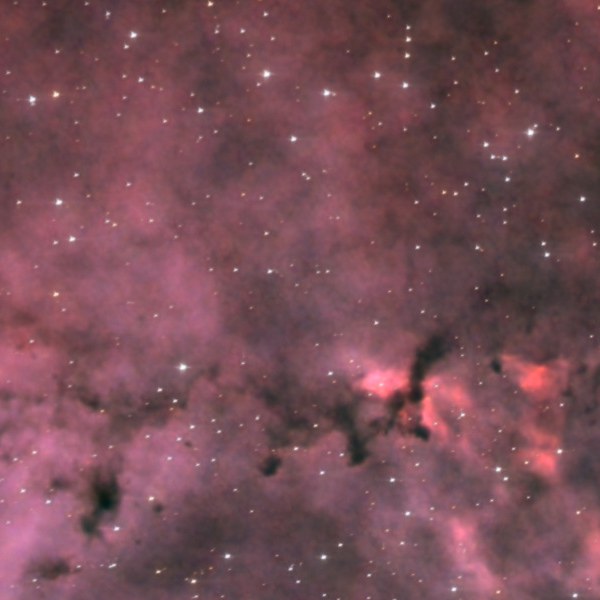
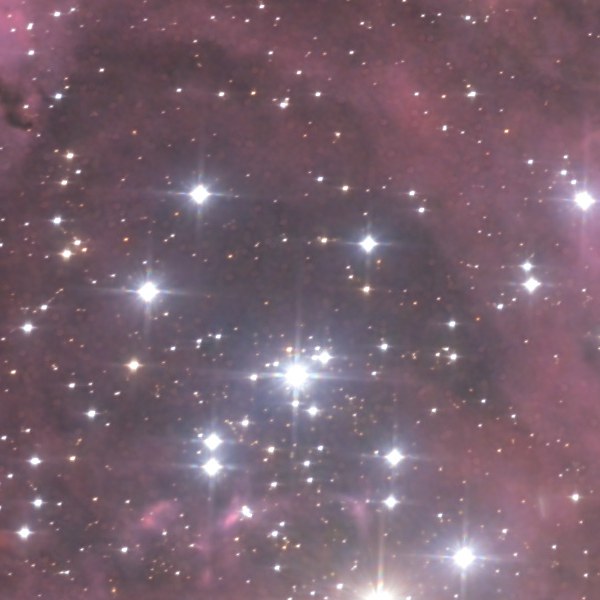
With Starless image chosen, click Filter: the families are Stretch, Contrast, Color, Detail, Noise and Combine. Open Contrast and choose Local contrast. The filter is a row nested under the starless image. Drag Strength to about 0.5 and leave Scale at 40 px, until the dark globules and the folds of the ring stand out from the gas around them.
Why. The filter goes on the starless image and not on everything: over the stars the same filter makes them hard, square and haloed. That is the reason the stars were separated.
Expected result. At 100 % the globules stand out of the gas and the folds have relief.
To avoid. At Strength 1.2 the globules turn black with dark haloes and the gas becomes blotchy.
5A second filter: Saturation
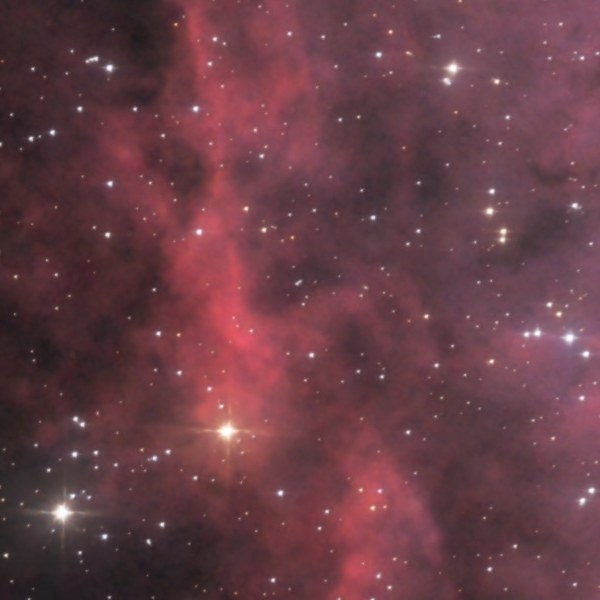
Click Filter again, open Color and choose Saturation. The second filter is added above the first: filters apply from the bottom up. Drag Strength to about +20 %, all hues, until the red and pink of the ring are more vivid.
Why. The colour of the Rosette is a pink red with magenta, and a red pushed by hand is the most common fault on this target. The sky, a neutral grey, does not take any colour. No mask is added: the same saturation with and without a mask gives the same sky, and a mask that changes nothing is not added.
Expected result. The ring is more vivid, its pink kept; the sky stays neutral.
To avoid. At +70 the ring turns neon red and loses its pink nuances.
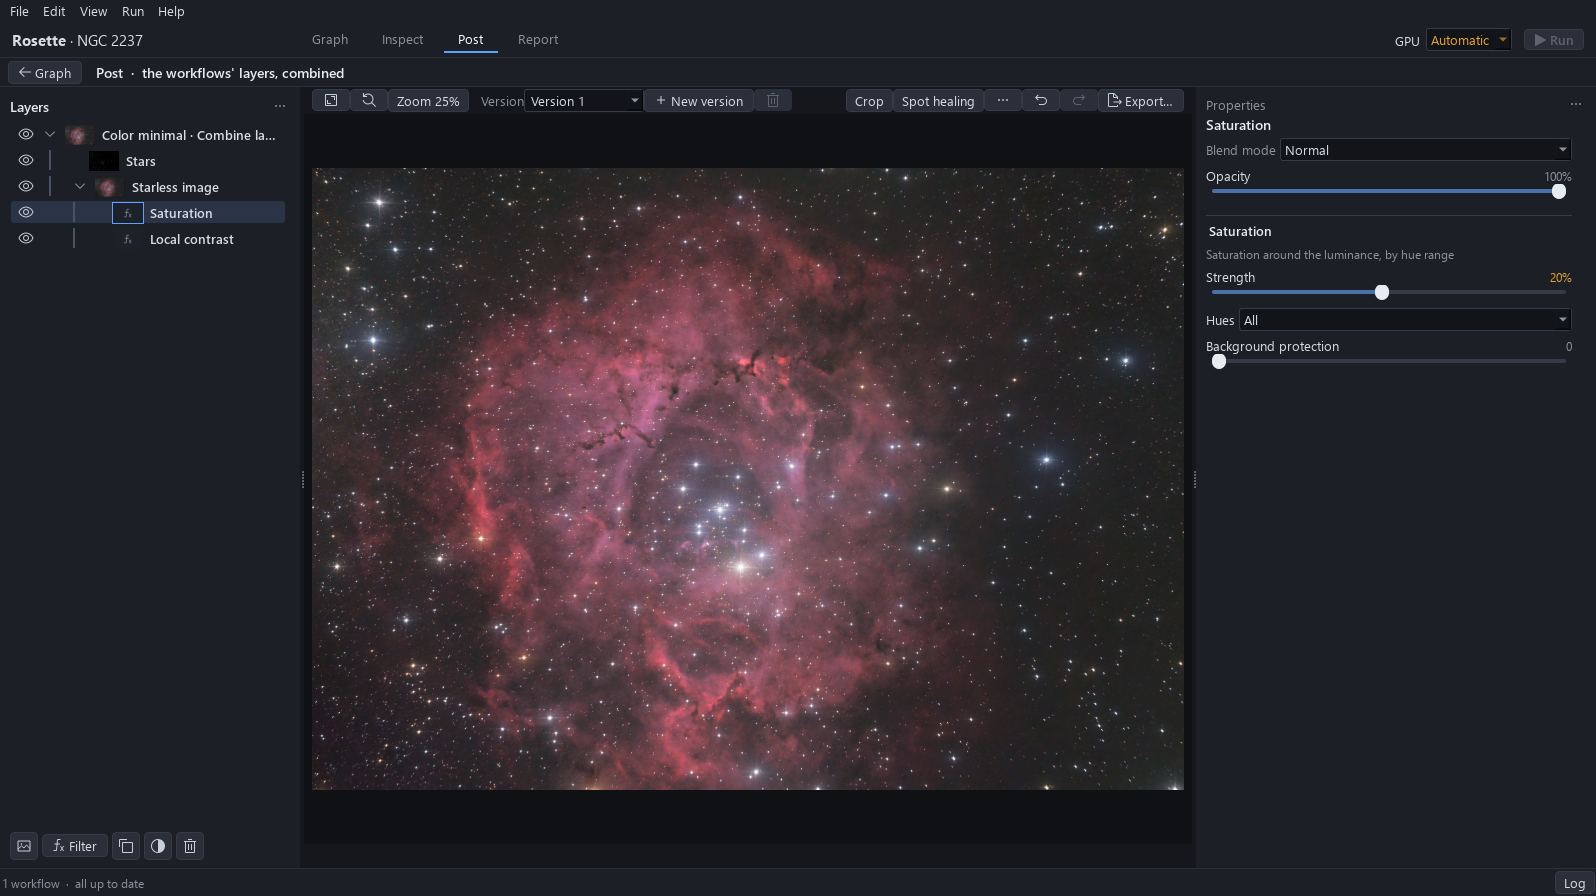
6Switch a filter off and on
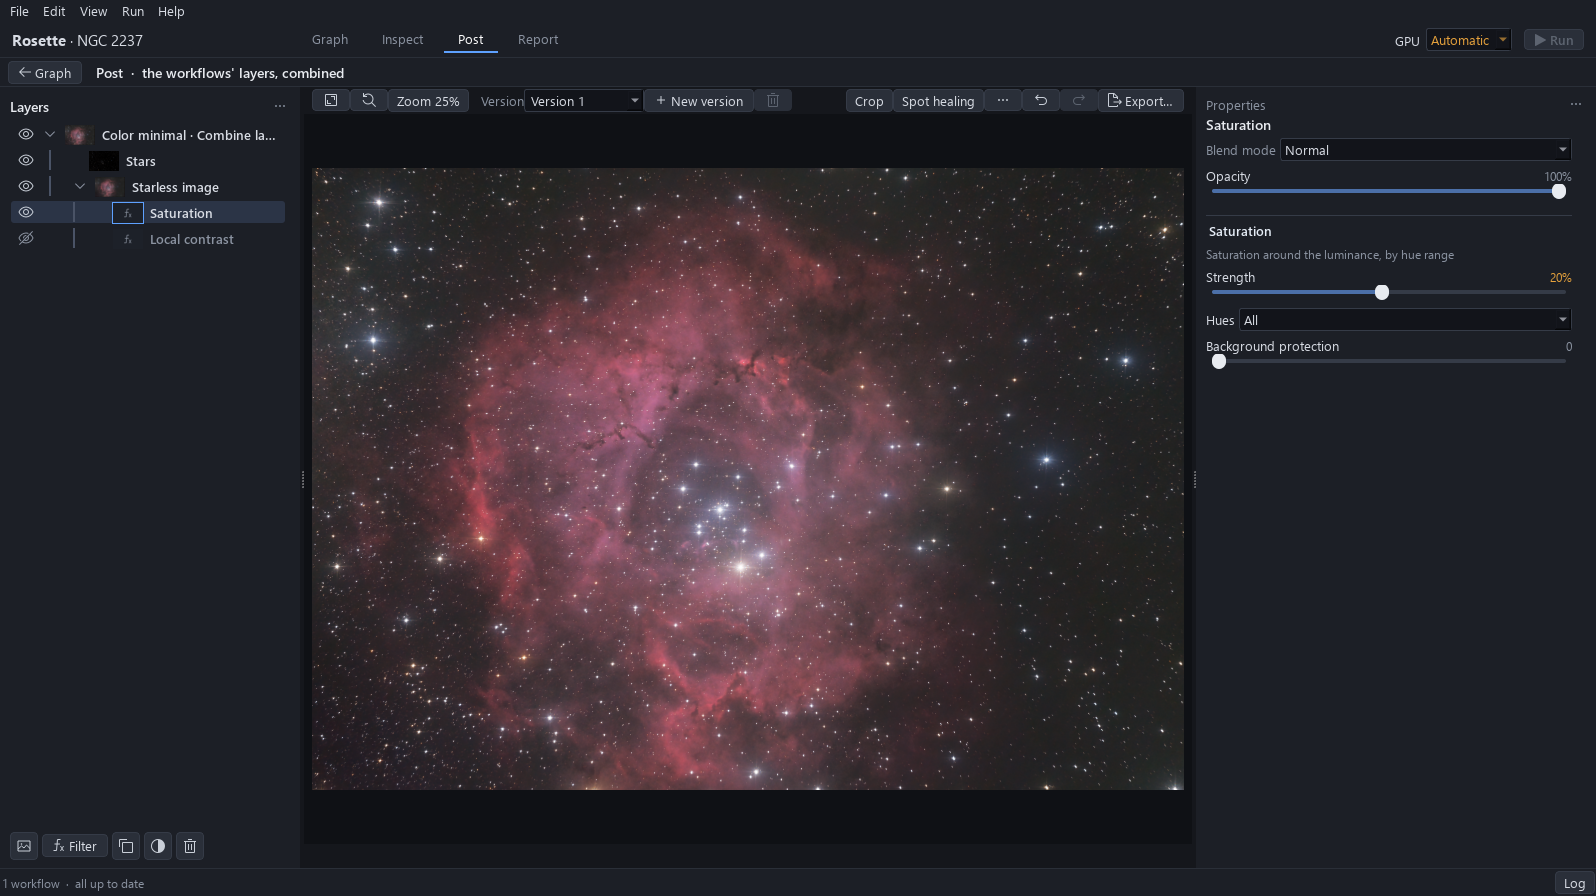
Click the eye of Saturation: the filter is switched off and the picture goes back to what it was before it. Click the eye again: the filter is back, with its setting. The same with Local contrast: the globules go flat when it is off.
Expected result. Each eye changes the picture and nothing else.
7Change a setting afterwards
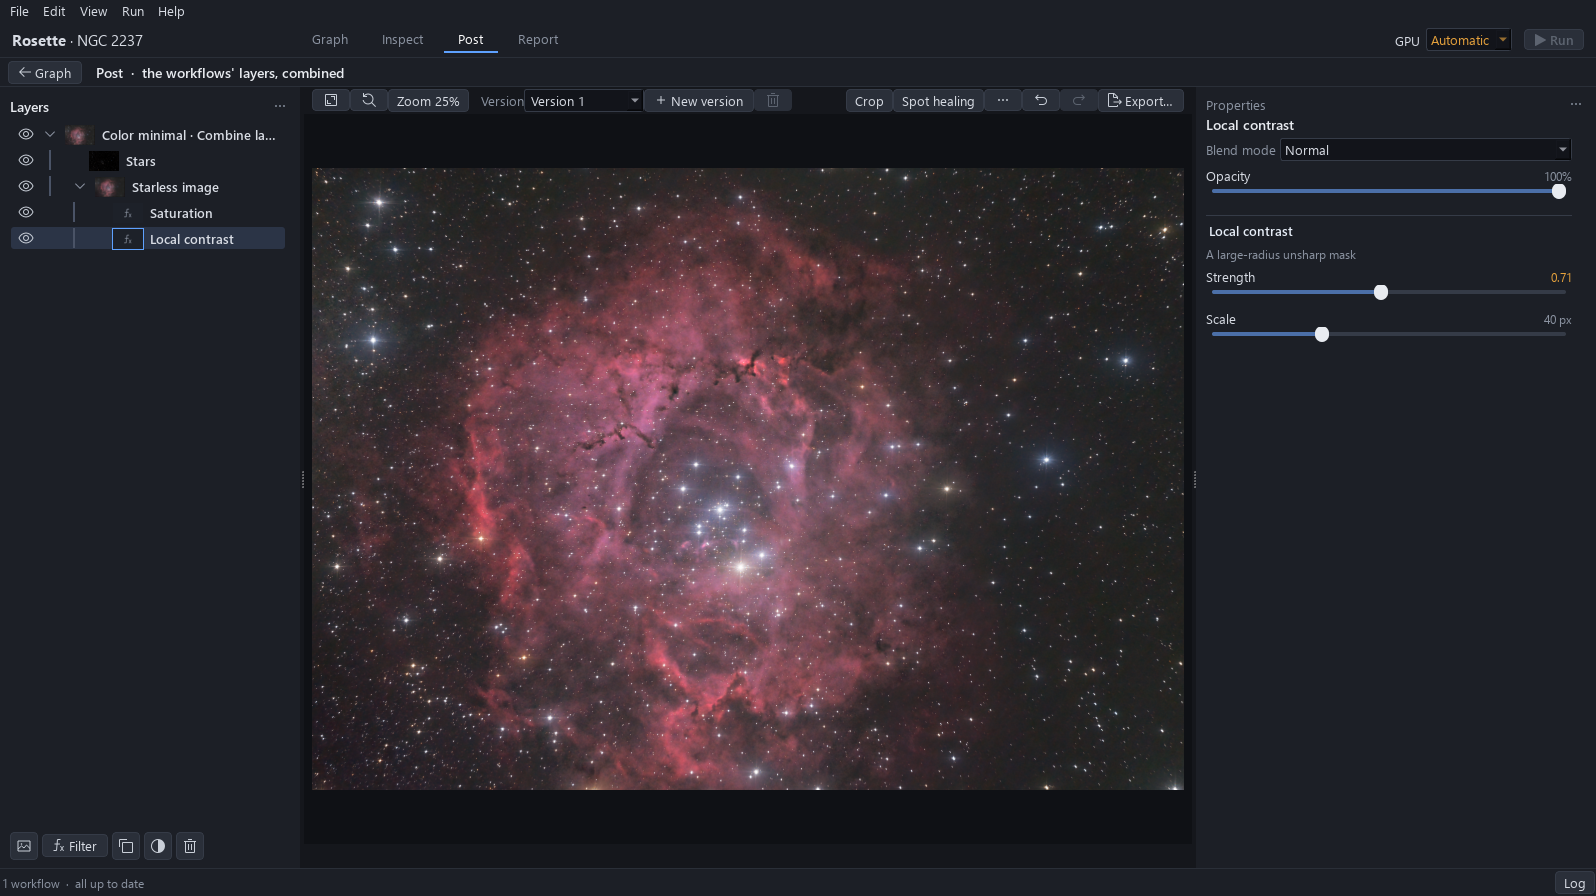
Click Local contrast: its settings are still there. Drag Strength further, to see, then press Ctrl+Z to bring it back to 0.5. The filter above is applied again on the new result.
Expected result. Strength reads 0.5 again.
8Delete a filter and take it back
Select Saturation and click the trash button: the filter is deleted. Press Ctrl+Z: it is back, with its setting.
Expected result. The row Saturation disappears, then comes back at +20 %.
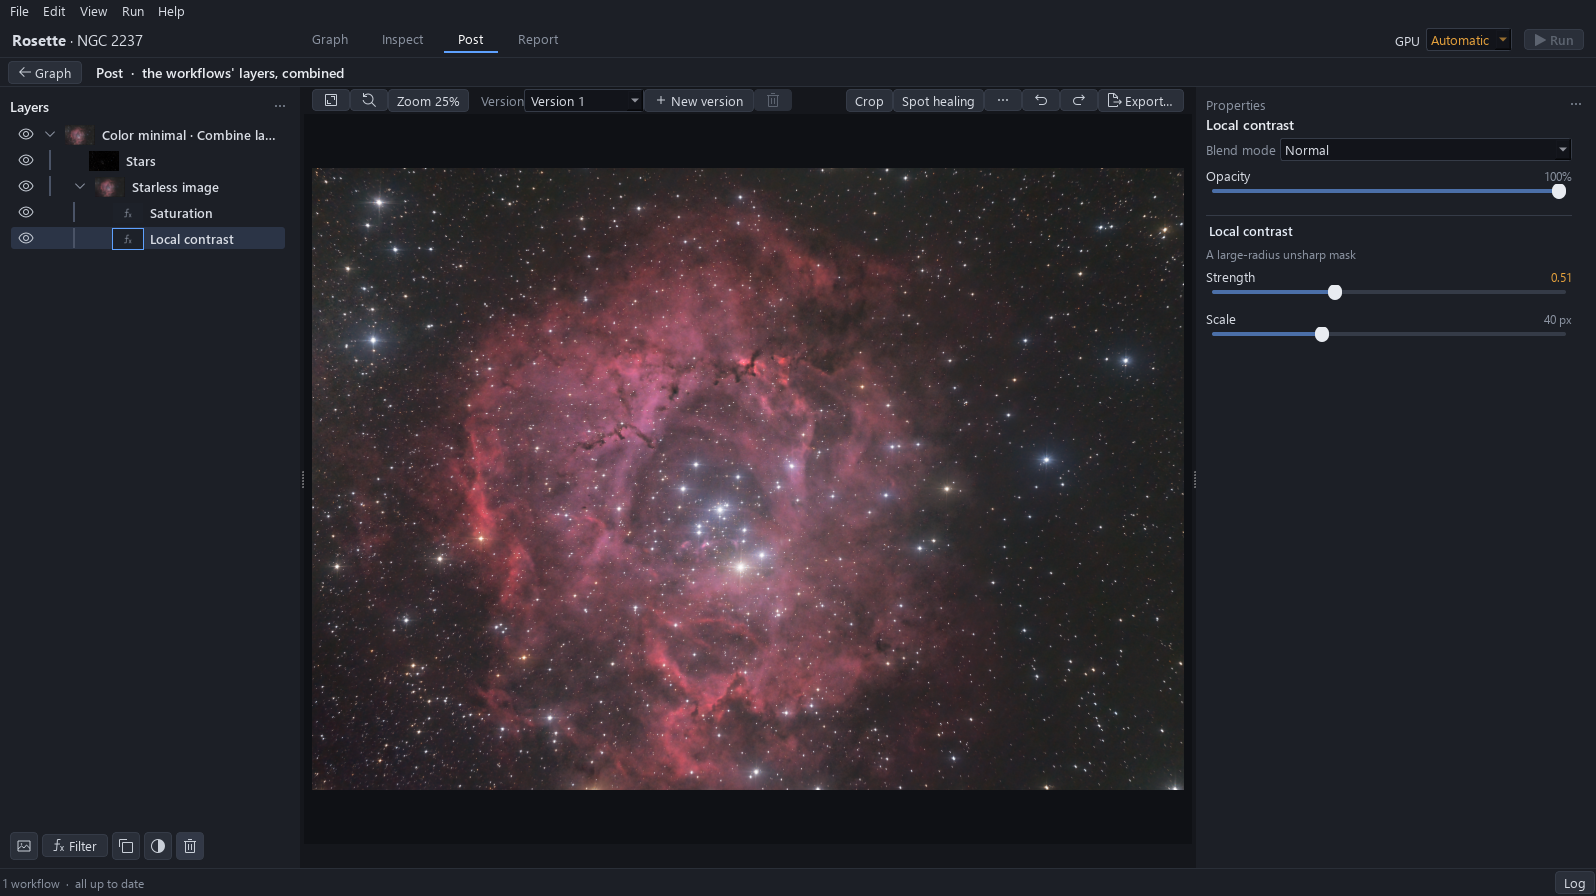
9Duplicate a filter
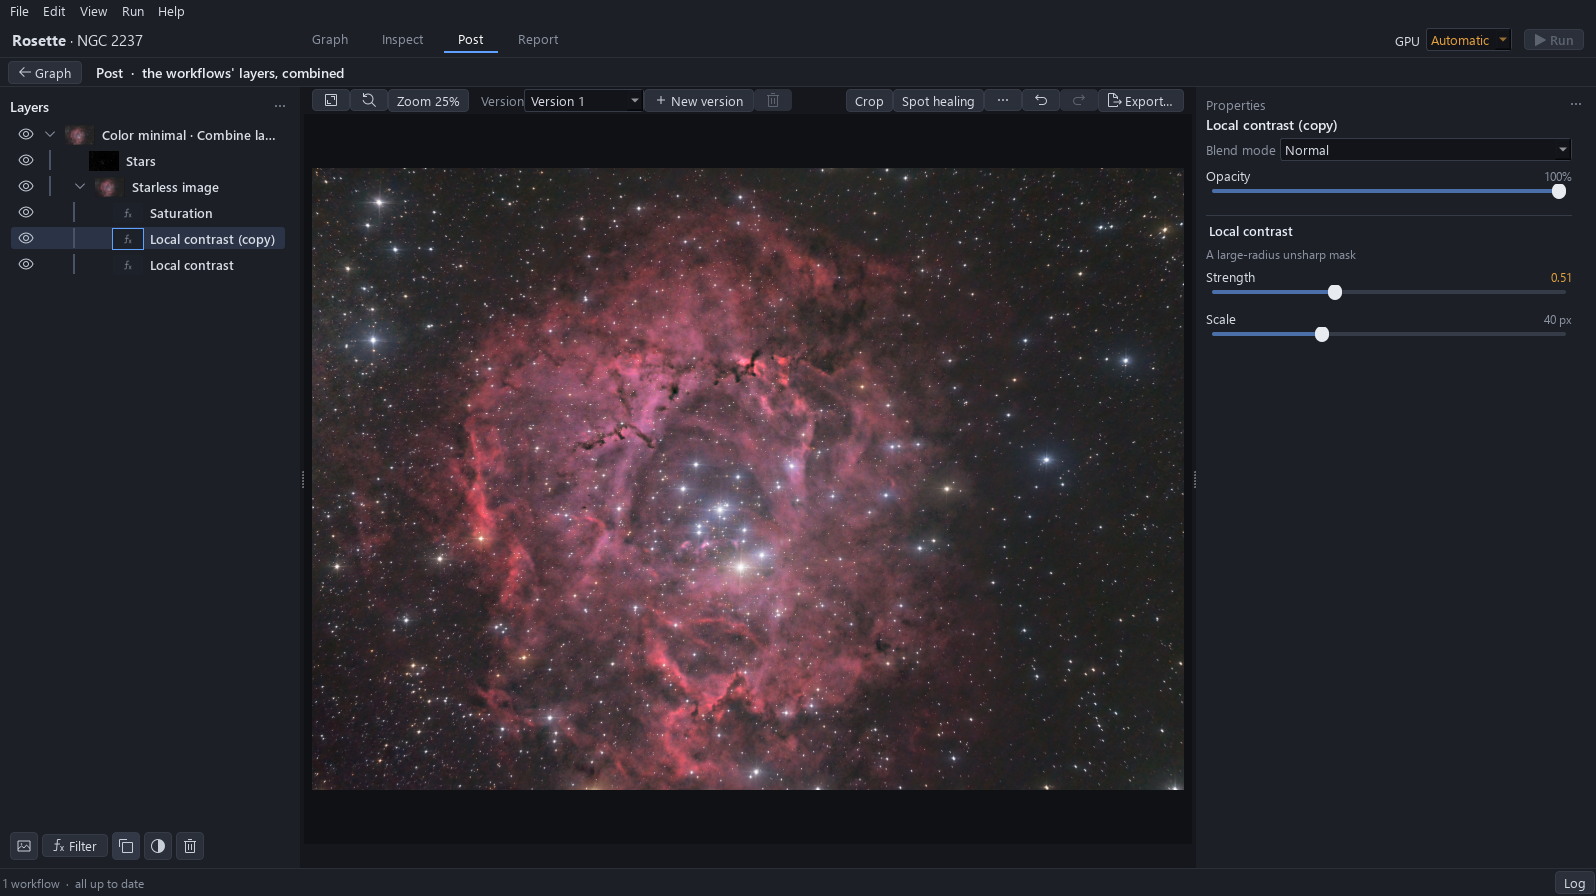
Choose Local contrast and click Duplicate (Ctrl+J). What is copied is the chosen filter, here Local contrast, with its settings; the picture becomes stronger because the filter now applies twice. Click the trash button to delete the copy.
Expected result. A row Local contrast (copy) appears under Saturation, then goes.
10Blend mode and opacity
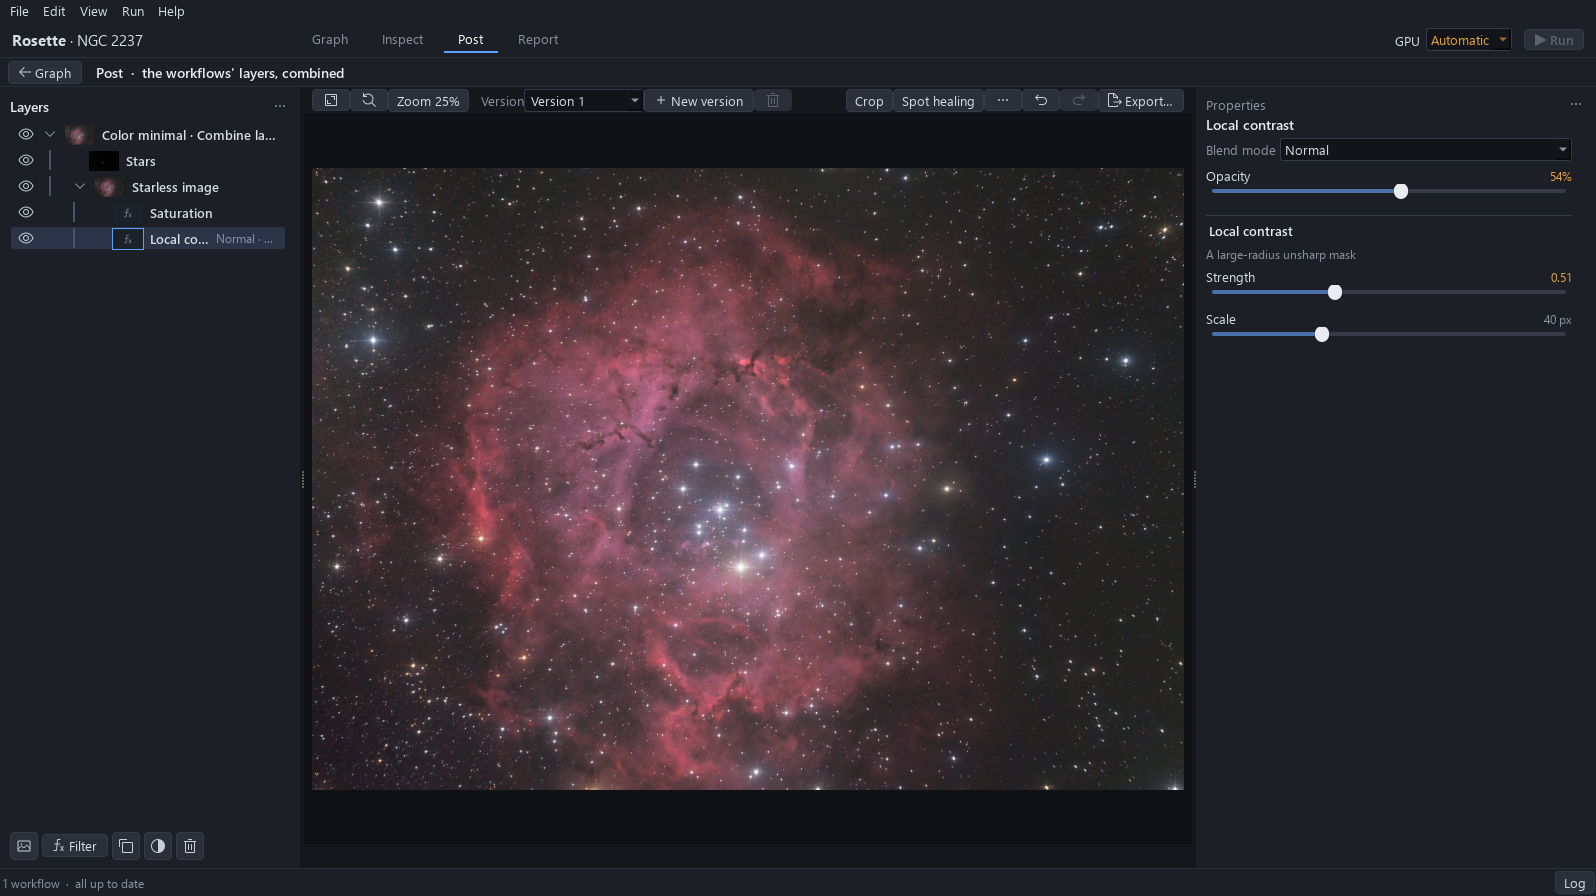
Click the combined layer: Star blend mode reads Screen, the mode in which the stars are added. Then choose Local contrast and drag its Opacity to about 55 %: the filter acts by half, which is the way to dose a filter. Press Ctrl+Z: Opacity is back at 100 % and the setting of the expert stays.
Expected result. At 55 % the globules are less marked; at 100 % they are as before.
11Save, close and reopen
Press Ctrl+S: the layers and their filters are saved with the project. Open File and click Close project, then click the project on the Home screen and click Post. The filters are still there, and a click on one opens its settings, still editable.
Expected result. Saturation and Local contrast are listed under Starless image, with their settings.