Post
Post: masks
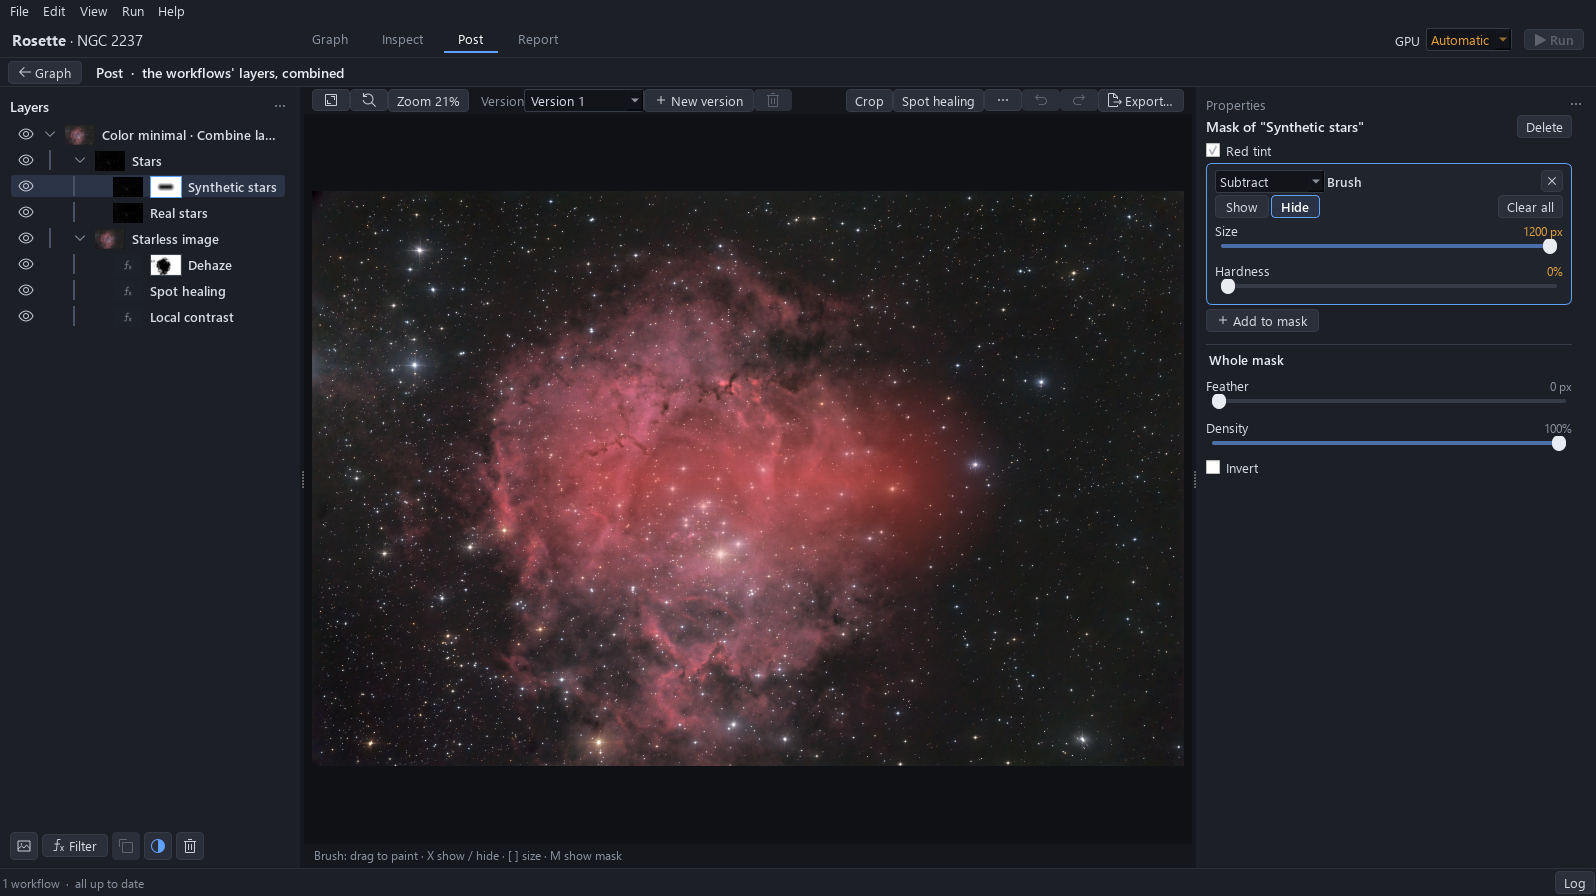
A brush mask paints the real stars back at the centre of the Synthetic stars row, and its settings are tried: view, feather, density, invert, show and hide, undo and clear. A luminance mask then limits Dehaze to the dark tones of the sky, and both masks are kept with the project.
| Duration | About 12 min, with no computing |
|---|---|
| Requirements |
|
| Data set | Rosette Nebula (NGC 2237) · Sony A7S, 15 s at ISO 4000 · 130/900 Newtonian · 436 lights (1.8 h), 48 darks, 62 flats, the authors of FLOAT; size 6.9 GB. The frames will be offered for download; the link will be given here |
1Open the project
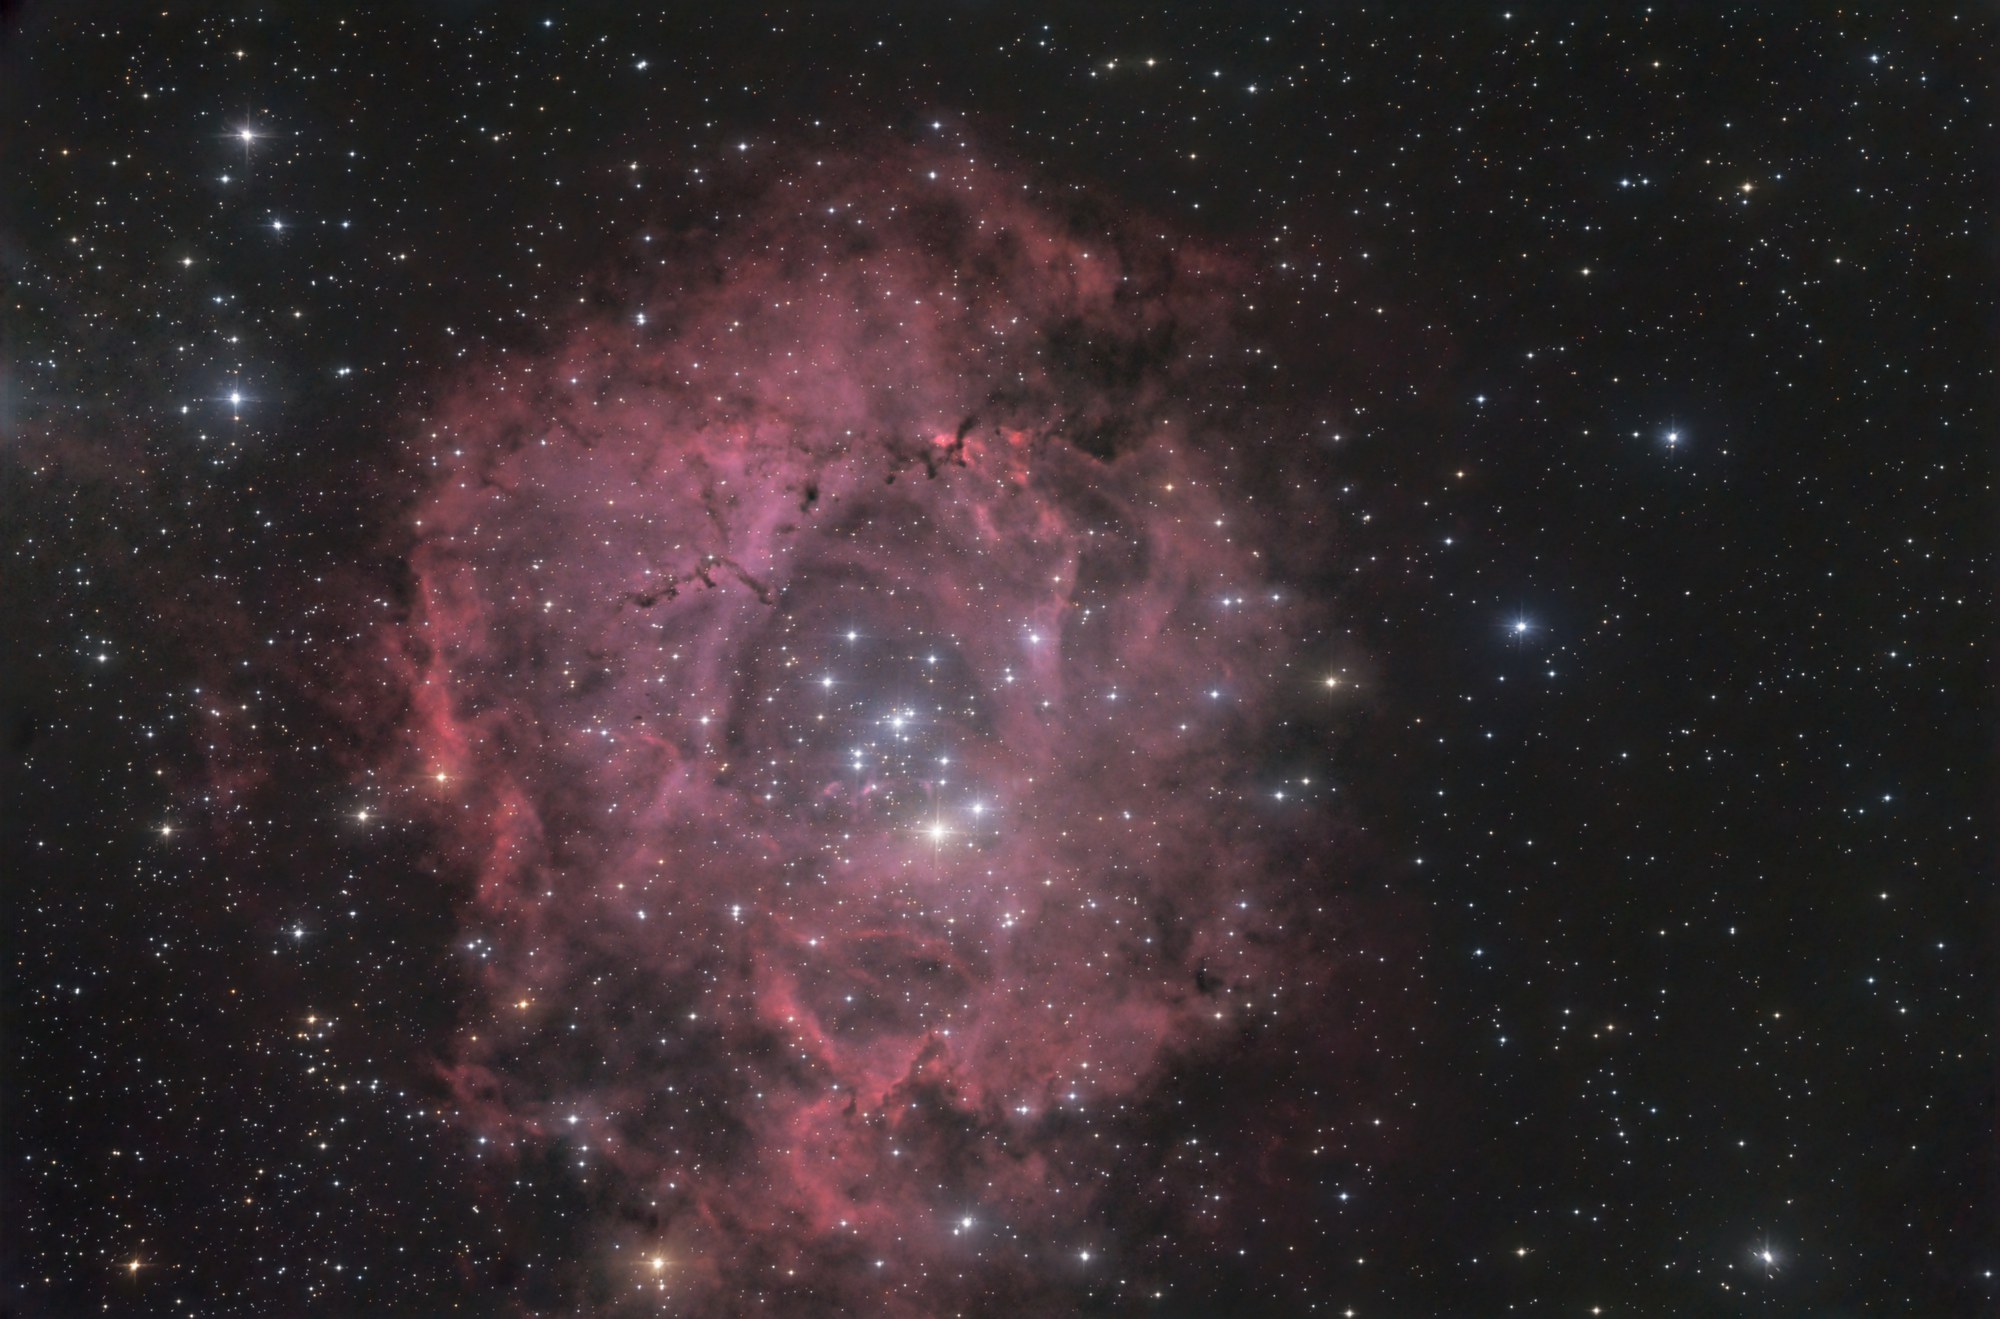
On the Home screen click Open project… and choose a copy of the finished project of the tutorial Repair instead of cropping, taken before the mask of its Synthetic stars row. The project opens up to date: nothing is to be computed.
Expected result. The status bar reads all up to date, and the Run button is greyed.
2The diagnosis, before any gesture
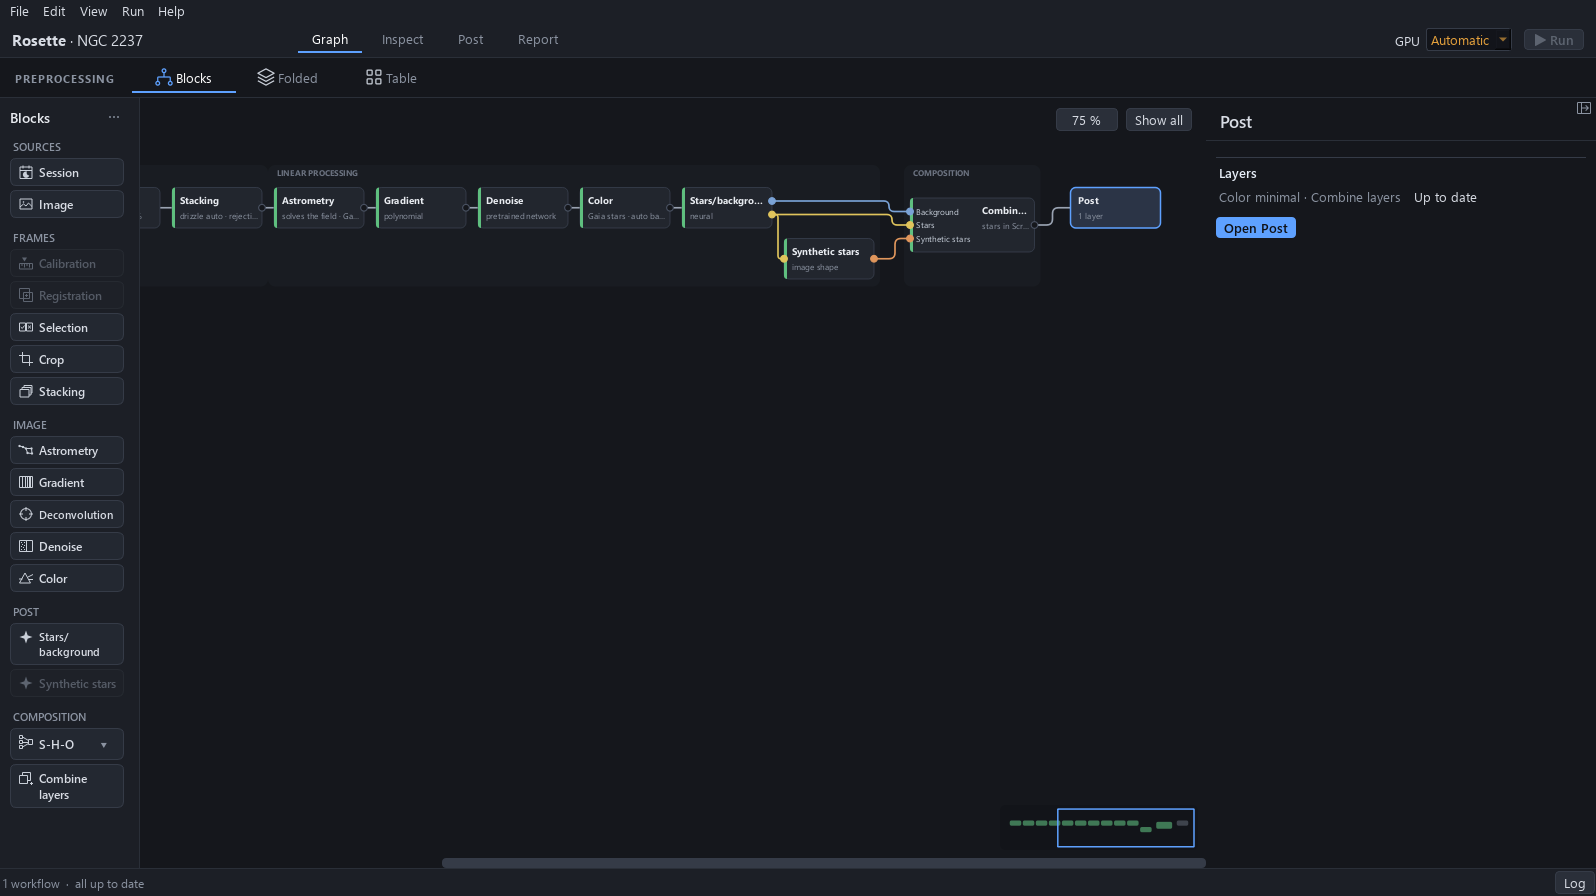
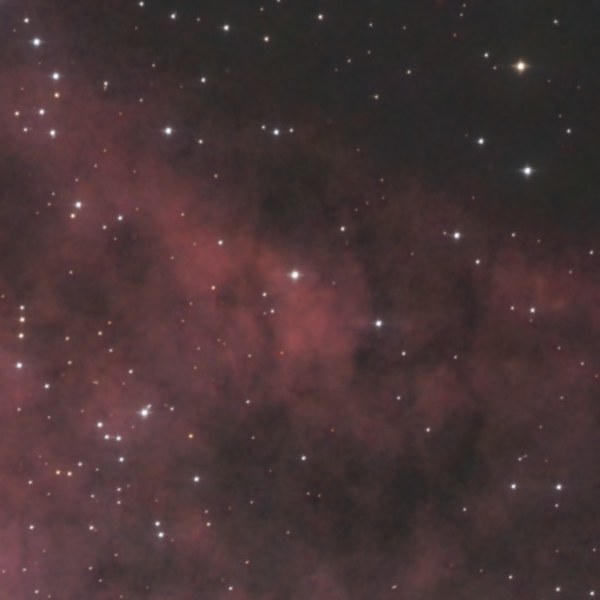
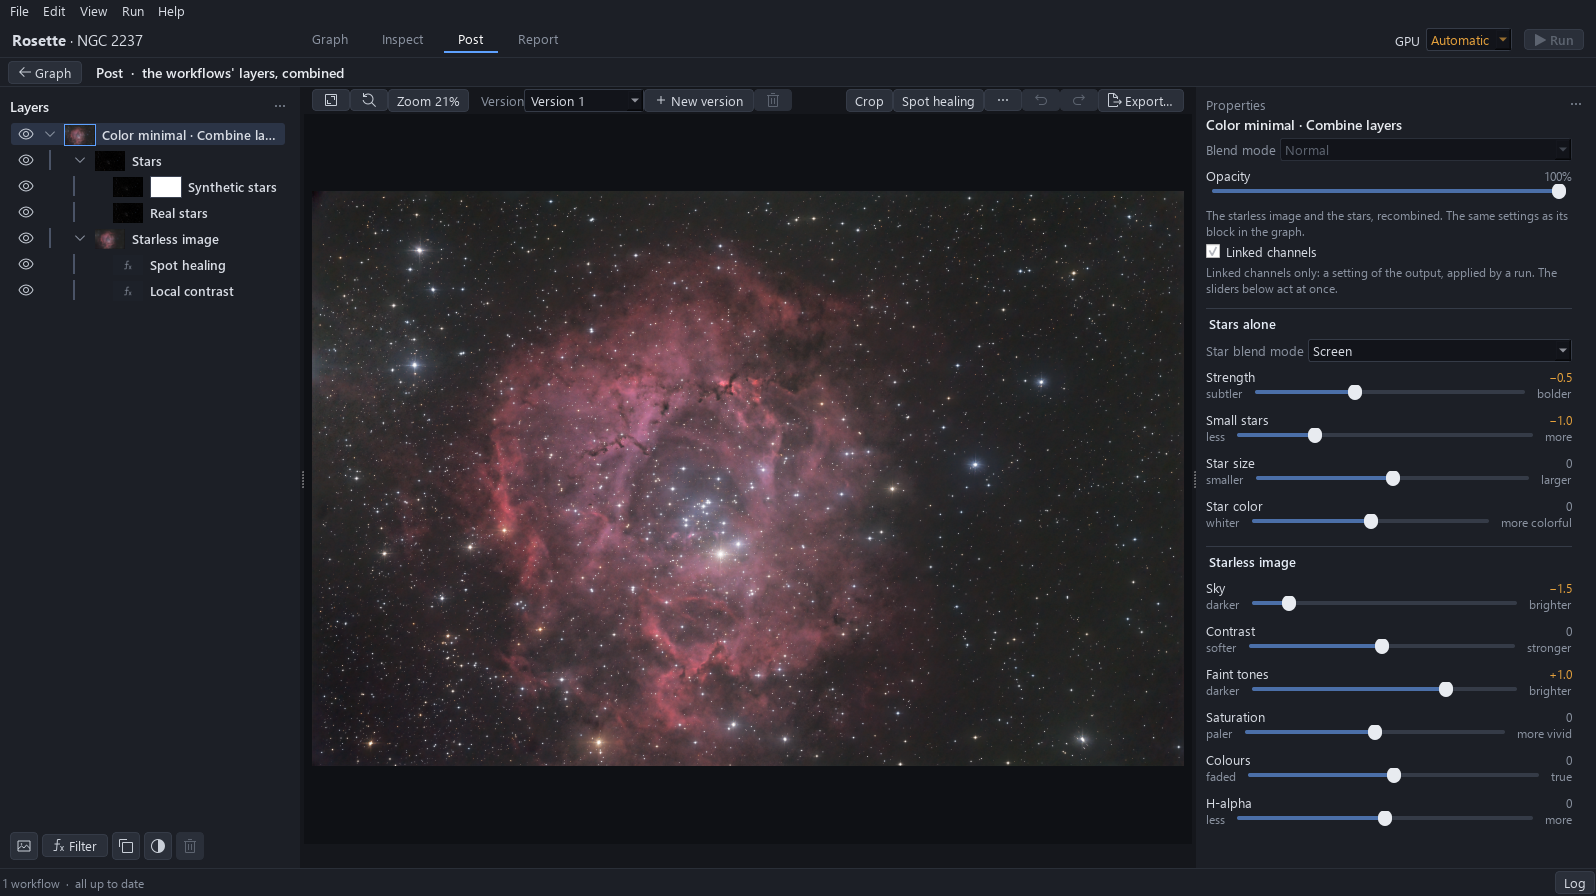
Click Post. The picture is the whole field with healed stain and round stars to the edges. Right, and to leave alone: the field, the healed stain, the colours and the stars outside the centre. Two points are to be corrected, read as in the table.
Expected result. The Synthetic stars row has a white mask thumbnail.
| What is wrong | How it is read | What corrects it |
|---|---|---|
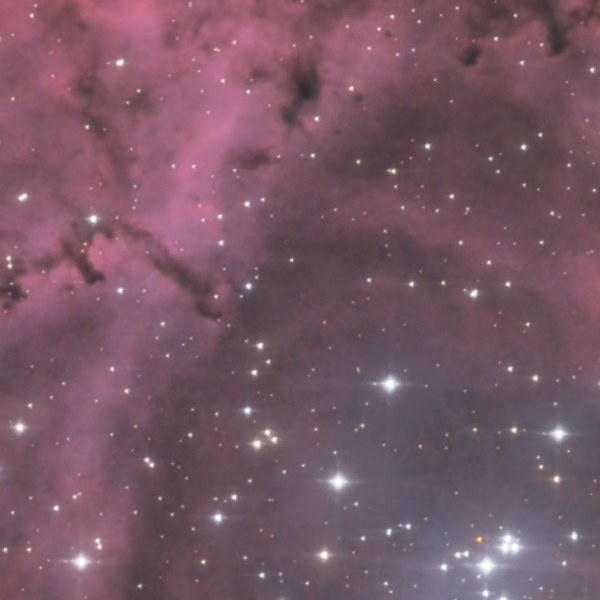
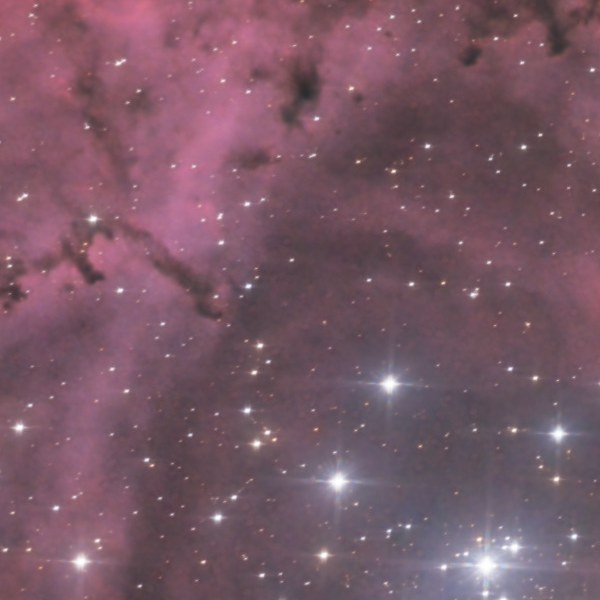
| The bright stars of the cluster lose their spikes and look drawn. | The Synthetic stars row has no mask: it shows everywhere, so the synthetic stars replace all the real ones. At 100 % on the centre the bright stars have no spikes. | Paint the real stars back at the centre with a brush mask. (step 4) |
| A veil is left on the sky. | On the exported picture the sky measures 33 to 34: a veil is left. Dehaze alone would also dim the ring. | Dehaze under a luminance mask. (step 11) |
3A brush mask on the Synthetic stars row
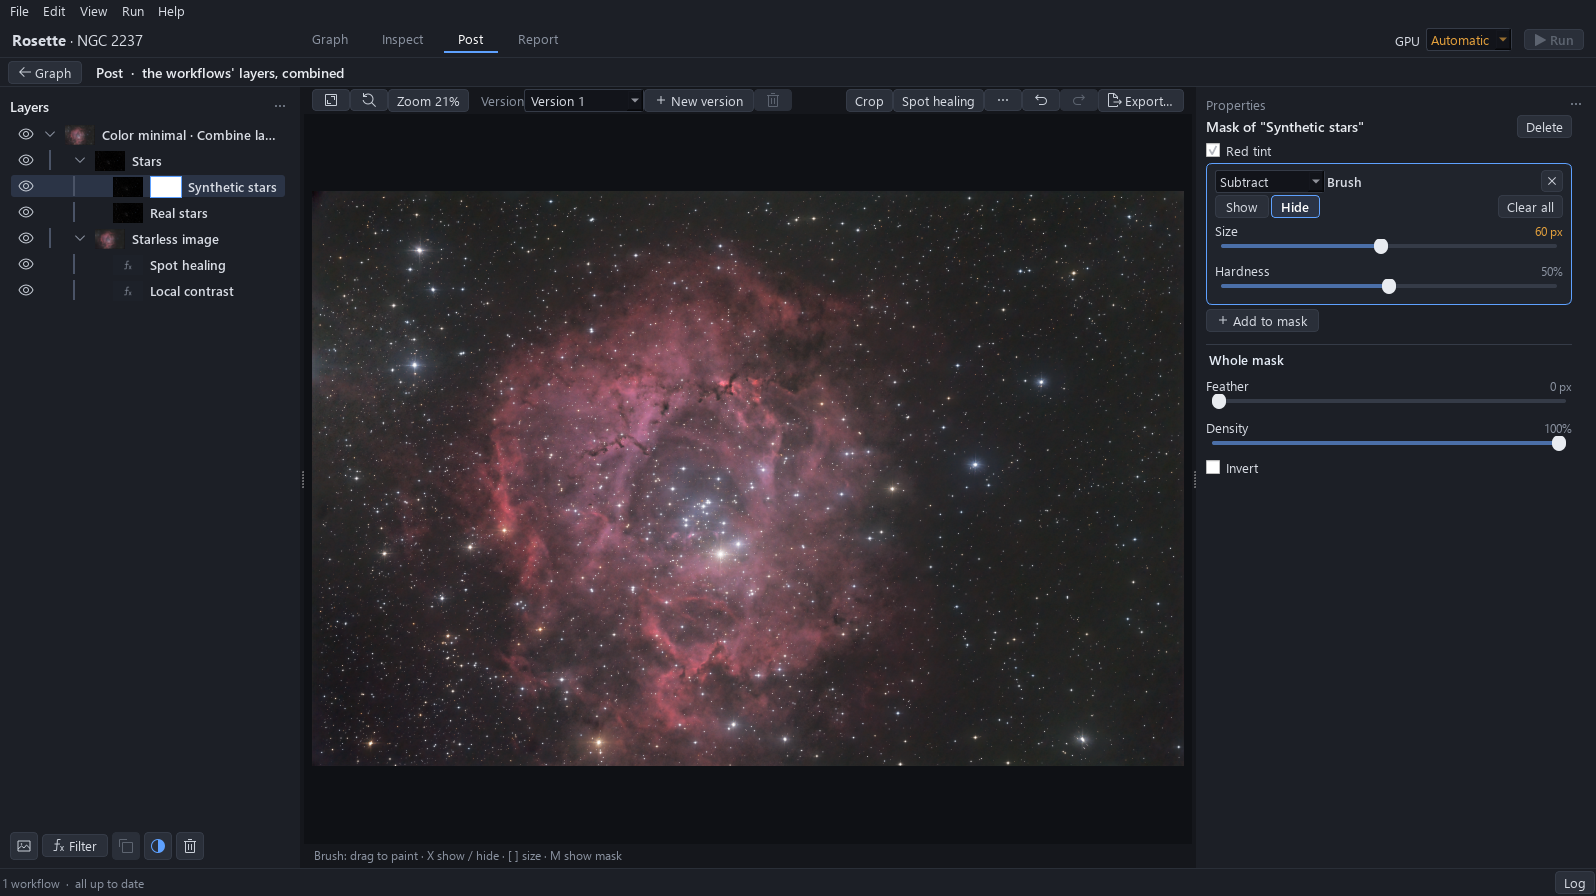
Click the mask thumbnail of the Synthetic stars row: the mask is empty, the row shows everywhere. Click Add to mask: a mask is made of parts of five kinds, H-alpha, Luminance range, Color range, Linear gradient and Brush. Choose Brush: Subtract and Hide are set, so painting hides the row.
Why. A mask says where a layer acts. White means show, and what is painted with Hide is taken out of the row.
Expected result. The brush part appears with Size 60 px and Hardness 50 %.
4Paint the centre
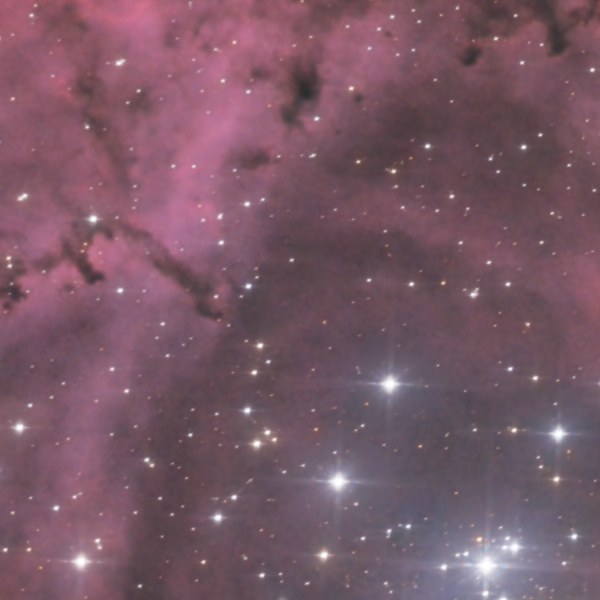
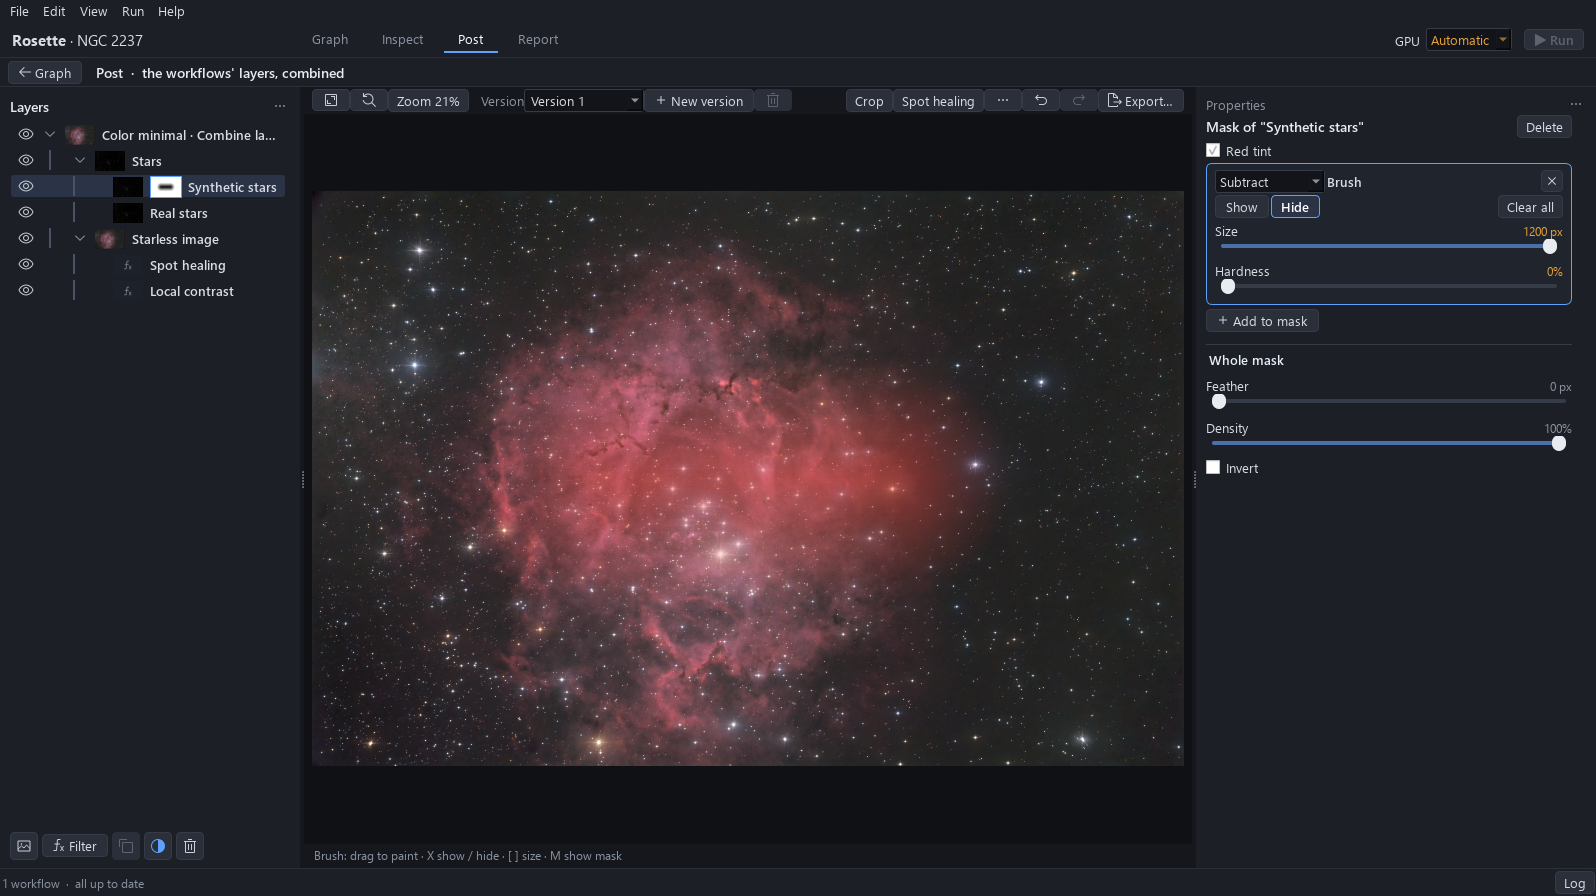
Drag Size to the far right, as large as it goes, here 1,200 px, and Hardness to 0, then paint one stroke across the centre of the field: the real stars come back there, and outside it the round synthetic stars replace the comet-shaped ones.
Why. The coma grows from the centre outwards: it is already visible at 1,000 px from the corners, along the whole left edge. Painting the four corners would leave half of the comet-shaped stars in place, whereas painting the one zone where the optics are good is a single gesture and covers all the rest. Hardness 0 fades the edge of the stroke, so nothing shows where it ends.
Expected result. At 100 % the centre keeps its real stars with their spikes; on the fitted view nothing shows where the stroke fades.
5See the mask
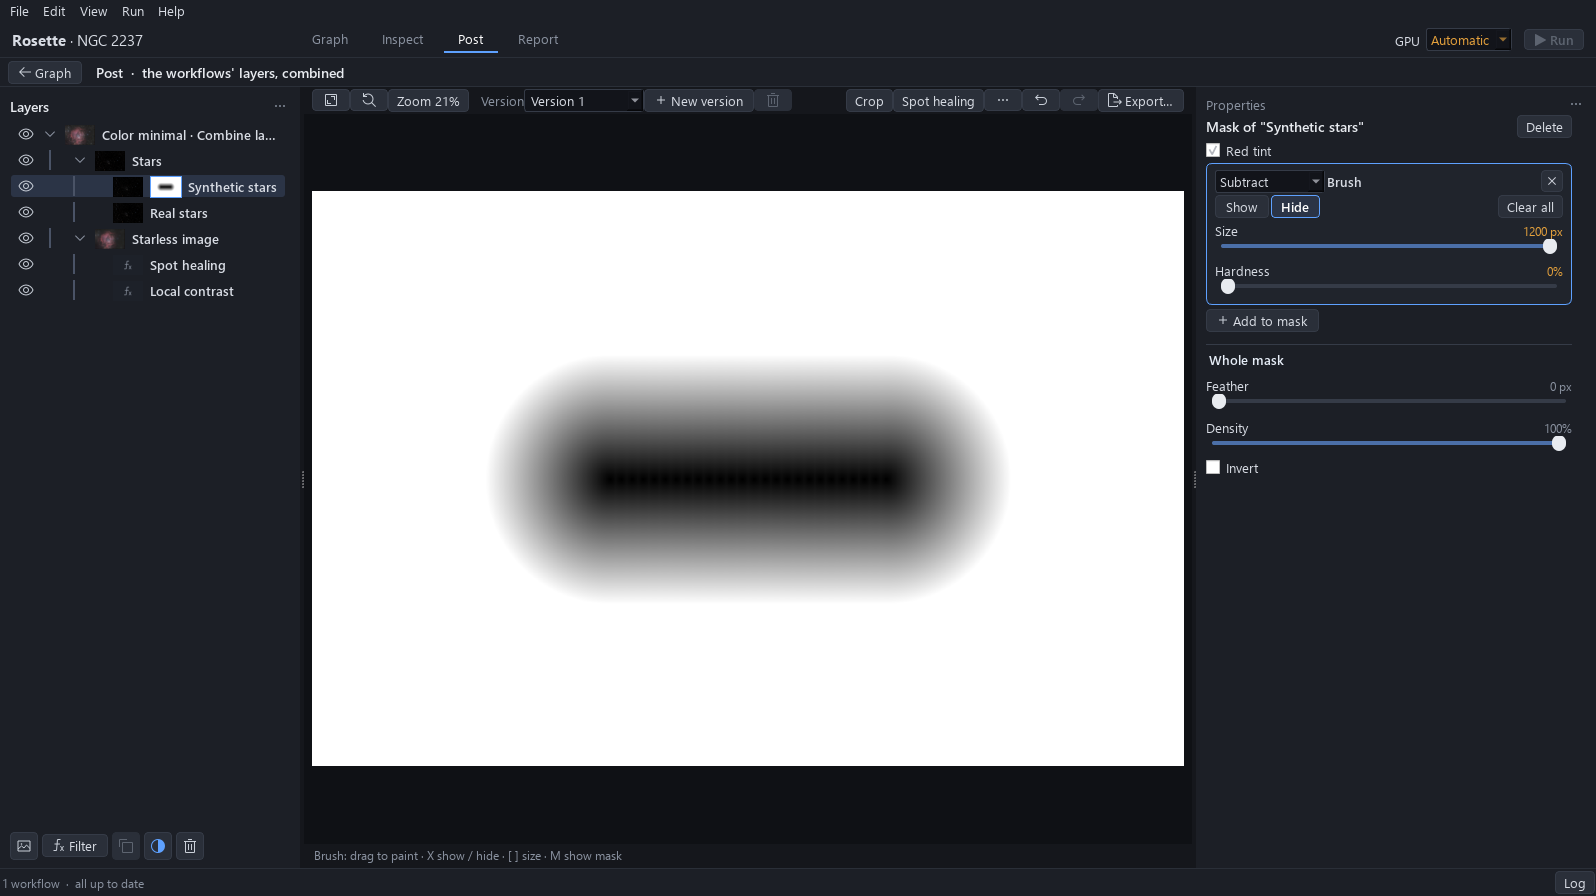
Press M to see the mask in grey: white shows the synthetic stars, black hides them. Press M again to leave.
Expected result. A black disc at the centre, white around it, with a soft edge.
6Feather and Density
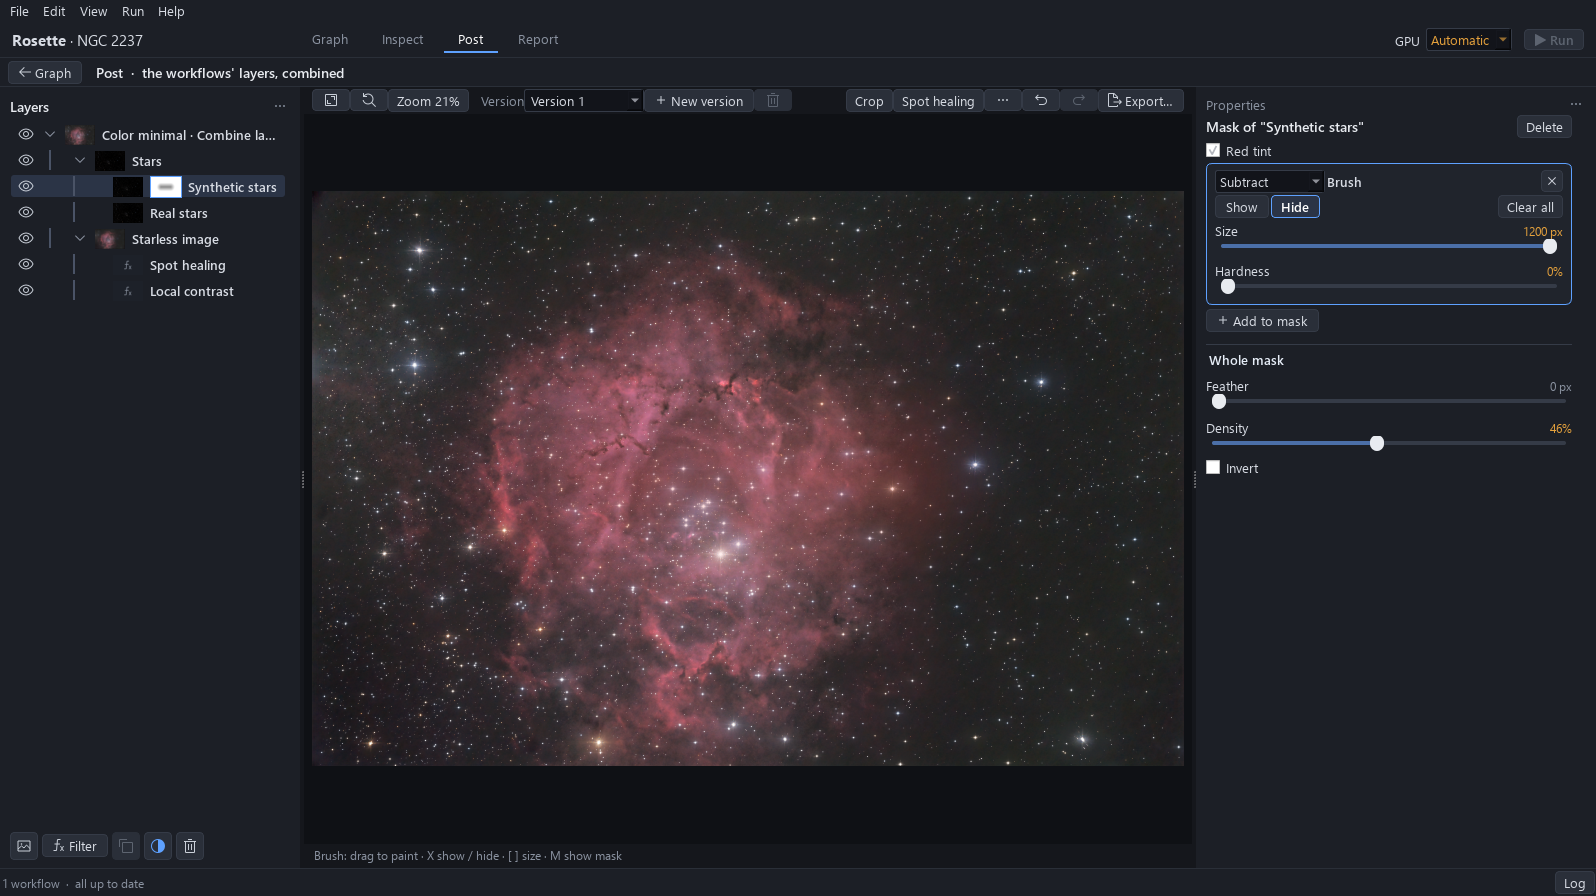
Under Whole mask, drag Feather to the right to soften the edge of the mask, to see, then press Ctrl+Z. Drag Density down: the hidden part lets the row through again; press Ctrl+Z to bring it back to 100 %.
Expected result. Feather reads 0 px and Density 100 % again.
7Invert
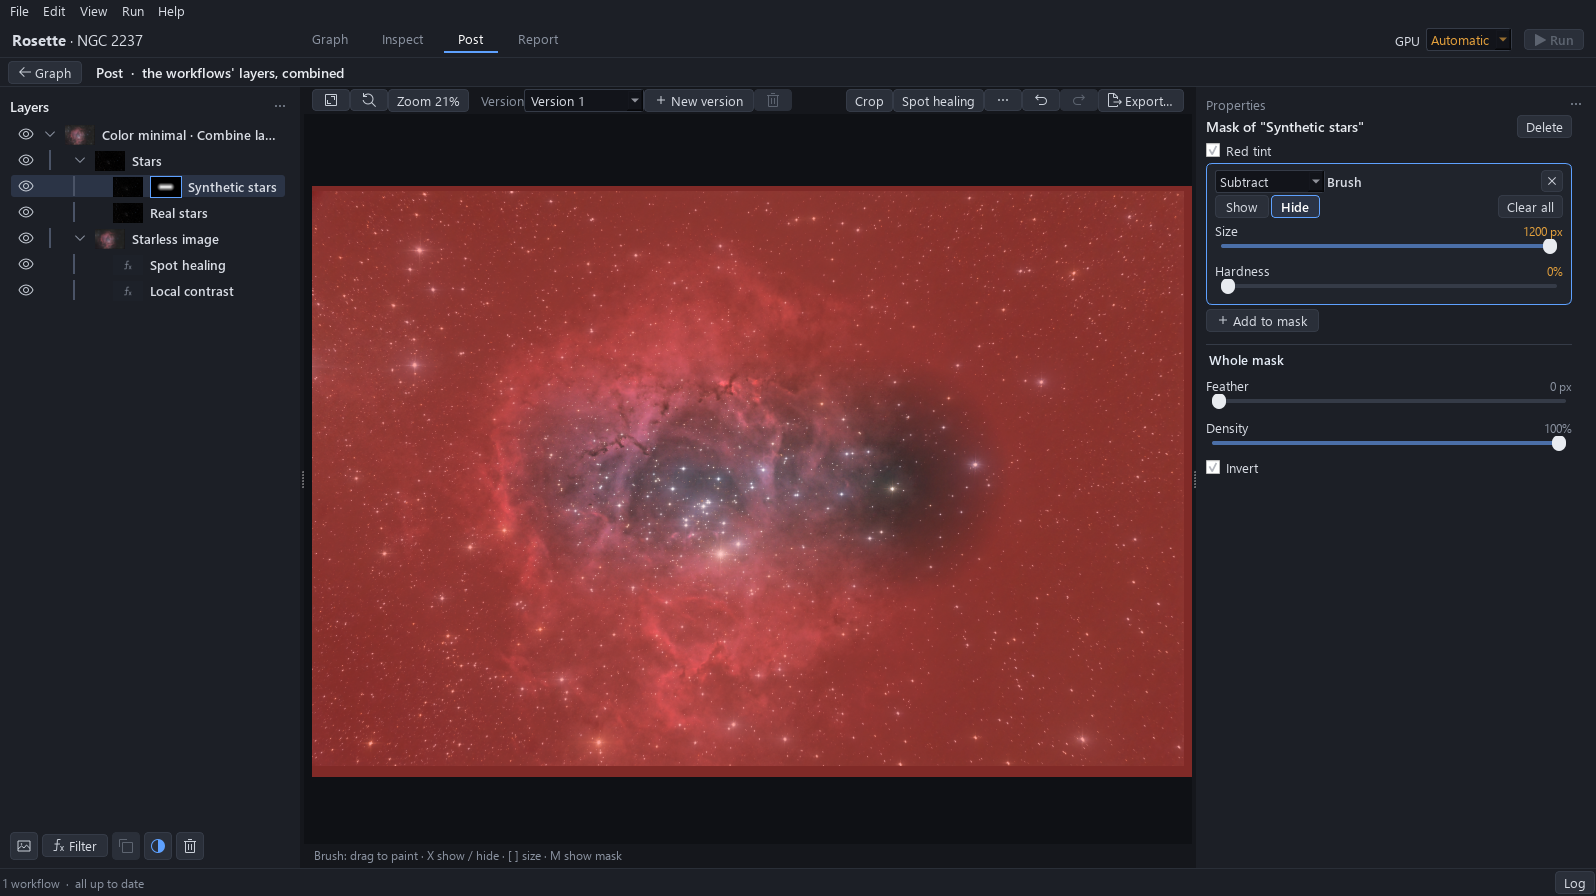
Tick Invert: the synthetic stars show at the centre only. Untick it to go back.
Expected result. The box is unticked again and the picture is as painted.
8Show and Hide
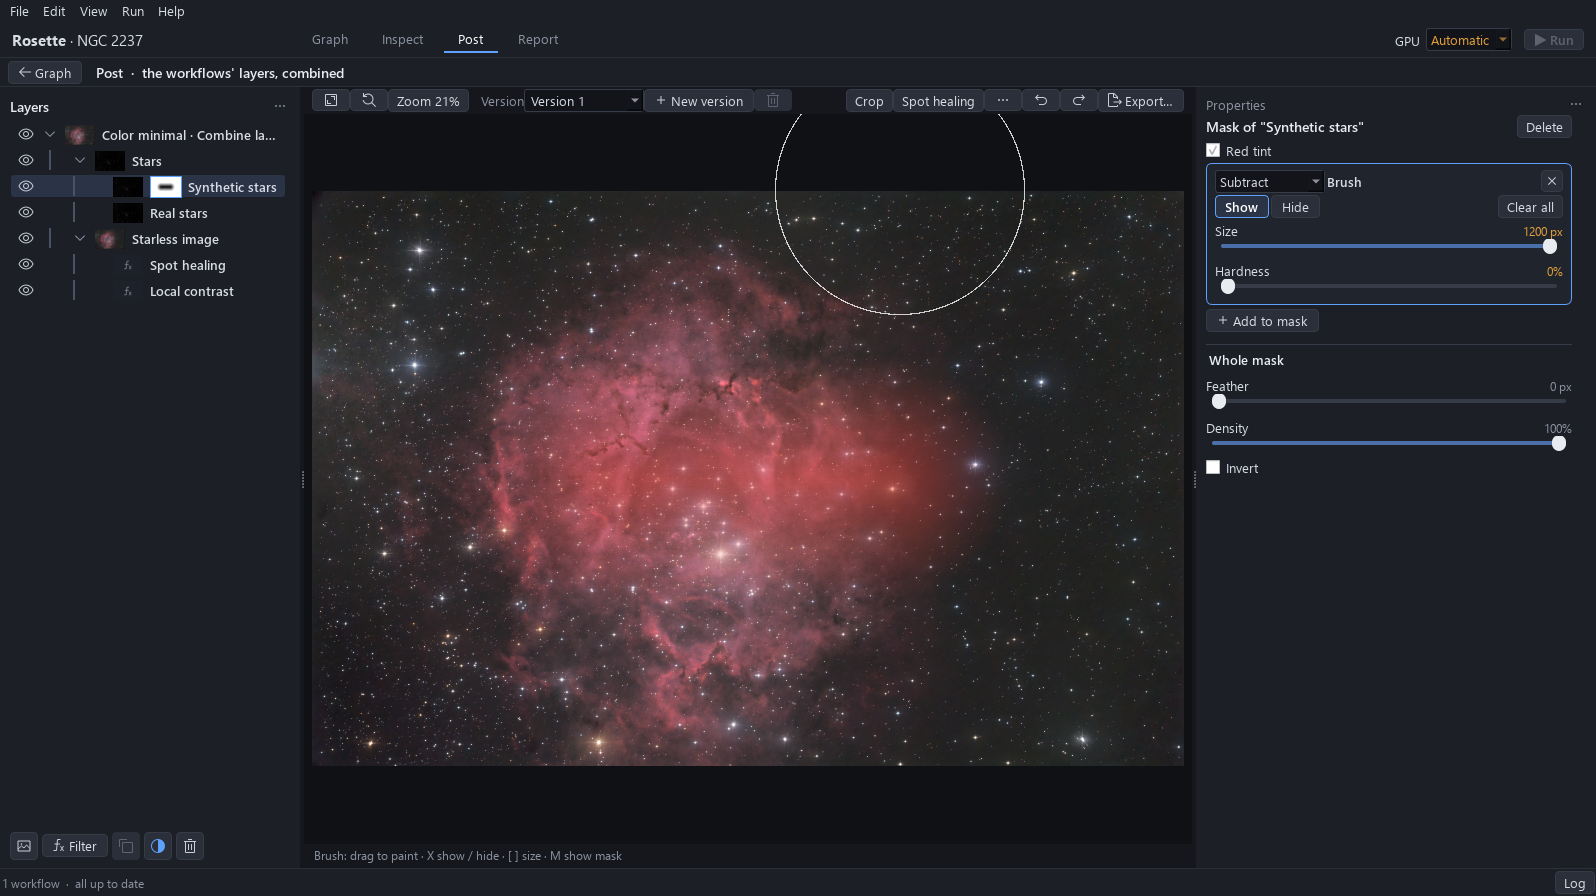
Click Show, then drag across the sky: this stroke gives the synthetic stars back there. Press Ctrl+Z to undo the stroke and click Hide again.
Expected result. The stroke is gone, the status bar names the change undone.
9Clear all and take it back
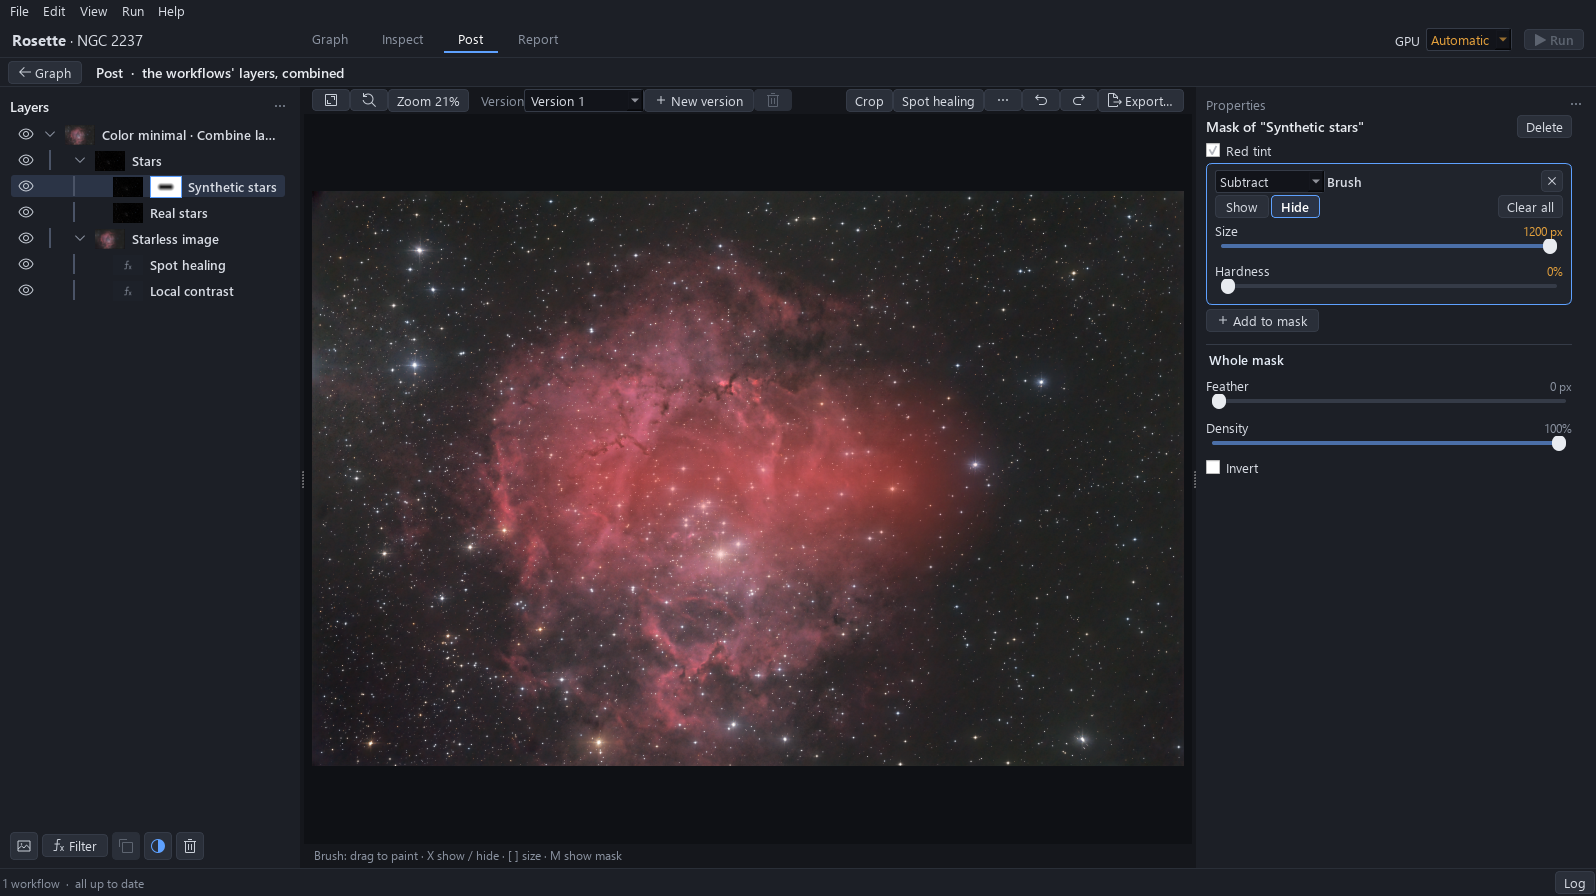
Click Clear all: every stroke goes and the row shows everywhere again. Press Ctrl+Z: the brush mask is back.
Expected result. The stars at the centre are real again after Ctrl+Z.
10Dehaze on the starless image
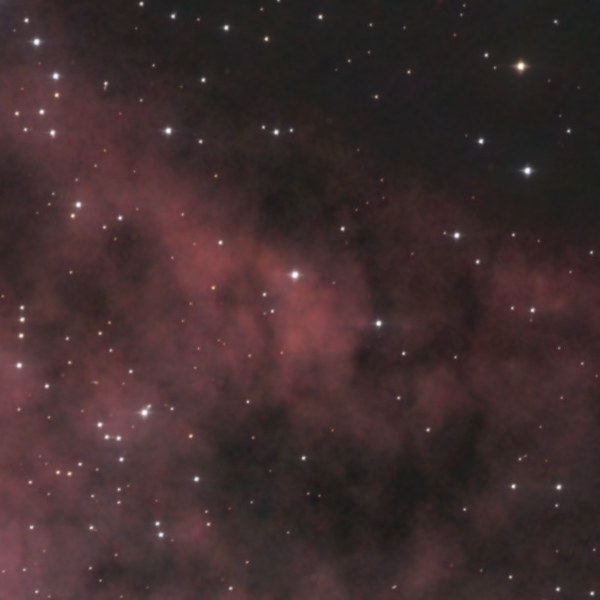
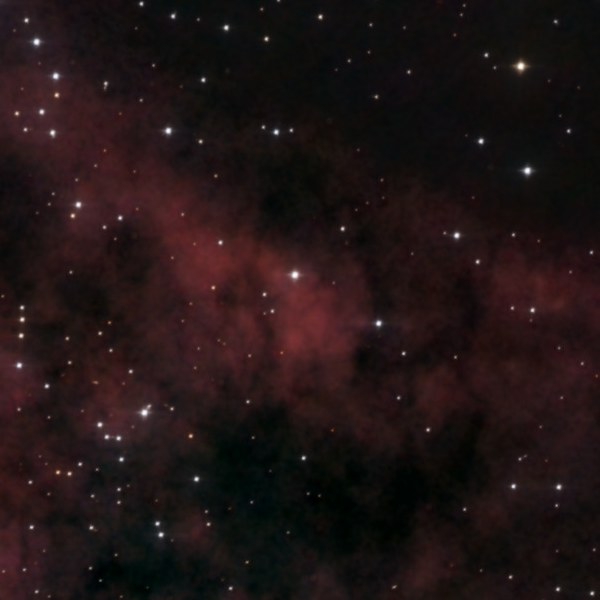
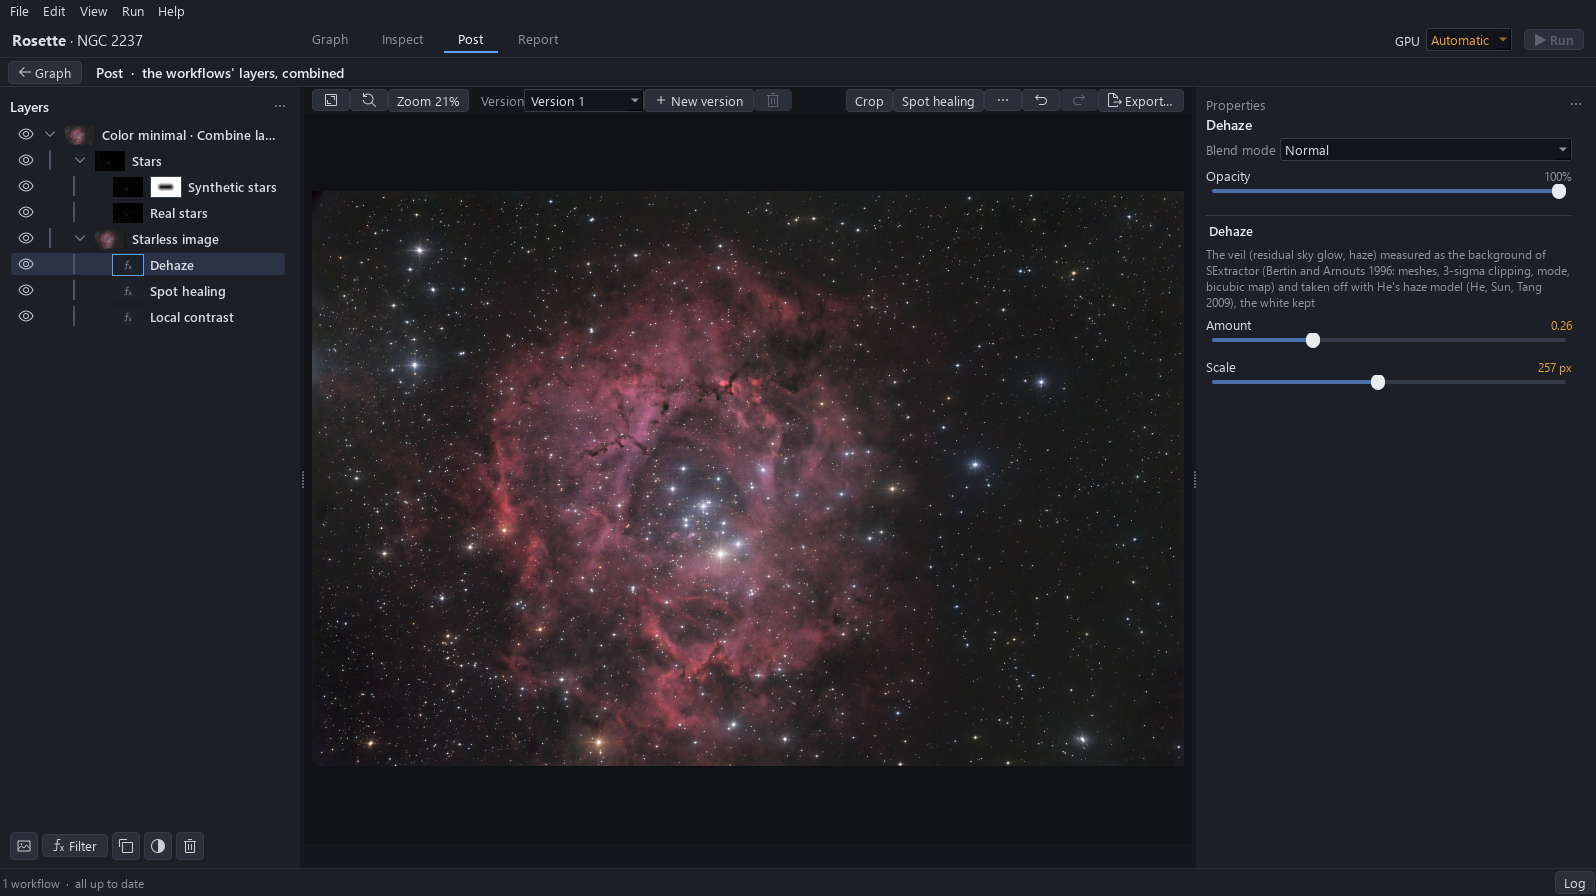
Click Starless image, then Filter, open Contrast and choose Dehaze. Drag Amount to about 0.25 and Scale to about 256 px, until the veil of the sky goes and the faint edges of the ring stand out from a darker background.
Why. Dehaze takes away a large-scale veil, the residual light of the sky that the flats and the gradient did not remove. The sky goes from 33 to 26.
Expected result. The sky is darker, the ring is at its previous brightness only once the mask is added.
To avoid. At Amount 0.7 the sky falls to 10, almost black, and the faint outskirts vanish.
11A luminance mask on Dehaze
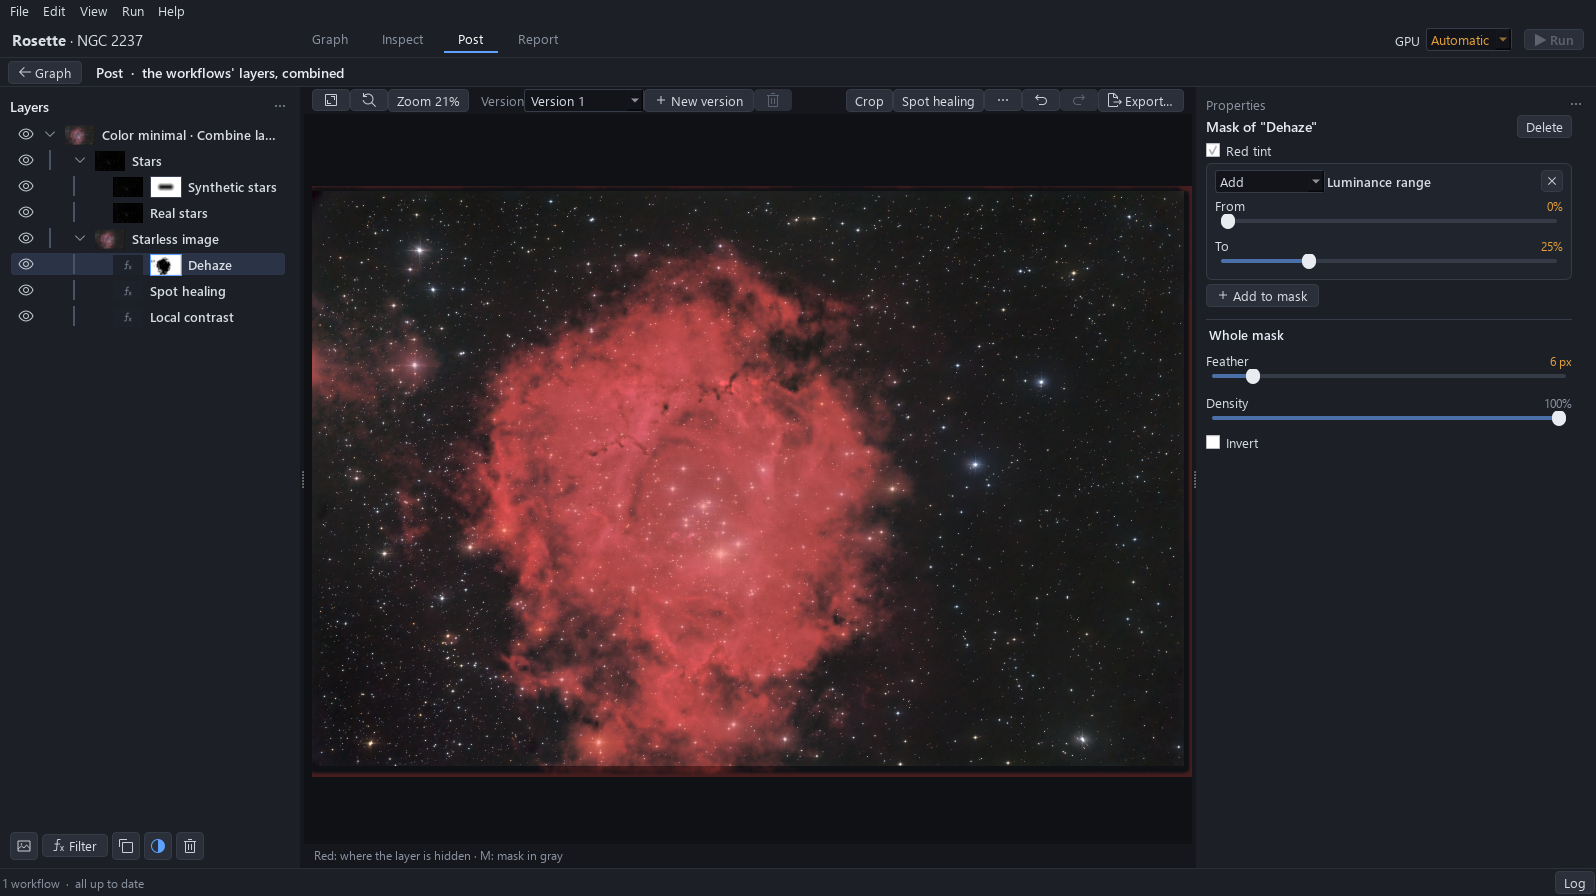
With Dehaze selected, click the mask button under the list, then Add to mask and Luminance range. Drag From to 0 %, To to 25 % and Feather to about 8 px. Press M to see it: white is where Dehaze acts, on the dark tones.
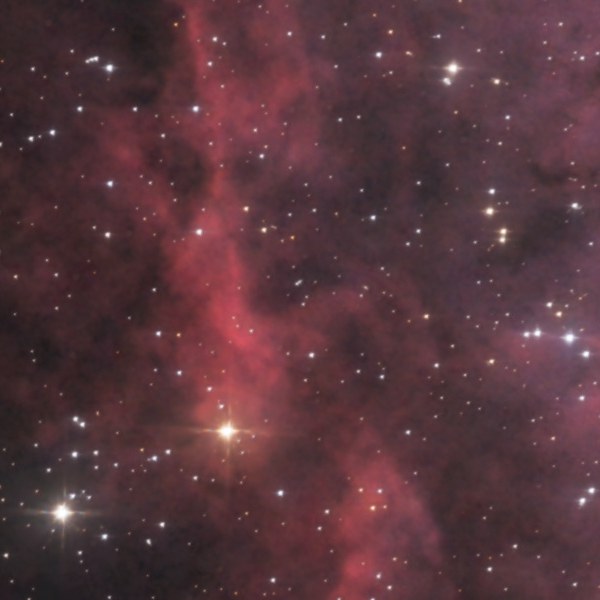
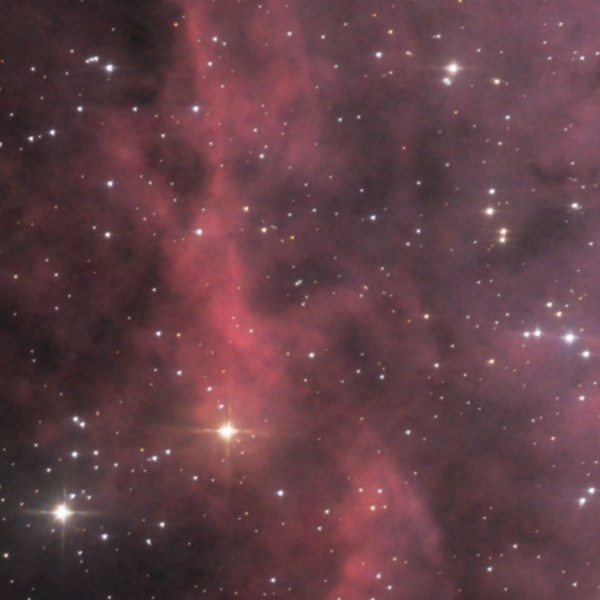
Why. Without the mask, Dehaze also lowers the nebula: its brightest 5 % go from 145 to 132 and the ring loses its glow. With the mask, Dehaze acts only on the dark tones and the nebula stays at 146. The range 0 to 25 % selects the sky and the faint tones, not the ring.
Expected result. The sky reads 26, 25 and 25 on the exported picture, neutral.
12Kept with the project
Press Ctrl+S: the masks are saved with the project. Open File and click Close project, then click the project on the Home screen and Post. The masks are still there, and a click on a thumbnail opens its parts, still editable.
Expected result. The thumbnails of both masks are listed with their parts.