The path · 2 Intermediate
The full processing: stars apart
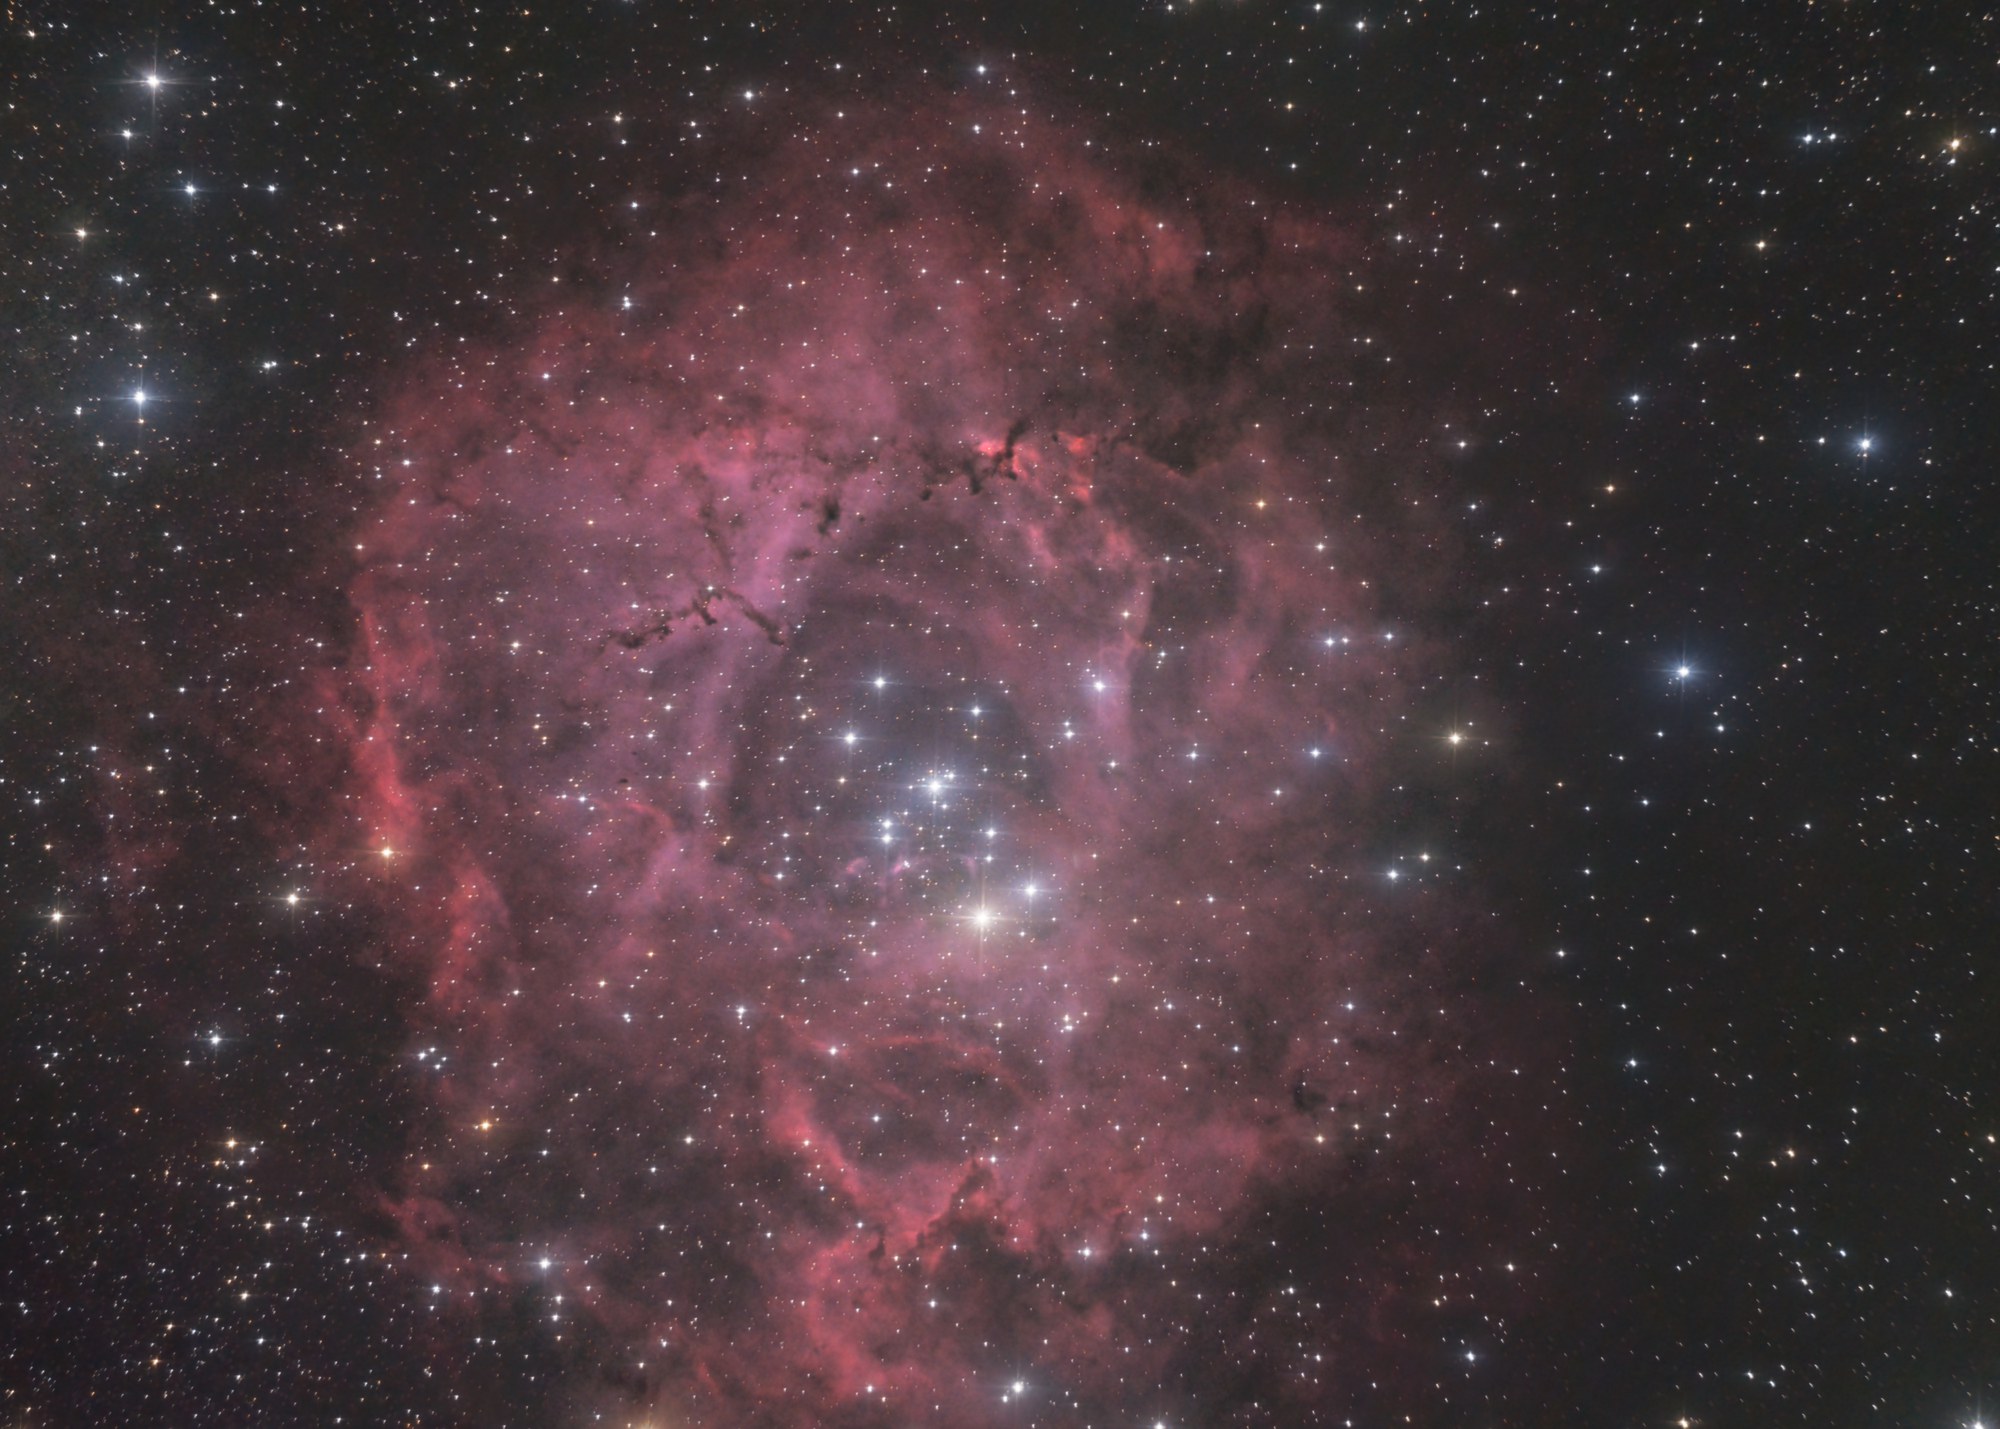
You open the project of the first tutorial and add two blocks to its workflow, Denoise and Stars/background: the run computes only what follows them, about a minute. In Post you quieten the stars, thin the tiny ones and give the starless image its local contrast, then you export.
| Duration | About 10 min, of which 1 min of computing, measured on a PC with an RTX 4060 Ti graphics card (16 GB) |
|---|---|
| Requirements |
|
| Data set | Rosette Nebula (NGC 2237) · Sony A7S, 15 s at ISO 4000 · 130/900 Newtonian · 436 lights (1.8 h), 48 darks, 62 flats, the authors of FLOAT; size 6.9 GB. The frames will be offered for download; the link will be given here |
1Open the project
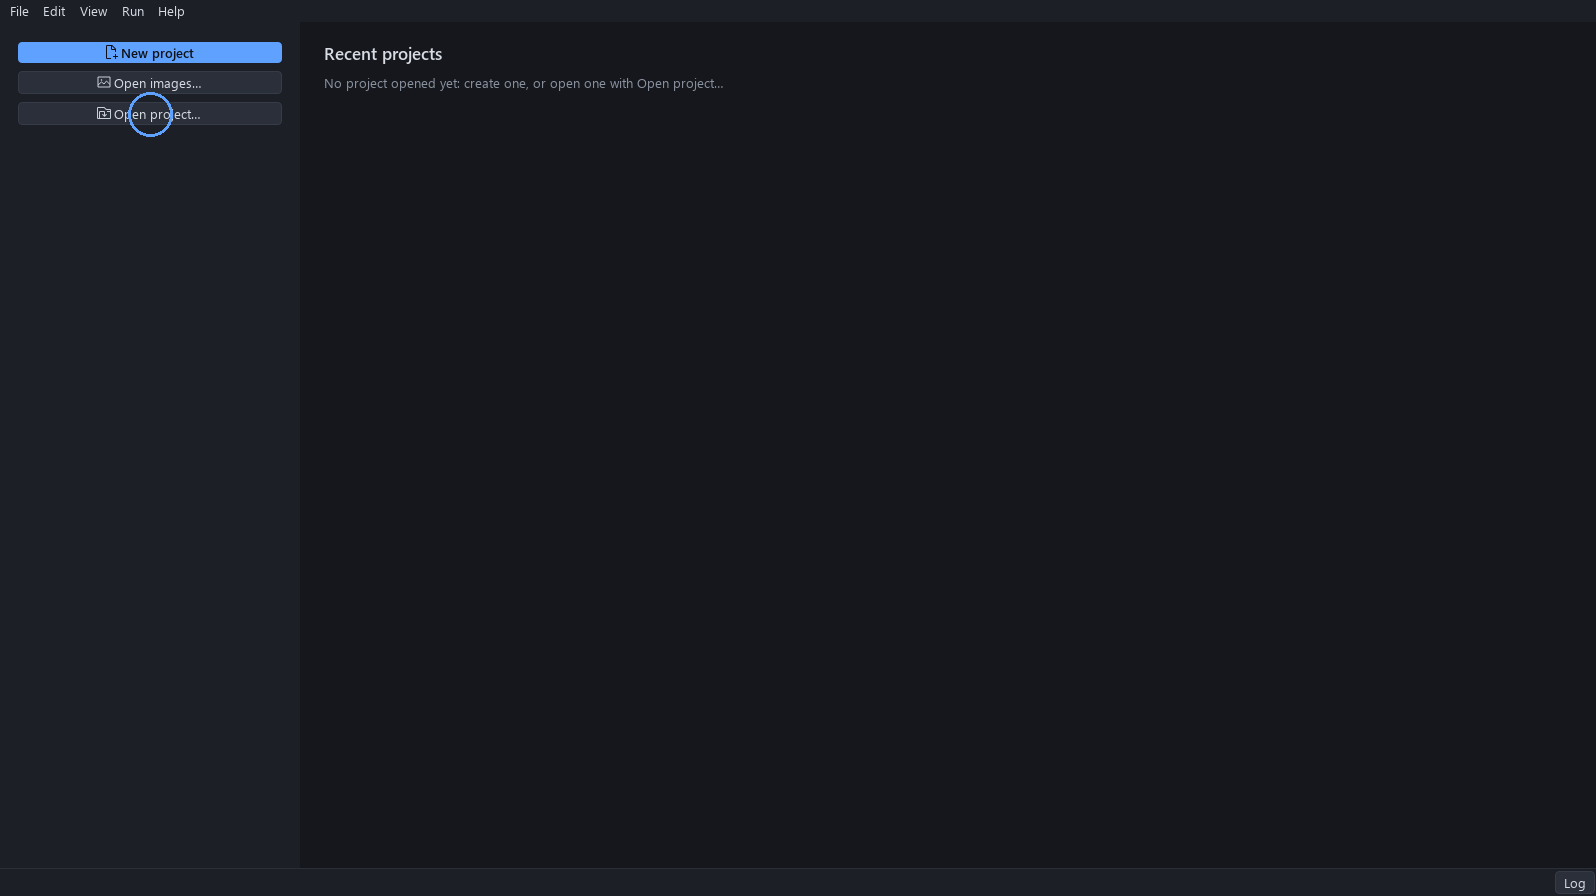
On the Home screen click Open project… and choose the finished project of the first tutorial, or a copy of its folder. The project opens up to date: nothing is to be computed.
Expected result. The status bar reads all up to date, and the Run button is greyed.
To avoid. The project is saved in its own folder: work on a copy of it if you want to keep the result of the first tutorial as it was.
2Diagnosis in Post
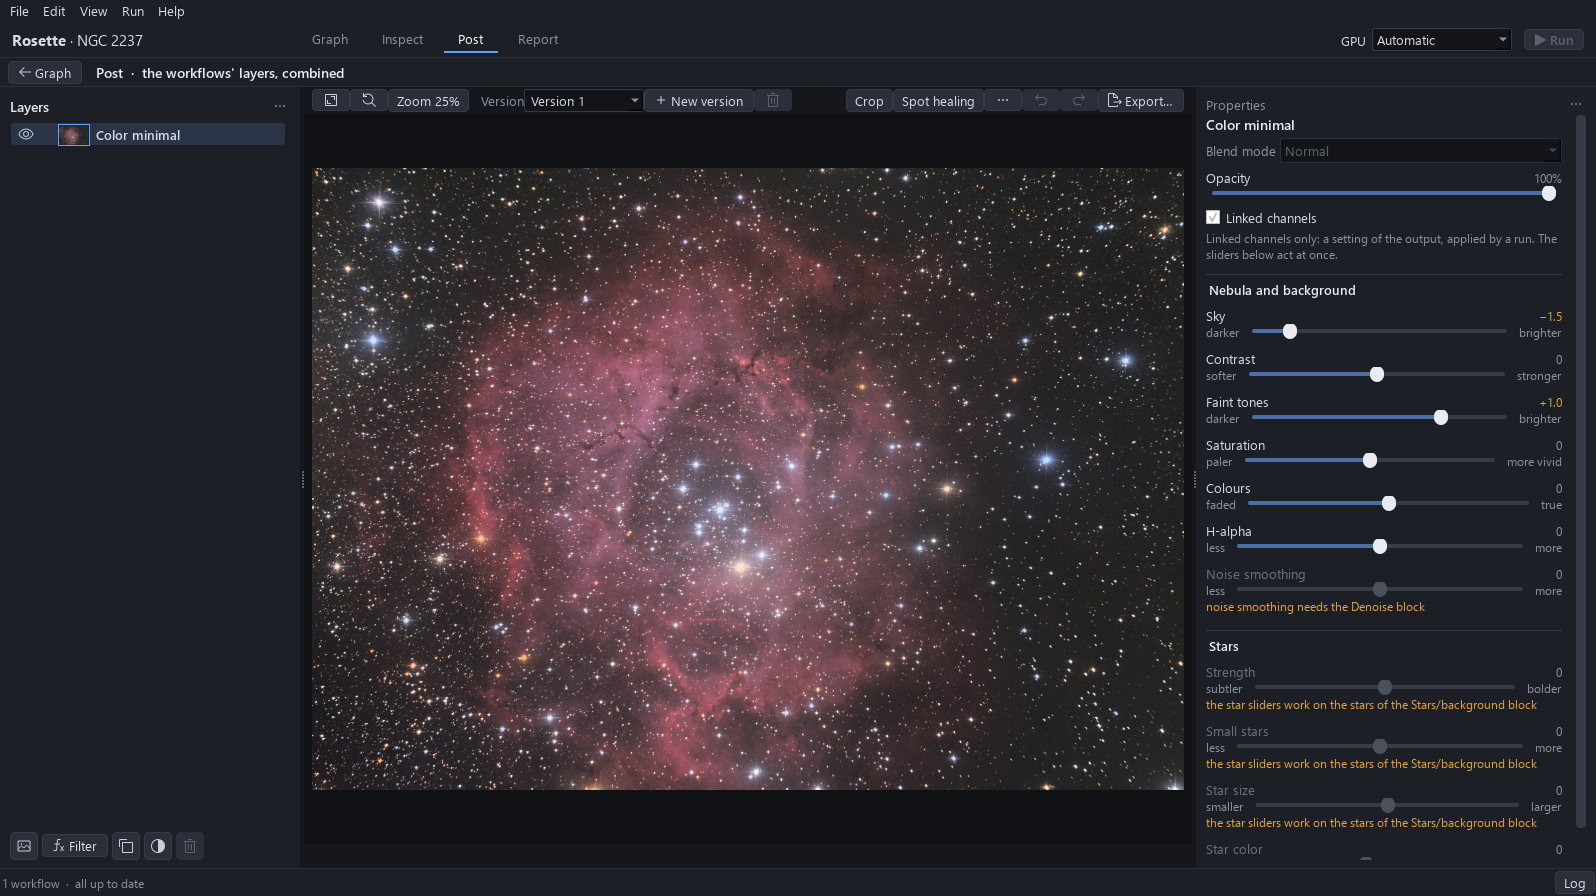
Click Post. The layer is the result of the first tutorial. Before any gesture, look at what is right and what is wrong. Right, and to leave alone: the colours, the sky level and the crop set at level 1. Wrong: three points, each with the block or the gesture that corrects it.
Expected result. Level 1’s layer is there, Sky reads −1.5 and Faint tones +1.0. Noise smoothing and the star sliders are greyed: they wait for the blocks that give them something to act on.
| What is wrong | How it is read | What corrects it |
|---|---|---|
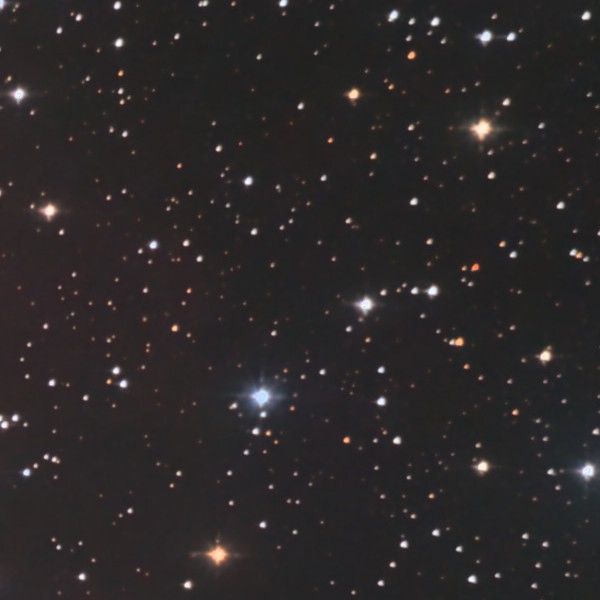
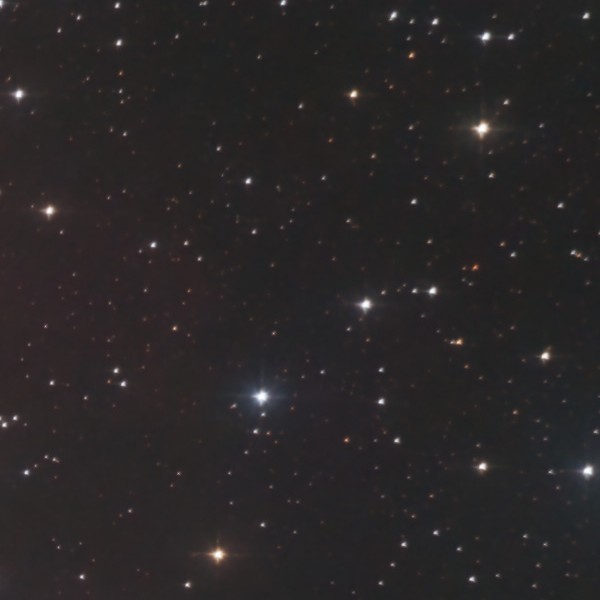
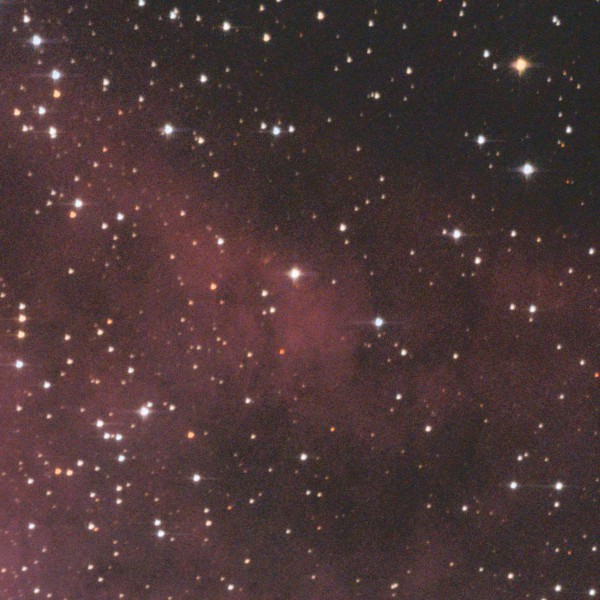
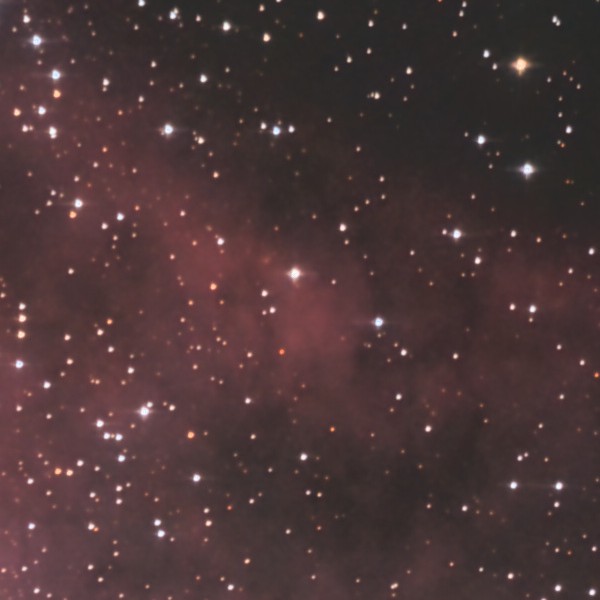
| At 100 % the sky is grainy. | Zoom to 100 % (Ctrl and the mouse wheel over the picture, or the Zoom menu) on the dark sky in the upper part of the picture: a fine coloured speckle lies on the sky and on the faint gas. | Add the Denoise block. (step 3) |
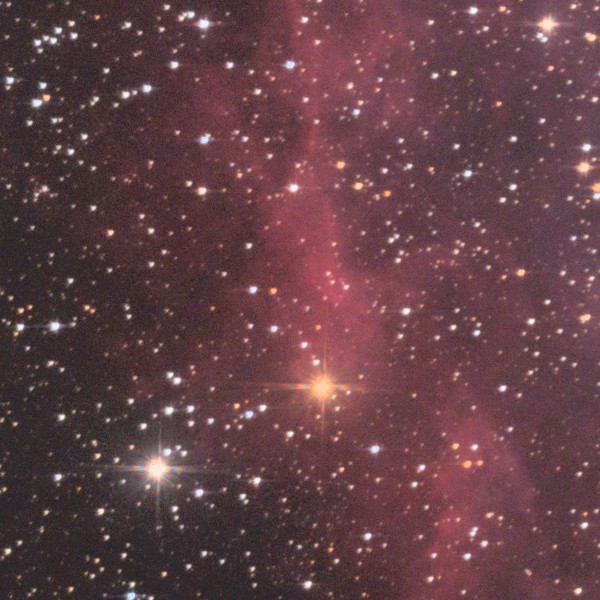
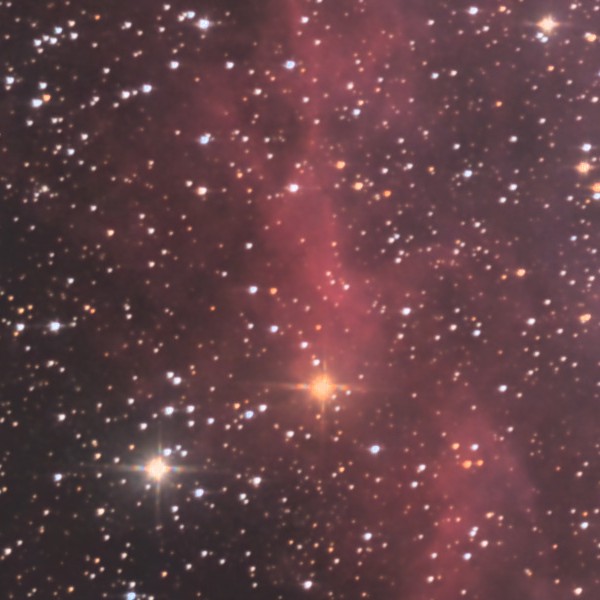
| The stars are many and crowd the ring. | Look at the whole picture, then at the cluster at the heart of the ring: the stars cover the gas, and a swarm of tiny stars fills the sky between them. | Add Stars/background, then lower Strength and Small stars. (step 4) |
| The folds of the ring and the dark globules lack relief. | Zoom to 100 % on the dark globules above the centre of the ring: they melt into the gas around them instead of standing out. | Add Local contrast on the starless image. (step 12) |
3Add Denoise
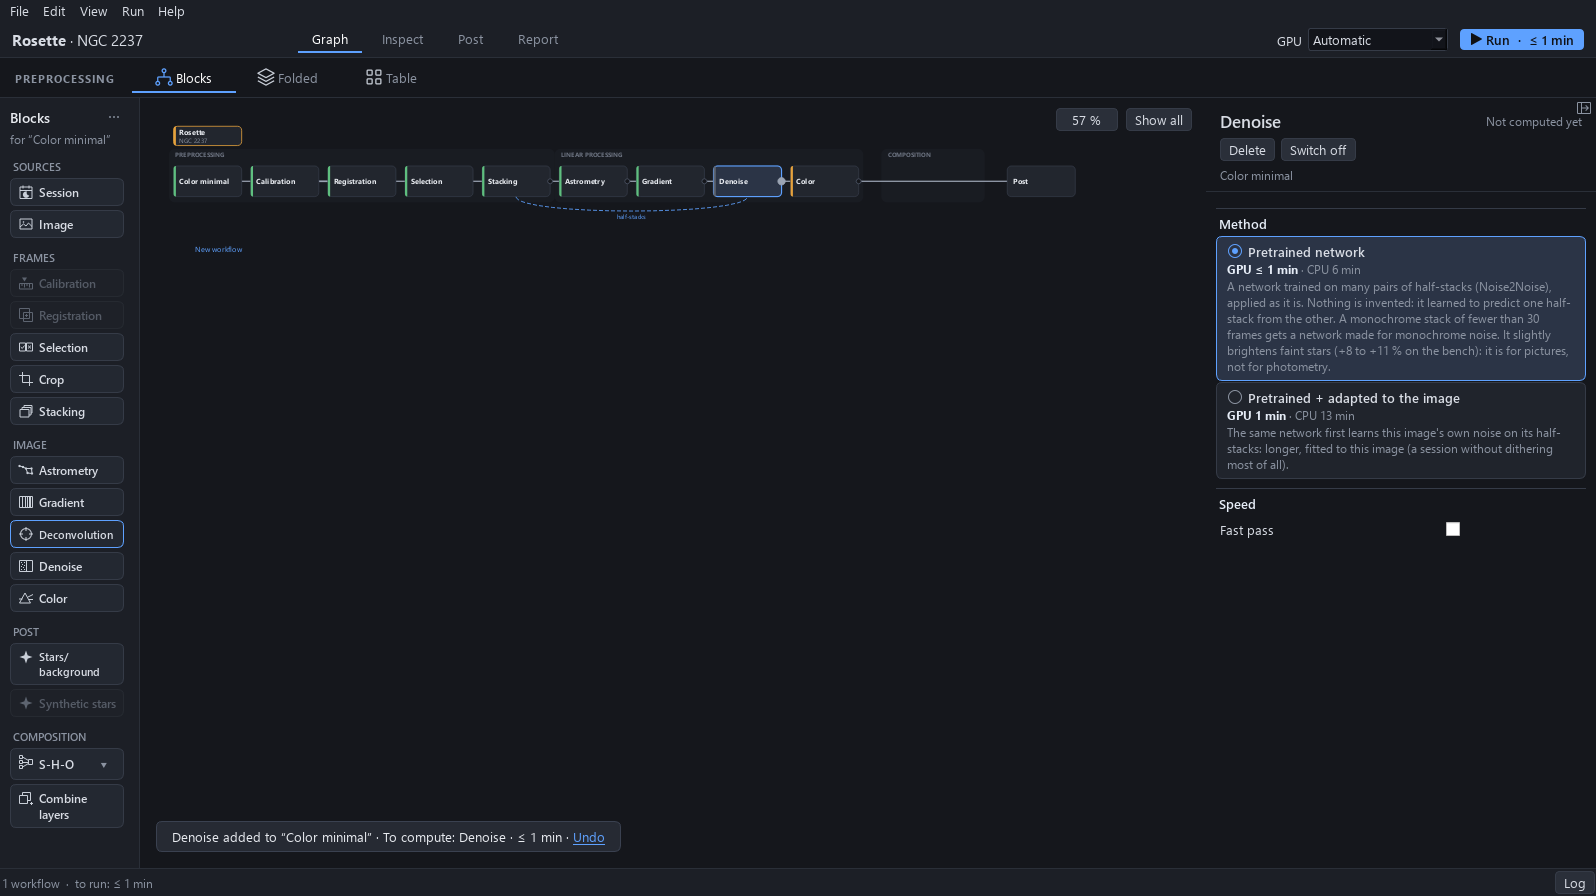
Click Graph. In the palette, double-click Denoise: the block takes its place in the chain by itself, between Gradient and Color, with the method Pretrained network. It needs no setting.
Why. At level 1, lifting the faint tones lifted the grain too. Denoise removes the noise from the stack before anything is stretched, so the faint tones can then be shown without grain. It is a block of the chain and not a filter of Post: that is why it removes the grain without blurring the stretched picture.
Expected result. The status bar reads to run: ≤ 1 min.
4Add Stars/background
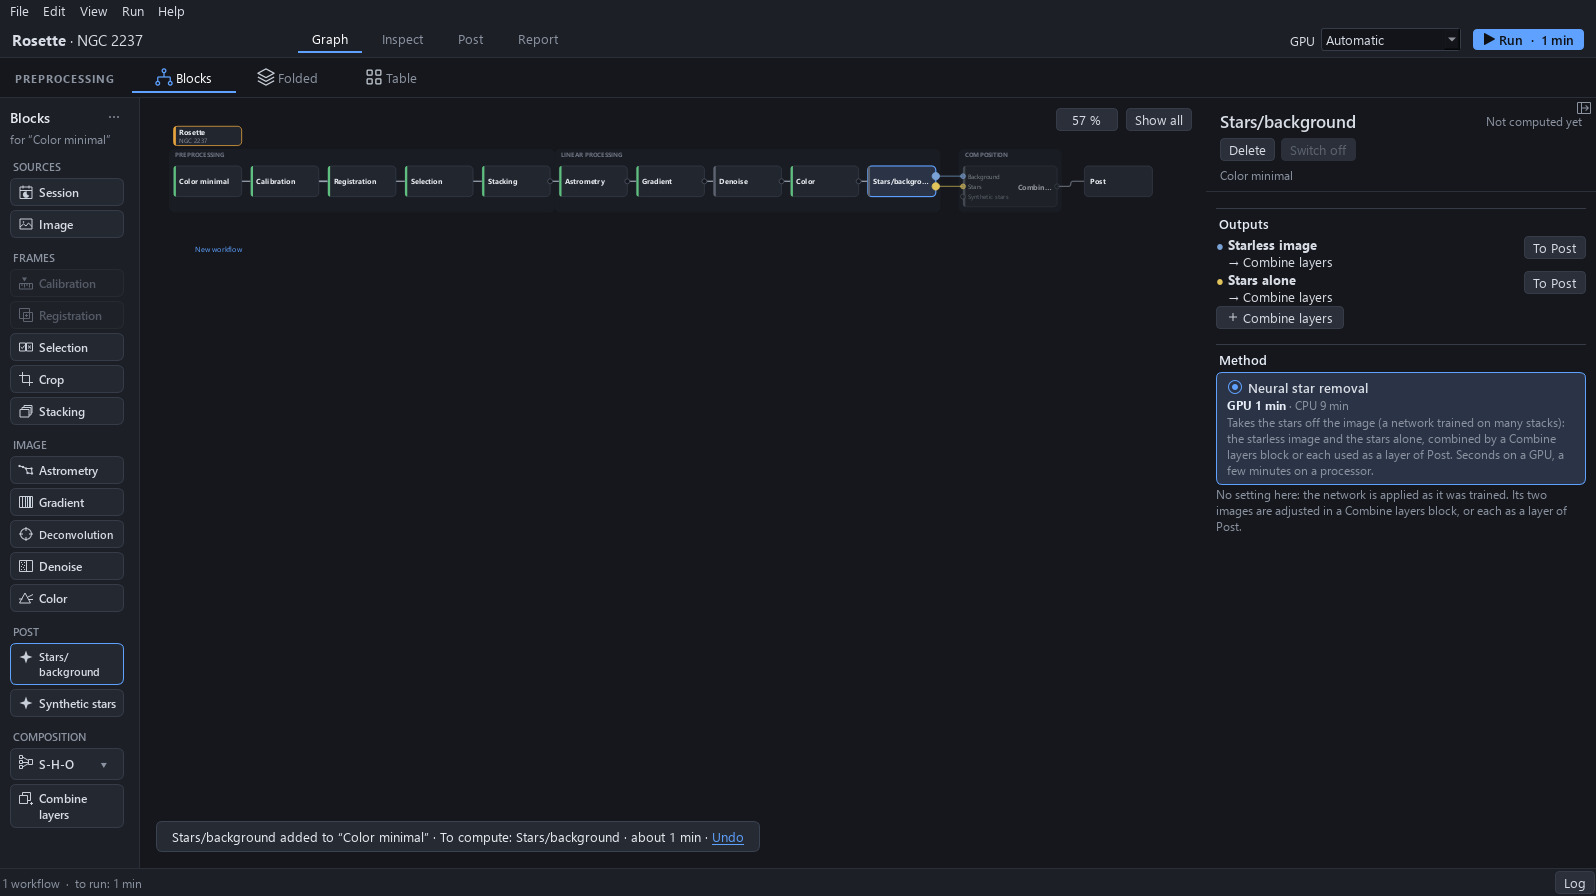
Double-click Stars/background in the palette; it was greyed until Denoise existed. Its method is Neural star removal, with no setting. A Combine layers block then appears by itself in the Composition area, wired to Post.
Why. It splits the picture into two images, the starless gas and the stars alone. From now on each can be treated without harming the other: the stars no longer take the gas’s contrast, and the gas no longer takes the stars’ size.
Expected result. The Run button now reads 1 min: Denoise and Stars/background are to be computed.
5Run
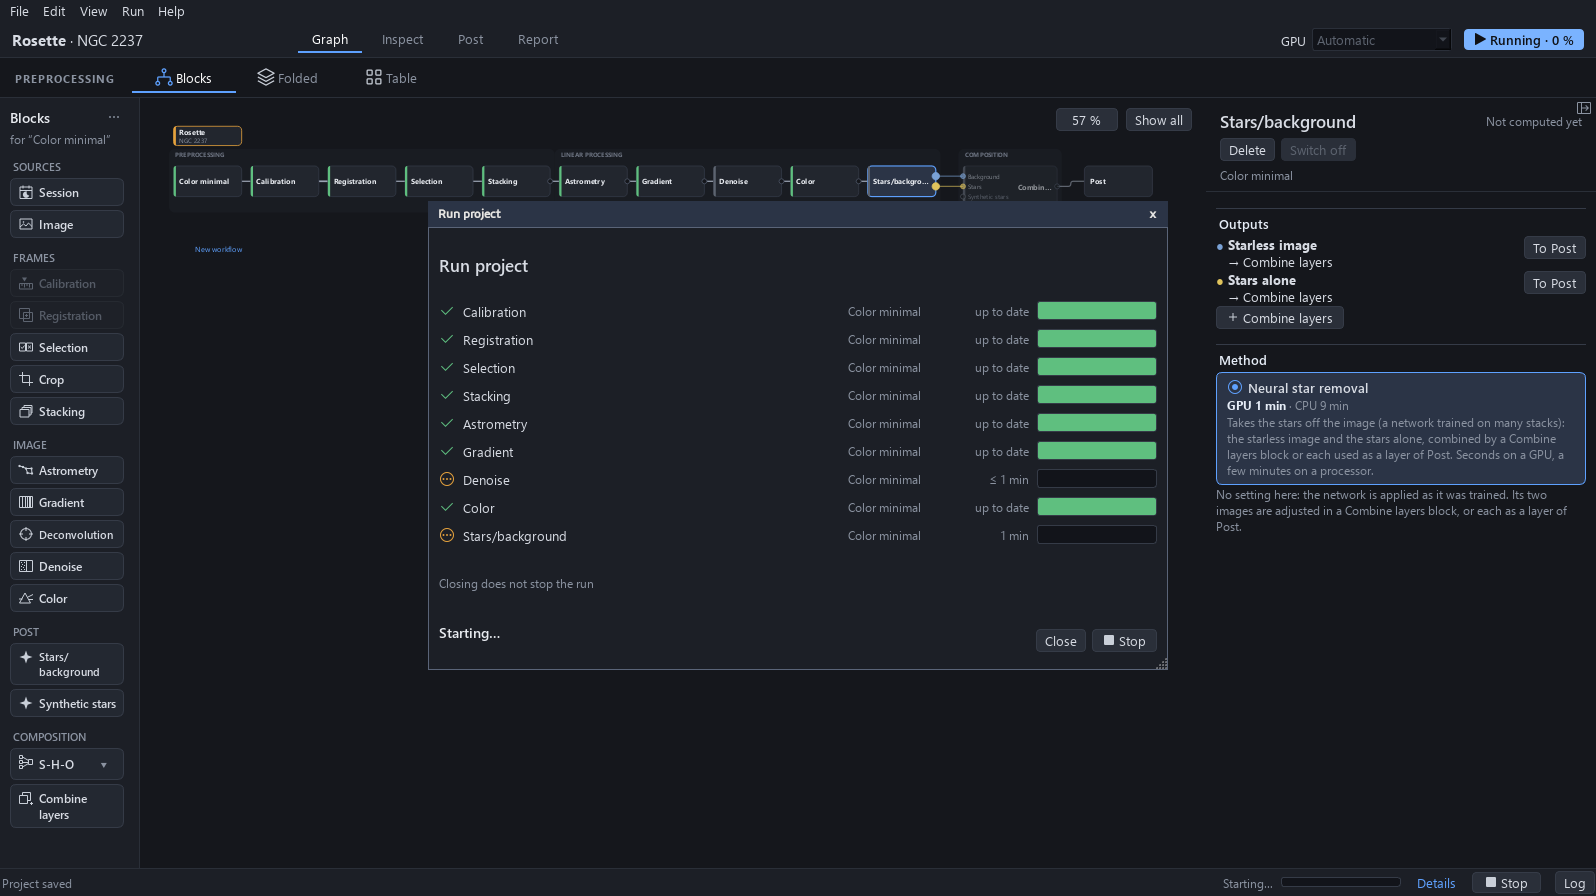
Click Run. The Run project window lists every block: Calibration to Gradient, and Color, read up to date and are not computed again; only Denoise and Stars/background are.
Why. This is the way FLOAT works: each block is computed once, and a change only runs again the blocks that follow it. The first tutorial’s run took 35 min; this one takes about 1 min.
To avoid. Before a run, look at the graphics card if another program computes on it: the run then takes longer. The times on this page were measured on an RTX 4060 Ti that nothing else was using.
6Only what follows was computed
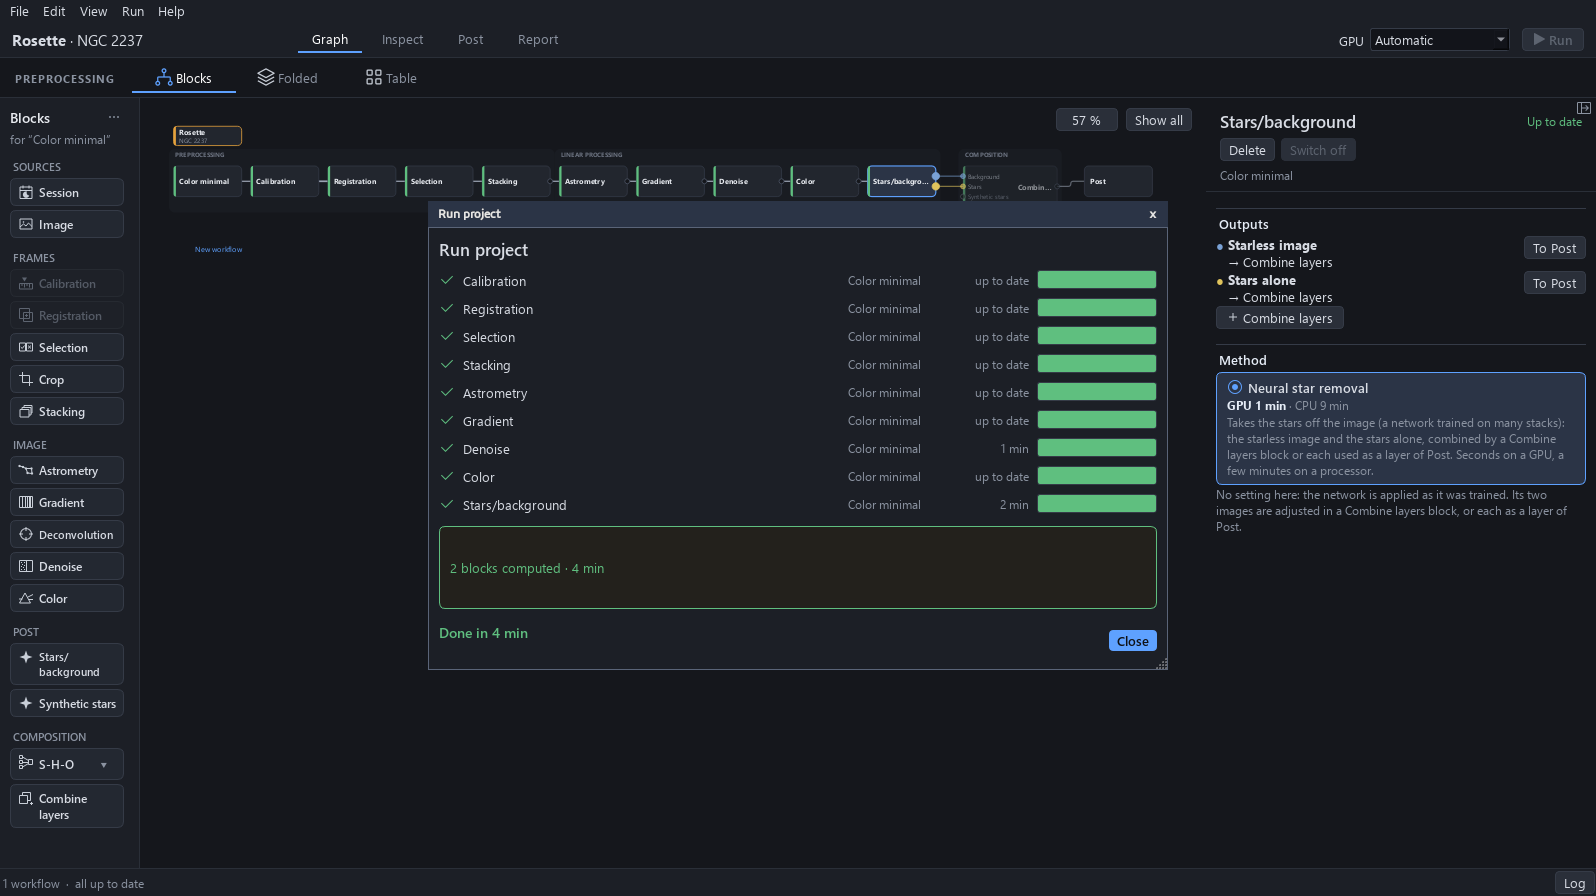
The window ends with 2 blocks computed in about 1 min on an RTX 4060 Ti graphics card (16 GB). The run’s log gives the stages: Denoise 0.2 min, the output 0.2 min and the removal of the stars 0.6 min. Calibration, registration and stacking are not in the list: their results were kept.
Expected result. The status bar reads all up to date and every block of the graph carries its green bar.
7The new layer
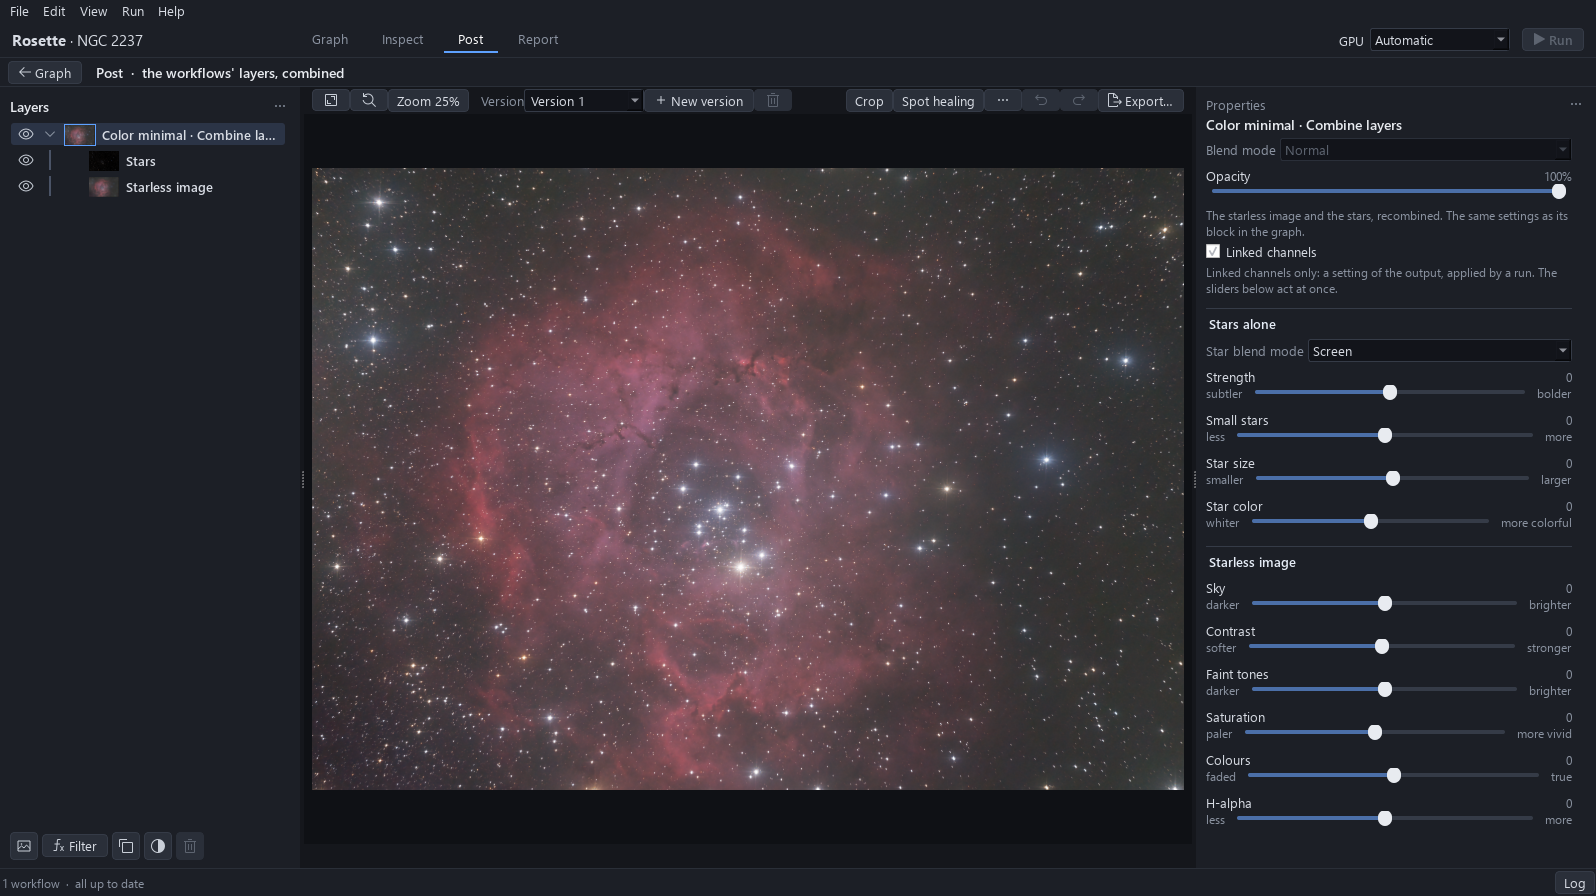
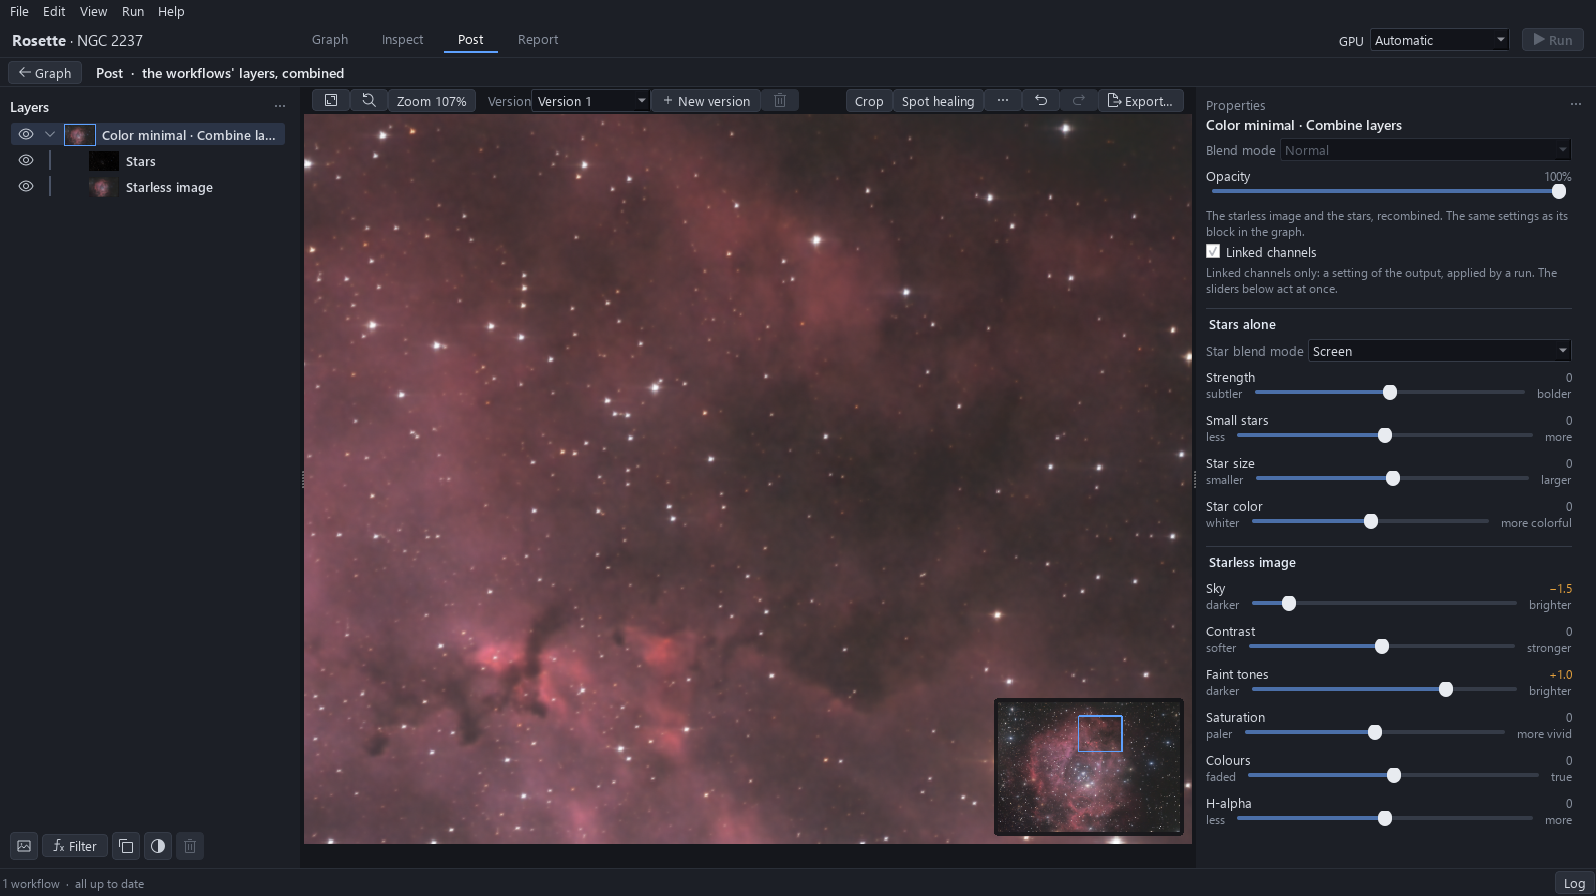
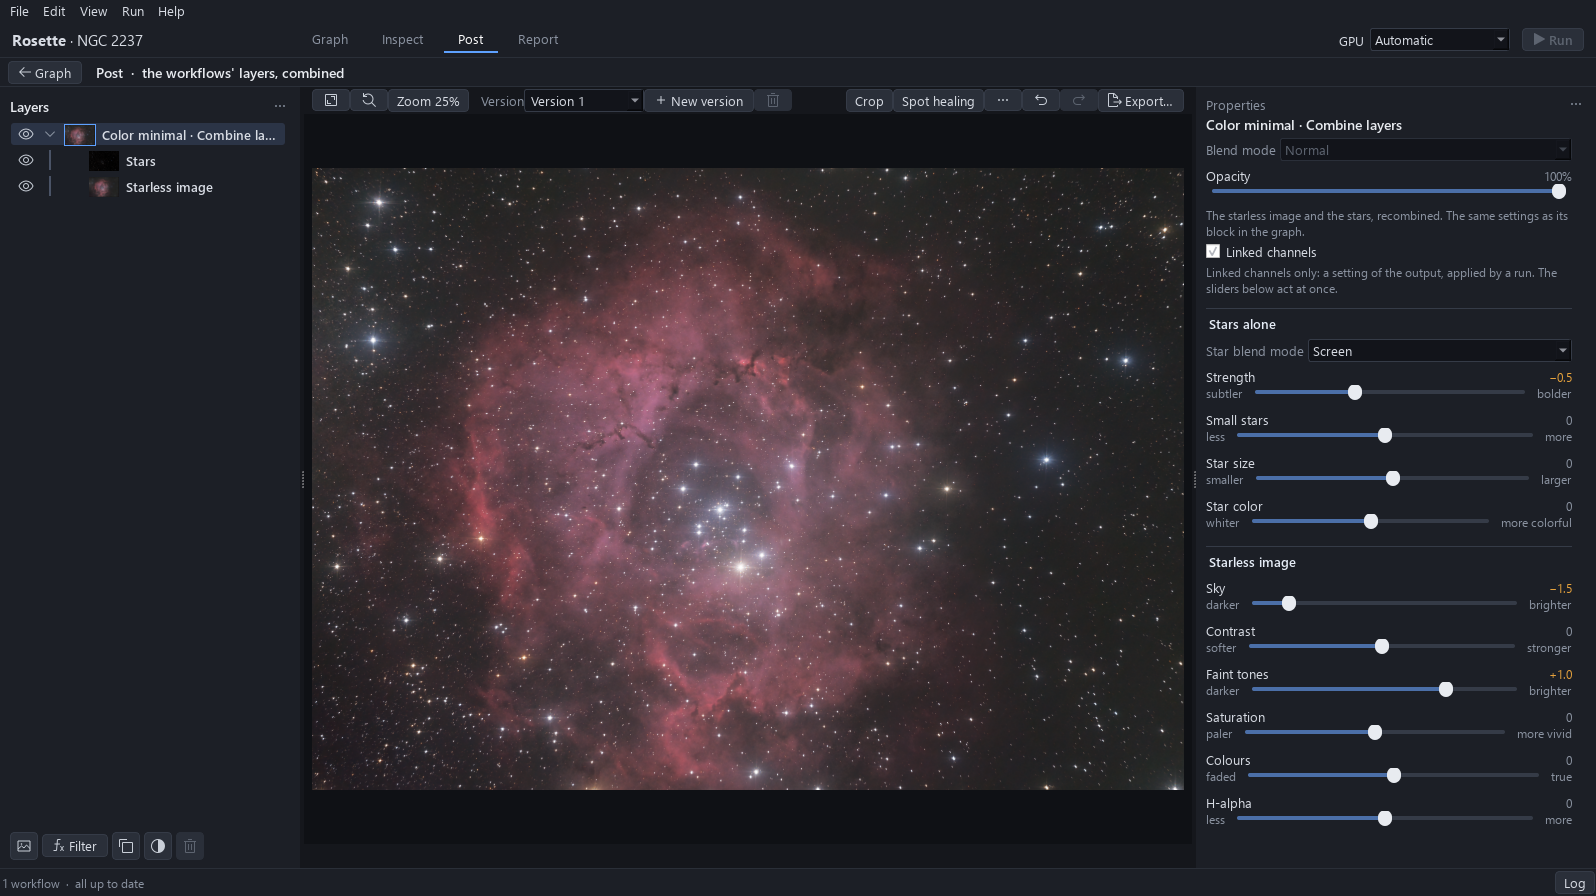
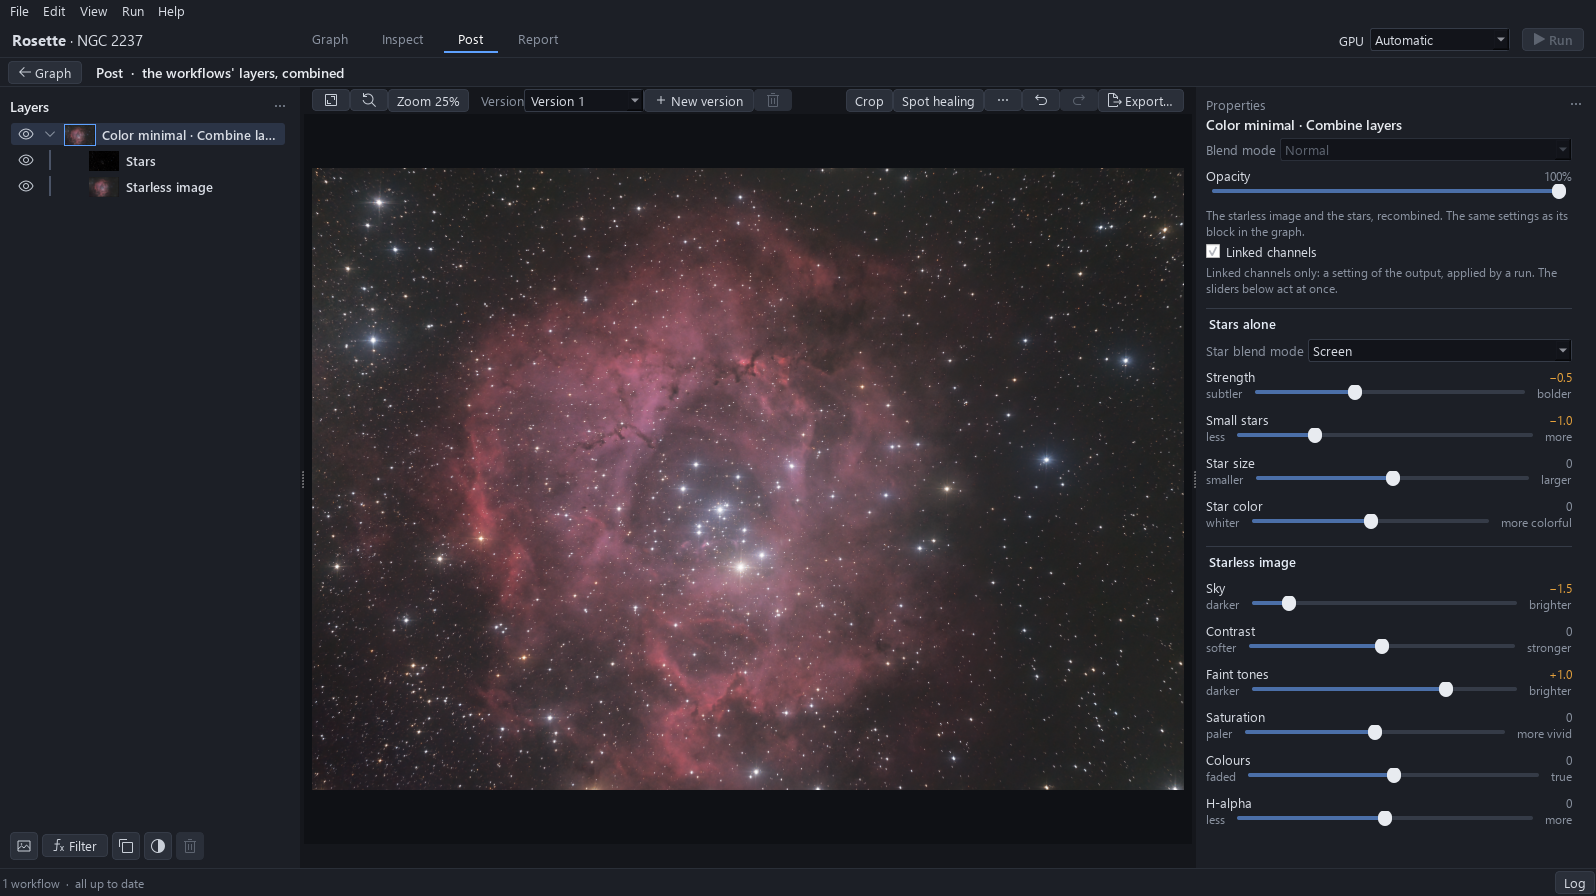
Close the window and click Post. One layer, Color minimal · Combine layers, now replaces the plain one, with two rows under it, Stars and Starless image. The star sliders, Strength, Small stars, Star size and Star color, are active. The picture looks paler: the layer starts from zero, and the Sky and Faint tones of level 1 are not carried over.
Why. The stars are now a layer of their own, with their own sliders: each part of the picture is treated without touching the other. Post builds this layer by itself once the Stars/background block is computed.
To avoid. The layer keeps the template’s name, Color minimal, although the workflow now has Denoise and Stars/background.
8Sky and Faint tones again
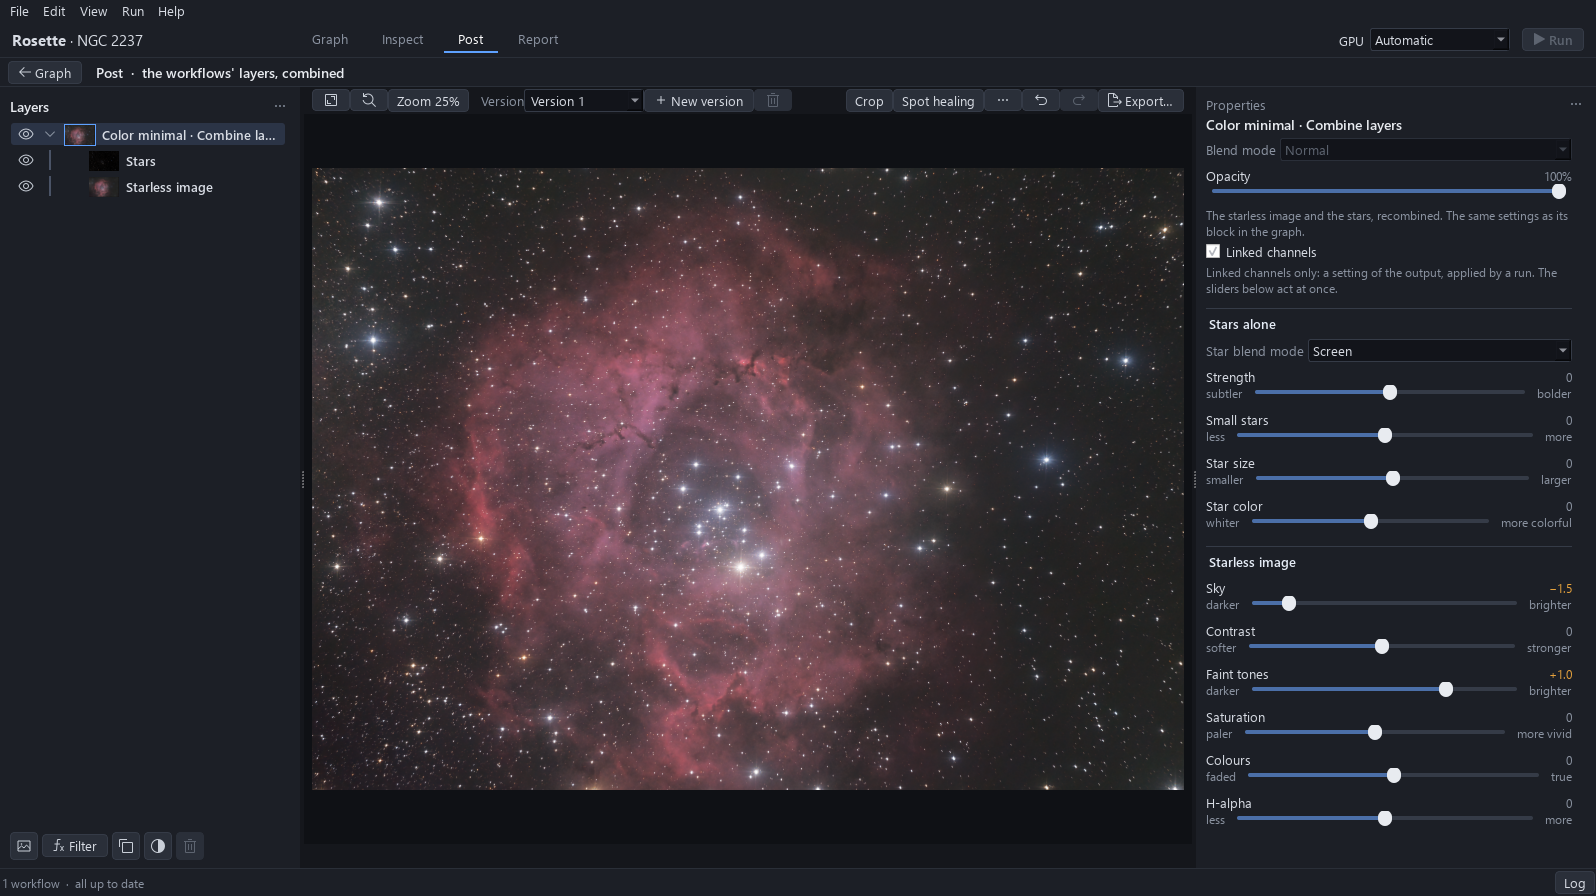
In the Starless image group of the layer’s properties, drag Sky to the left, to about −1.5, and Faint tones to the right, to about +1. They are the goals of the first tutorial, on the new layer. Wait until the picture is drawn again after each.
Why. The sky stays a dark, neutral grey, never black: a black sky swallows the faint edges of the nebula, and a light one looks like fog. The faint tones are the extensions of the nebula, what makes the Rosette a rose and not a disc.
Expected result. The two sliders read −1.5 and +1.0, and the picture is back to the dark sky and the faint filaments of level 1.
9What Denoise did
Zoom to 100 % on the same dark sky as in the diagnosis, then on the filament at the left of the ring. The coloured grain of the sky is gone, the faint glow of the outskirts shows, and the filament is smooth. The noise measured on the sky of the exported picture goes from 5.2 to 1.1 levels.
Expected result. The same sliders give the same picture, without the grain.
To avoid. Denoise is for pictures, not for measurements: it slightly brightens the faint stars (+8 to +11 % on the bench).
10Stars quieter: Strength
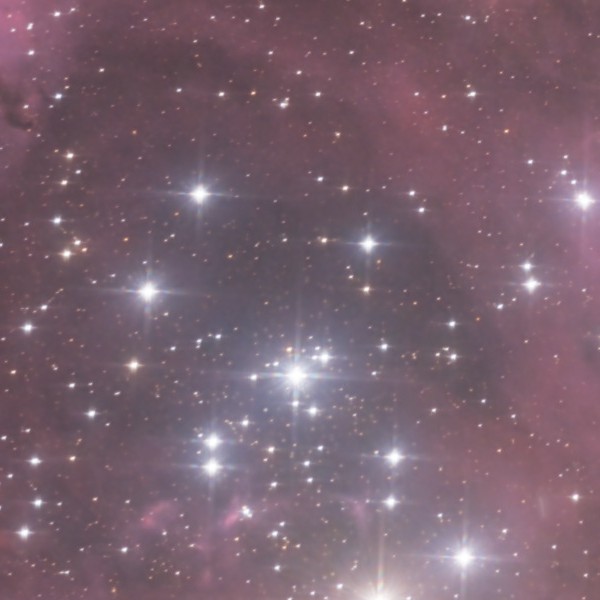
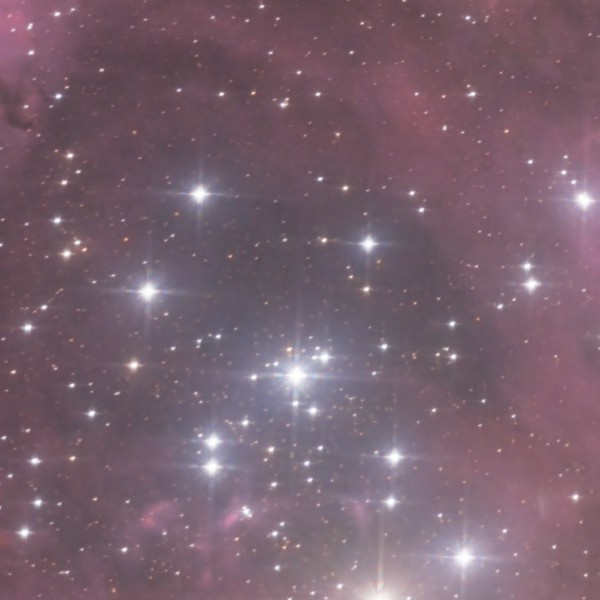
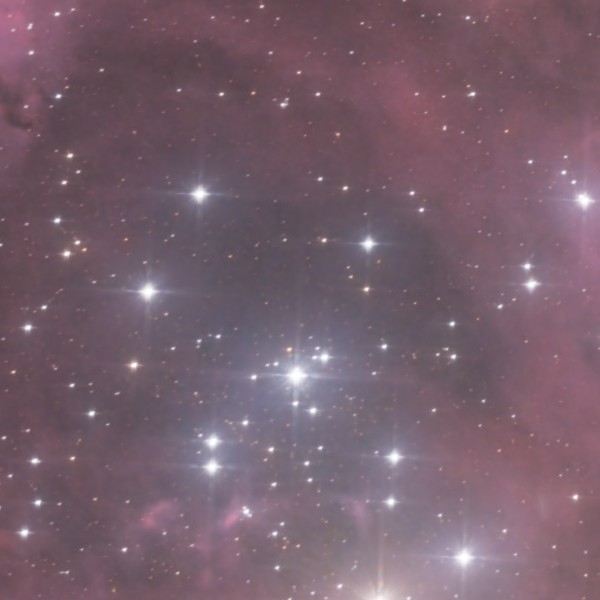
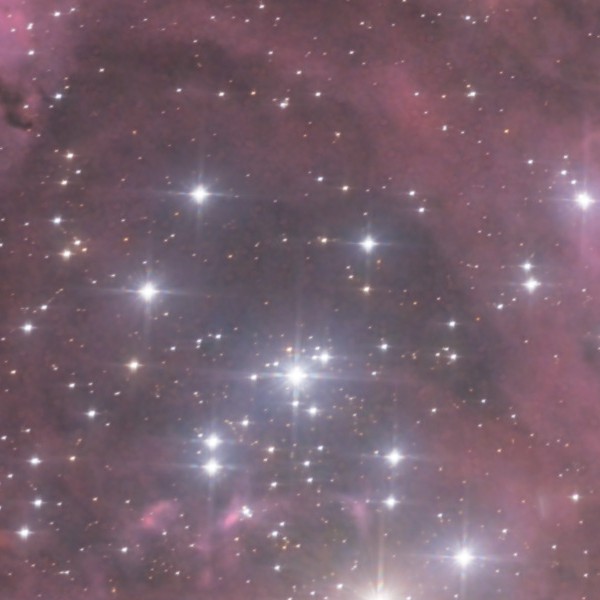
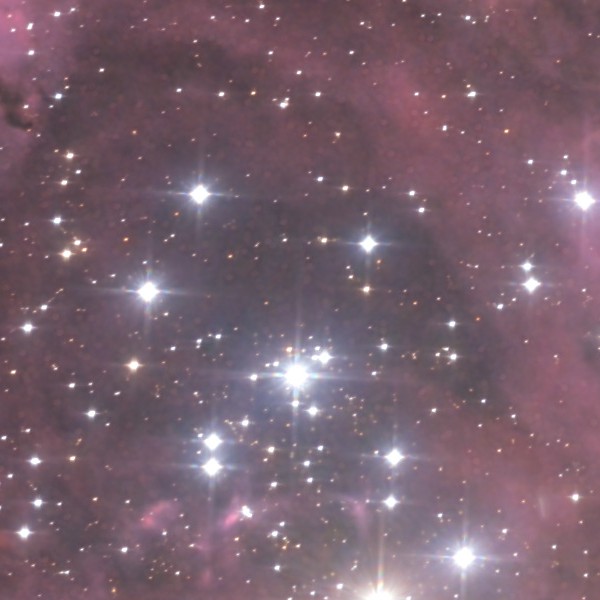
With the layer’s top row selected, drag Strength, in the Stars group, a little to the left until the stars over the ring take less light: the cluster stays but stops covering the gas, here about −0.5.
Why. In this field the stars outnumber everything, and the subject is the gas.
To avoid. Go gently: a field without stars looks fake.
11Fewer tiny stars: Small stars
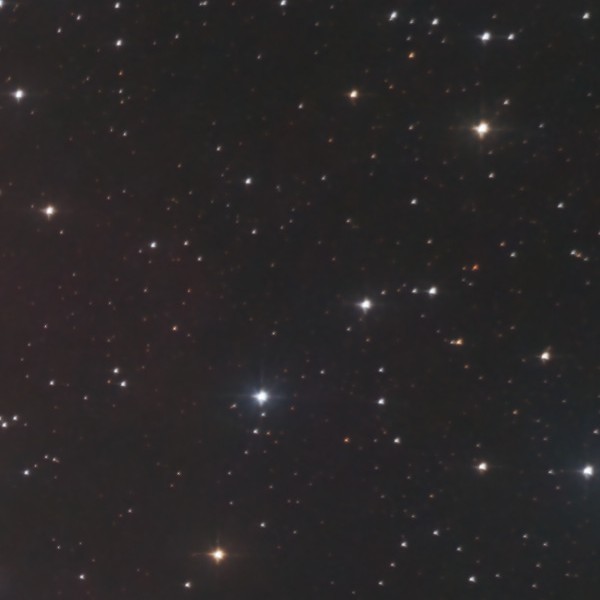
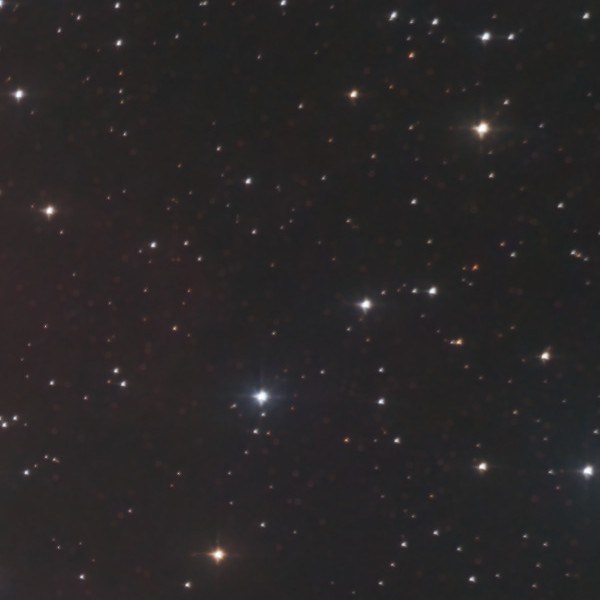
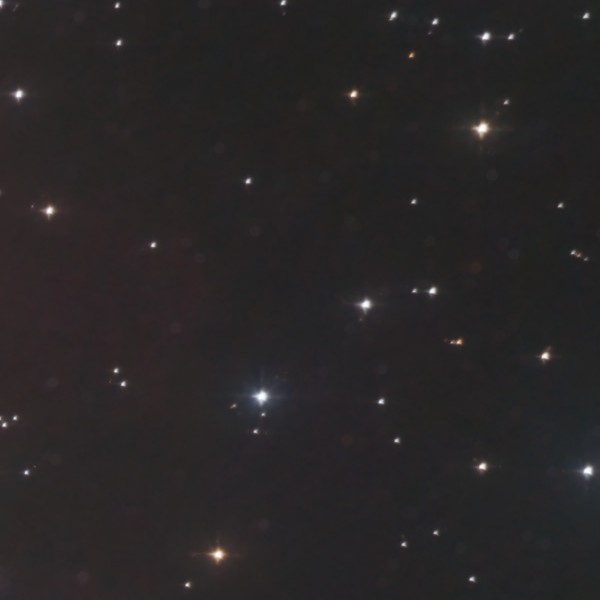
Drag Small stars to the left until the swarm of tiny stars thins out and the faint gas between them shows, here about −1.
Why. The small stars are the ones that make a picture busy. Taking a share of them away is what most imagers do with a star-rich field. Small stars and Strength are independent: their order does not matter.
To avoid. Do not push it to the far left: grey round dots appear in the sky where the stars were taken away, and the field looks empty.
12Local contrast on the starless image
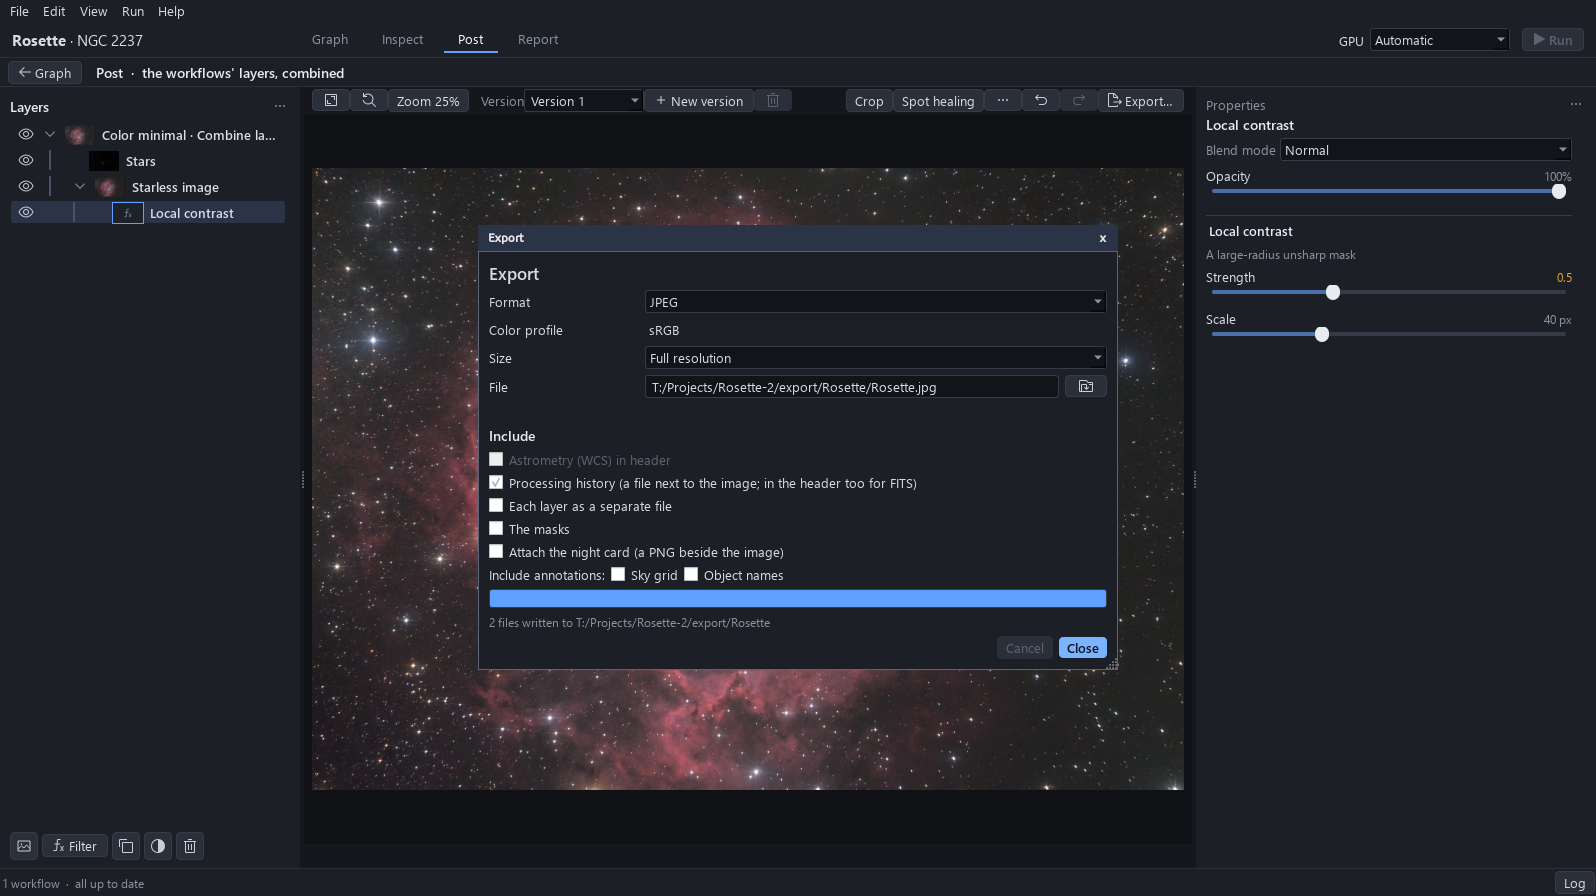
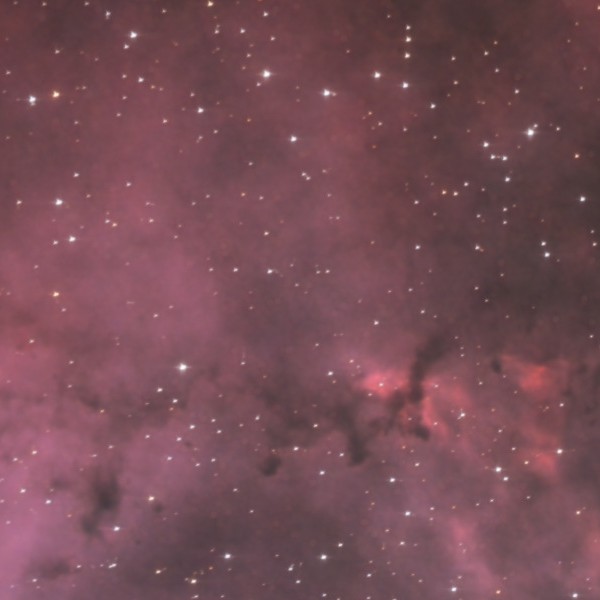
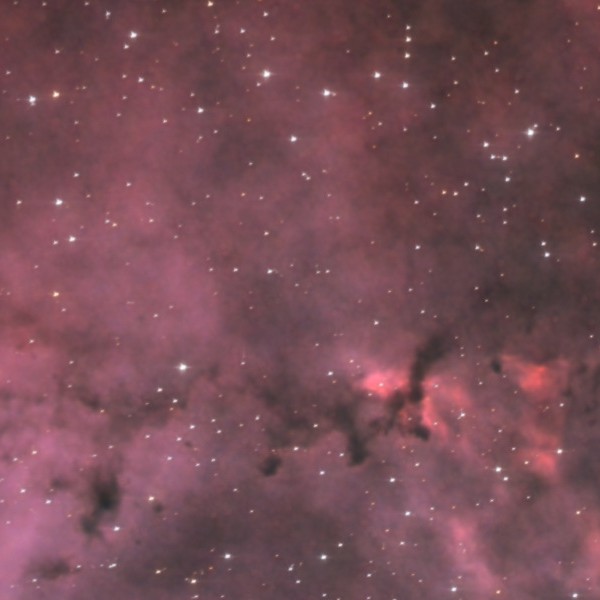
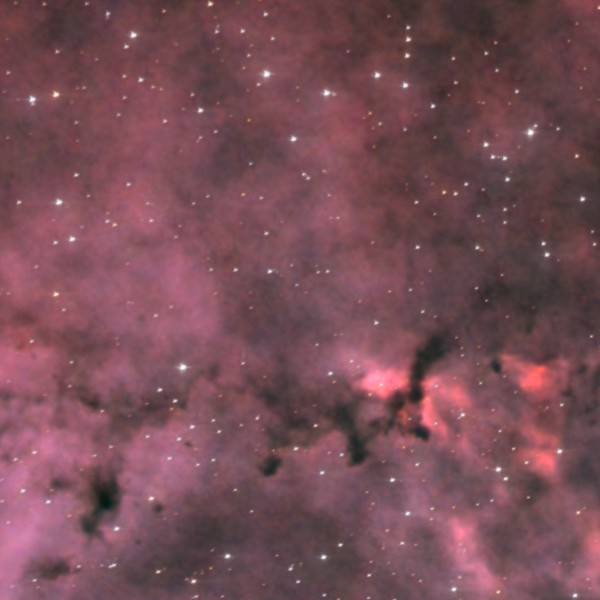
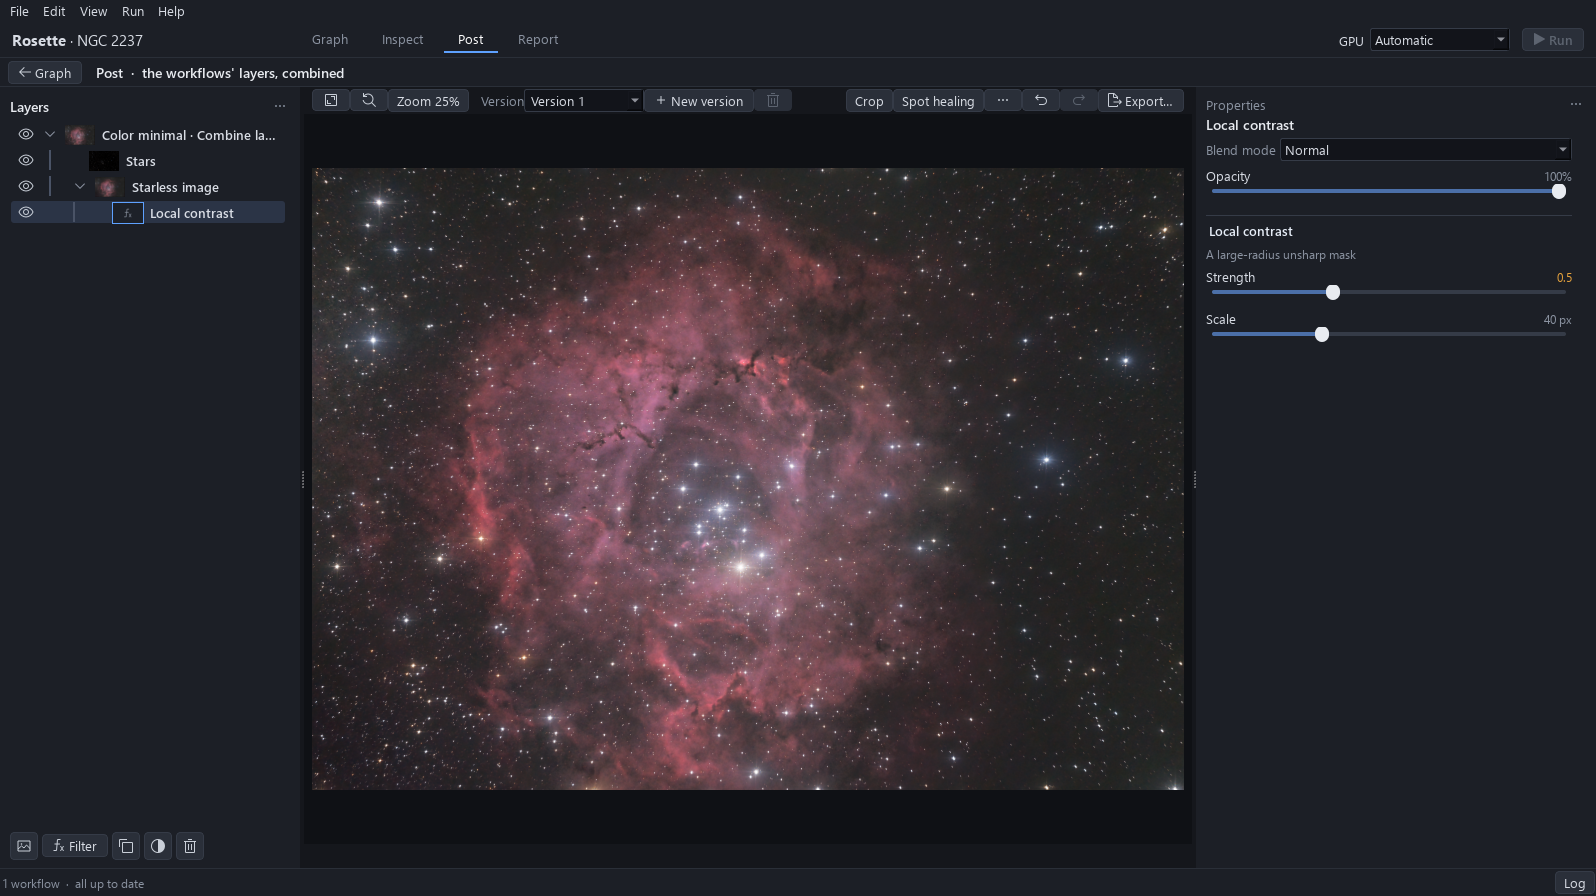
Click the Starless image row, then Filter, Contrast and Local contrast. Drag its Strength to the right until the dark globules and the folds of the ring stand out from the gas around them, here about 0.5. Leave Scale at its default, 40 px.
Why. The filter goes on the starless image and not on everything: over the stars, the same filter makes them hard, square and haloed. That is the reason the stars were separated.
Expected result. The filter appears under the Starless image row, and the stars are untouched.
To avoid. A Scale of 60 instead of 40 shows no visible difference (0.7 level on average): leave it alone.
13Export
Click Export…, choose JPEG in Format and click Export. The file is named after the project, in its export folder.
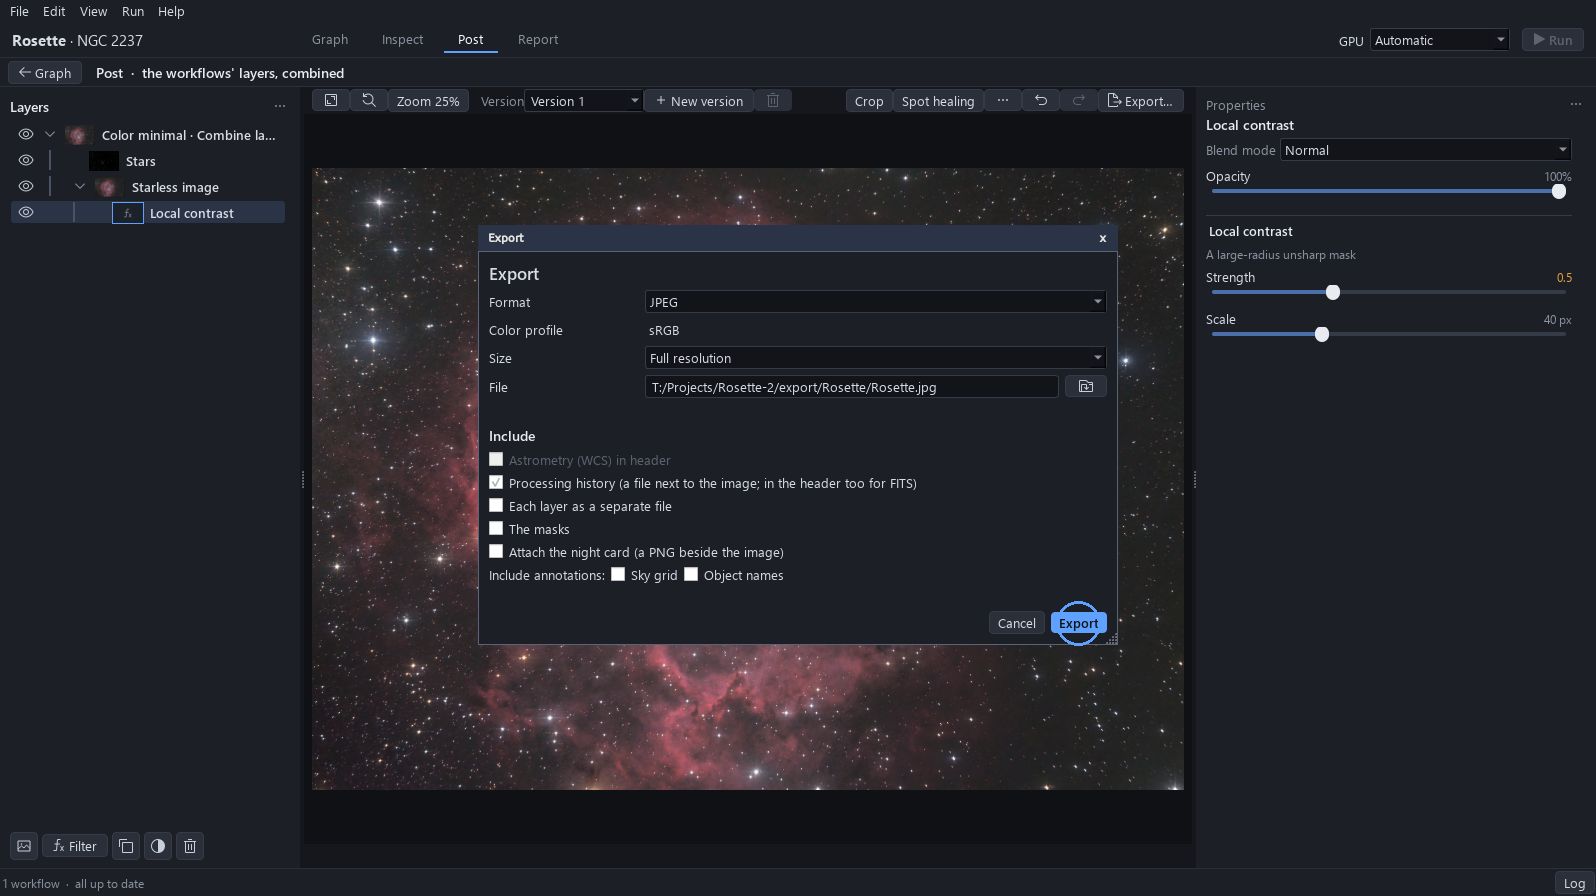
14The image is written
The window says how many files were written: the image and its processing history. Close it. Press Ctrl+S to keep the project with its two new blocks, its new layer and the three settings.