The path · 2 Intermediate
Add a second night
A second night of the same target is added to the project of the first tutorial as a second session of its workflow, named by its night, with its 358 lights and the darks and flats of the first night reused. The computation takes 38 min, then the project is opened again: 754 frames are kept of 794, Post is unchanged, and the faint gas has 3 to 12 % less noise at 100 %.
| Duration | About 10 min for the gestures, plus 38 min of computing on a PC with an RTX 4060 Ti graphics card (16 GB) |
|---|---|
| Requirements |
|
| Data set | Rosette Nebula (NGC 2237) · Sony A7S, 15 s at ISO 4000 · 130/900 Newtonian · 436 lights (1.8 h), 48 darks, 62 flats · second night: 358 lights of 15 s (1.5 h), 28 December 2024, the authors of FLOAT; size 6.9 GB, plus 4.3 GB for the second night. The frames will be offered for download; the link will be given here |
1Open the project of the first tutorial
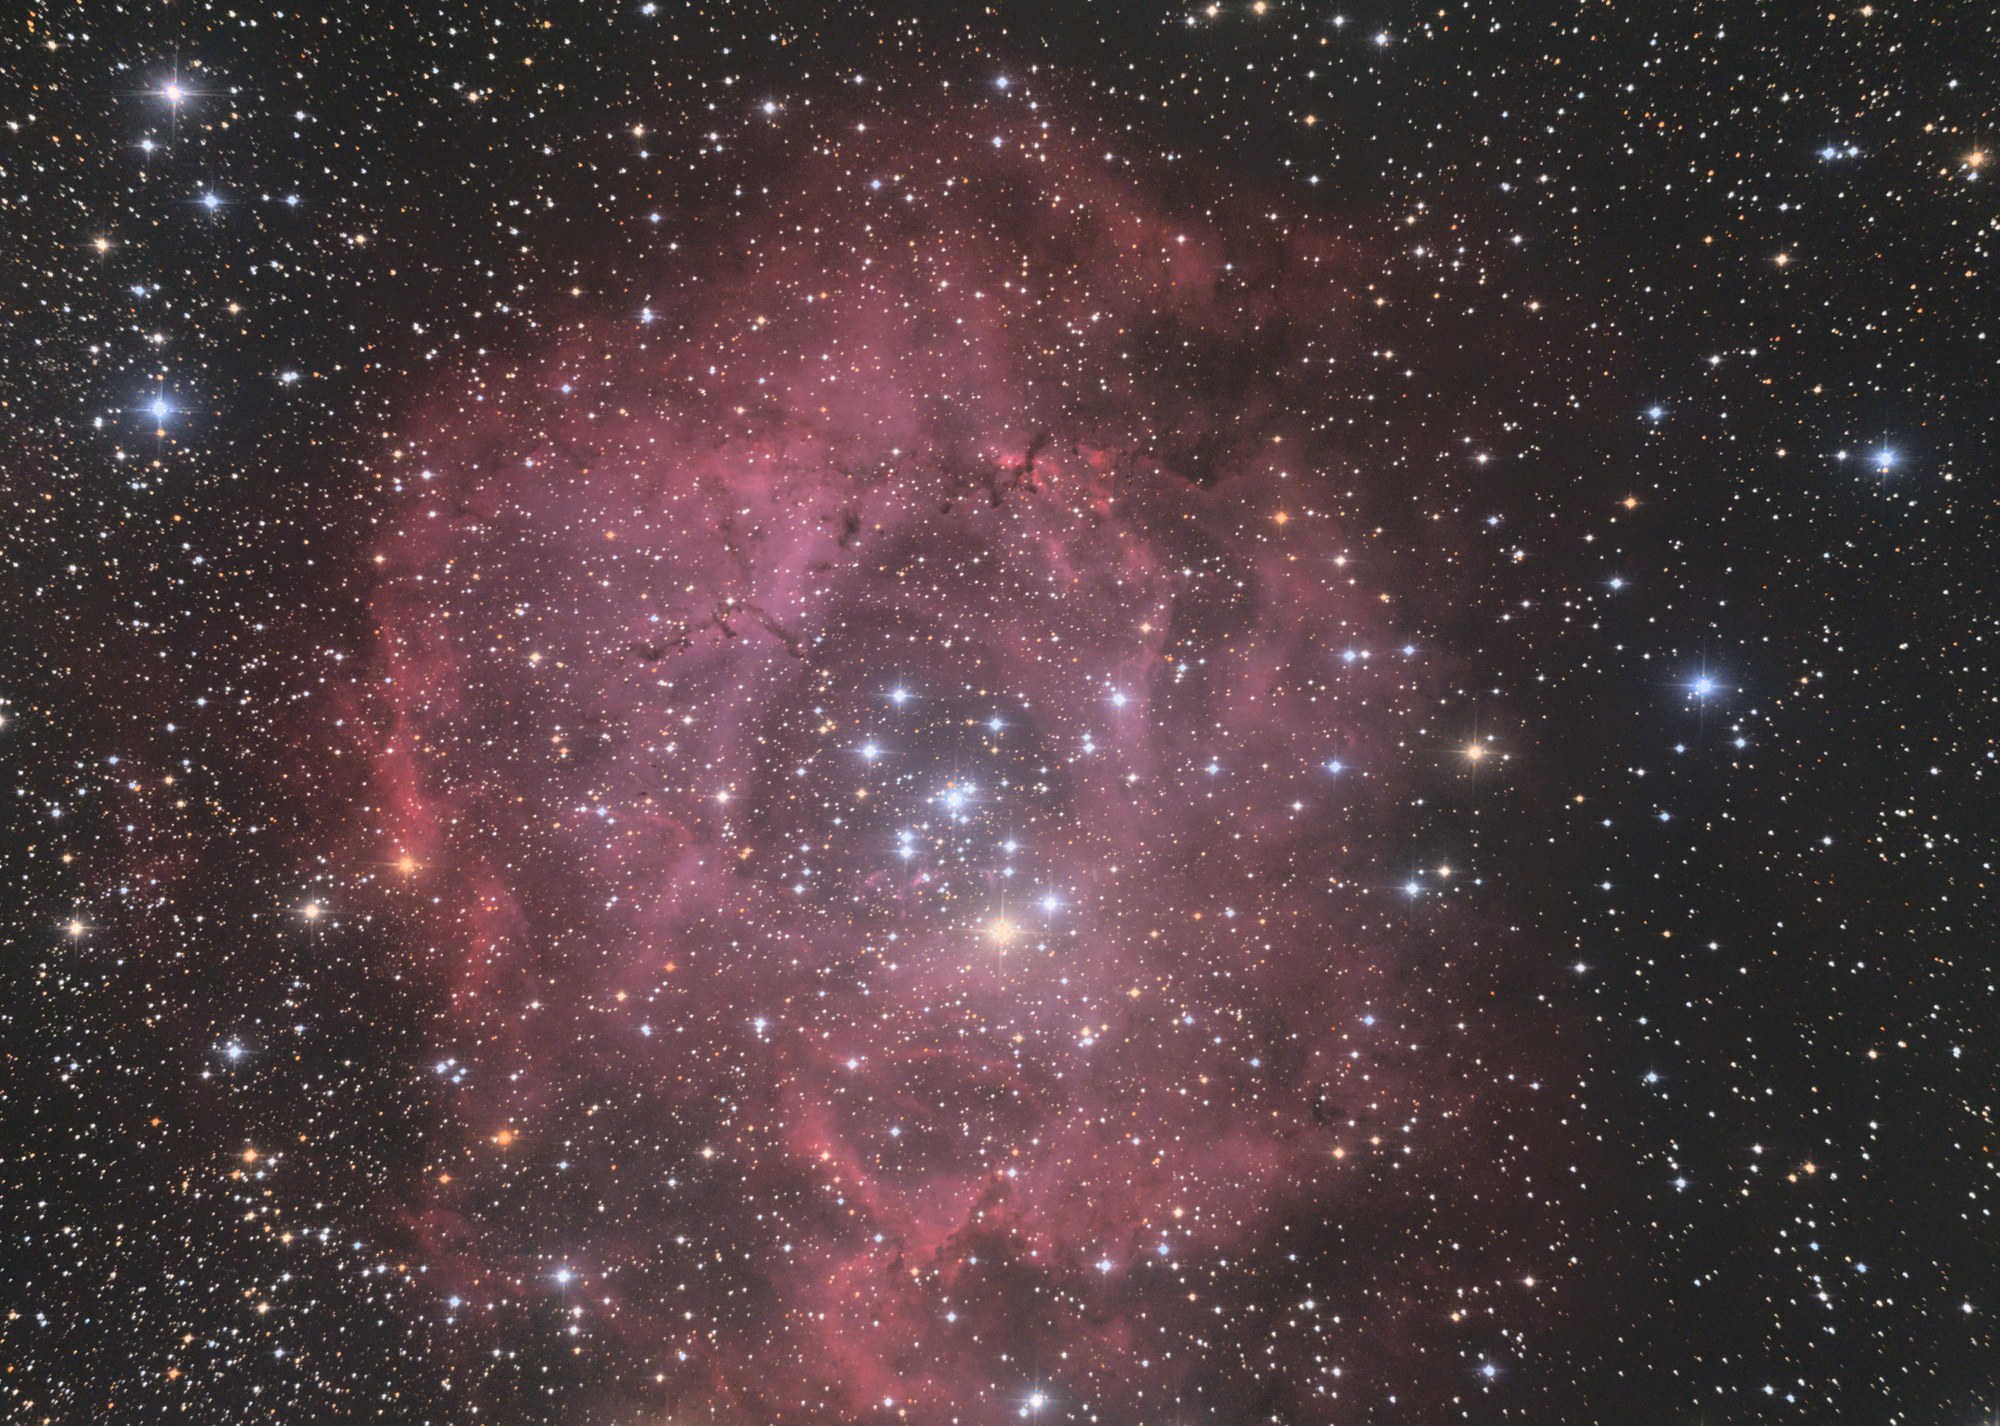
On the Home screen click Open project… and choose the finished project of the first tutorial, or a copy of its folder. The project opens up to date, with one night: 436 lights, 1.8 h of light.
Expected result. The status bar reads all up to date.
2Diagnosis in Post
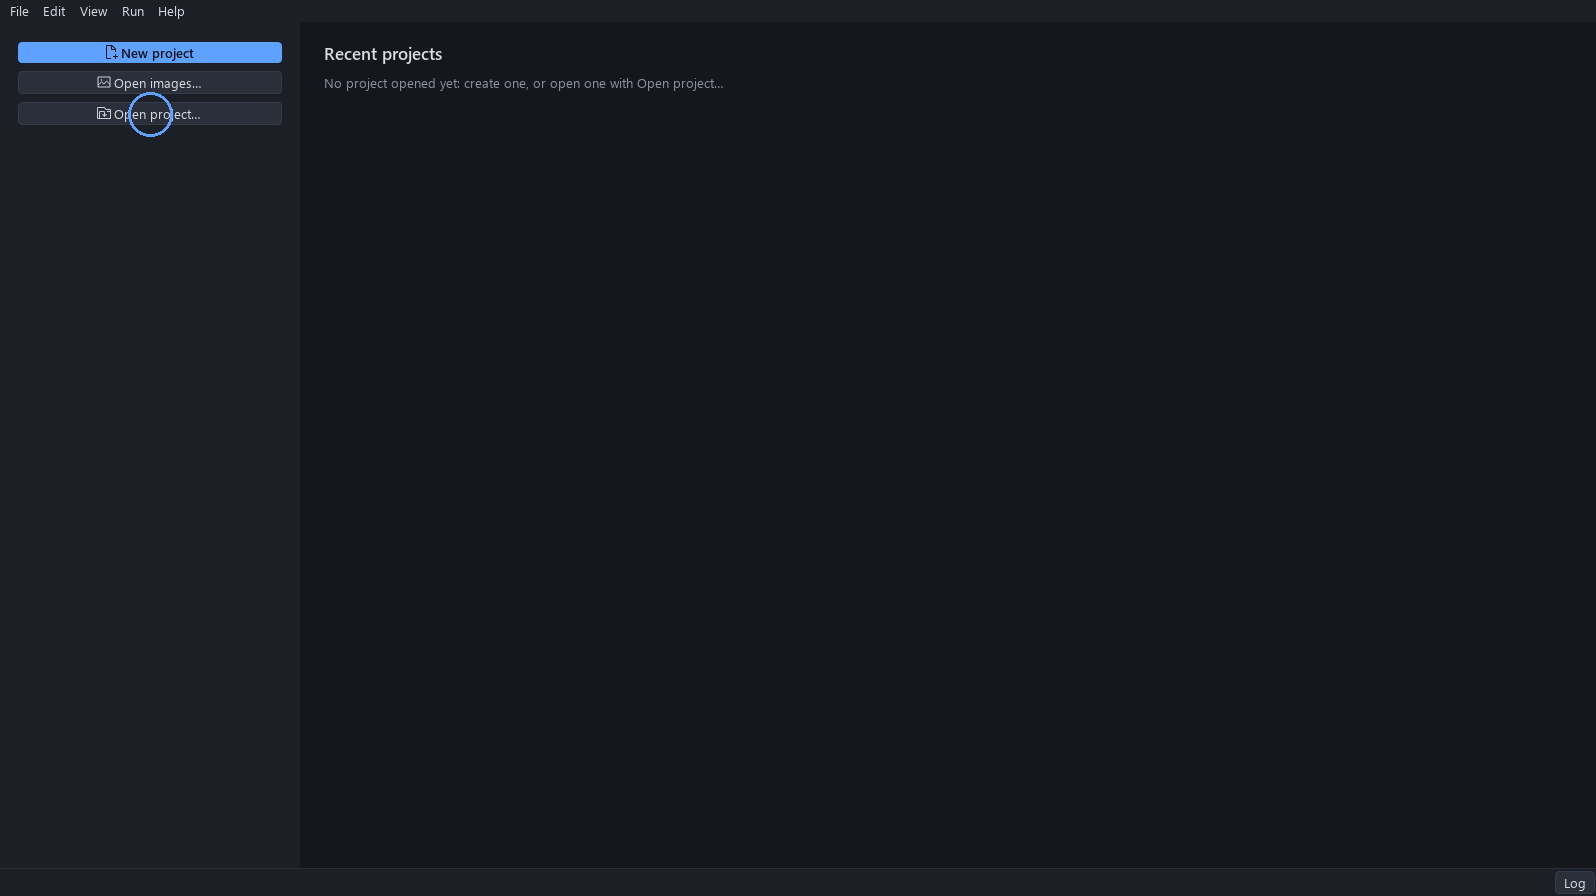
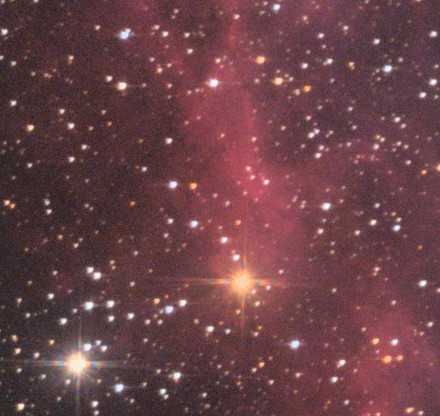
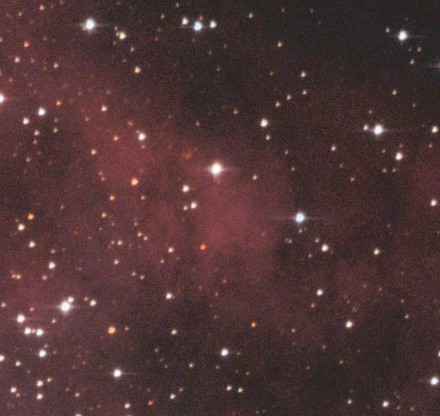
Click Post. The picture is the one of the first tutorial. Before any gesture, zoom to 100 % (Ctrl and the mouse wheel over the picture) on a faint filament of the gas, then come back to the whole picture with the fit button. Right, and to leave alone: everything else, the layer, its sliders, the crop and the colours.
Expected result. The faint gas shows a fine grain at 100 %, and none on the whole picture.
| What is wrong | How it is read | What corrects it |
|---|---|---|
| A grain lies in the faint gas at 100 %. | At 100 % on the faint filament at the left of the ring, the gas is speckled with fine grain. On the fitted view it does not show. | Add a second night to the workflow. (step 3) |
| The picture holds 1.8 h of light, from one night. | The Table and the Inspect page read 436 lights of 15 s for the session of the 29th. The night of the 28th adds 358 lights, 1.5 h. | Add the lights of the second night. (step 5) |
3Add a Session block
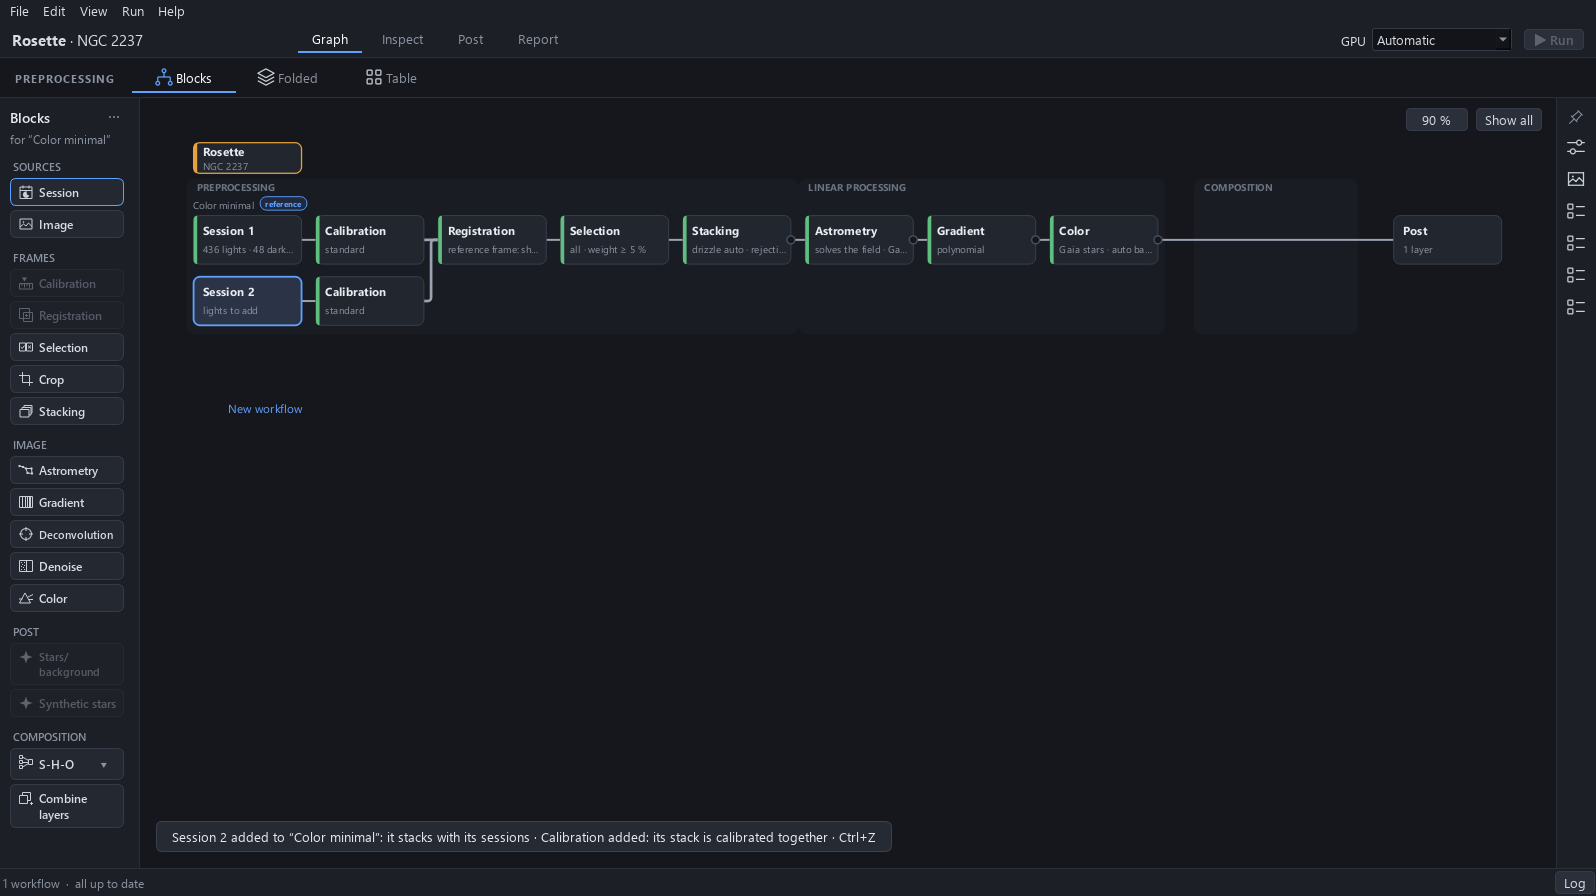
Click Graph, click the card of the workflow’s first block, then double-click Session in the palette. The window says: Session 2 added to “Color minimal”: it stacks with its sessions, then Calibration added: its stack is calibrated together.
Why. The new night is a second session of the same workflow, and not more files in the first session: each night keeps its own frames, and both are stacked together into one picture.
Expected result. A second row, Session 2, appears under Session 1 in the Preprocessing band.
4Name the session by its night
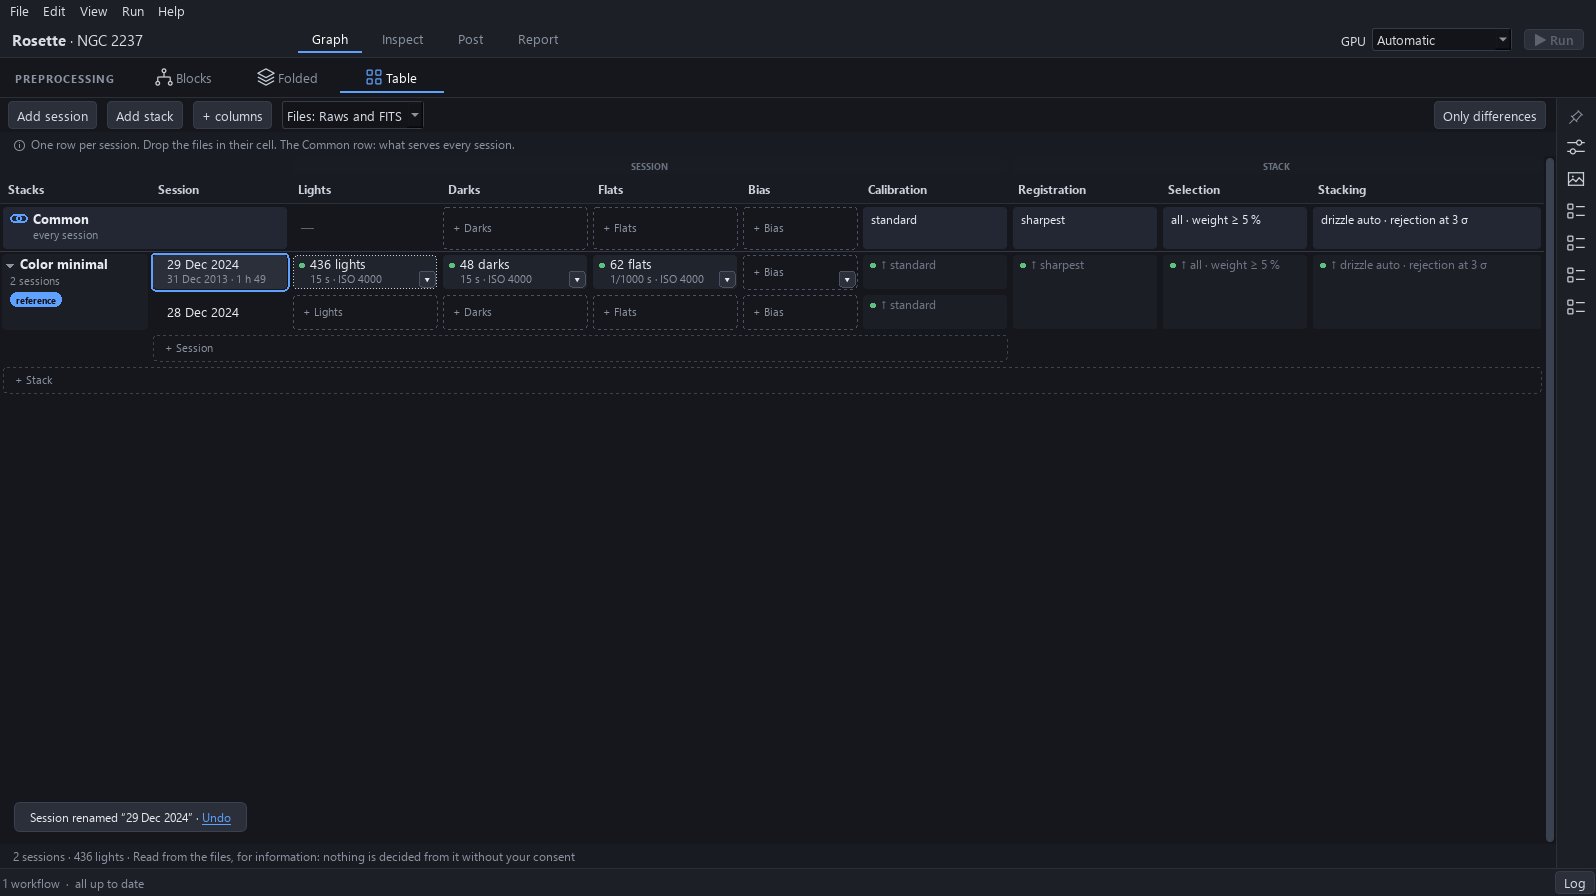
Click Table. Click the new session’s name, press F2 and type 28 Dec 2024, then name the first session 29 Dec 2024 the same way.
Why. A name that says the night tells the two sessions apart in the Table, in Inspect and in the menus.
Expected result. The Table reads 29 Dec 2024 and 28 Dec 2024.
5Add the lights of the second night
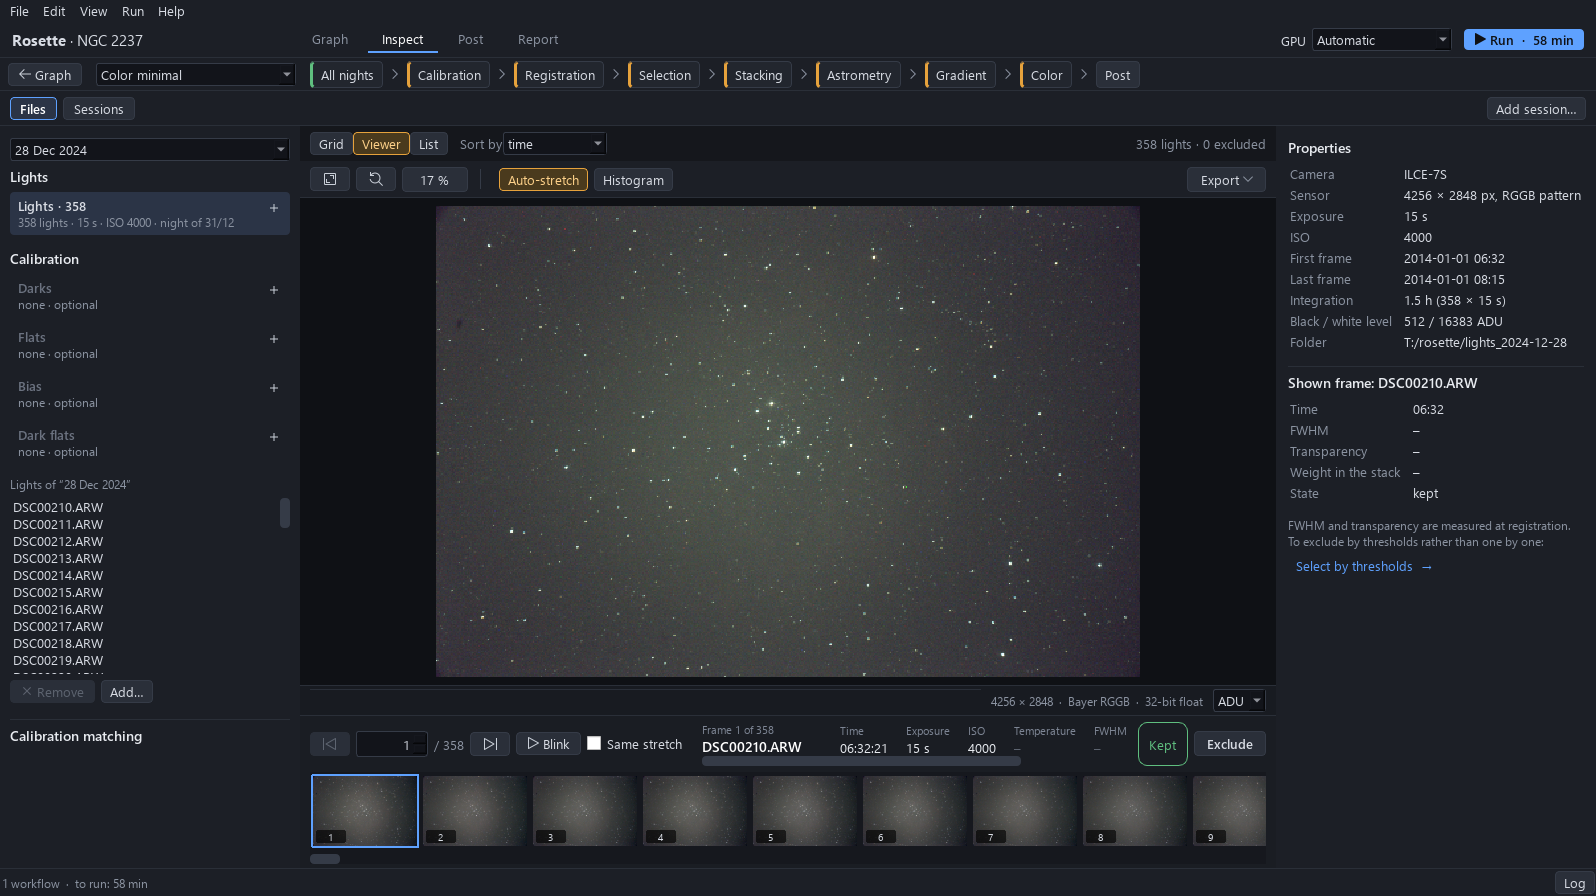
With the new session selected, click Inspect. In the Lights group click +, then Add folder…, and choose the folder of the night of 28 December: 358 lights of 15 s at ISO 4000, 1.5 h.
Why. The lights are the exposures of the target: the second night brings 1.5 h on top of the 1.8 h of the first.
Expected result. The Lights group reads 358, and the Run button gives an estimate.
6Reuse the darks and the flats of the first night
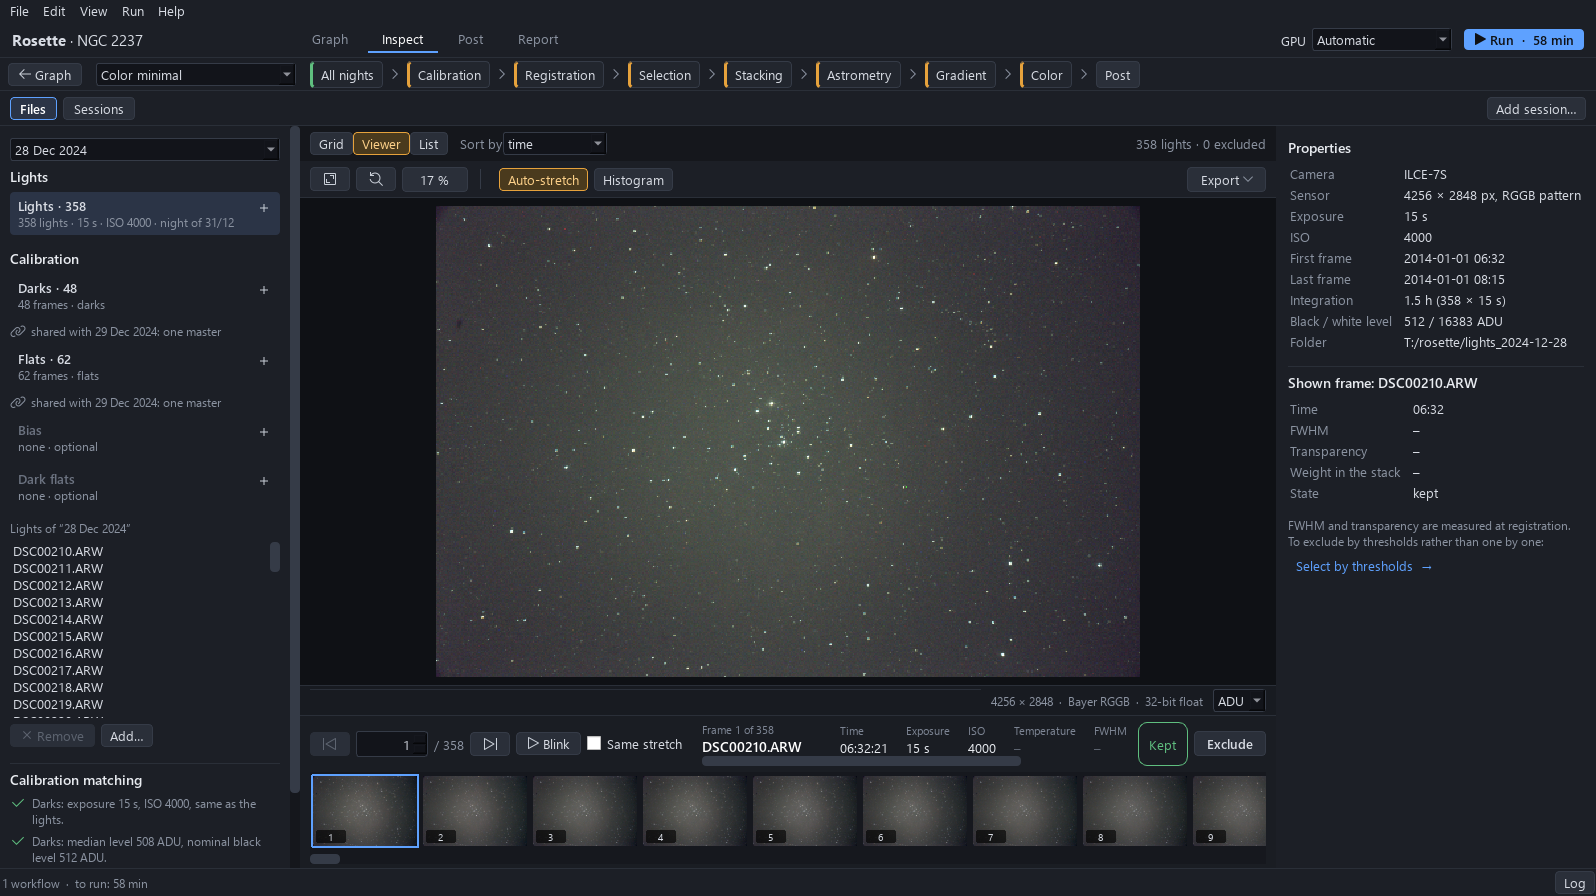
In the Darks group click + and choose Use the frames of “29 Dec 2024”. Do the same in the Flats group.
Why. The two nights come from the same camera, with the same settings and the same telescope, a day apart: the darks and the flats of the first night fit the second. The masters are shared, one for both sessions.
Expected result. Each group reads “shared with 29 Dec 2024: one master”.
7Run
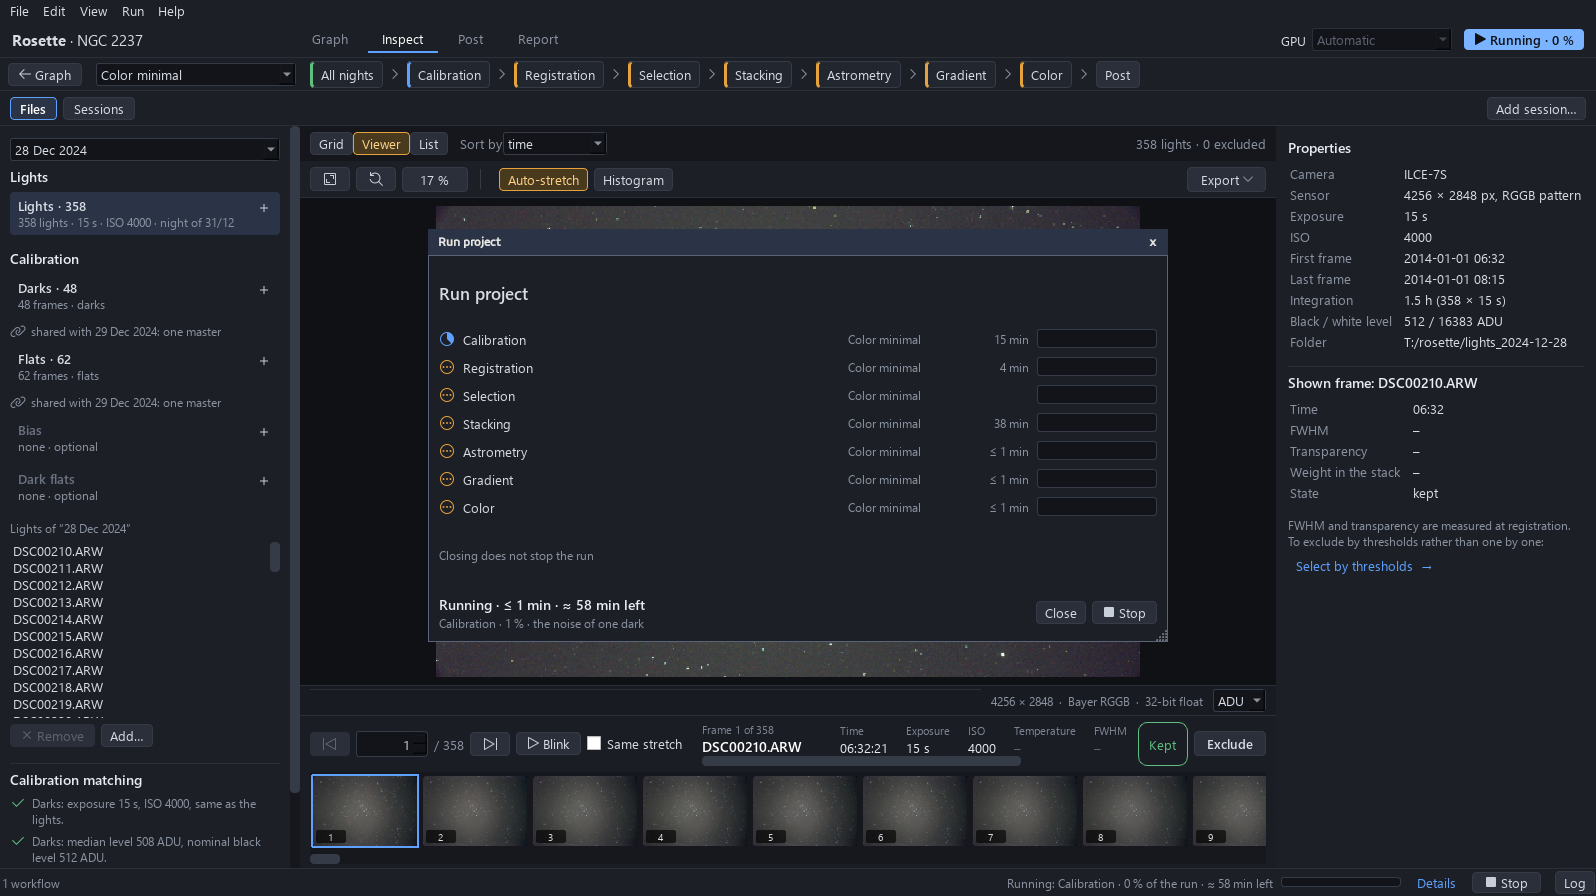
Click Run. The Run project window lists what is computed: the calibration, the registration, the stacking and the blocks that follow, each with its estimate.
Why. The calibration, the registration and the stacking take the two nights into account, since the sessions of a stack are stacked together. The blocks after the stack follow.
Expected result. The window lists the blocks with their estimates, and the status bar reads Running.
8The computation
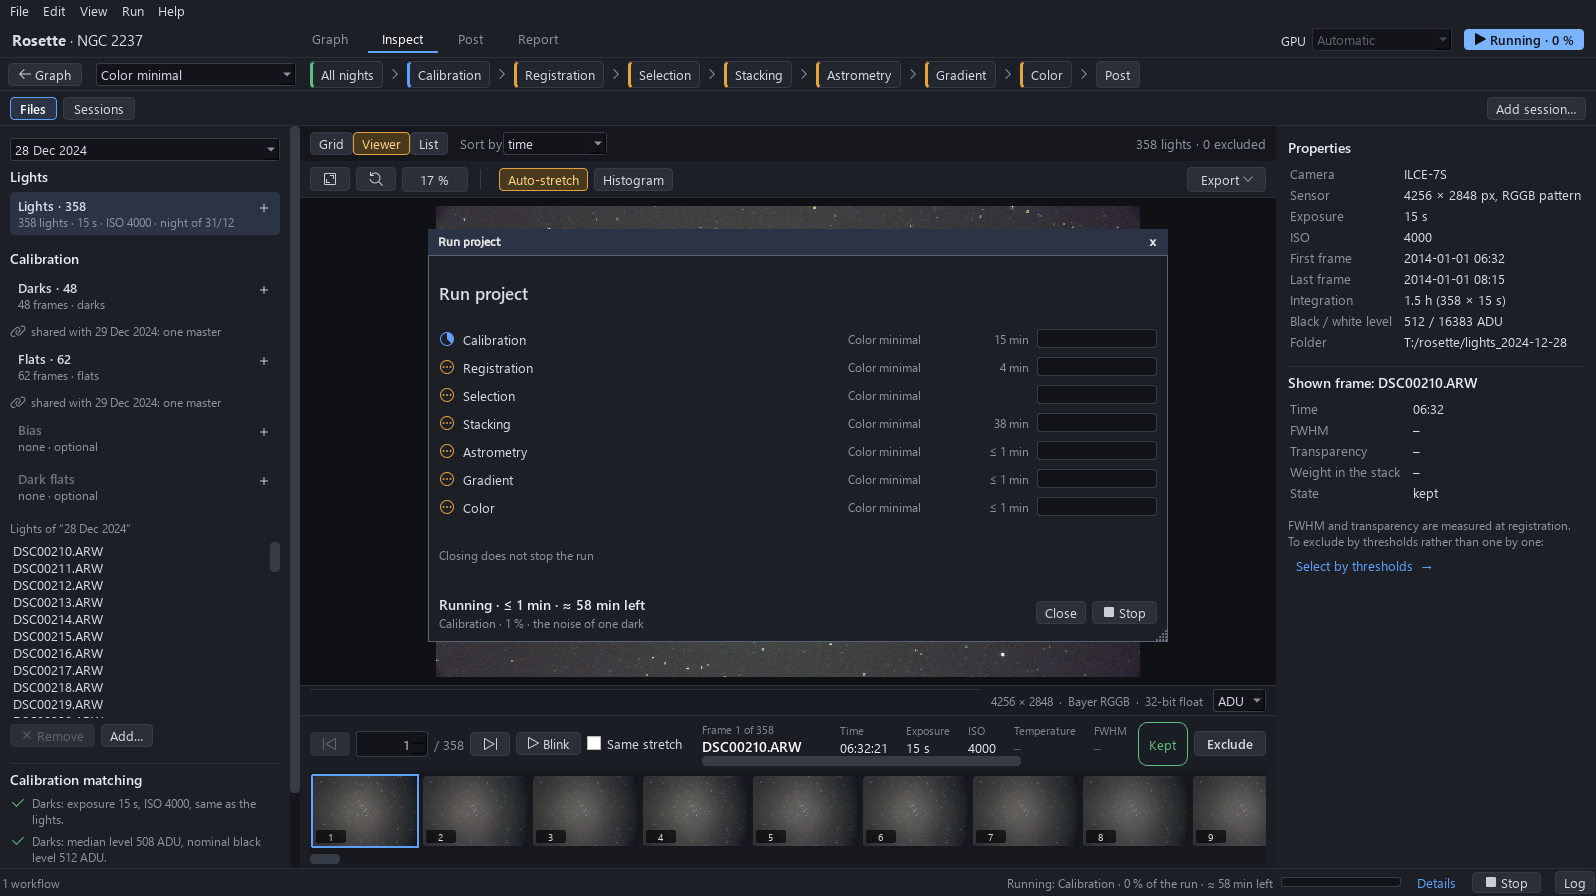
The computation took 38 min on an RTX 4060 Ti graphics card (16 GB). It is not shown in real time: the film resumes in the finished project.
Why. The stages are: inventory 0.1 min, calibration 12.6 min for the 794 frames of the two nights, registration 2.4 min, stacking 22.3 min, the rest under 1 min.
9The two nights registered
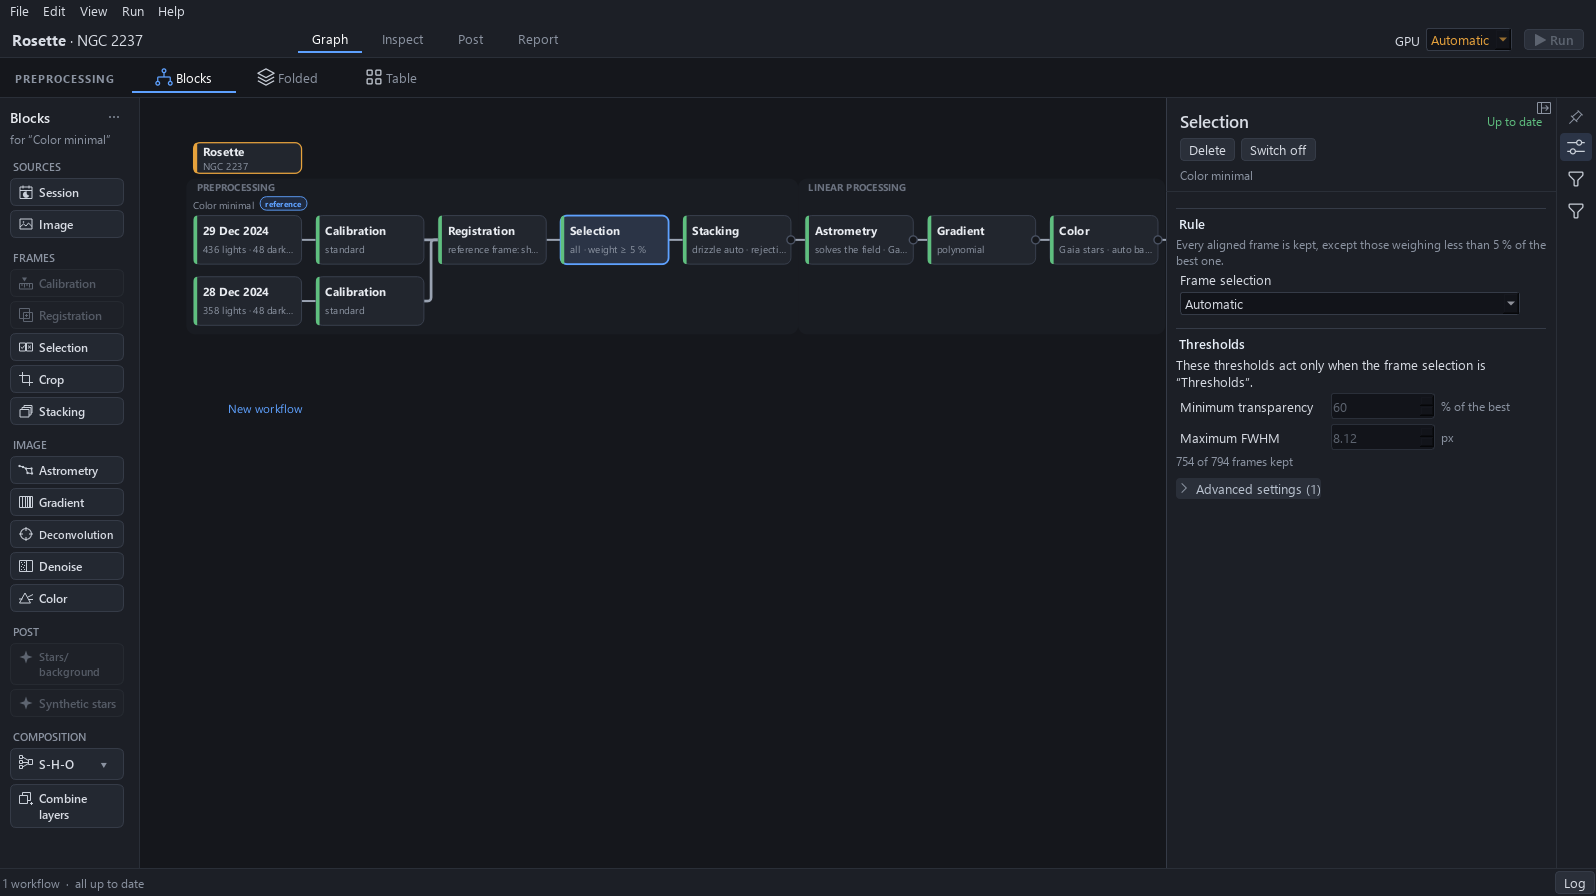
In the finished project, on the Graph page, click the Selection card and the settings button on the right edge. The panel reads 754 of 794 frames kept.
Why. The two nights are turned by 178° from each other, with no meridian flip, and they register with a residual of 0.29 px. 754 frames of the 794 are kept for the stack.
Expected result. The two sessions, 29 Dec 2024 and 28 Dec 2024, are in the Preprocessing band.
10The light in the report
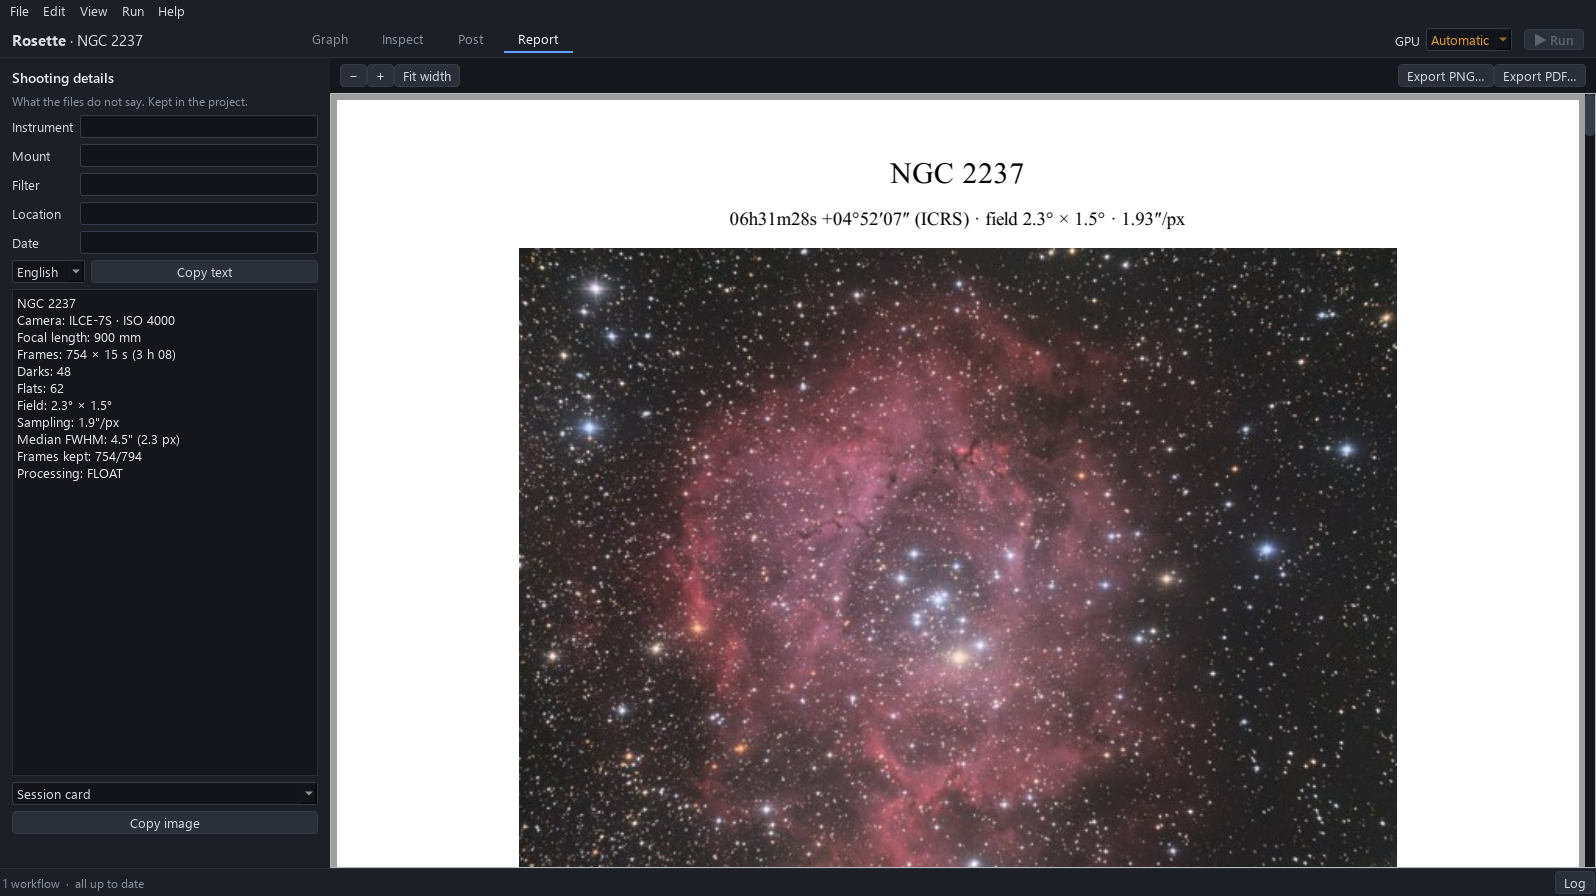
Click Report. The shooting details read 754 frames of 15 s, 3 h 08 of light, and frames kept 754/794.
Expected result. Frames: 754 × 15 s (3 h 08).
11Post is unchanged
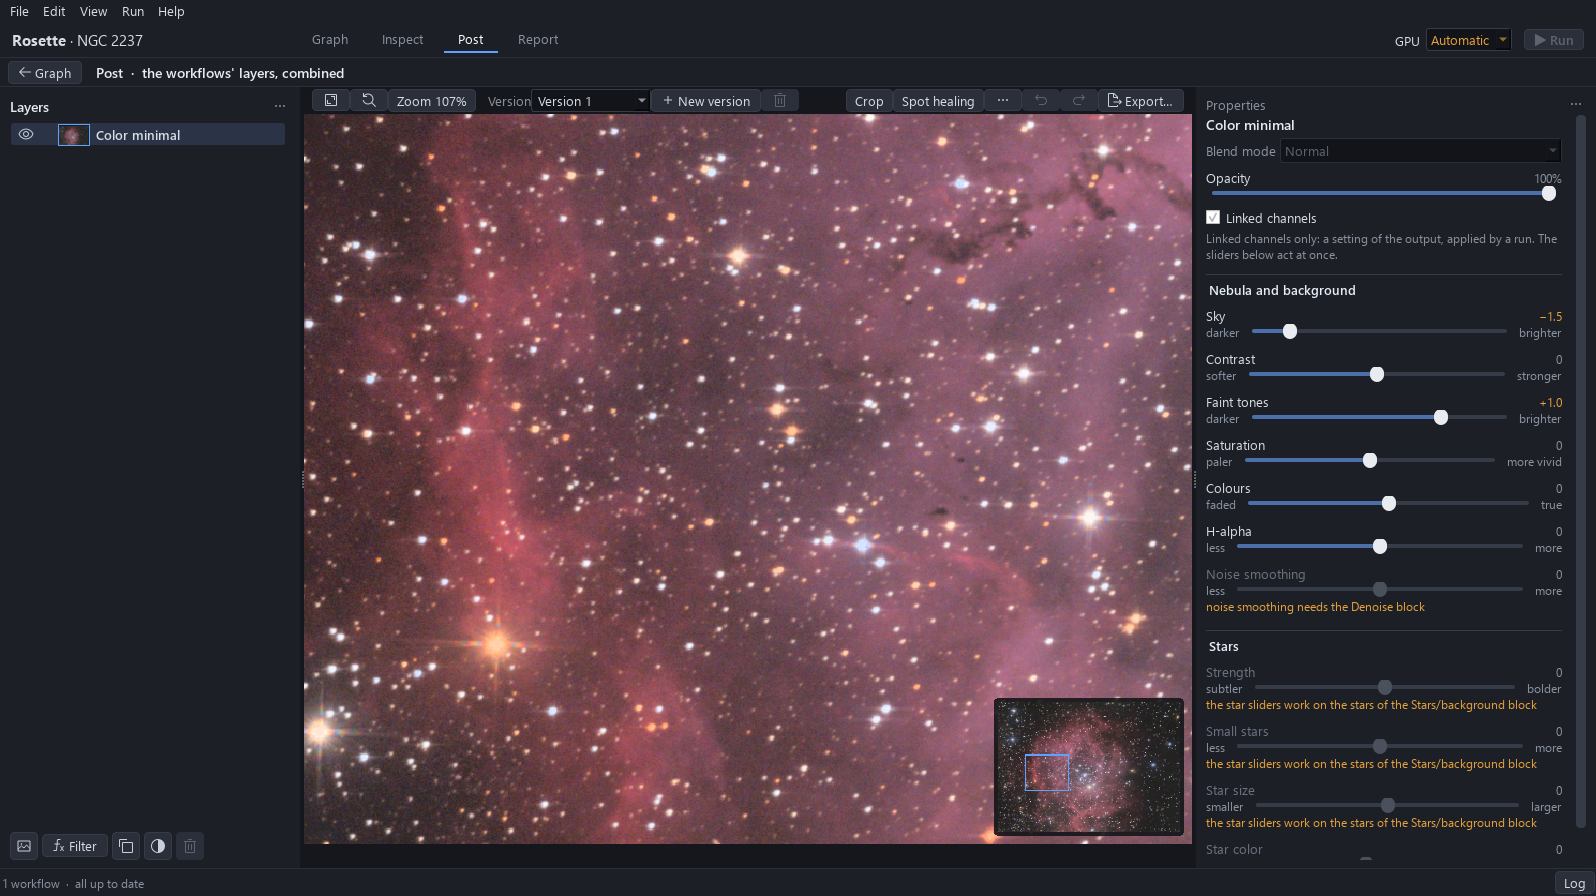
Click Post. The layer and its sliders are the same as before, and at the fitted size the picture is the same.
Why. The settings of Post act on whatever the blocks before it deliver: a better stack goes through the same layer without any new gesture.
Expected result. Sky and Faint tones read the same values as in the first tutorial.
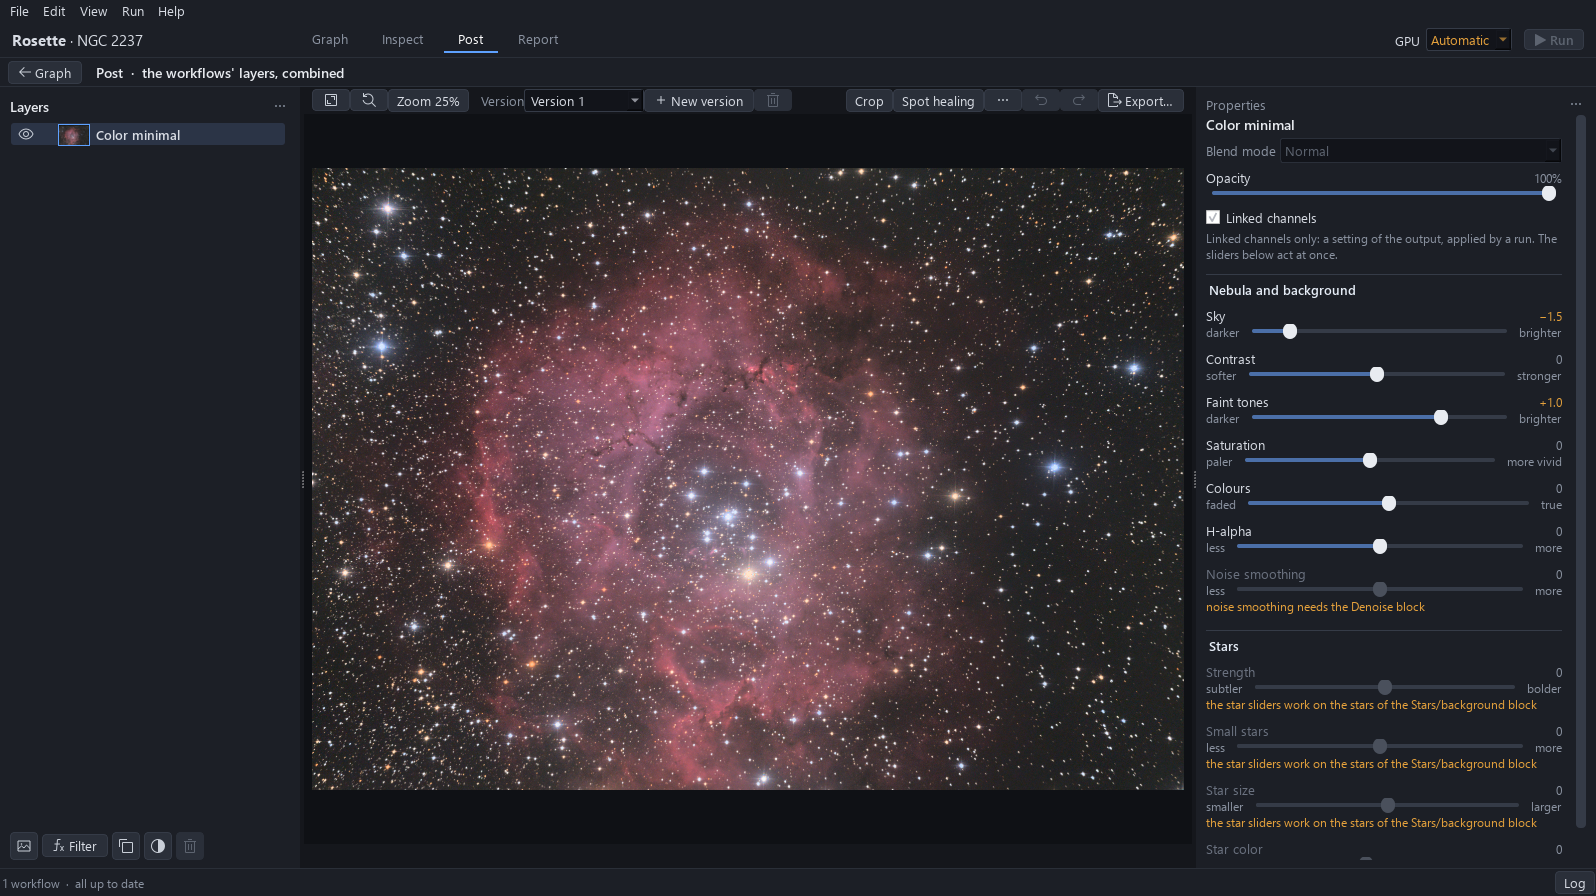
12The gain at 100 %
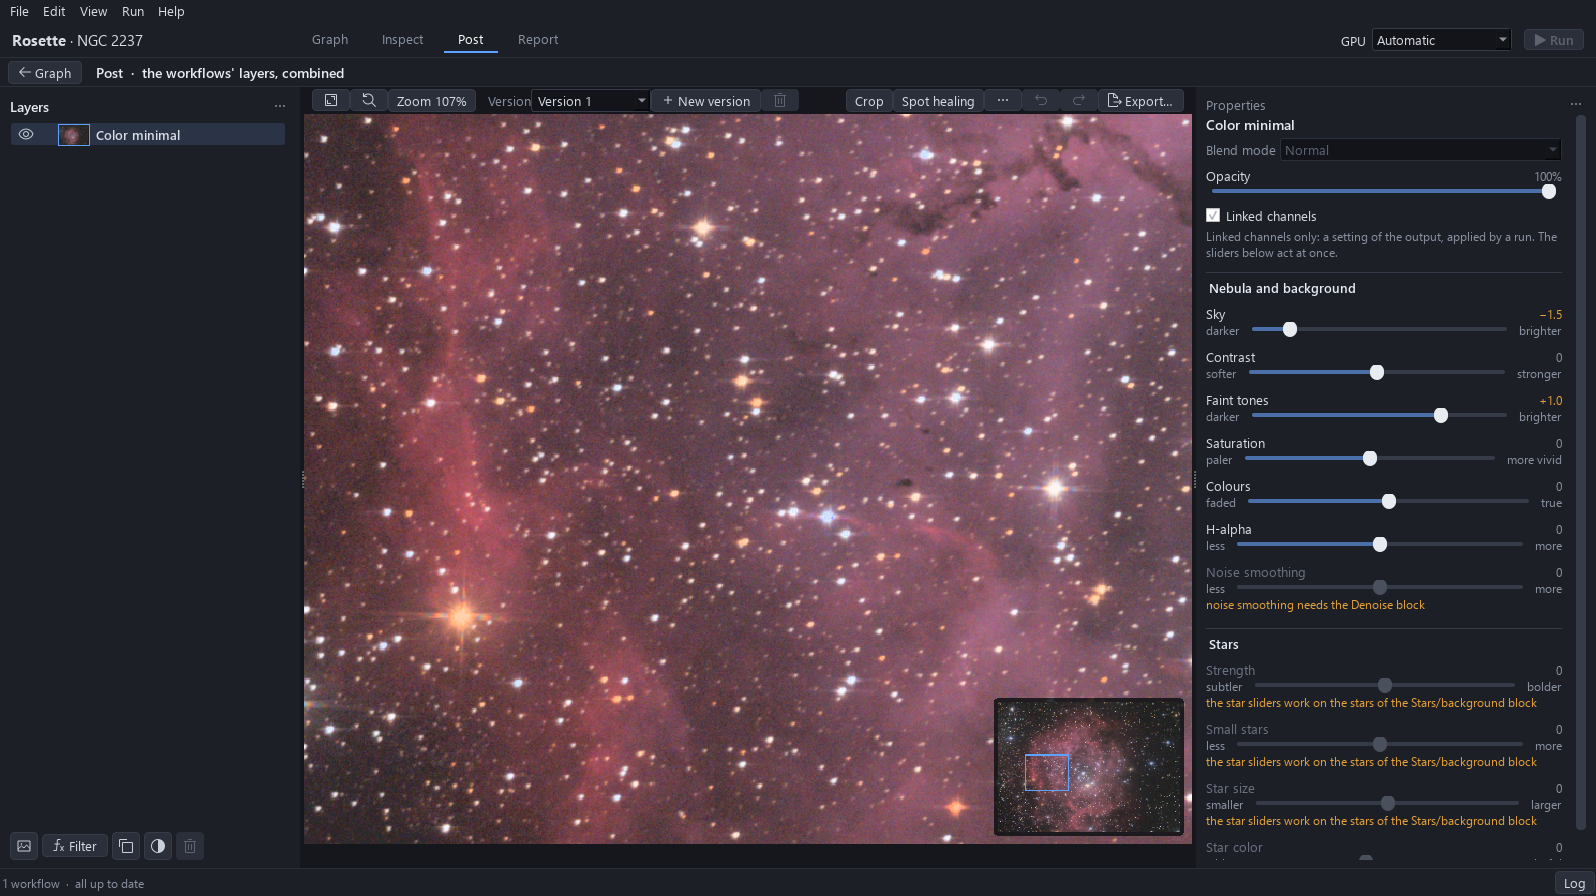
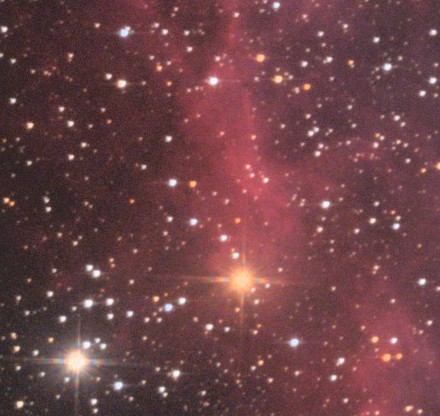
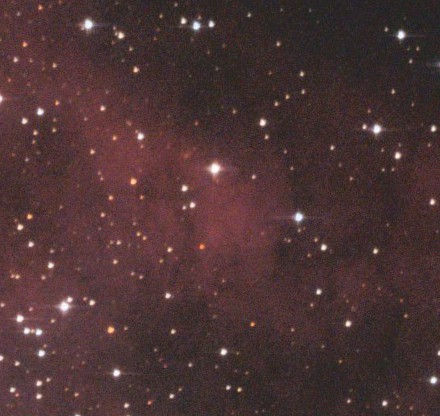
Zoom to 100 % on the same faint filament as in the diagnosis. The gas has less grain: the noise is 3 to 12 % lower, measured on four zones of the picture.
Why. The gain shows at 100 % and not on the whole picture.
Expected result. At 100 %, the faint gas is smoother than in the diagnosis.
13Export
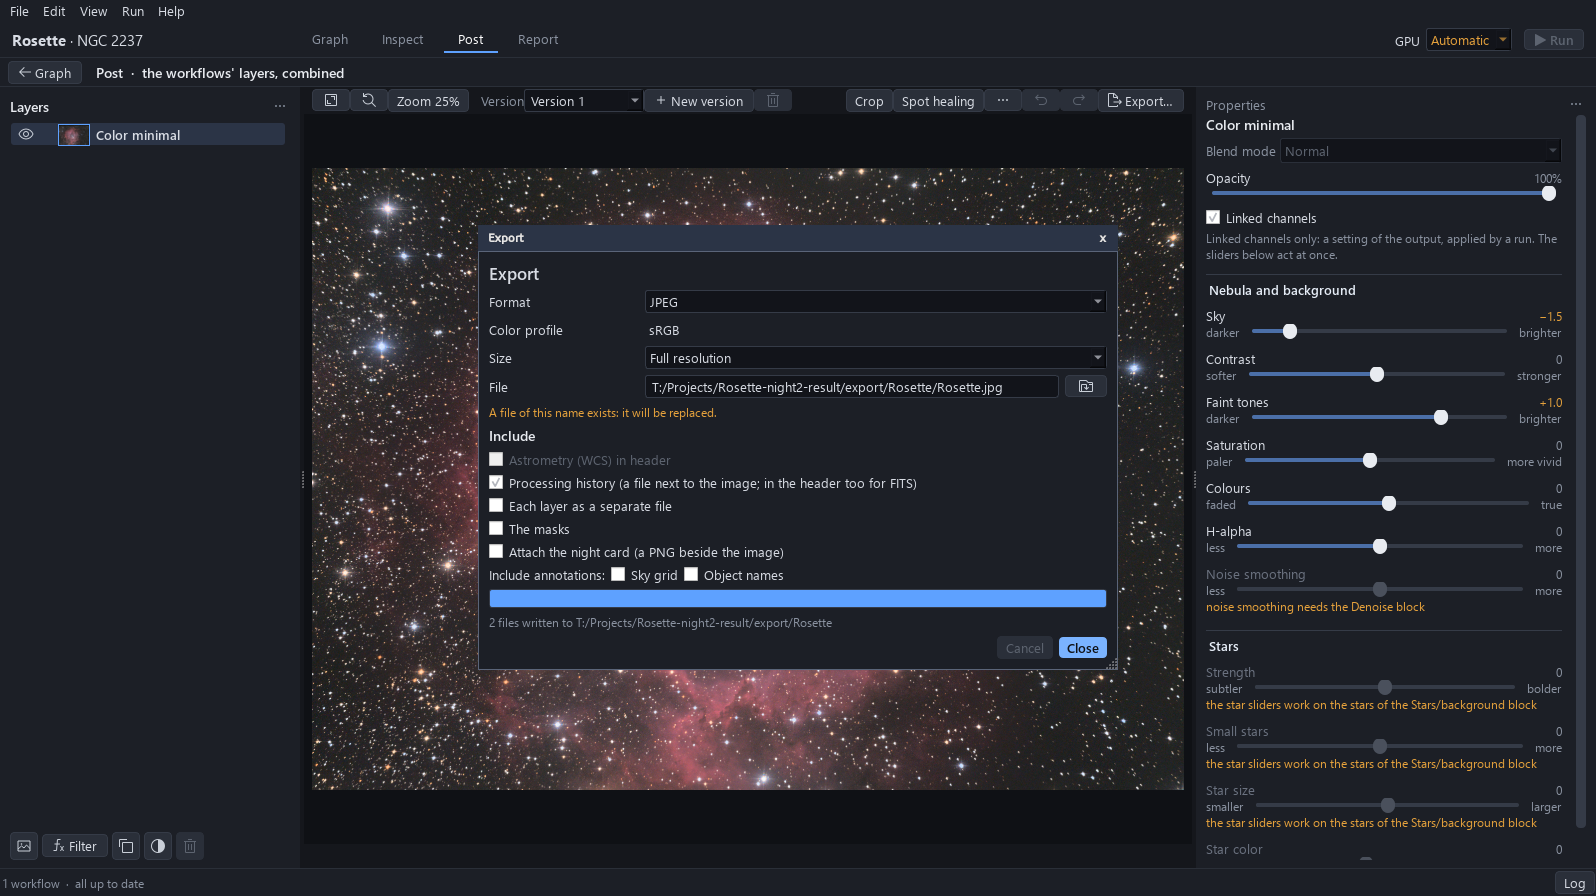
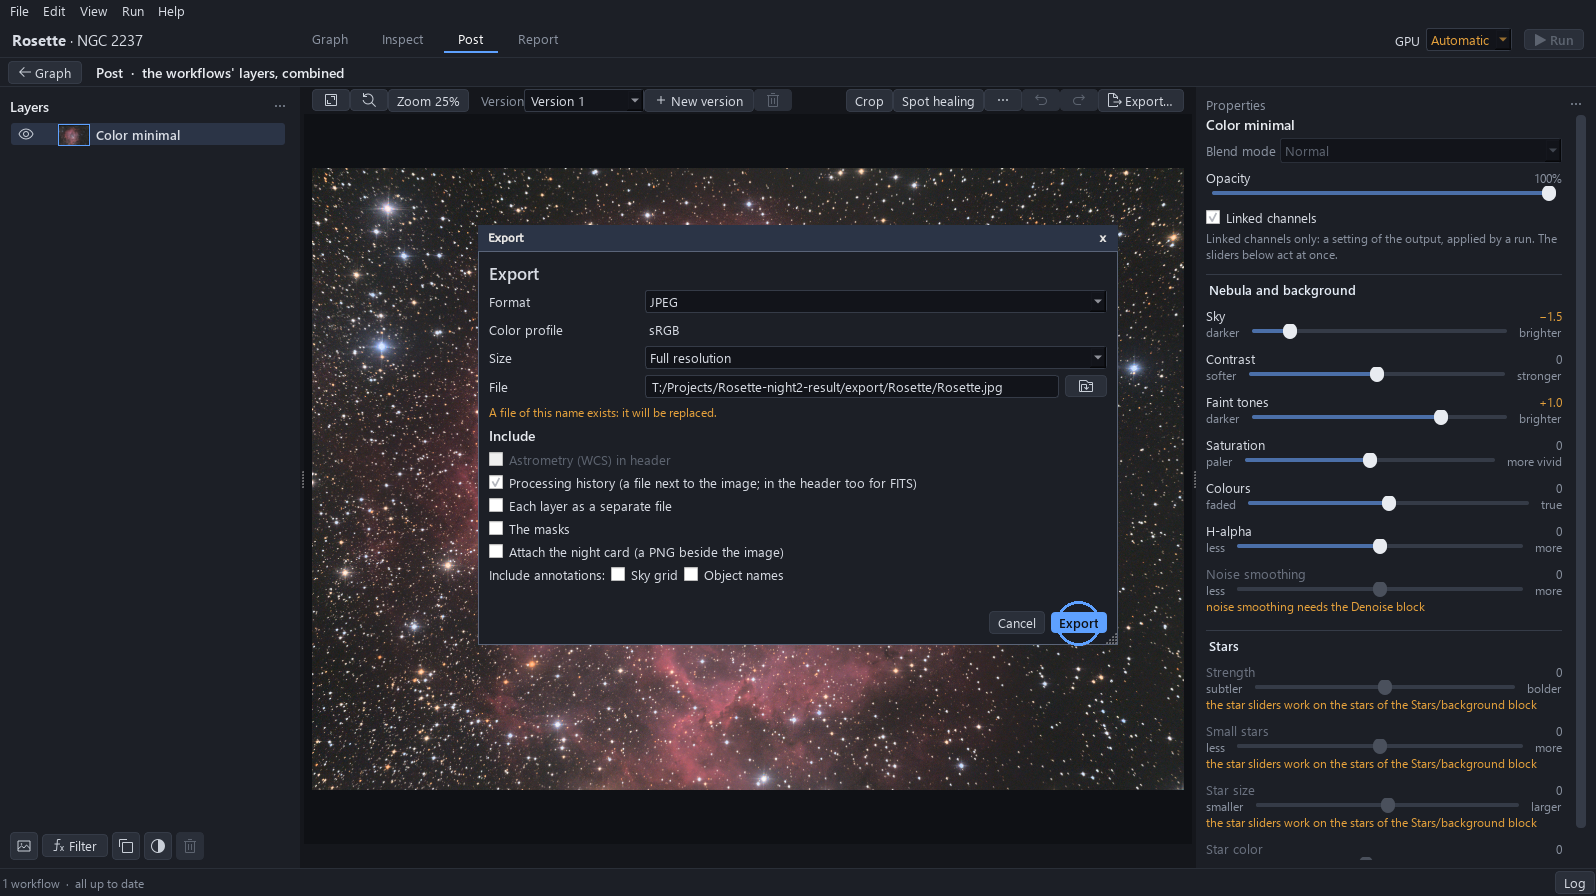
Click Export…, choose JPEG in Format and click Export.
14The image is written
The window says how many files were written: the image and its processing history. Close it.