The path · 4 Expert
The finish: three gestures, and what to leave out
The project of the third tutorial is finished in Post with three gestures, all on the starless image: Dehaze under a luminance mask for a deeper sky, Saturation for a more vivid ring and Multiscale sharpening for the fine structure at full size. The filters tried and left out are listed, each with its reason.
| Duration | About 10 min, with no computing |
|---|---|
| Requirements |
|
| Data set | Rosette Nebula (NGC 2237) · Sony A7S, 15 s at ISO 4000 · 130/900 Newtonian · 436 lights (1.8 h), 48 darks, 62 flats, the authors of FLOAT; size 6.9 GB. The frames will be offered for download; the link will be given here |
1Open the project
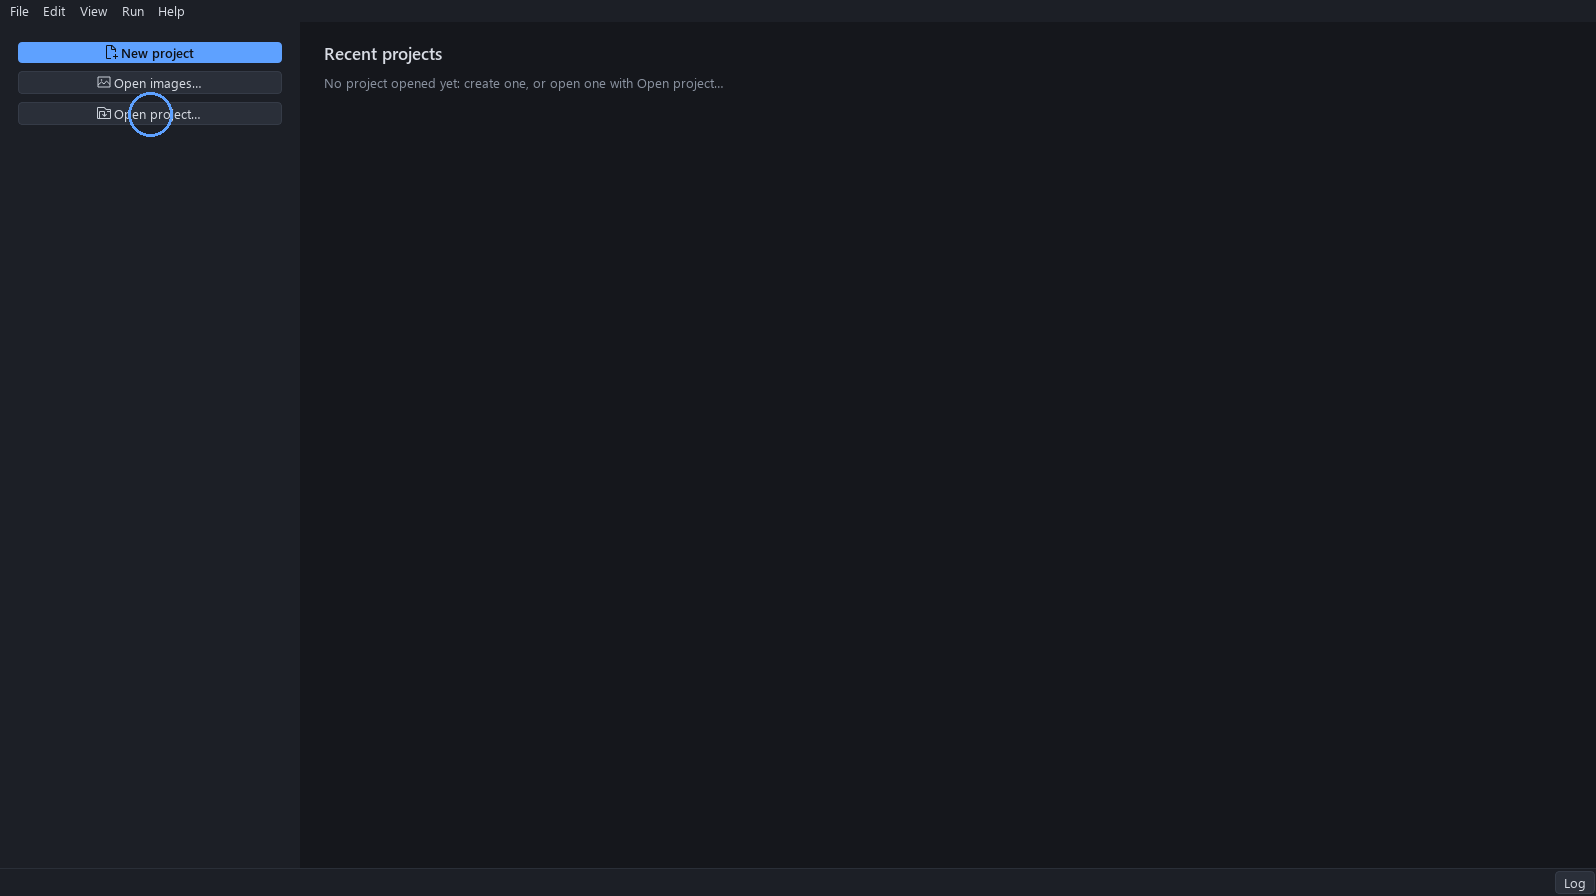
On the Home screen click Open project… and choose the finished project of the third tutorial, or a copy of its folder. The project opens up to date: nothing is to be computed.
Expected result. The status bar reads all up to date, and the Run button is greyed.
2Diagnosis in Post
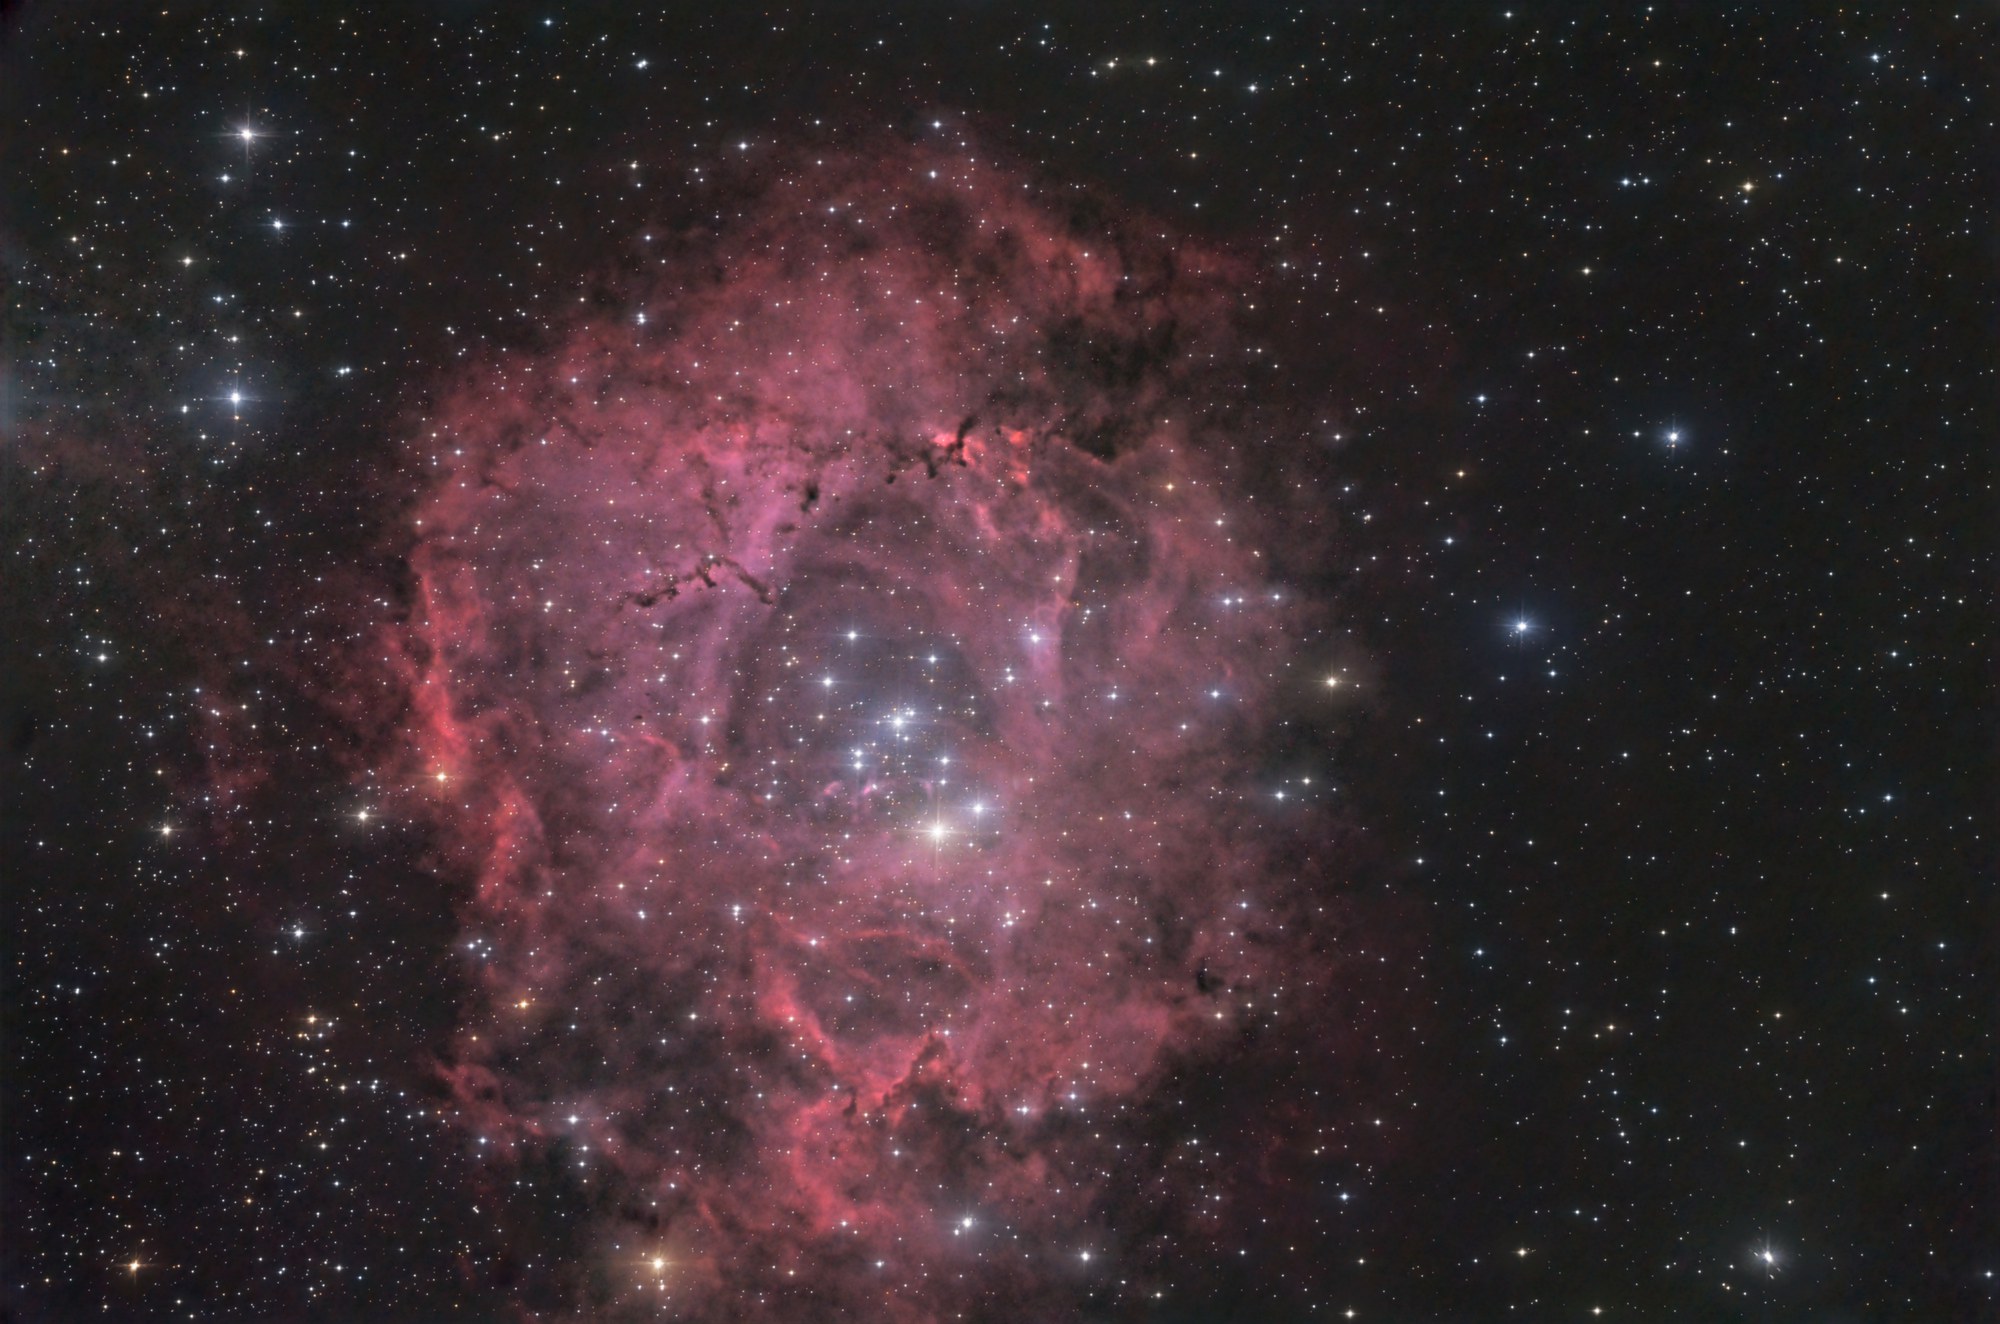
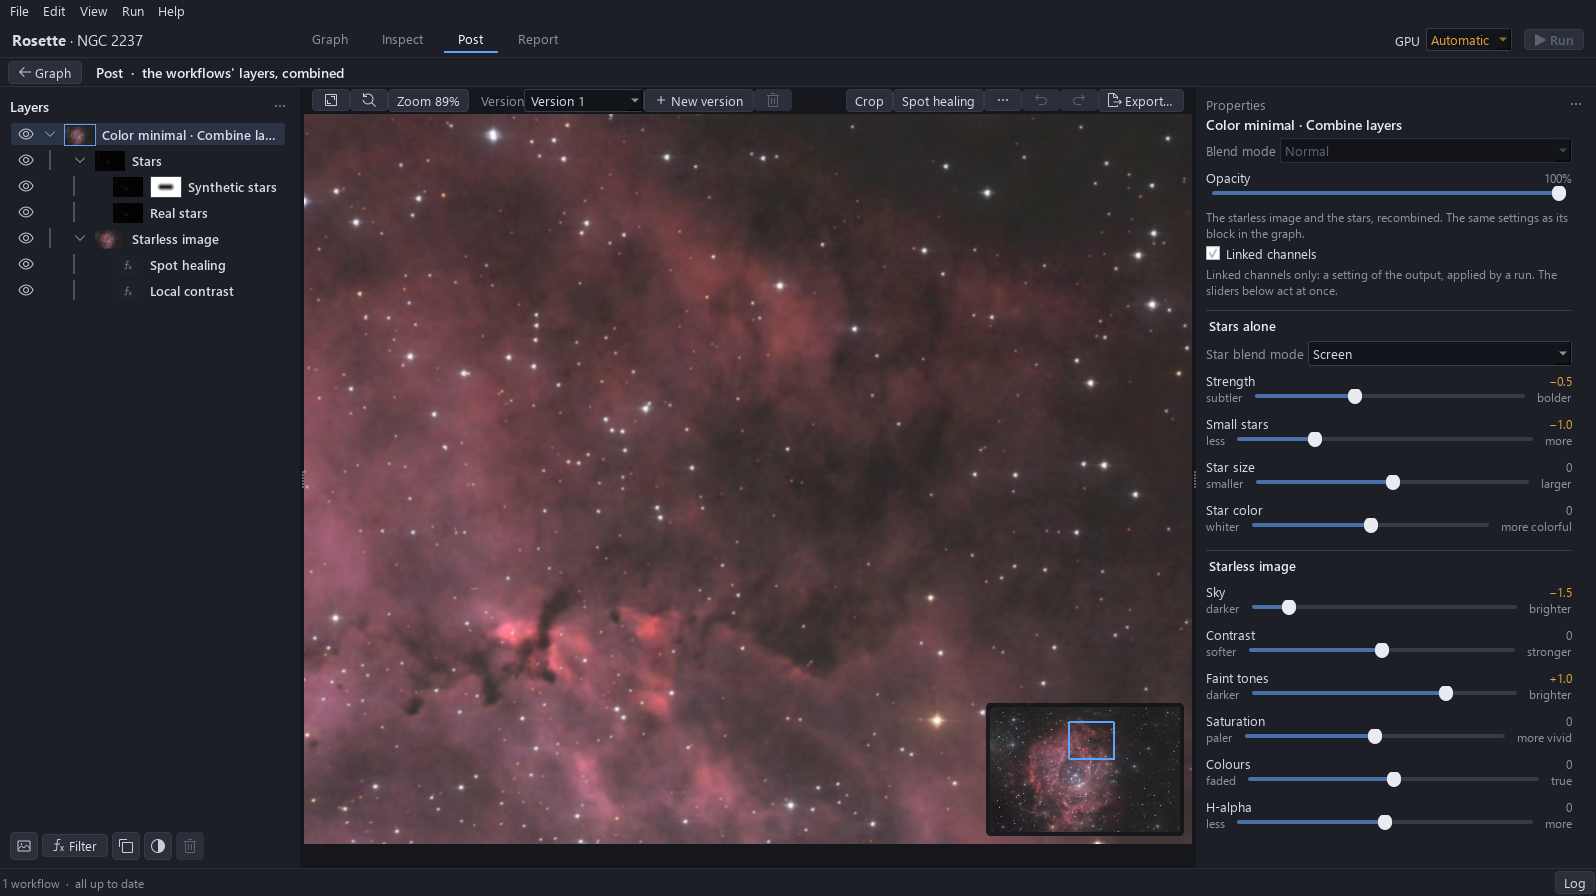
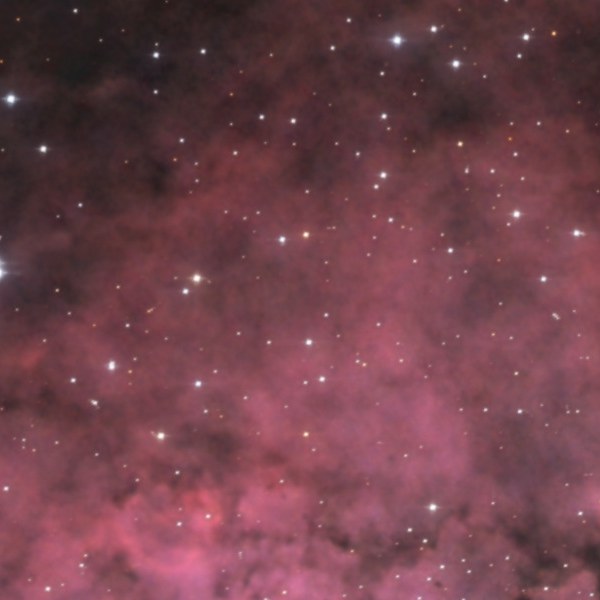
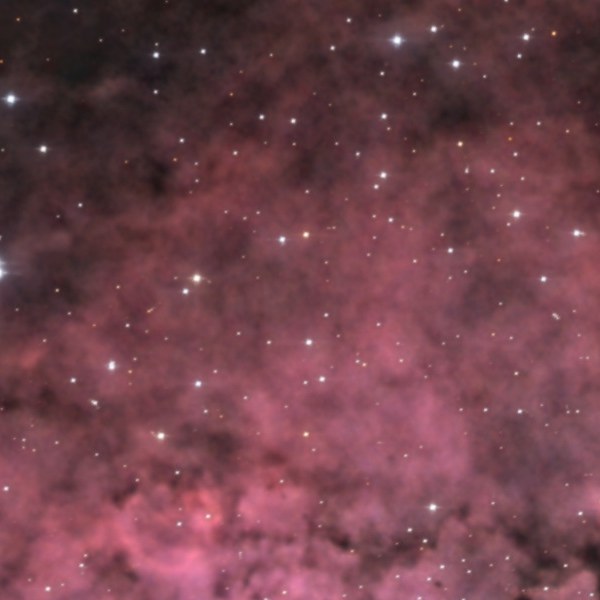
Click Post. The picture is the whole field of the third tutorial, with round stars to the edges. Before any gesture, look at what is left to finish: zoom to 100 % (Ctrl and the mouse wheel over the picture) on the sky, on the bright part of the ring and on the dark globules, and come back to the whole picture with the fit button. Right, and to leave alone: the neutral sky, the denoised gas, the round stars and the repaired stain. No colour balance and no noise reduction are needed.
Expected result. The sky is neutral: on the exported picture of the third tutorial its three colours measure 33 to 34. It is read before it is corrected, and no colour balance is needed.
| What is wrong | How it is read | What corrects it |
|---|---|---|
| A veil is left on the sky. | At 100 % on the sky at the upper right of the ring, the sky is a dark grey that measures 33 to 34 on a 0 to 255 scale on the exported picture, and the faint edges of the ring do not stand out from it. The aim is about 26. | Dehaze on the starless image, under a luminance mask. (step 3) |
| The ring could be a little more vivid. | At 100 % on the bright part of the ring on the left, the red and the pink are a little pale. The colour of the Rosette is a pink red with magenta: the aim is a little more vividness, not a redder ring. | Saturation on the starless image, without a mask. (step 5) |
| The fine structure of the gas is soft at full size. | At 100 % on the dark globules above the centre of the ring, the folds and the edges are a little soft. | Multiscale sharpening on the starless image. (step 6) |
3Part A: a deeper sky with Dehaze
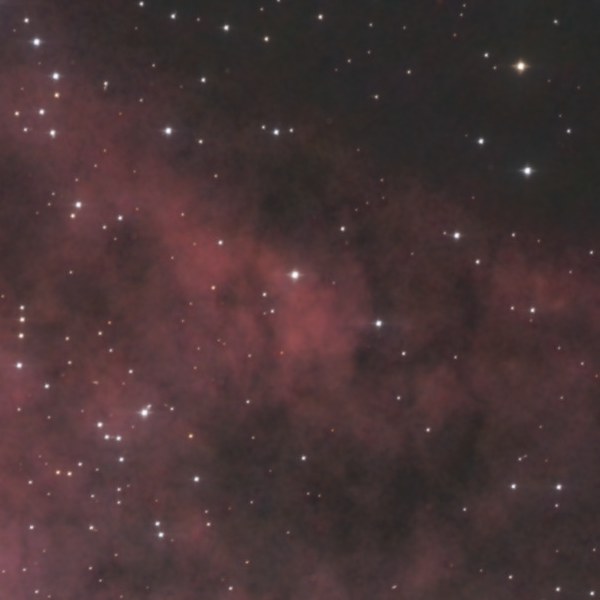
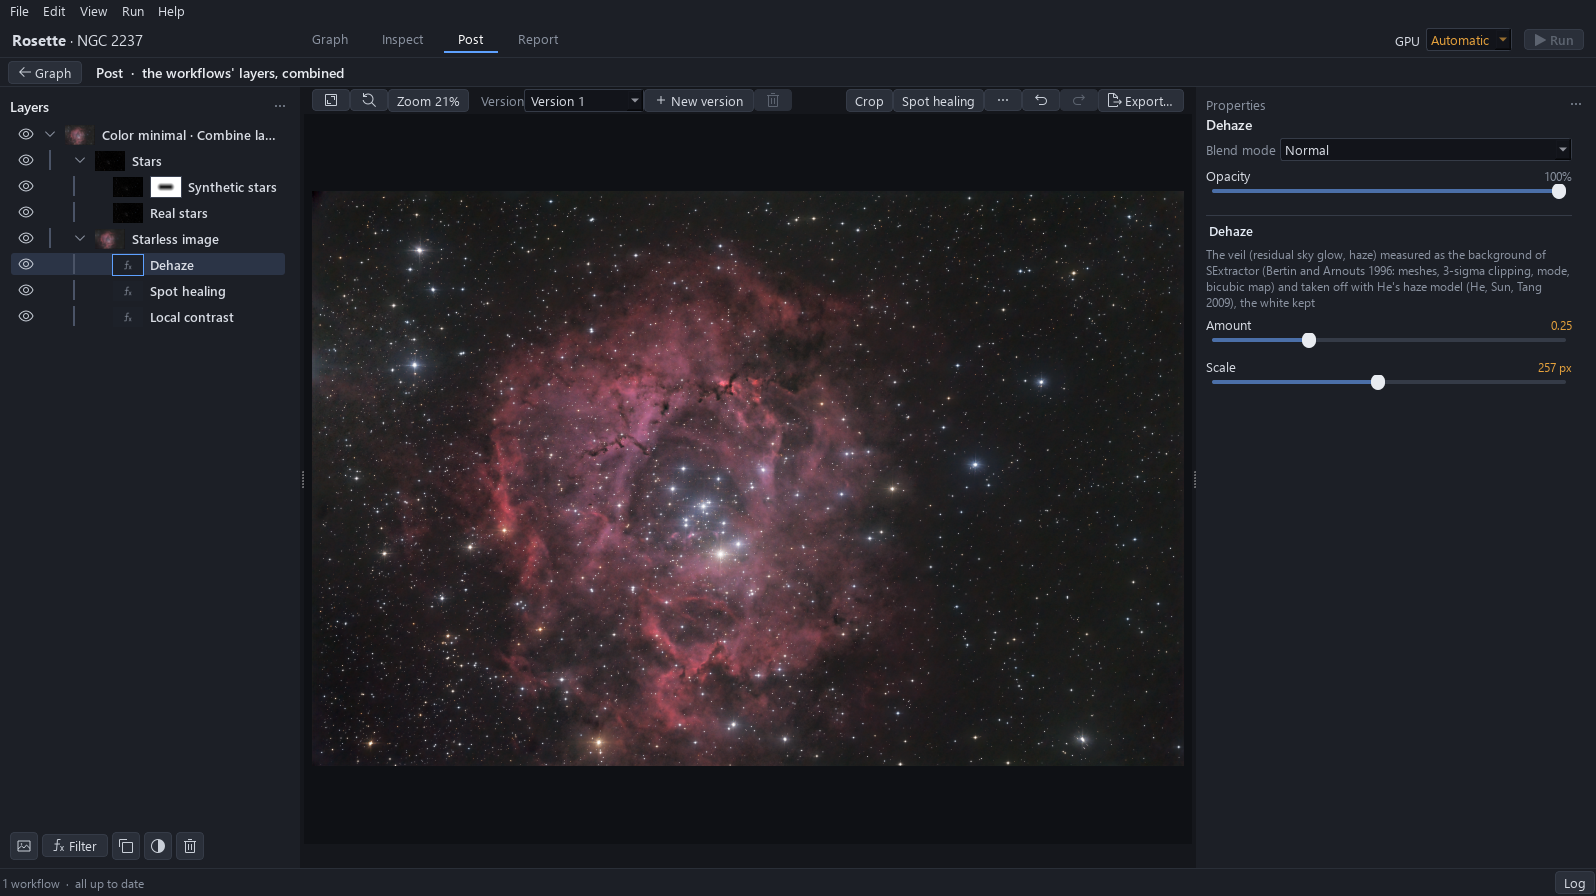
Click the Starless image row: every filter of this tutorial goes there. Click Filter, Contrast and Dehaze. Drag Amount to the right until the veil lifts and the sky is deeper, here 0.25, and Scale to about 256 px.
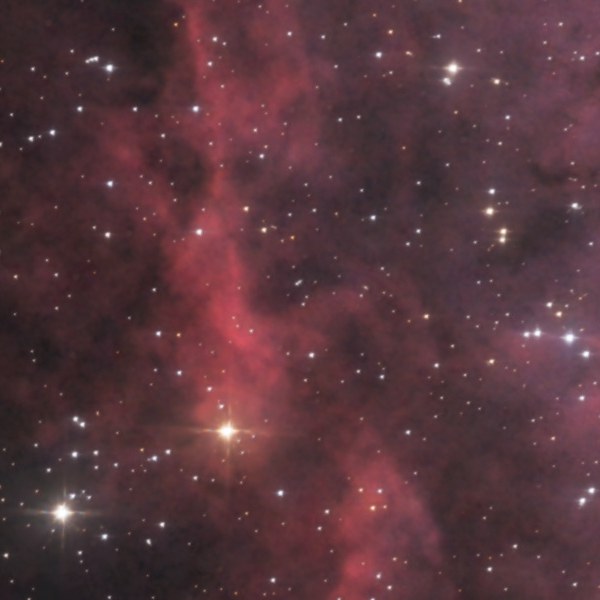
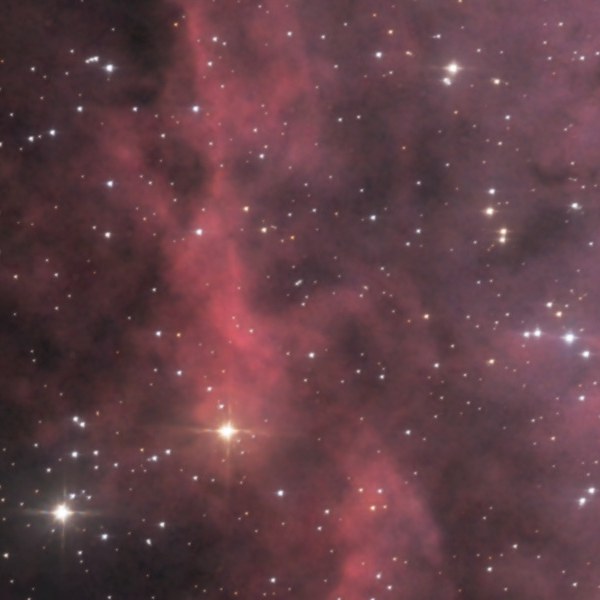
Why. The veil is the residual light of the sky that the flats and the gradient removal left. Dehaze takes away this large-scale veil: the sky goes from 33 to 26 on the exported picture, and the faint edges of the ring stand out from a darker background.
Expected result. The sky is deeper, and the ring has dimmed a little: the mask of the next step brings its glow back.
4A luminance mask on Dehaze
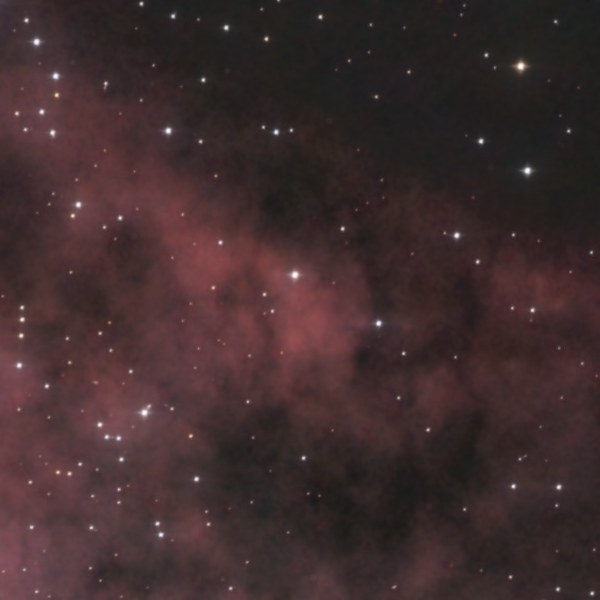
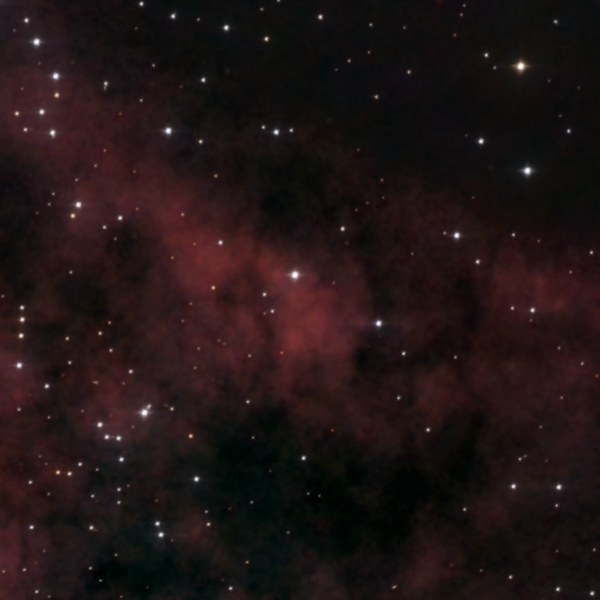
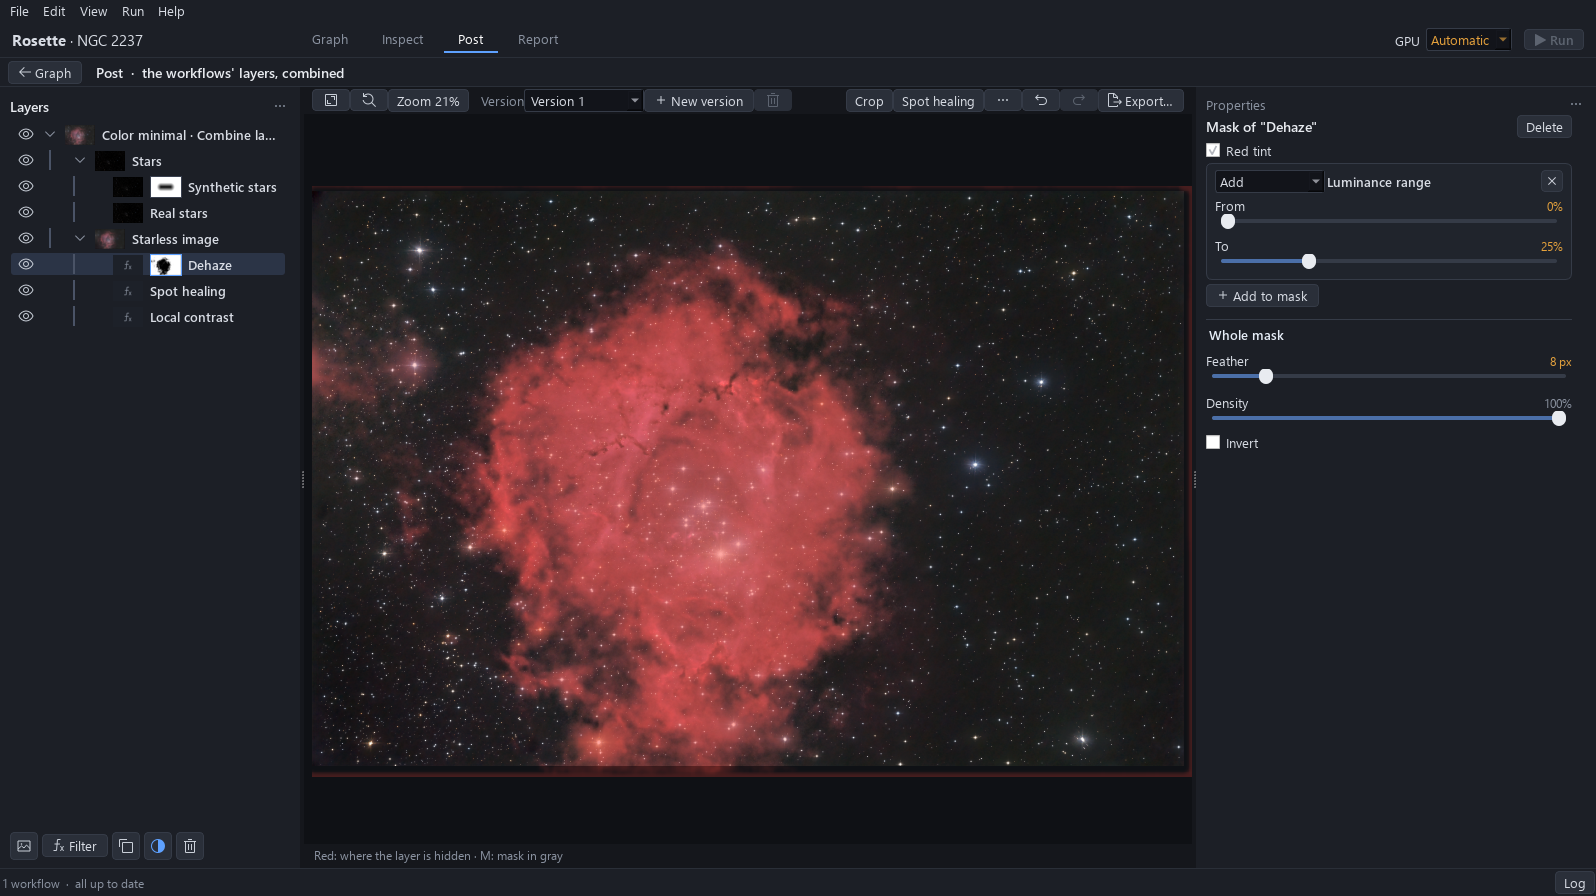
With Dehaze selected, click Add mask, below the layers. Click Add to mask and Luminance range. Drag From to 0 % and To to about 25 %, so that the range selects the sky and the faint tones and not the ring, then drag Feather to 8 px.
Why. A mask says where a filter acts: white means act here. Without the mask, Dehaze would also lower the nebula: its brightest 5 % would go from 145 to 132, and the ring would lose its glow. With the mask, Dehaze only acts on the dark tones, and the nebula stays at 146. The feather lets the edge of the mask fade.
Expected result. The red tint covers the ring, which the mask hides from Dehaze. Click the top row of the layer to see the picture: the sky reads 26, 25 and 25 on the exported picture, neutral.
5Part B: a more vivid ring with Saturation
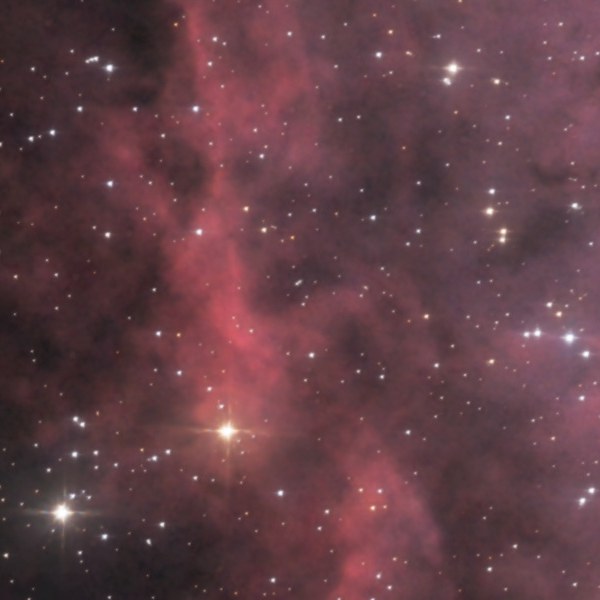
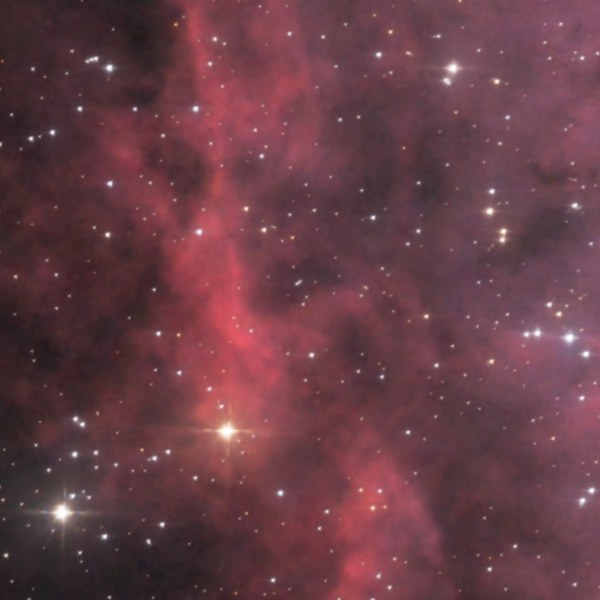
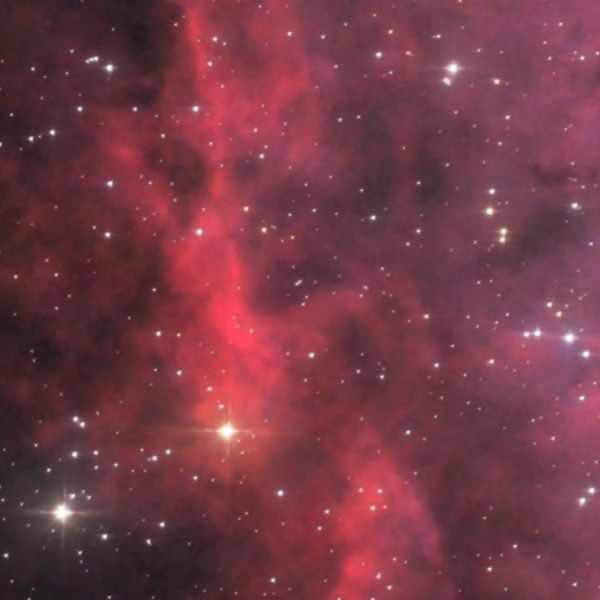
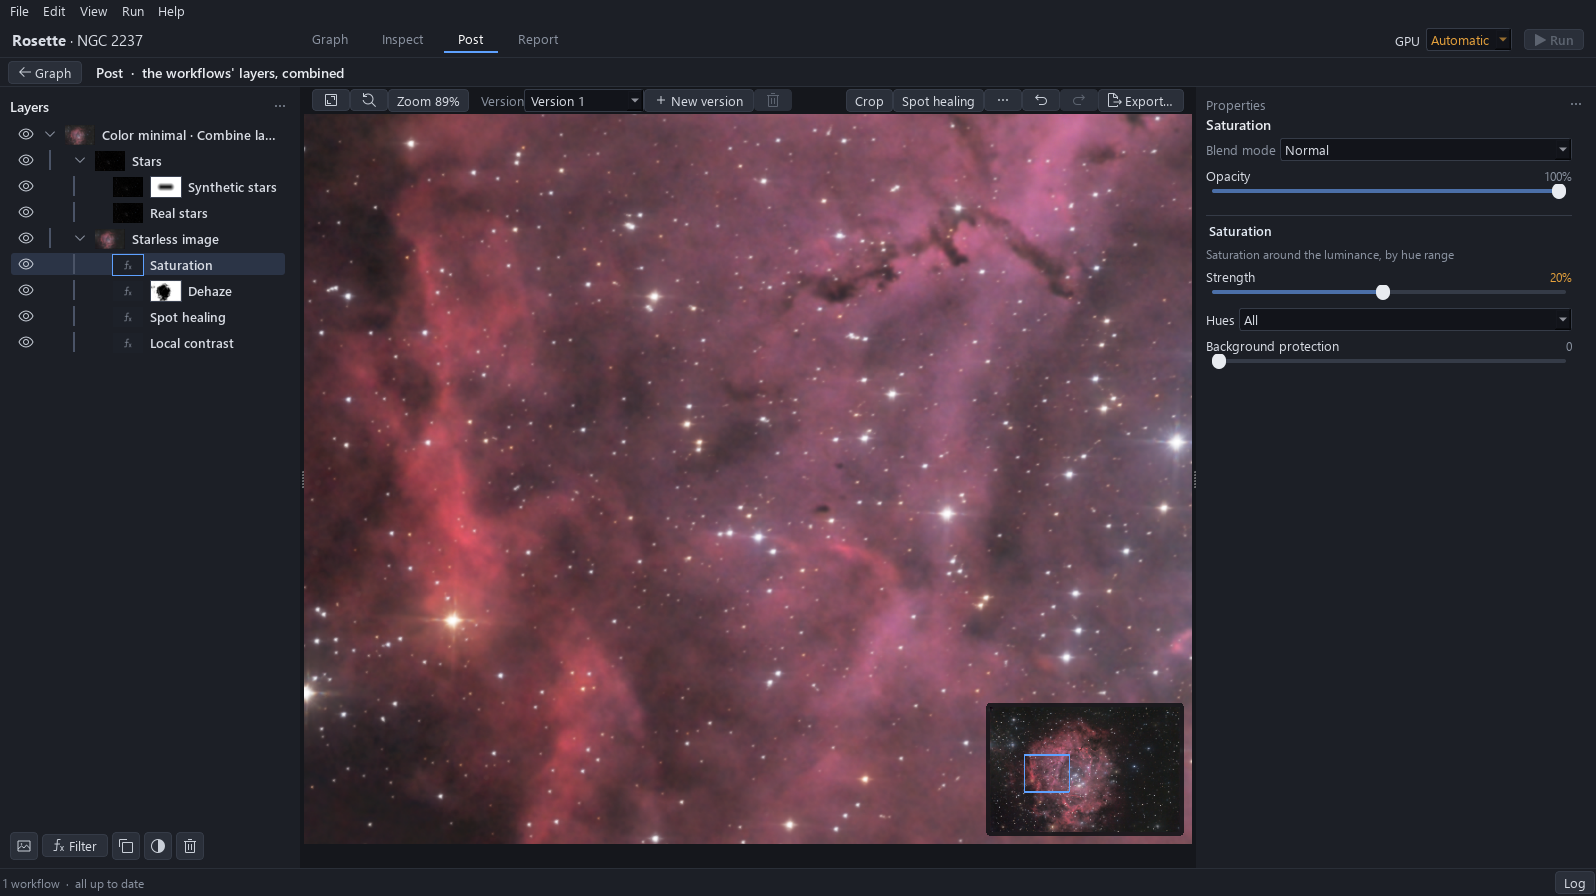
Click the Starless image row, then Filter, Color and Saturation. Drag Strength to the right until the ring is more vivid but keeps its pink and magenta, here +20 %, with Hues on All. Add no mask.
Why. The colour of the Rosette is a pink red with magenta, and a red pushed by hand is the most common fault on this target. Saturation makes the red and the pink of the ring more vivid, while the sky, a neutral grey, does not take any colour. No mask is needed: the same saturation with and without a mask gives the same sky, and a mask that changes nothing is not added.
Expected result. The ring is more vivid, and the sky is still a neutral grey: 26, 25 and 25 on the exported picture.
6Part C: the fine structure with Multiscale sharpening
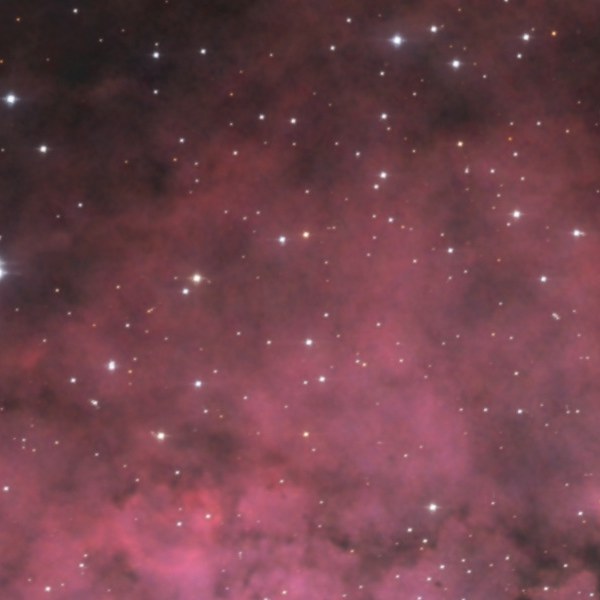
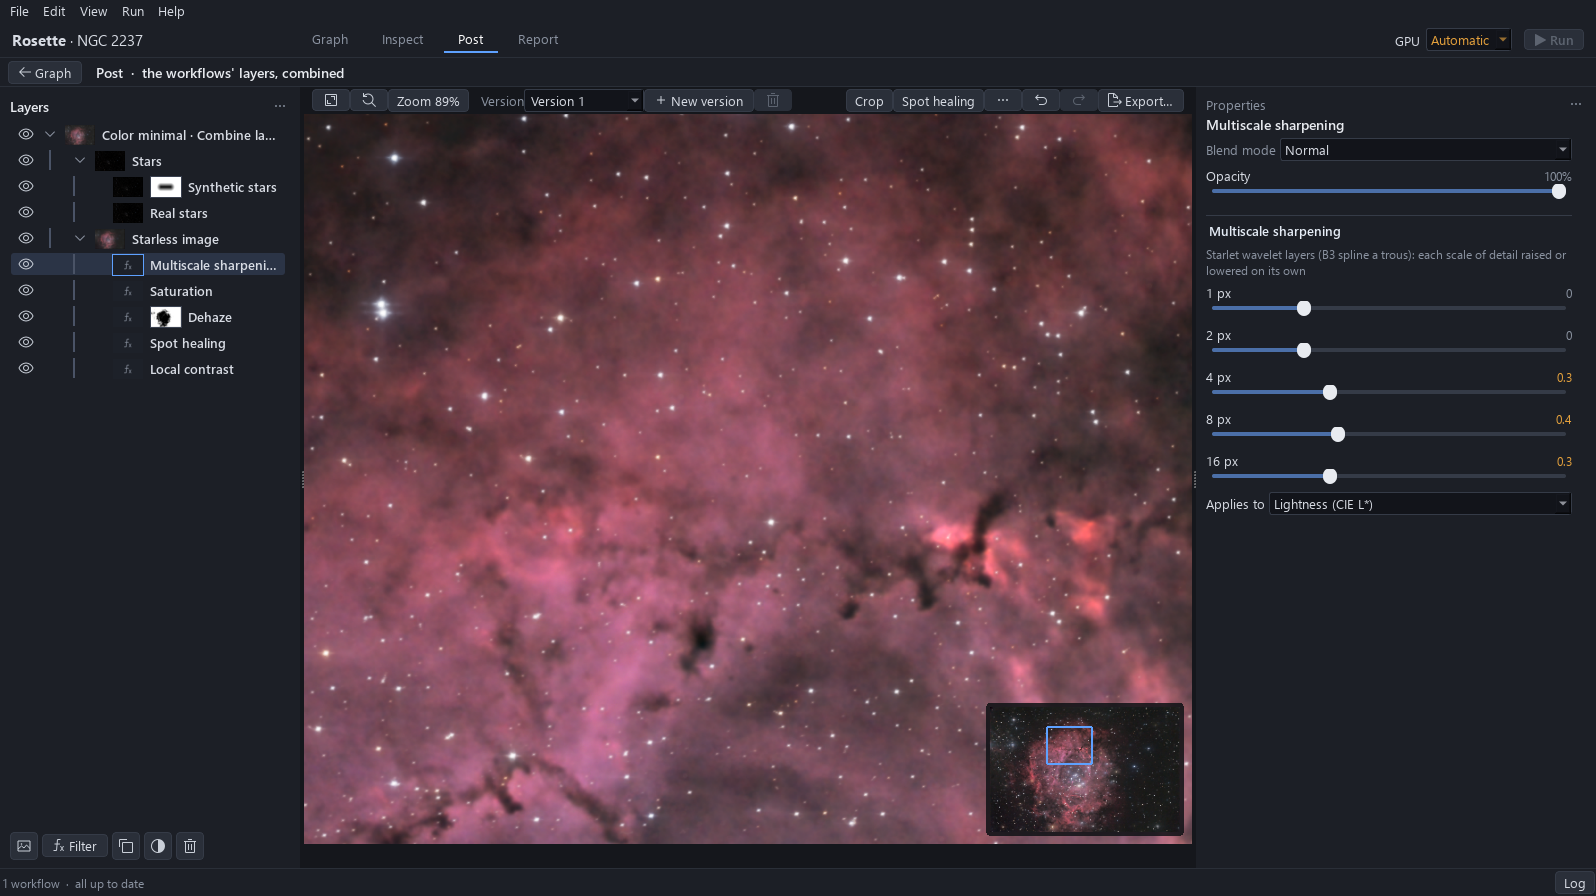
This gesture serves the full-size picture, for a print or a view at 100 %. Click Filter, Detail and Multiscale sharpening. Drag the 4 px scale to 0.3, the 8 px scale to 0.4 and the 16 px scale to 0.3. Leave 1 px and 2 px at 0.
Why. The aim is a crisper fine structure of the gas, the folds and the edges of the dark globules, at full size. The 1 px and 2 px scales stay at 0: they would bring the grain back. On the whole picture the change is slight; at 100 % it shows.
Expected result. At 100 % the globules and the folds are crisper, and the gas is not granular. The sky measures 26, 26 and 26 on the exported picture.
7What is left out, and why
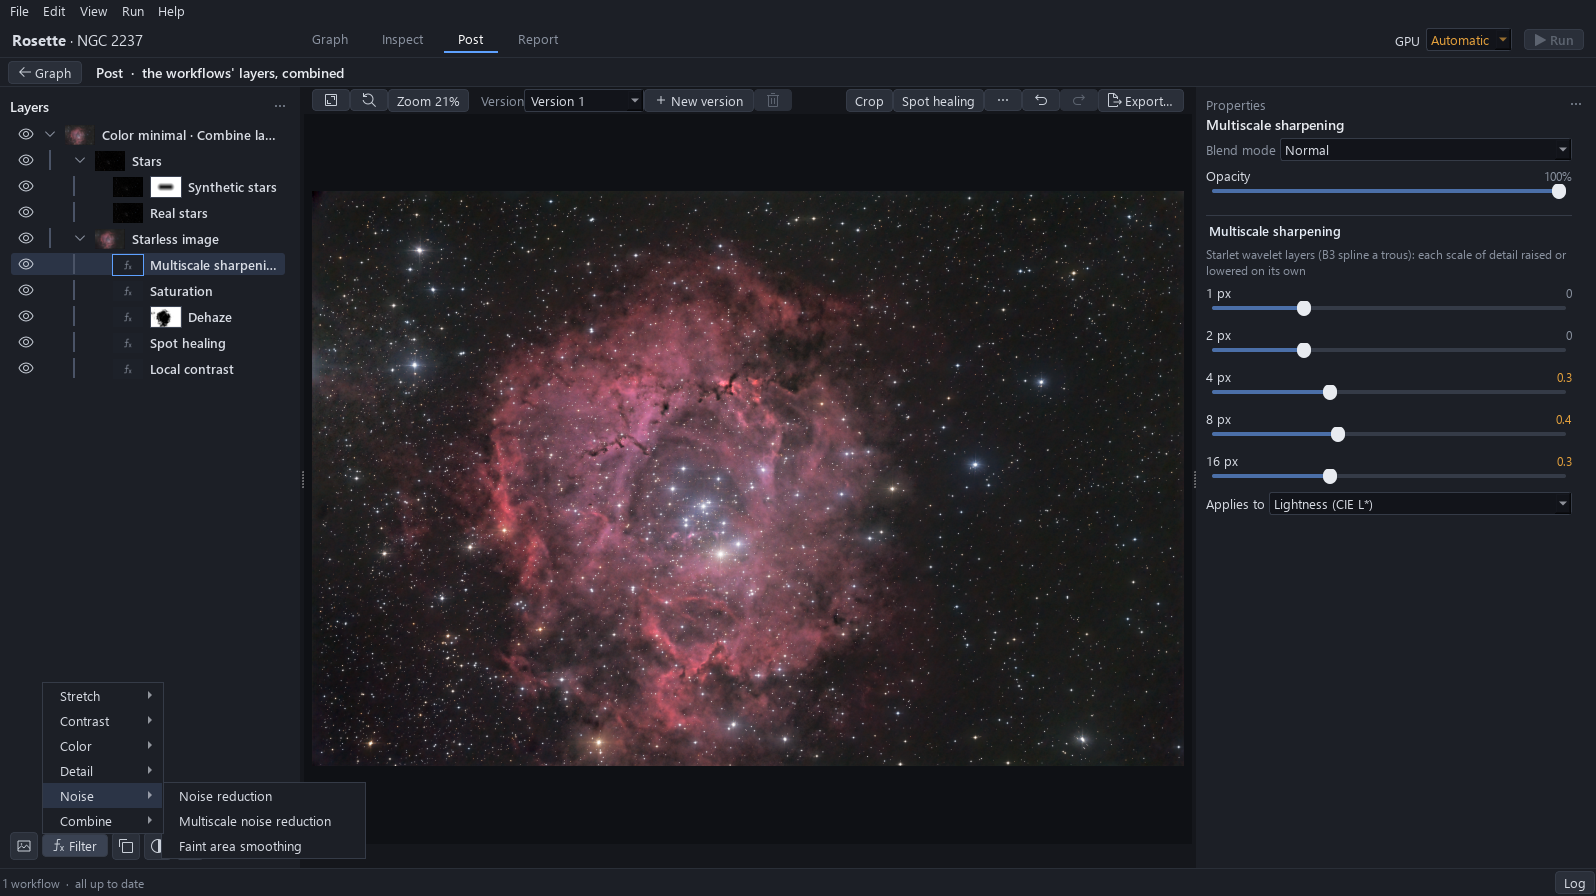
Click Filter and Noise: the filters of this list stay unused. The table below this step gives the filters tried on this picture and left out, each with its reason. A filter that changes nothing is not harmless: it is one more thing to understand and to keep.
Why. One noise reduction is enough: the Denoise block already did the work, and stacking more would blur. Every filter goes on the starless image, because sharpening or saturating over the stars would make them hard and coloured. The order follows the levels first, then the colour, then the detail: sharpening last works on the final tones.
| Filter | Why it is left out |
|---|---|
| Multiscale noise reduction | The noise of the sky is already under one level: the filter would only blur. |
| Noise reduction | No change: the colour noise is already removed. |
| Green removal | There is no green in this sky, neutral within one level: nothing changes. |
| Highlight compression | No visible change at 0.3: the stars of the cluster are on the stars layer, and the ring has no burnt area on the starless image. |
| Colour mixer | Three settings tried: none makes a difference on the whole picture, and turning violet and magenta towards red, as on NGC 7000, would move the ring towards red, which this target must avoid. |
| Local contrast | Already set at the second tutorial: it is not repeated. |
8Export
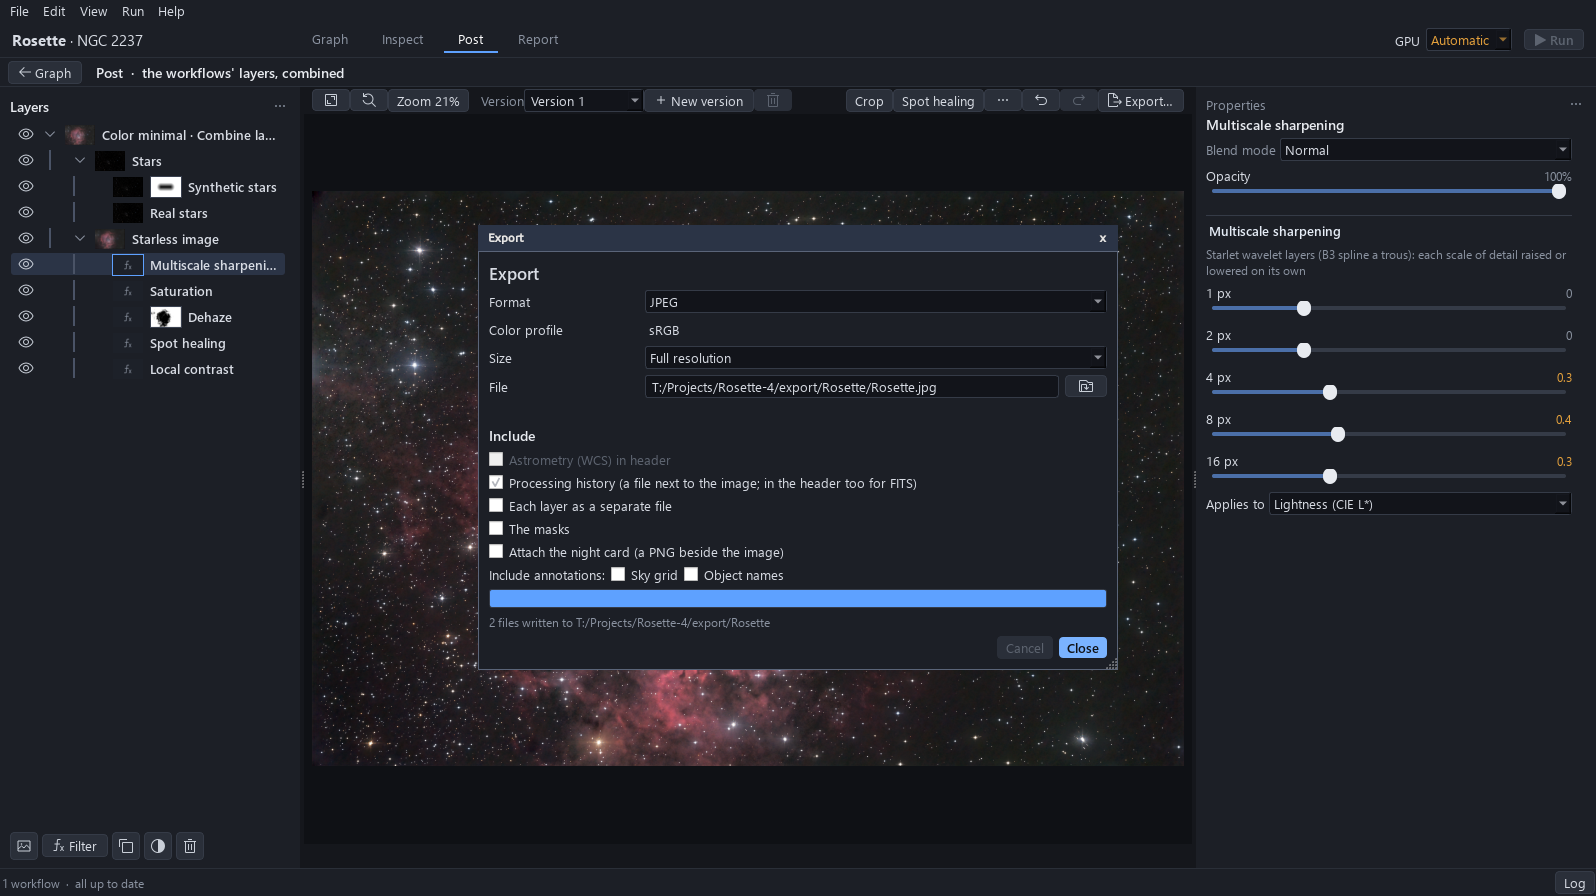
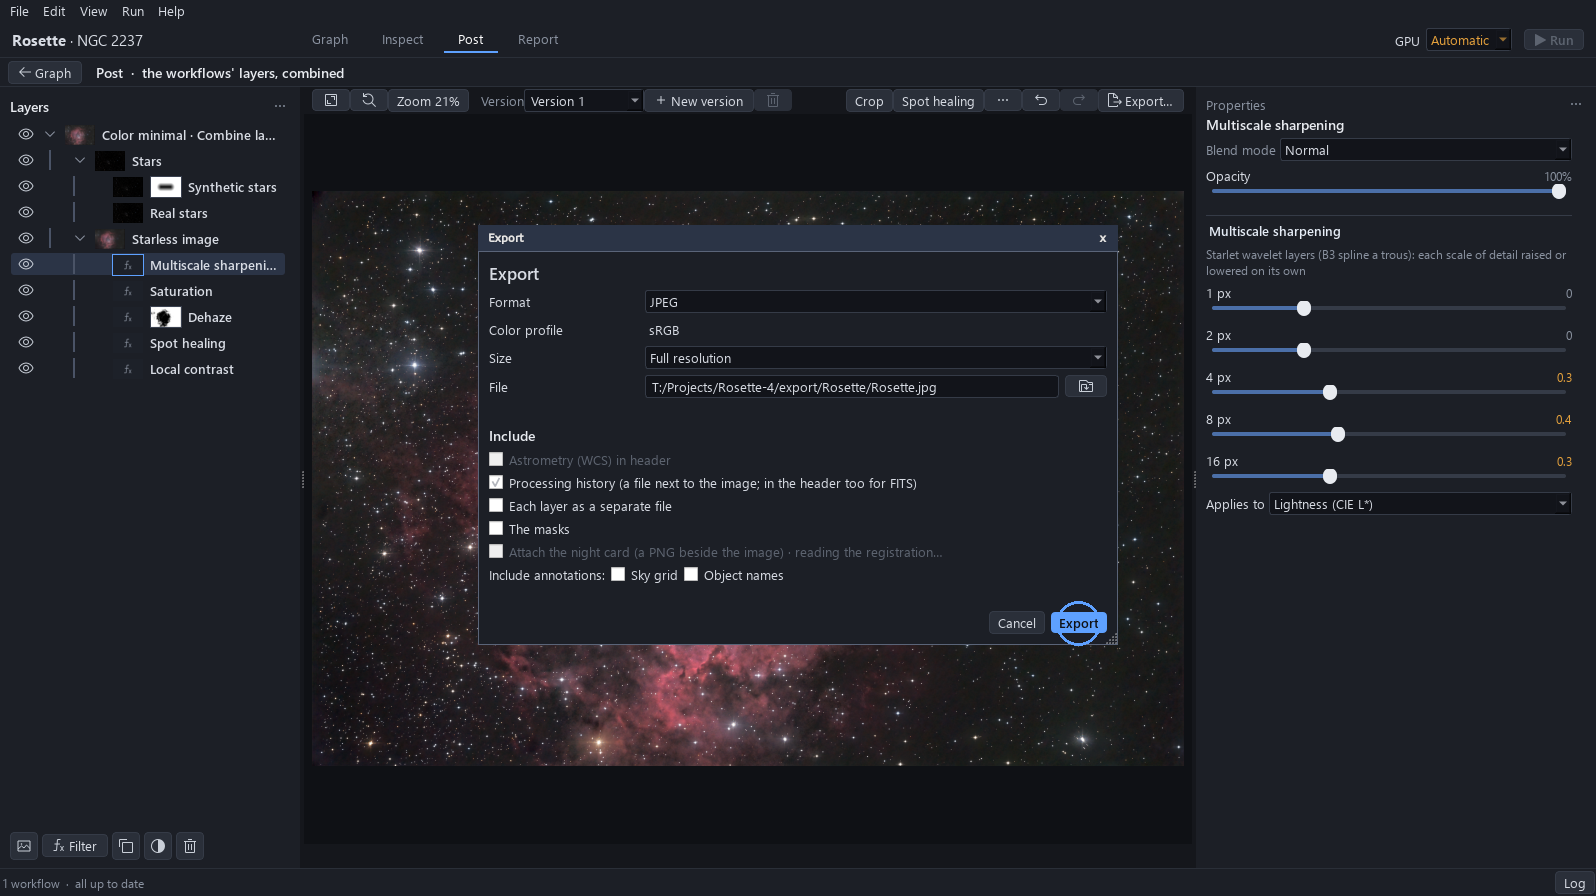
Click Export…, choose JPEG in Format and click Export. The file is named after the project, in its export folder.
9The image is written
The window says how many files were written: the image and its processing history. Close it. Press Ctrl+S to keep the project with its three filters and its mask.