The path · 2 Intermediate
Without darks or flats
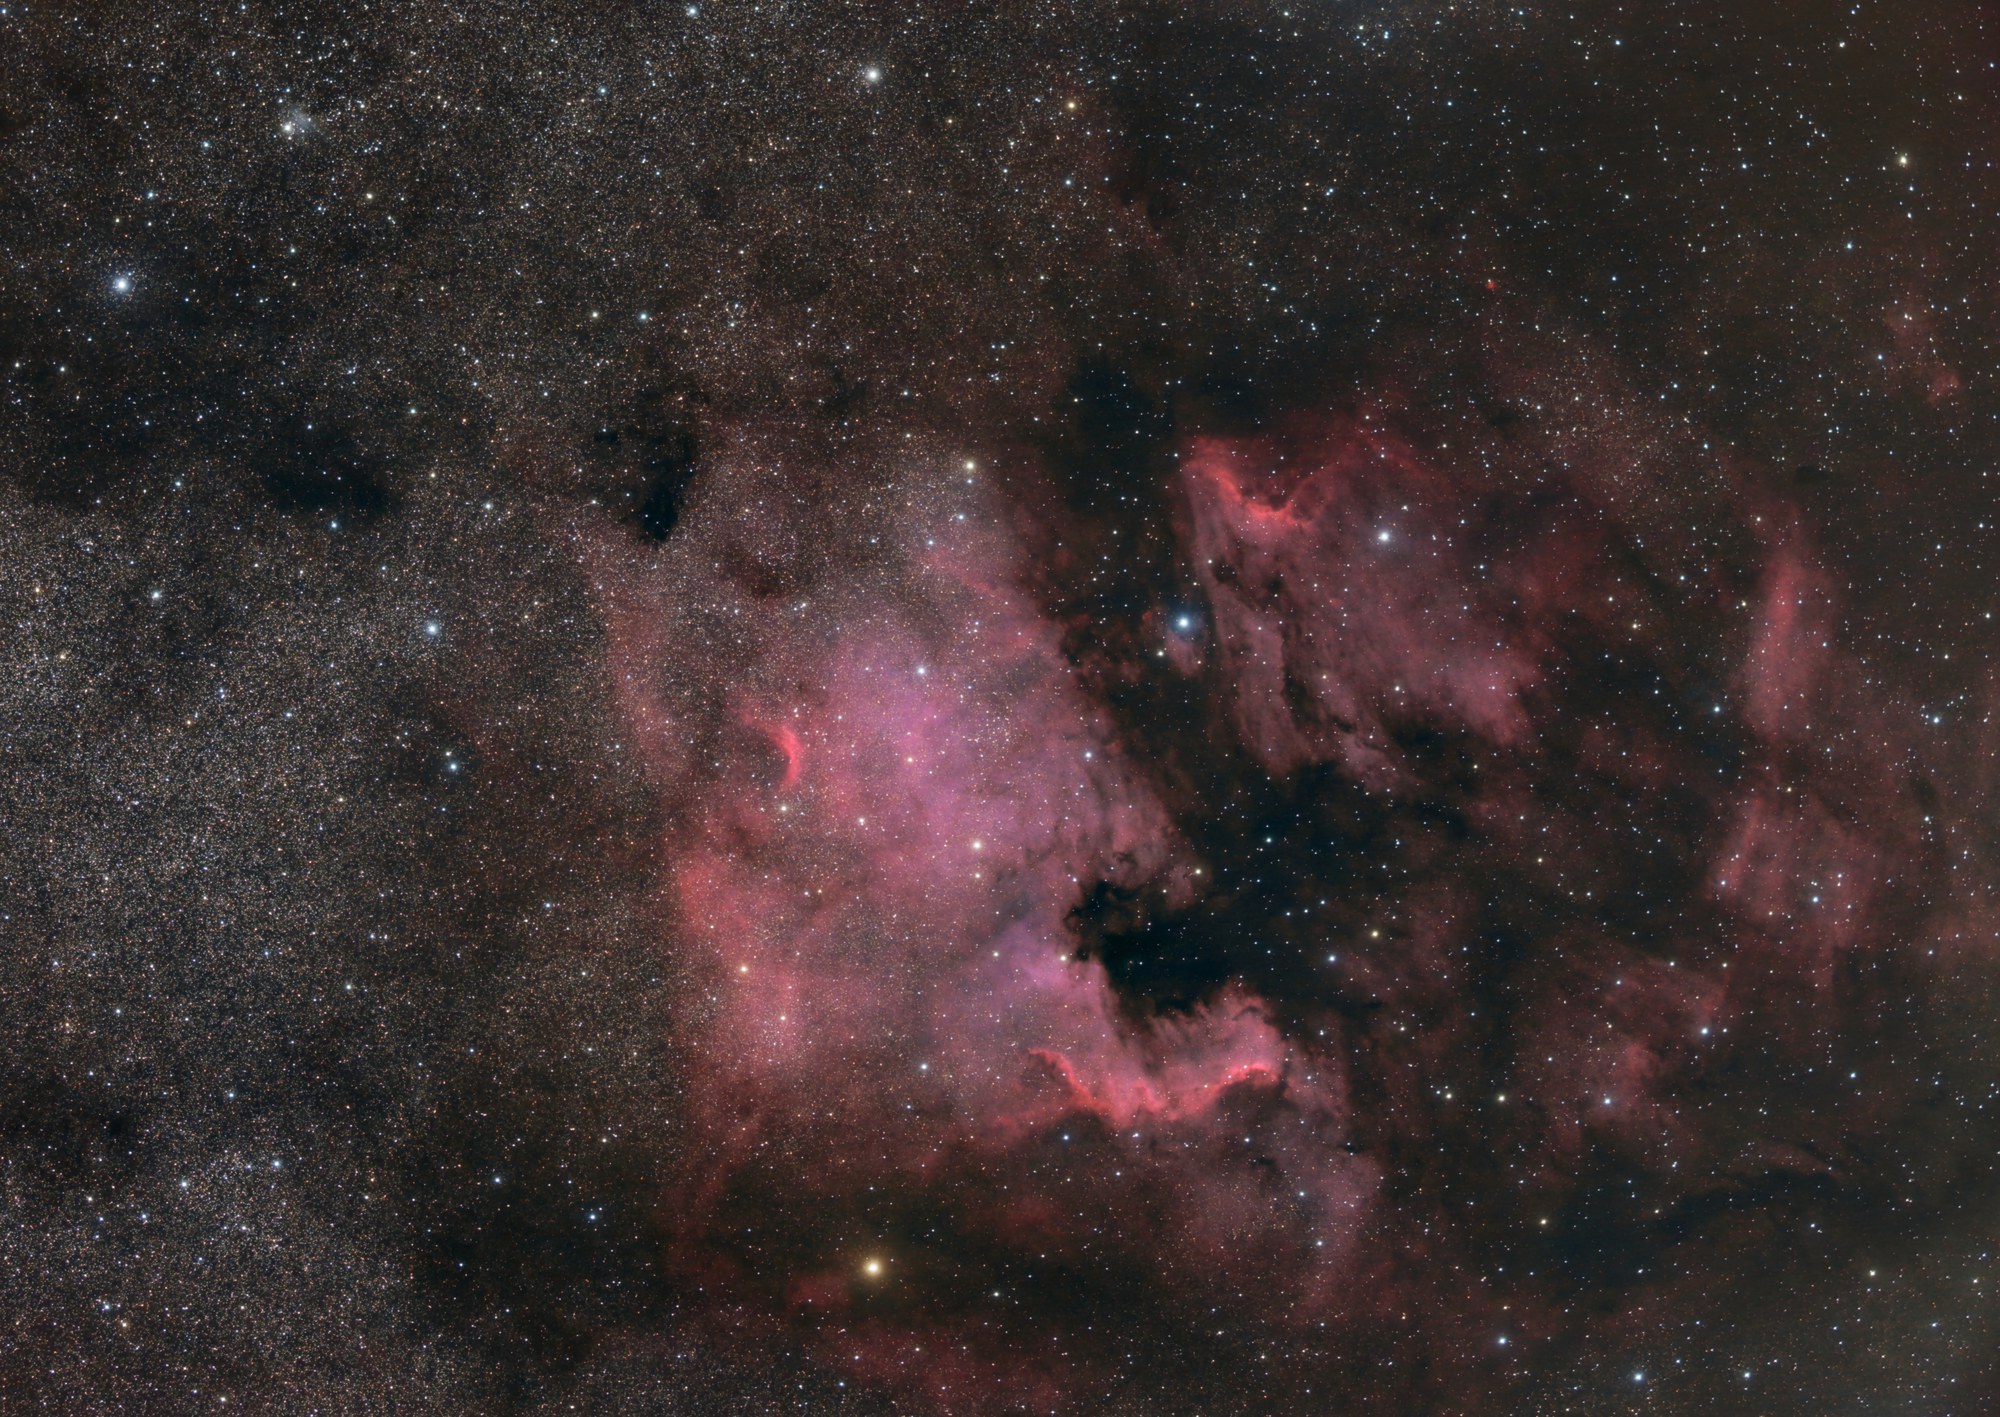
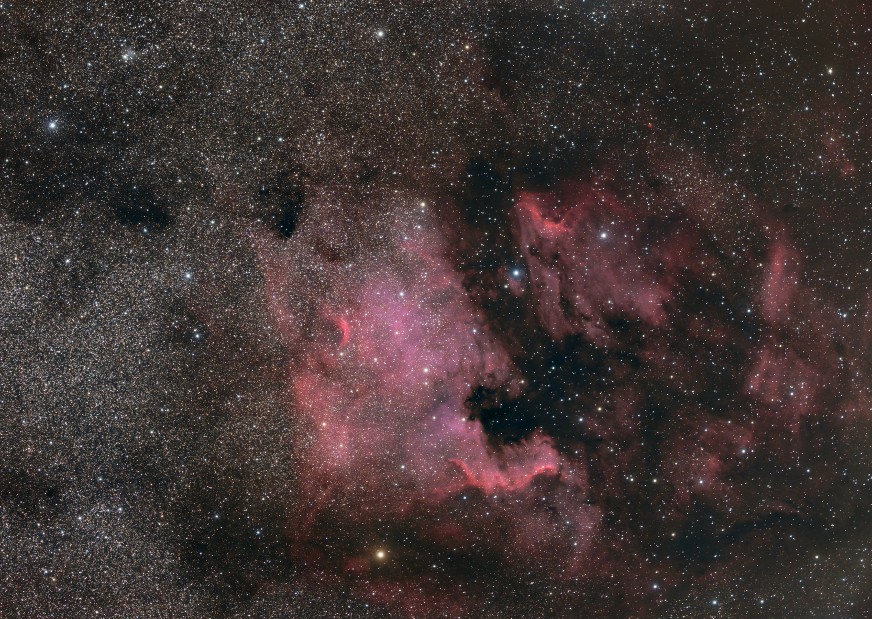
A night of light frames alone, with no darks and no flats, goes through the whole workflow to a finished image of NGC 7000 and the Pelican. The window says what it does about the missing frames, and Post corrects what they would have corrected: the corners, the veil and the green of the sky.
| Duration | About 1 h 05, of which 47 min of computing on a PC with an RTX 4060 Ti graphics card (16 GB) |
|---|---|
| Requirements |
|
| Data set | NGC 7000 (North America Nebula) and the Pelican · Sony A7S, 10 s at ISO 4000 · 580 lights, no darks, no flats, the authors of FLOAT; size 7.1 GB. The frames will be offered for download; the link will be given here |
1Home
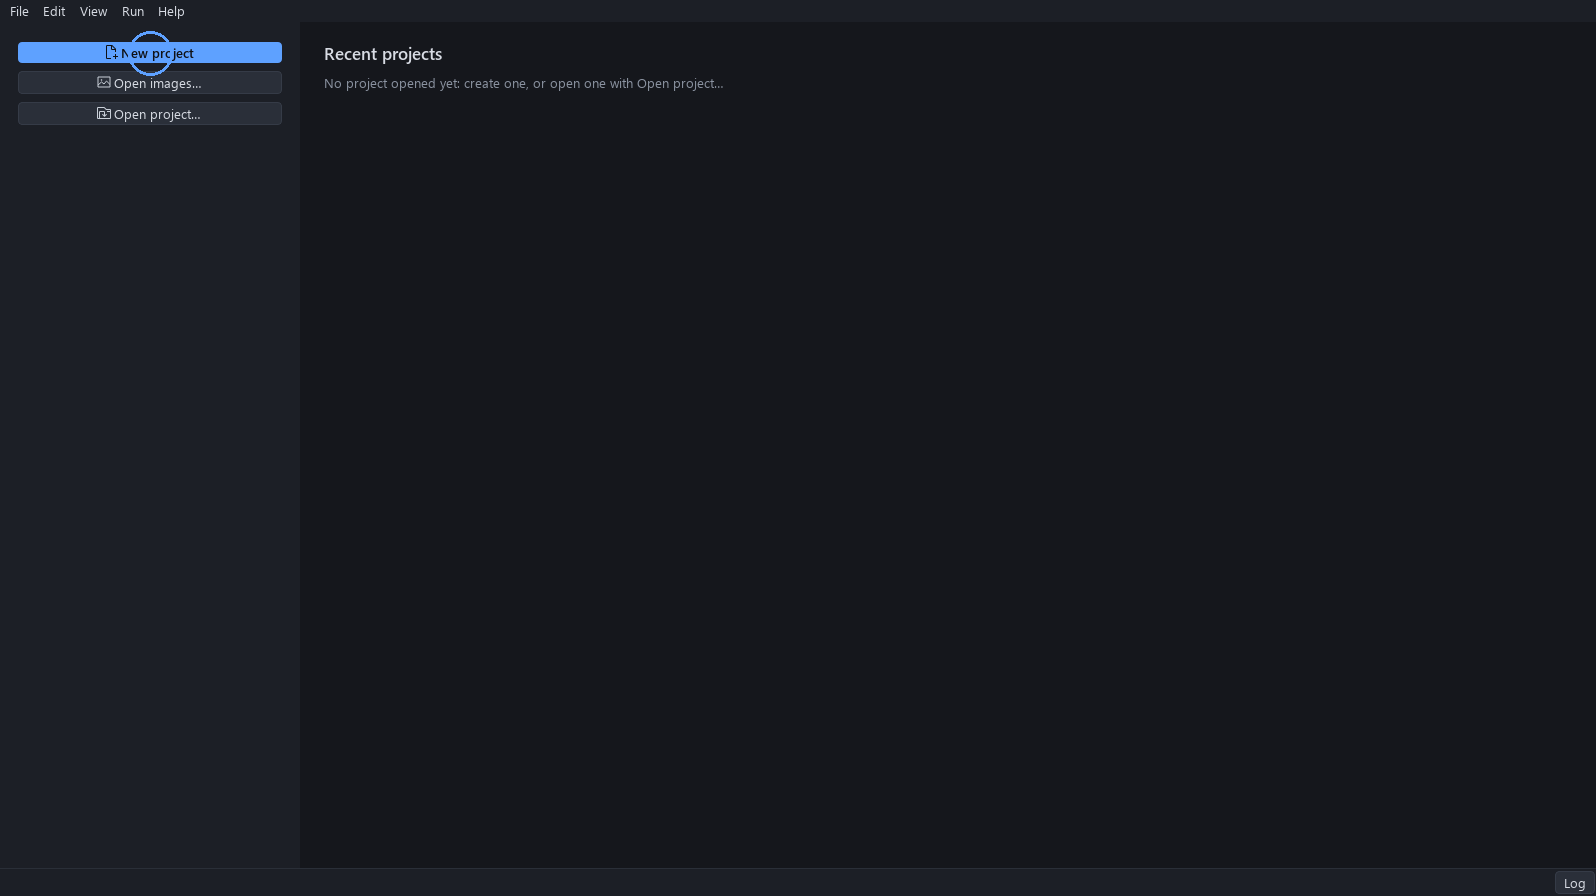
This tutorial starts from light frames alone: 580 exposures of NGC 7000, with no darks and no flats. Start FLOAT and click New project.
2The Color full template
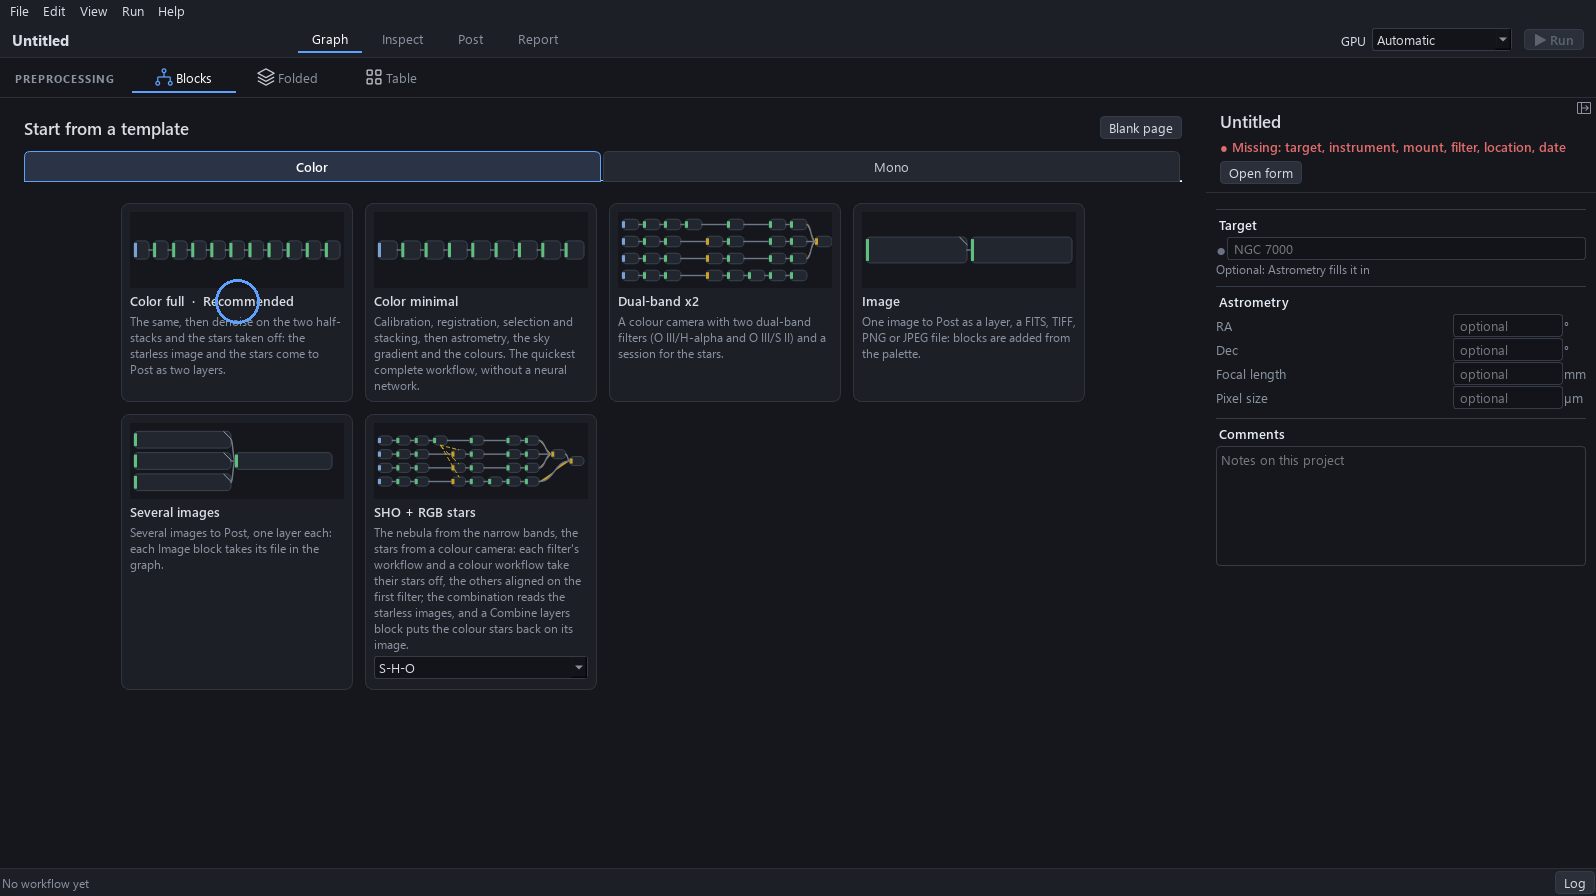
The project opens on a blank page. Click From template, then, in the Color tab, click Color full: the whole workflow appears, from Calibration to Stars/background.
3Add the lights
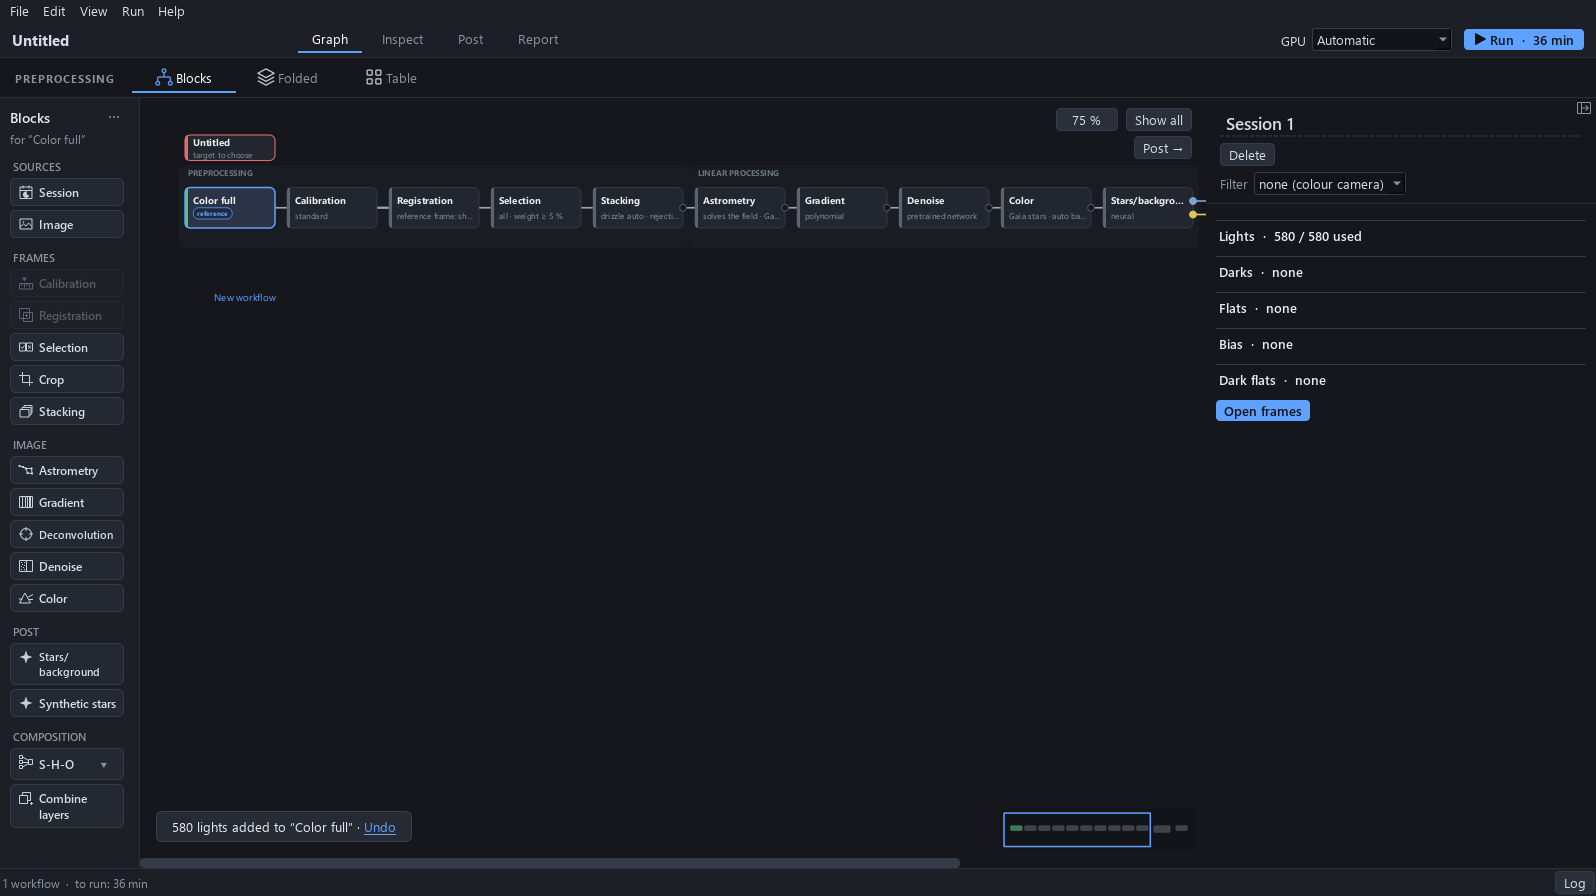
In the Session 1 panel, click Add lights and choose the 580 files of the folder. Nothing else is added: the Darks and Flats rows stay at none.
Expected result. The panel reads 580 / 580 lights used, and Darks, Flats, Bias and Dark flats read none.
4What the window says about the darks
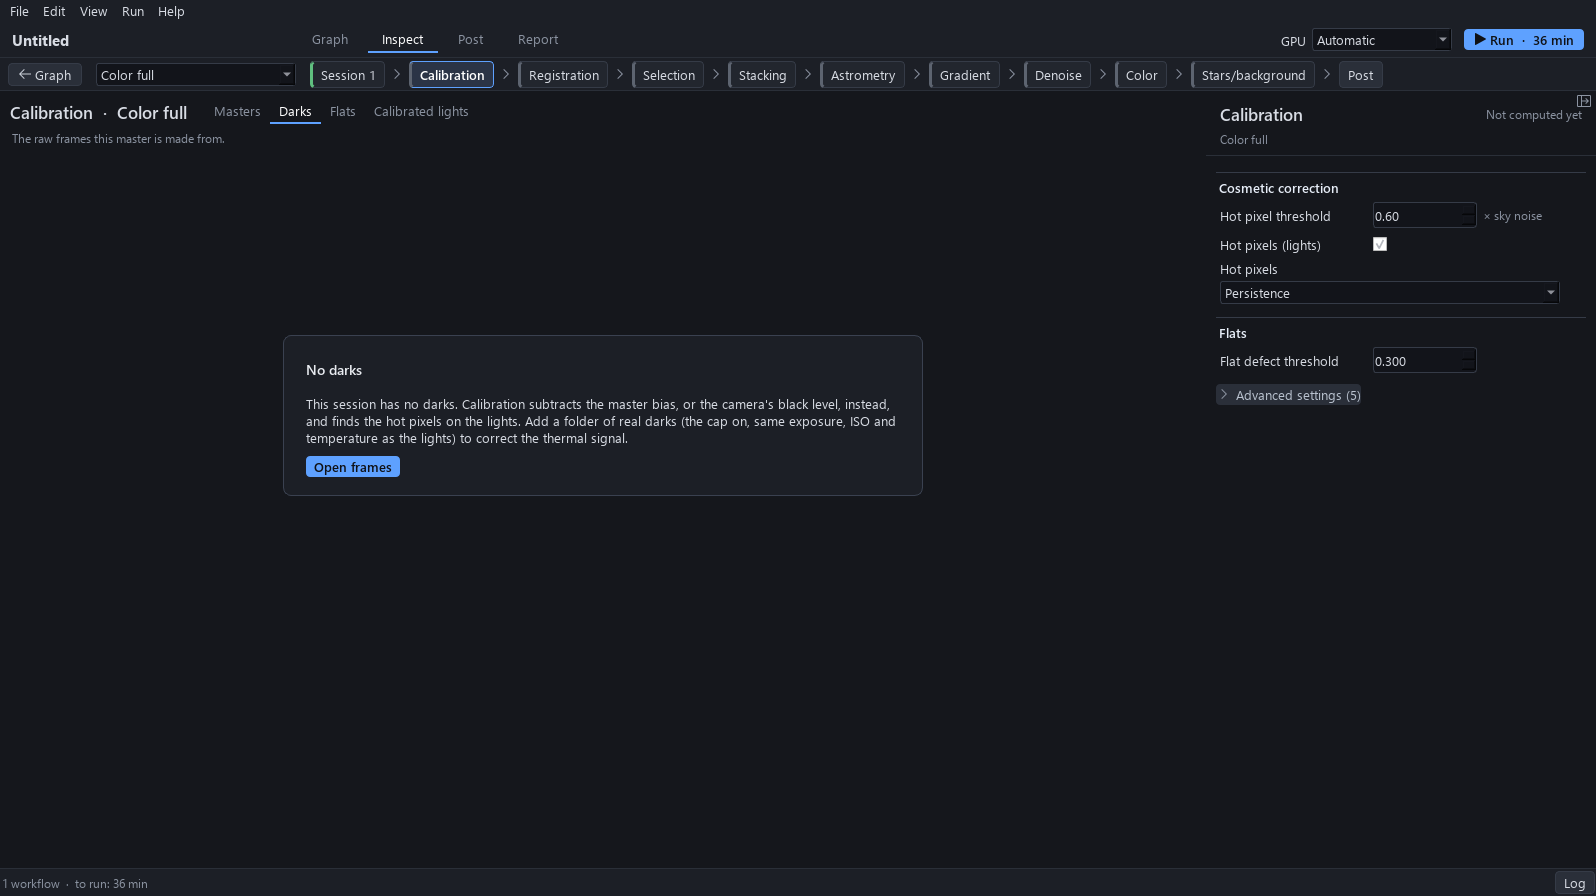
Click Open frames, then the Calibration step and its Darks tab. The window says what Calibration does without darks: it subtracts the master bias, or the camera’s black level, and finds the hot pixels on the lights themselves.
Expected result. The Darks and Flats zones of the Files page only read none, optional: the explanation is in the Calibration step.
5What the window says about the flats
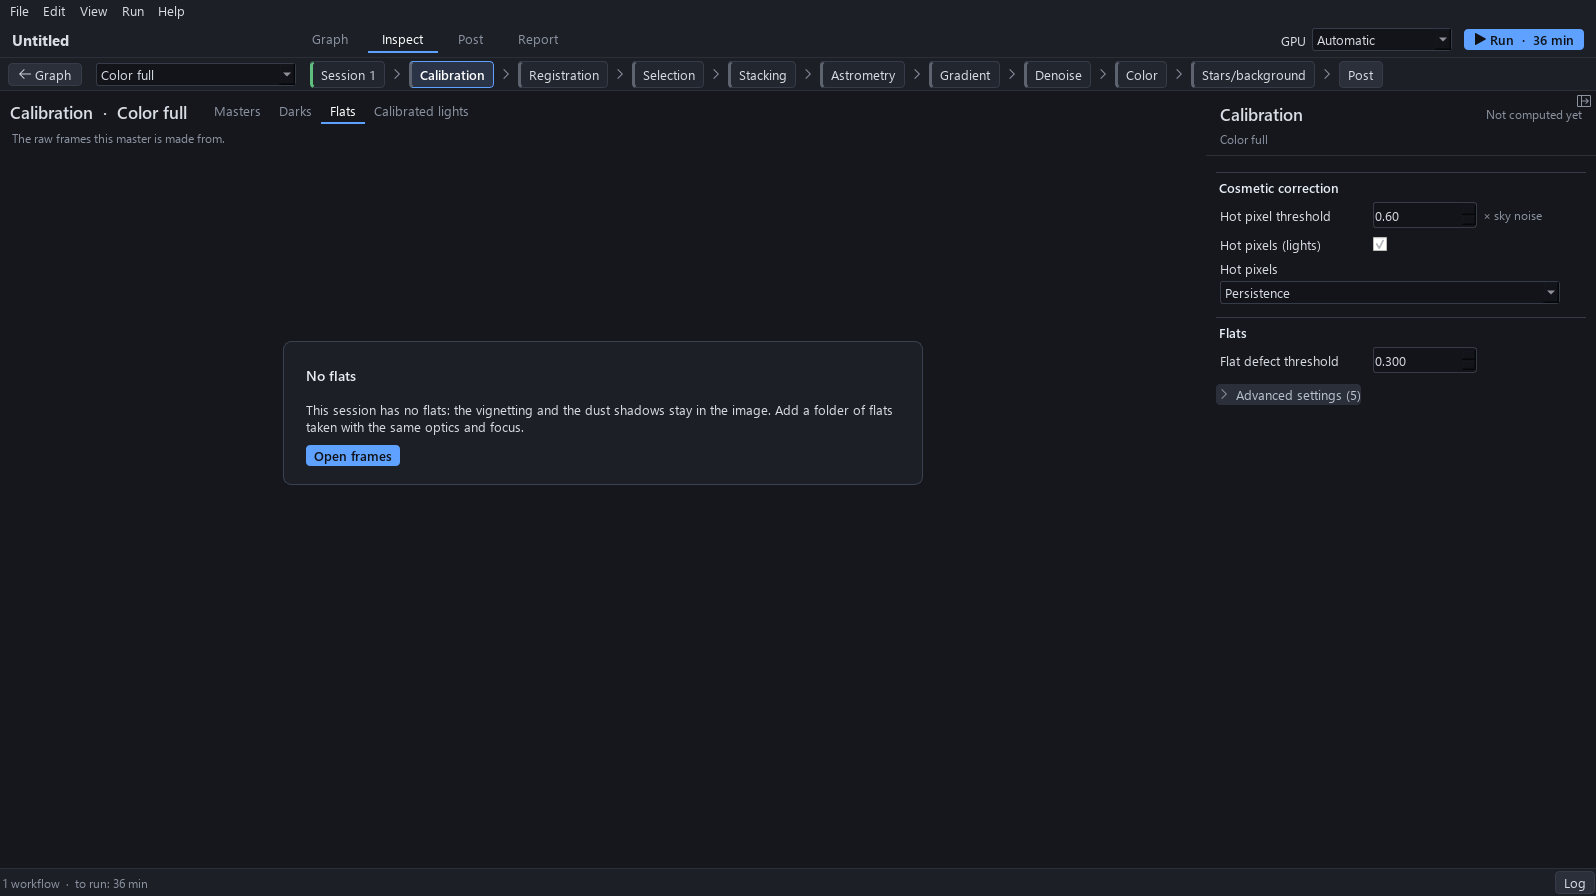
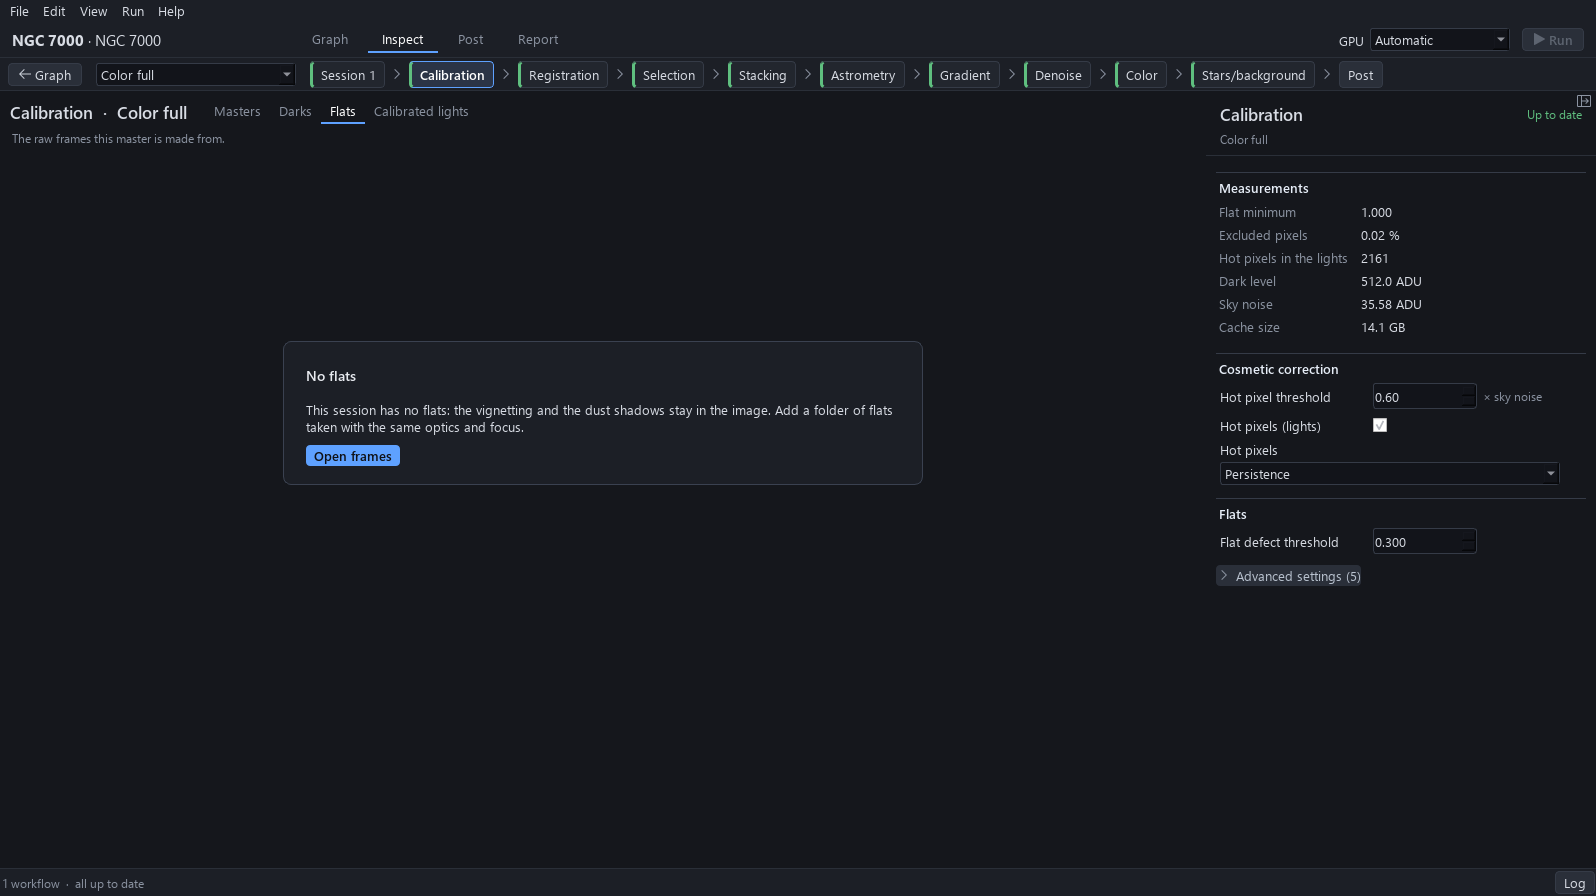
Click the Flats tab. The window says what stays in the image without flats: the vignetting and the dust shadows. Post will finish what the Gradient block leaves.
6The session checks
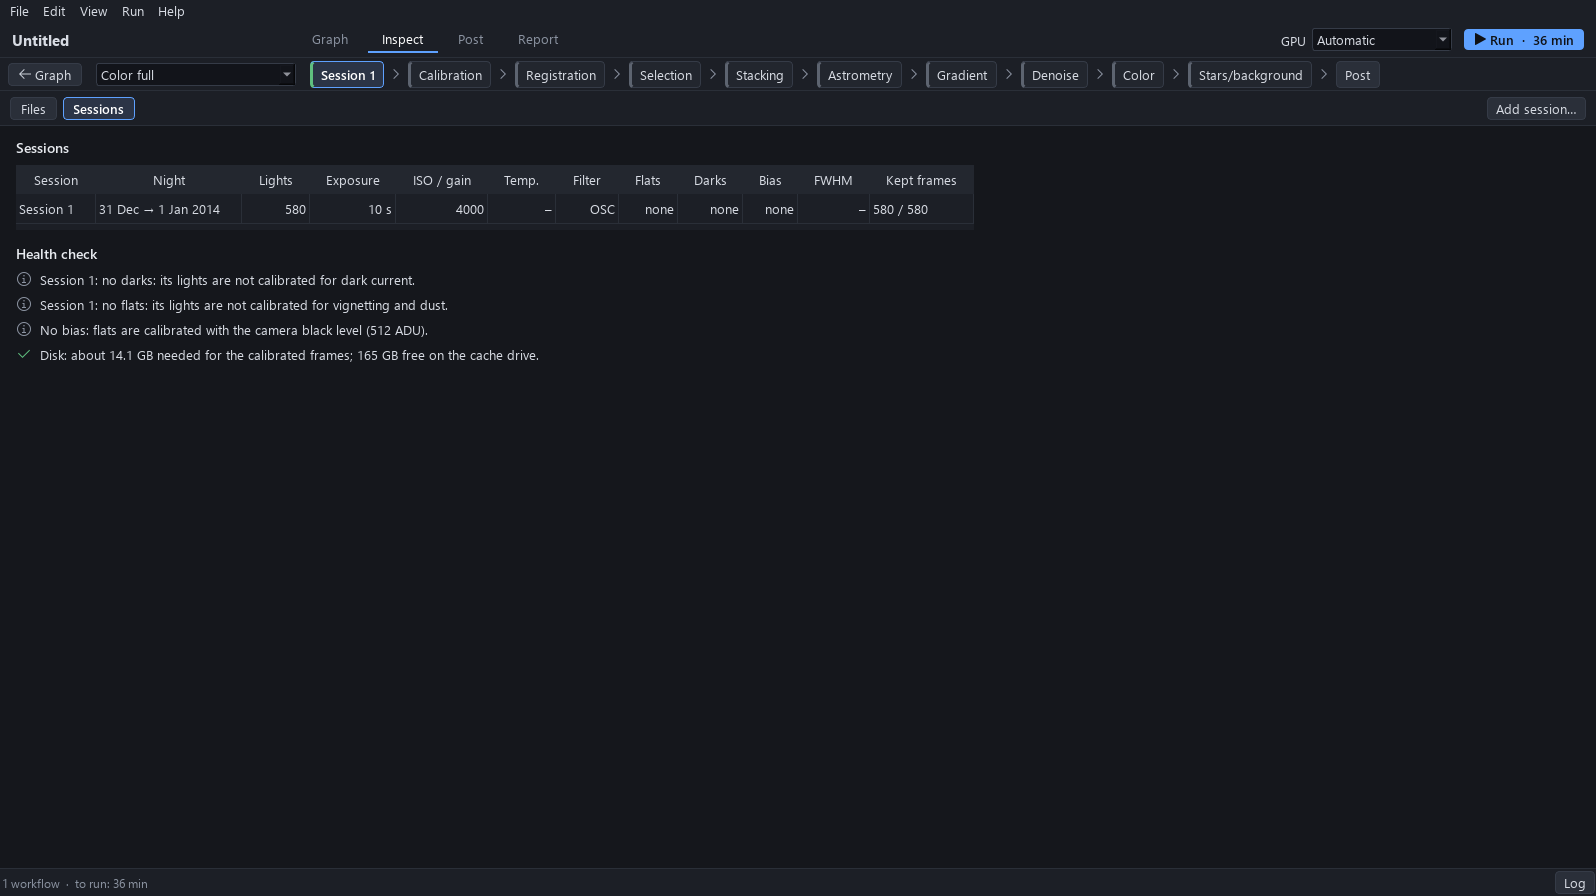
Click the Session 1 step, then the Sessions tab. Under Checks, three lines give the same facts: no darks, no flats, and no bias, so the camera’s black level (512 ADU) is used. A fourth line gives the disk space the calibrated frames need.
Expected result. The Calibration matching panel of the Files page stays empty: there is nothing to match the lights against.
7The target
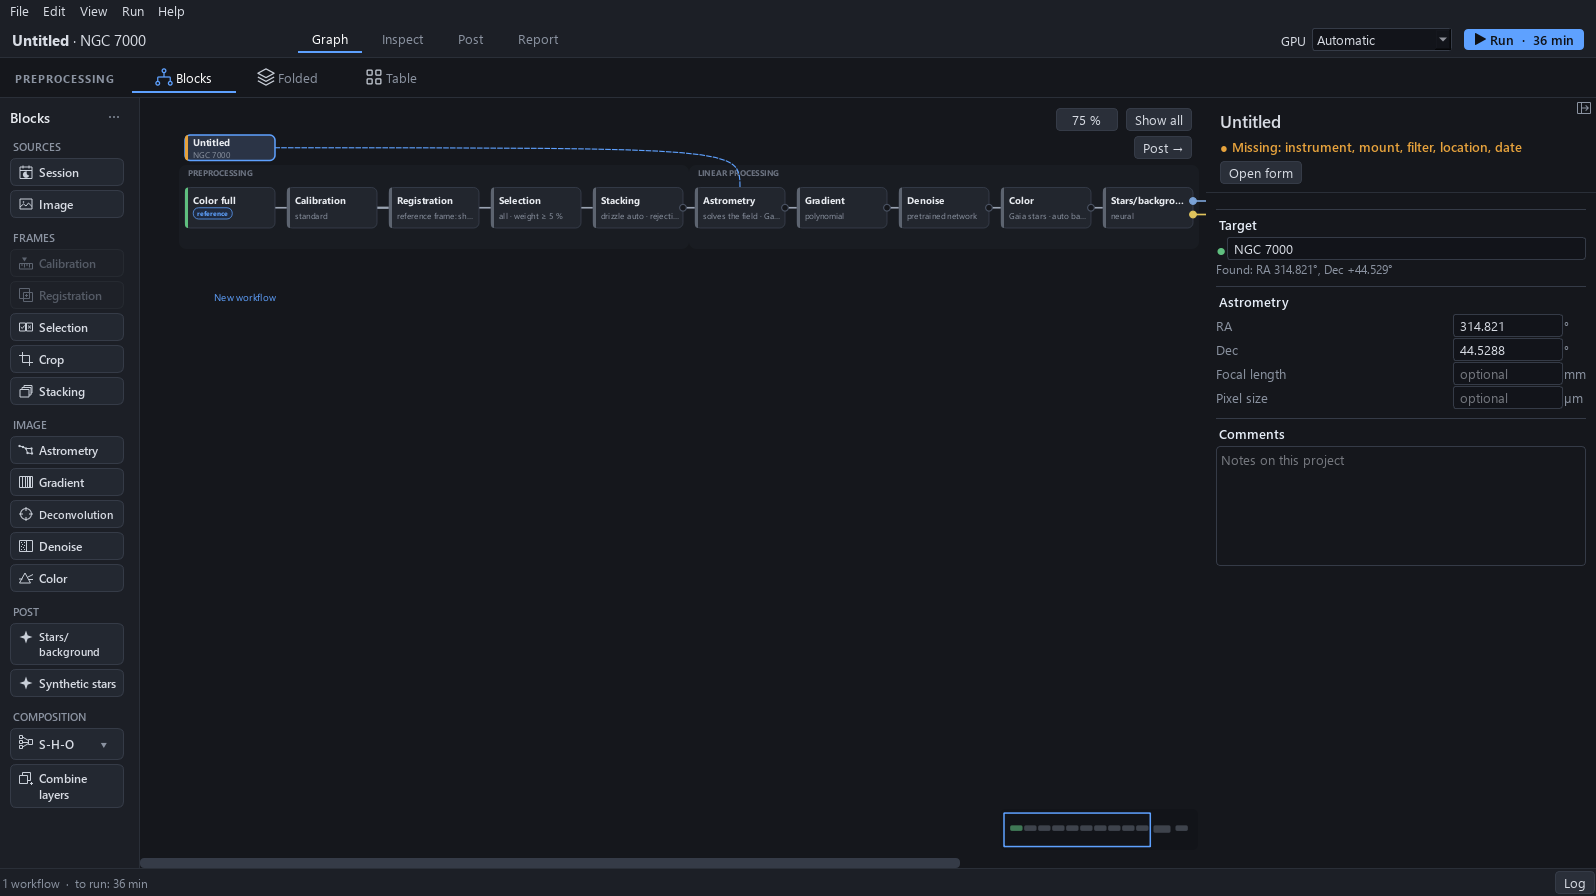
Click Graph to go back to the workflow, click the project block and type NGC 7000 in Target: the position is found.
8Run
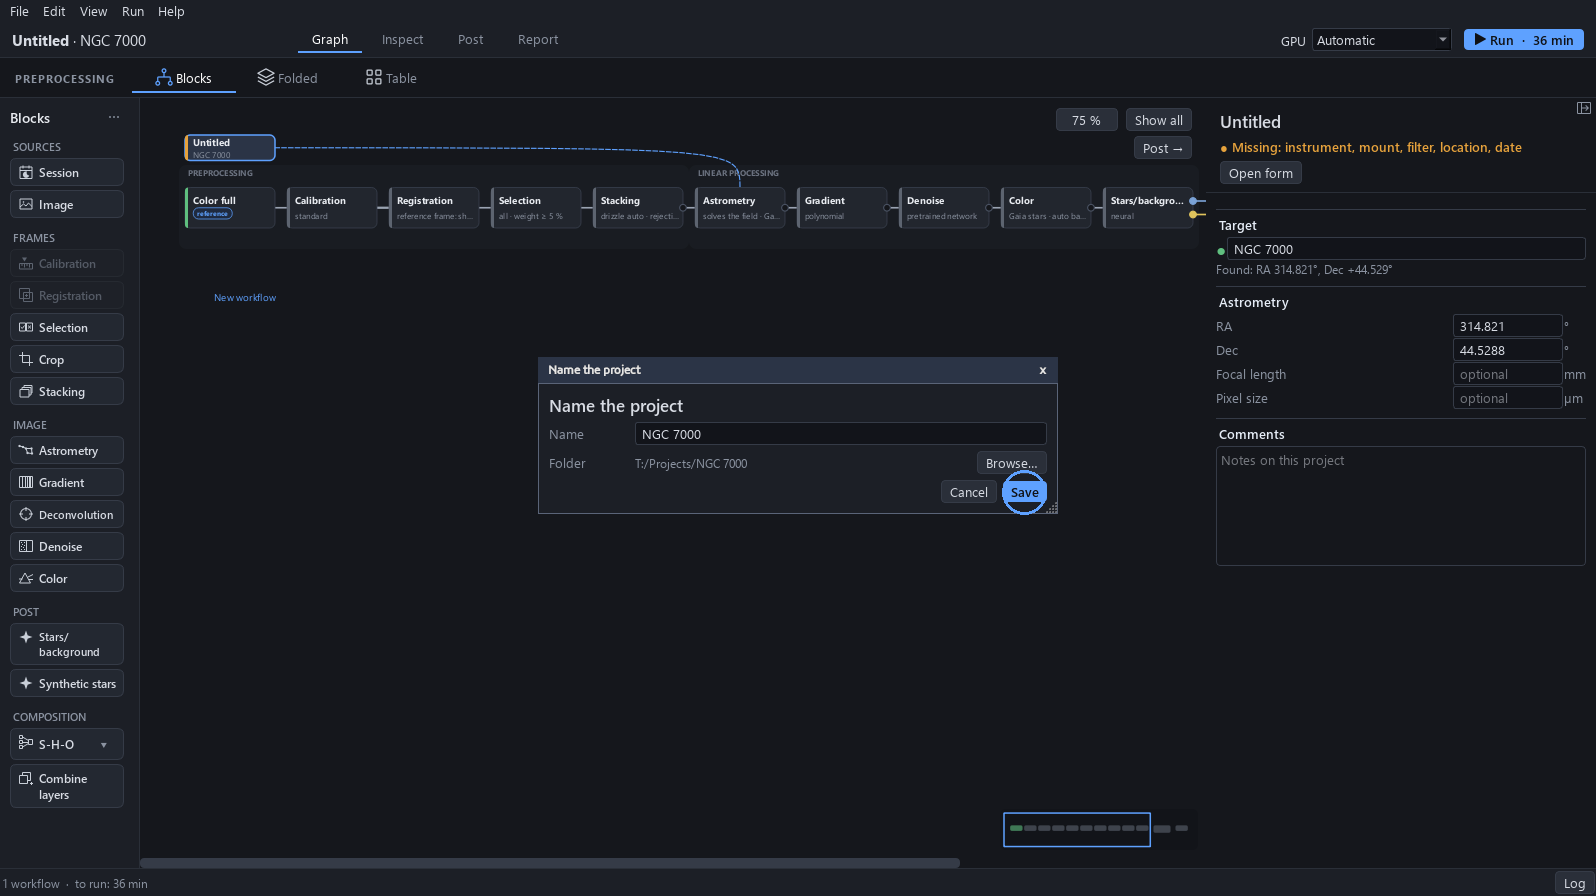
Click Run. Name the project NGC 7000, pick its folder with Browse…, then click Save. The button gave the time the run should take.
9The run
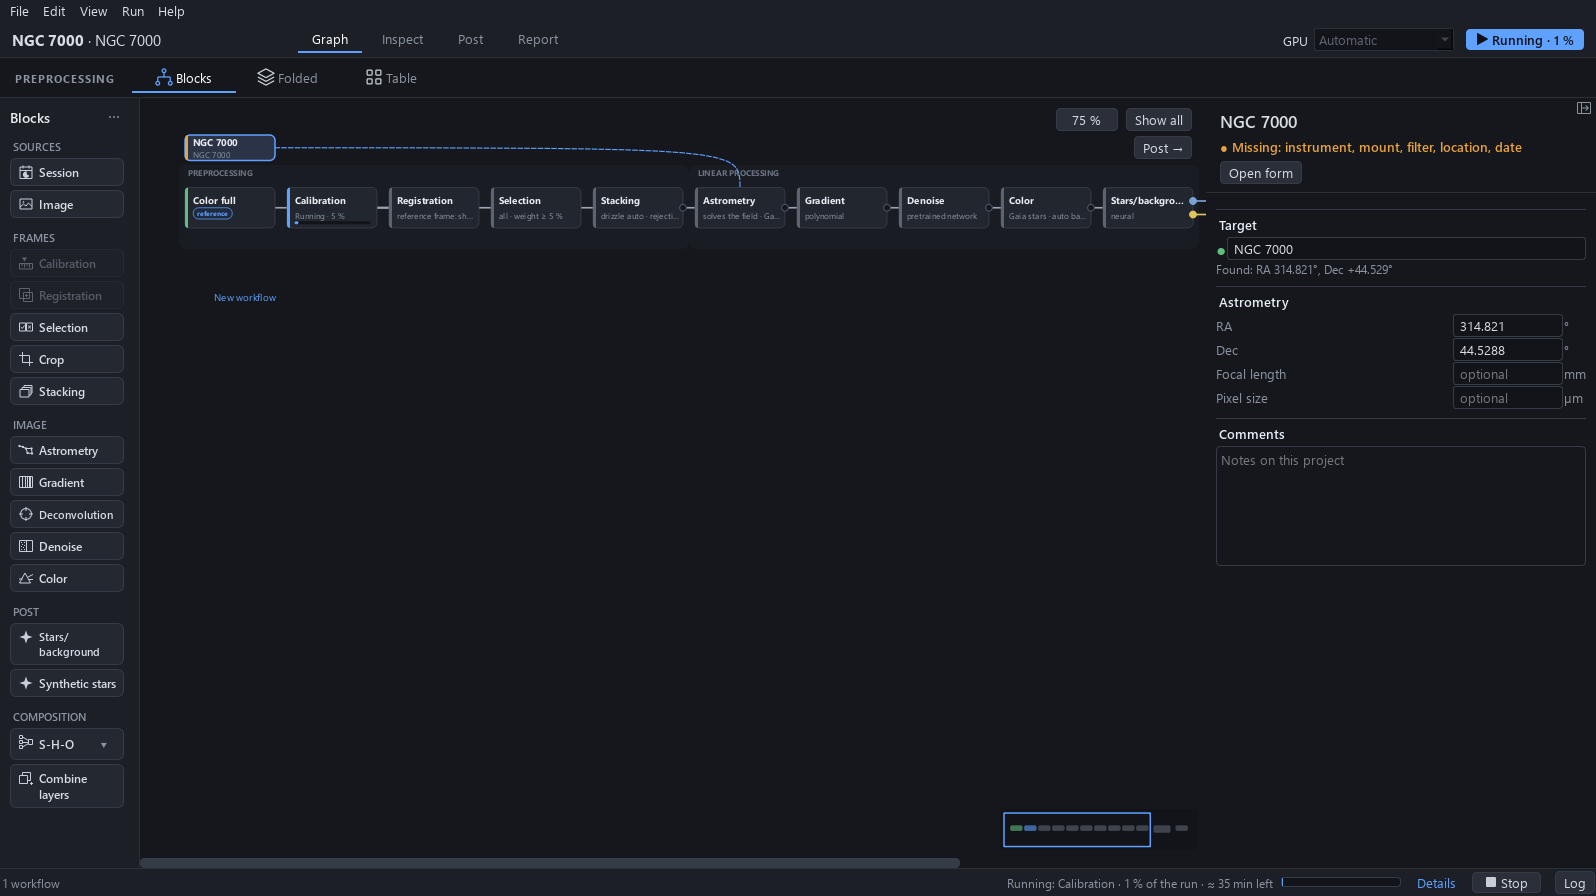
The run lists its blocks and the time each should take, then goes on in the background. On the graph, each block shows its progress.
10The run is done
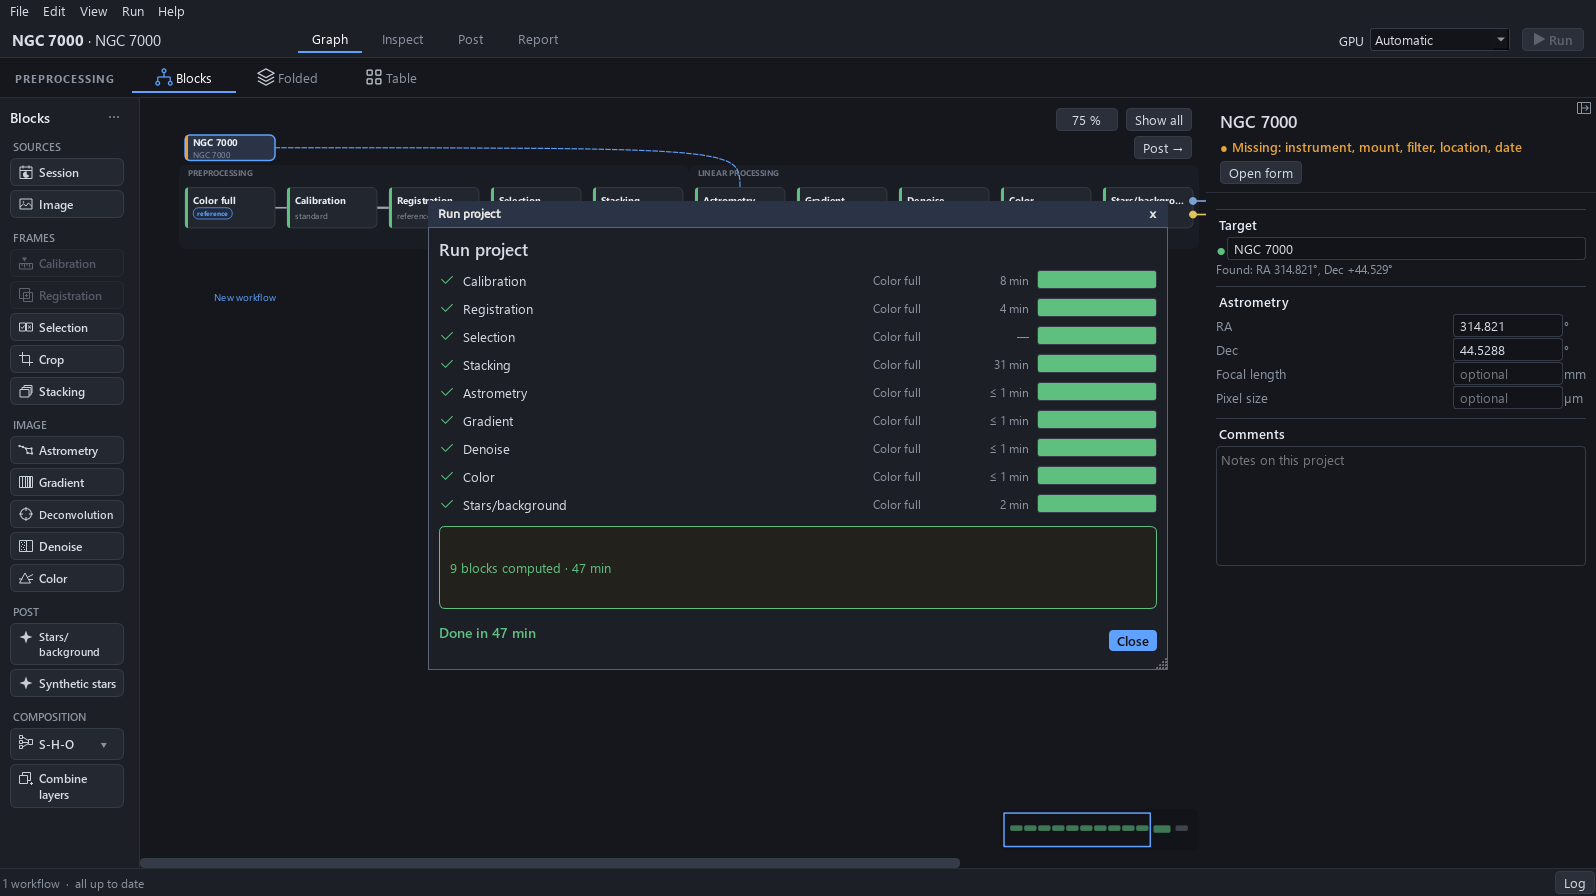
The run is not shown in real time. It took 47 min on a PC with an RTX 4060 Ti graphics card: calibration 6.3 min, registration 3.6 min, stacking 31.5 min, which the window gave to the processor, and about 3 min for everything else.
Expected result. 388 frames of the 580 are kept for the stack, 1.1 h of exposure.
11What Calibration did instead
Click Inspect, then the Calibration step. Its measures give what was done instead of the missing frames: 2161 hot pixels found on the lights and replaced by their same-colour neighbours, a dark level of 512.0 ADU (the camera’s black level), and a flat minimum of 1.000, since no flat divides the image.
Why. Without darks the hot pixels are found on the lights themselves; without flats the Gradient block’s sky model takes part of the vignetting, and Post finishes it.
12Diagnosis in Post
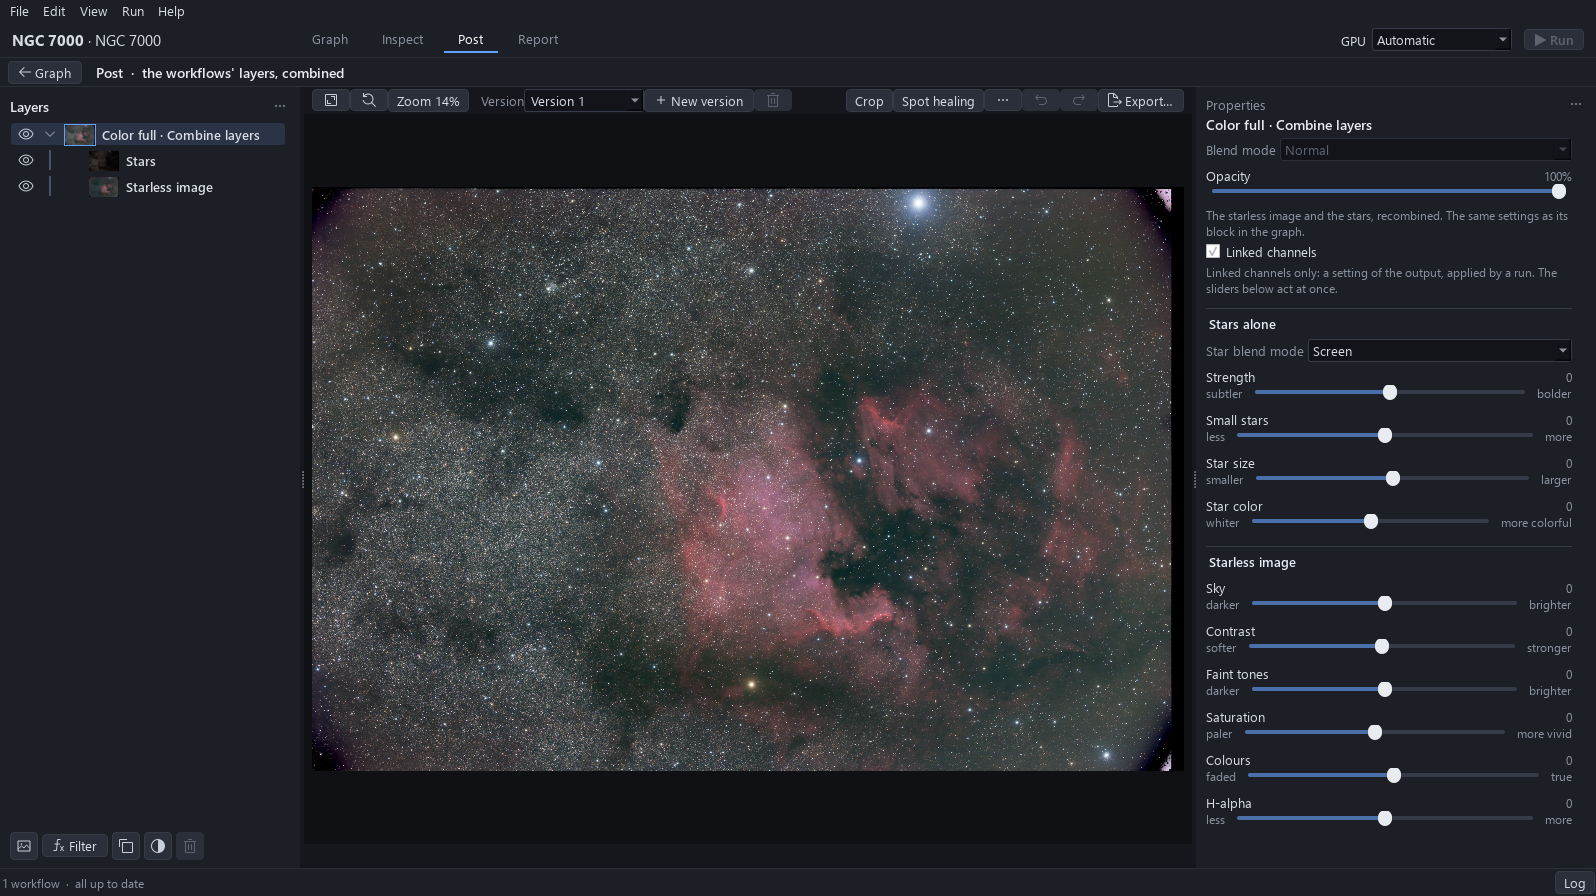
Click Post. Before any gesture, look at the image as the workflow gives it: what is wrong, how to read it, which gesture corrects it, and what is already right. Zoom to 100 % with Ctrl and the mouse wheel, and come back with the fit button.
Expected result. Already right, to leave alone: the red of the nebula and its structure, the colour of the stars, and the noise, which the Denoise block has done.
| What is wrong | How it is read | What corrects it |
|---|---|---|
| The corners are dark and the edges are black. | In the fitted view the four corners fall to near black. At 100 % on a corner, the vignetting darkens the field and a black band runs along the border. | Crop to the middle of the frame. (step 13) |
| The sky is cyan-green. | Look at the dark lanes at the top right and at the empty sky: they lean teal instead of neutral. At 100 % the sky shows the same tint. | Color balance, then Green removal, both under a luminance mask. (step 16) |
| A veil still lies on the sky, lighter around the centre. | In the fitted view the sky is brighter around the centre than at the edges: the veil the flats would have removed. | Dehaze on the starless image. (step 15) |
| The nebula looks a little flat. | In the fitted view the Wall and the edge of the Pelican barely stand out of the gas, and the faint gas is dim. | Raise Contrast and Faint tones. (step 14) |
| A dense star field covers the gas. | At 100 % on the Milky Way at the left, the stars are so many that the gas shows only between them. | The four star sliders, gently. (step 19) |
13Crop
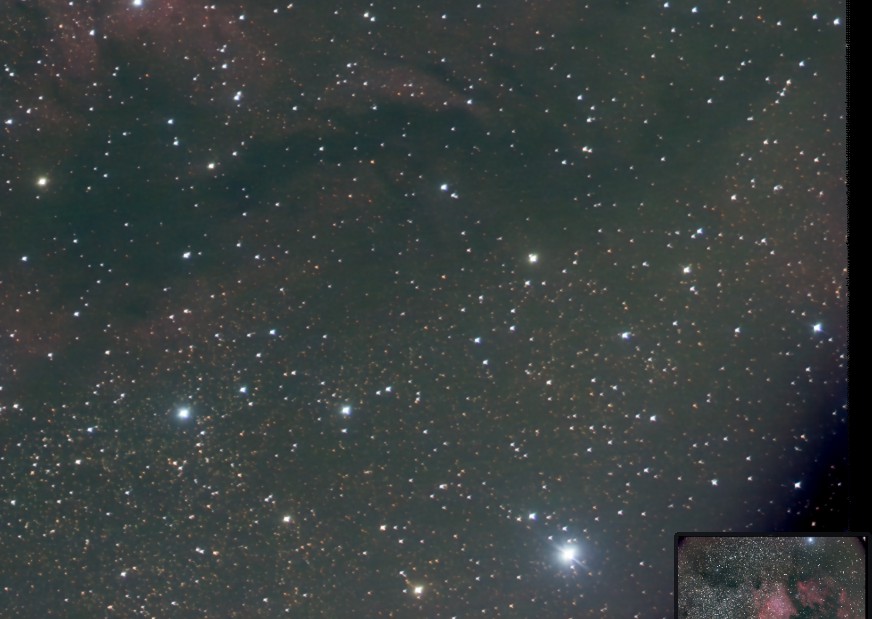
Click Crop, drag the top-left handle inward, then the bottom-right one, until the frame is about 5080 × 3600 px (here 5074 × 3602): NGC 7000 and the Pelican fill it and the corners are out. Click Apply.
Why. The vignetted corners and the black borders are the part of the frame the flats would have evened out; leaving them out gives a clean frame, and it puts NGC 7000 and the Pelican in it.
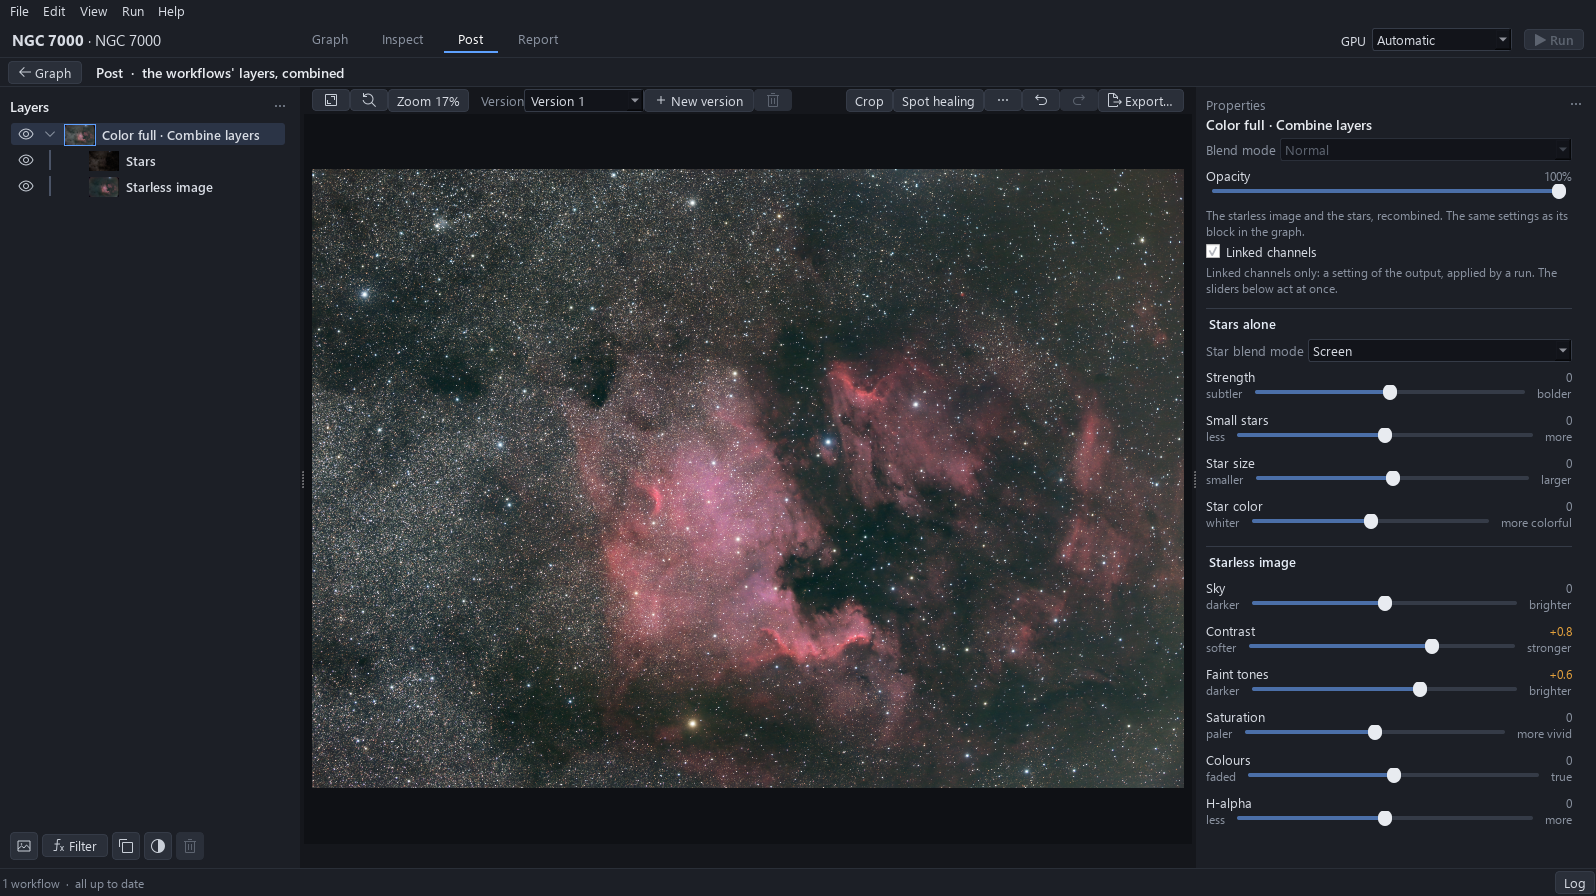
14Contrast and Faint tones
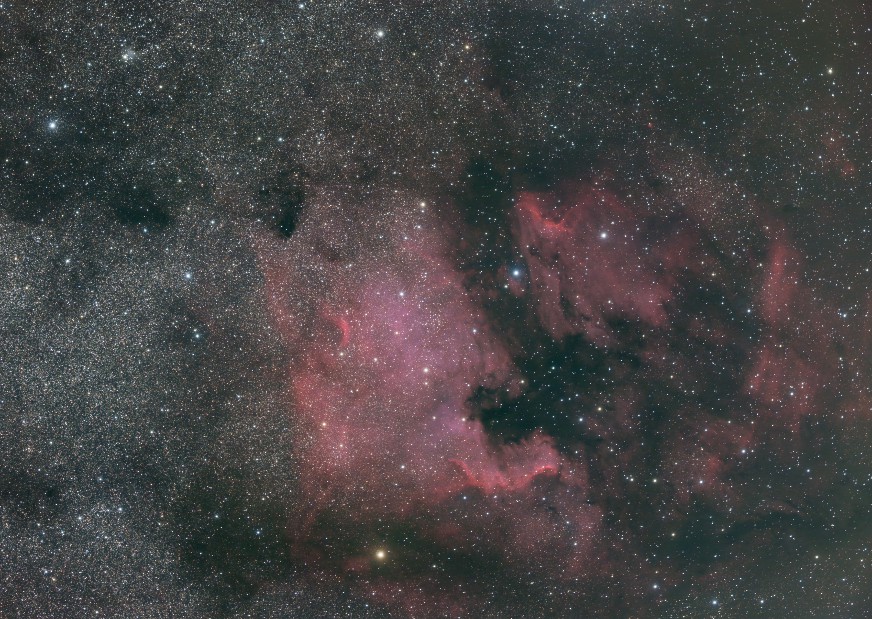
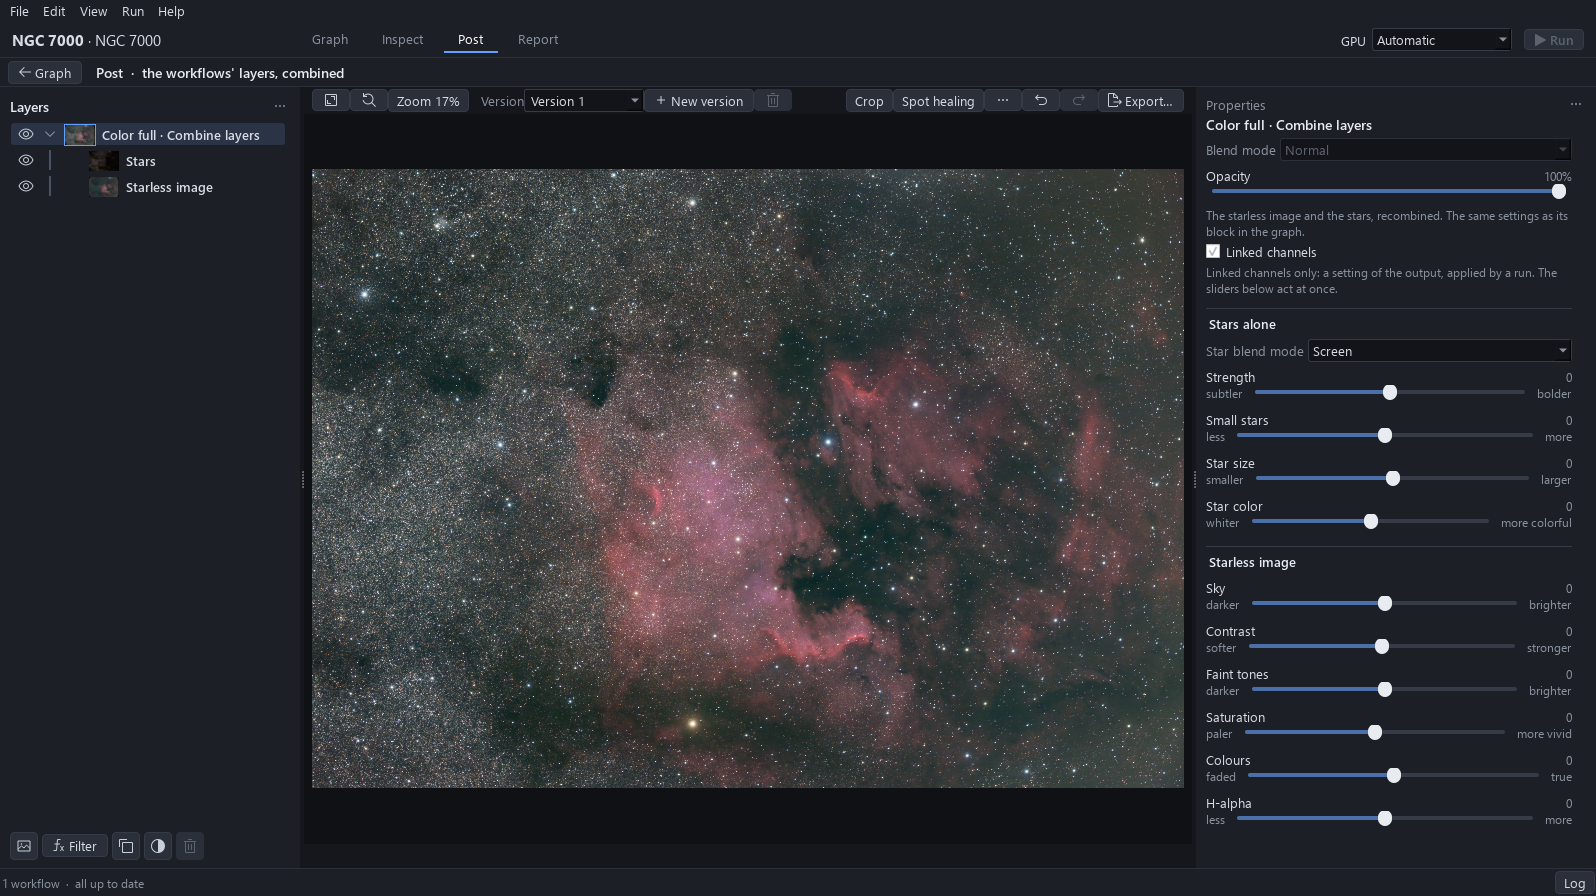
Drag Contrast to the right until the Wall and the edge of the Pelican stand out: here +0.8. Then drag Faint tones to the right until the faint gas comes up: here +0.6.
Why. The nebula is a little flat: Contrast separates its bright structures from the gas, and Faint tones raises the dim gas without lifting the sky.
15Dehaze
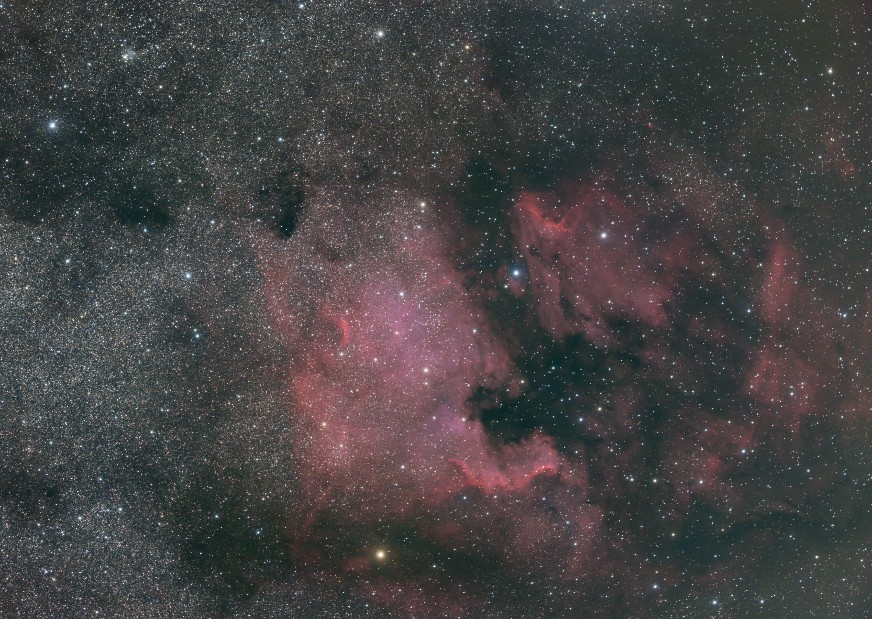
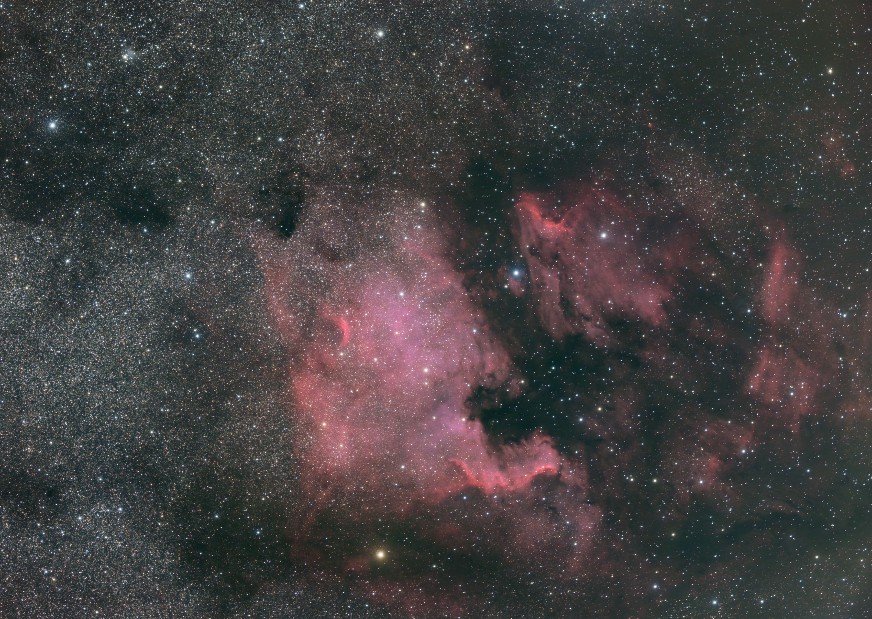
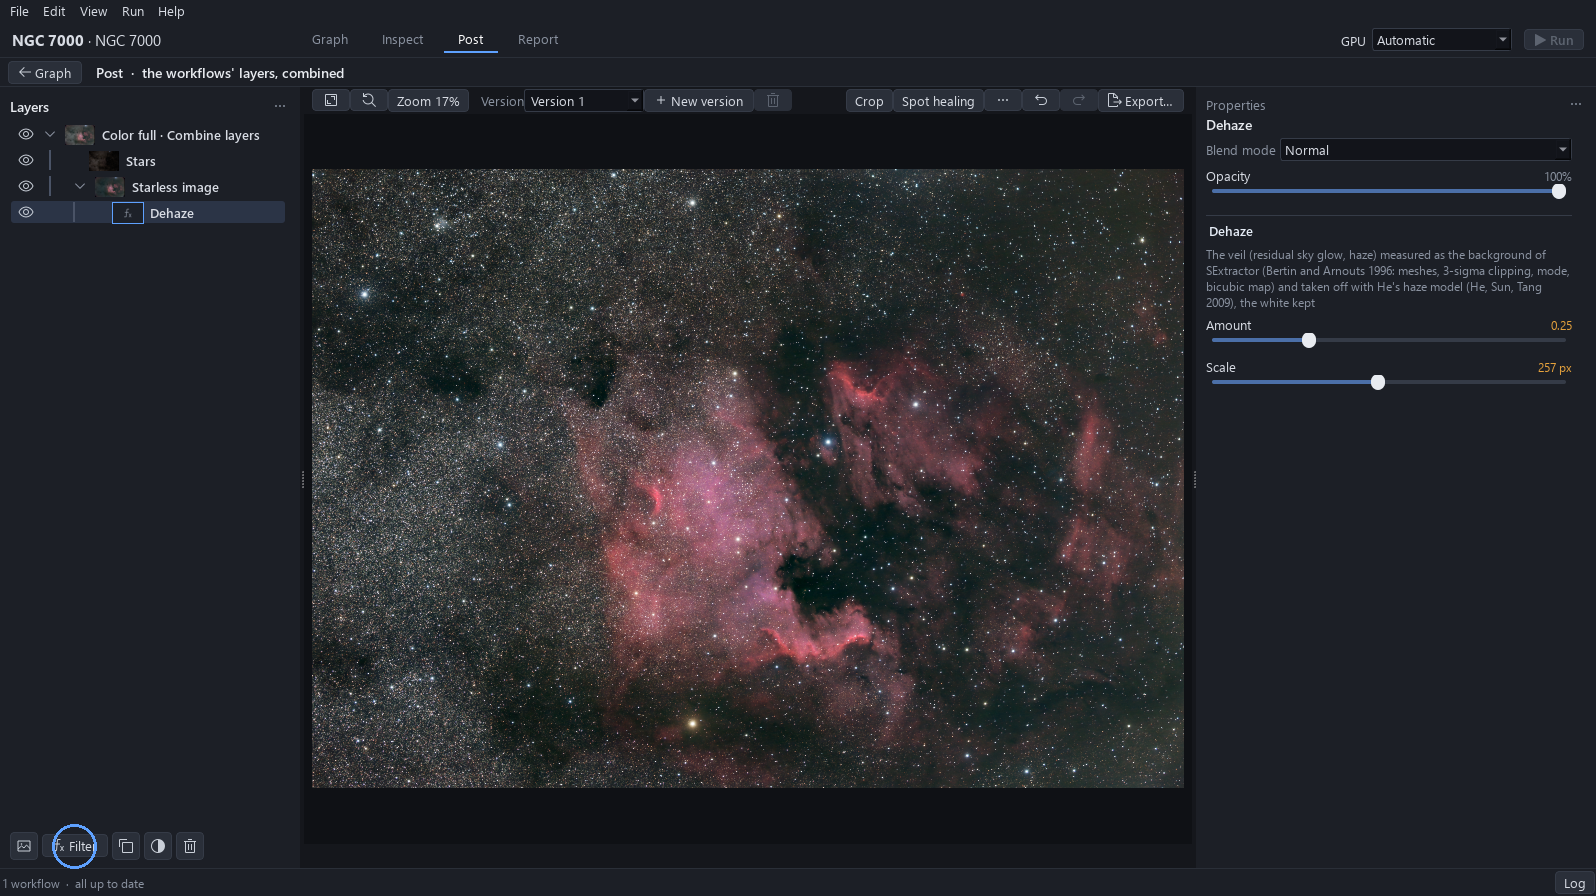
Click the Starless image row, then Filter, Contrast, Dehaze. Drag Amount until the light veil of the sky is gone without swallowing the faint gas: here about 0.25. Keep Scale wide, about 256 px.
Why. Without flats a large veil stays on the sky. Dehaze measures it at a wide scale and takes it off; the wide scale leaves the nebula’s own structures alone.
16Color balance
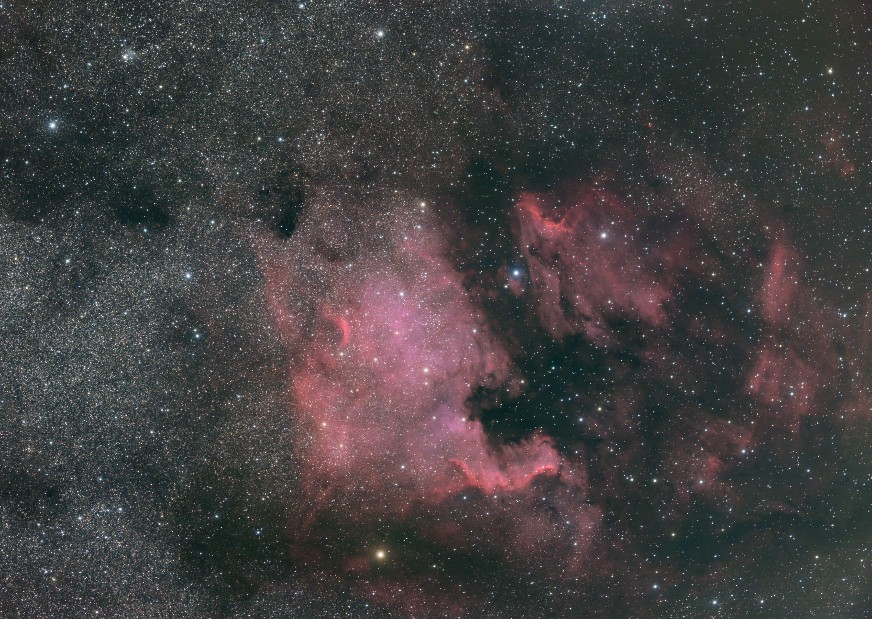
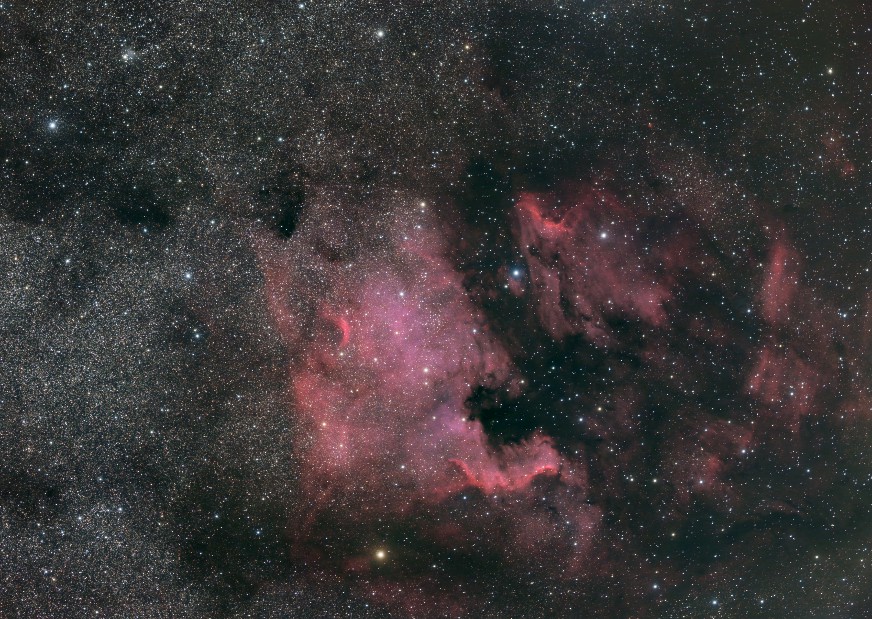
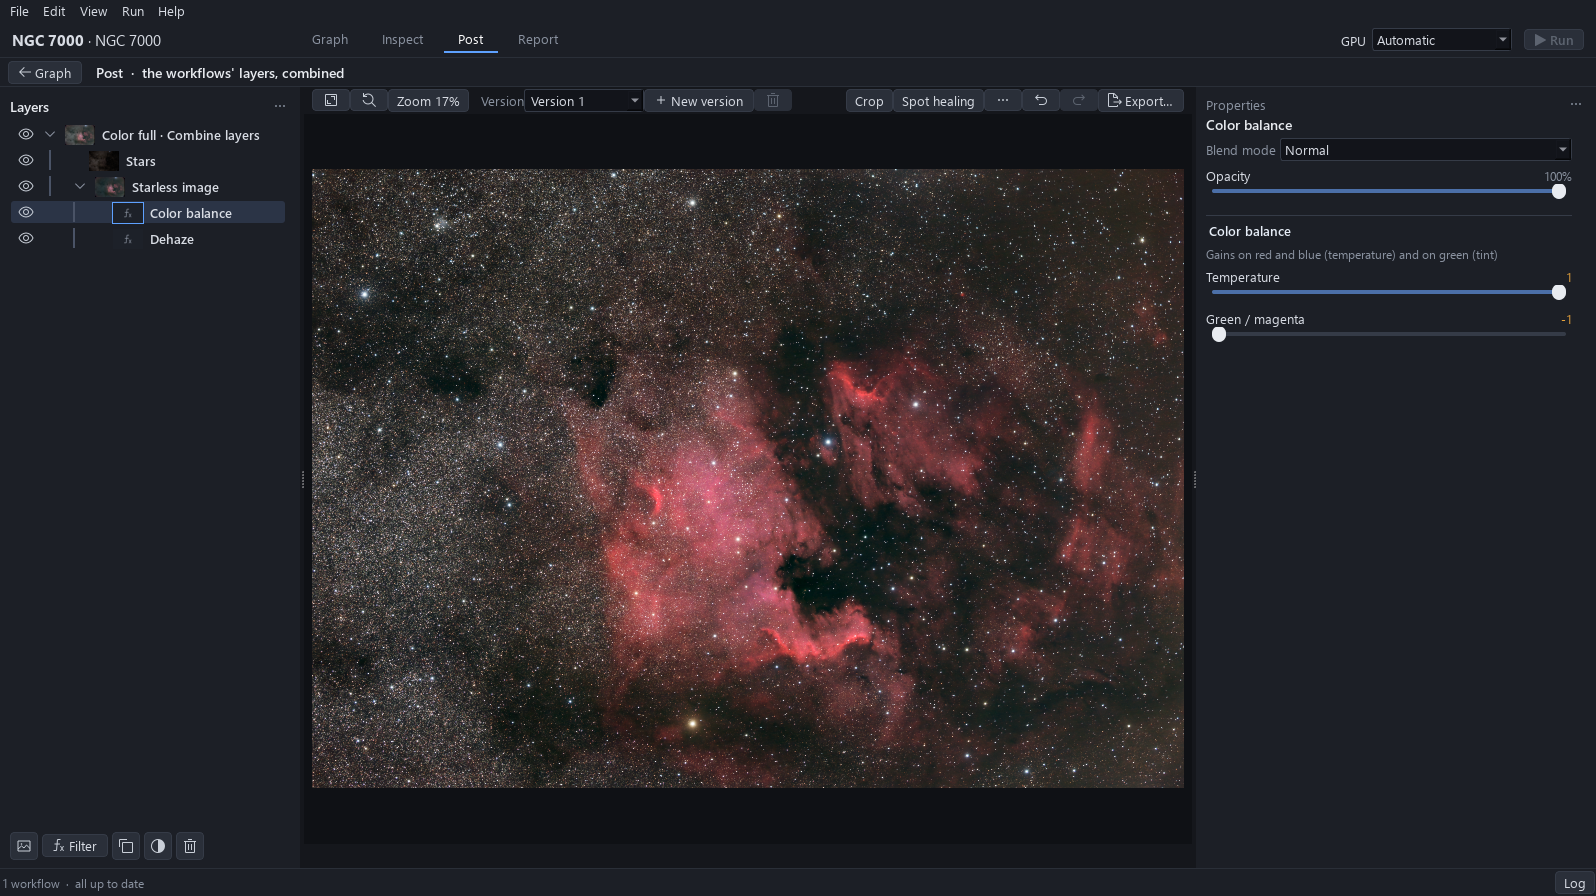
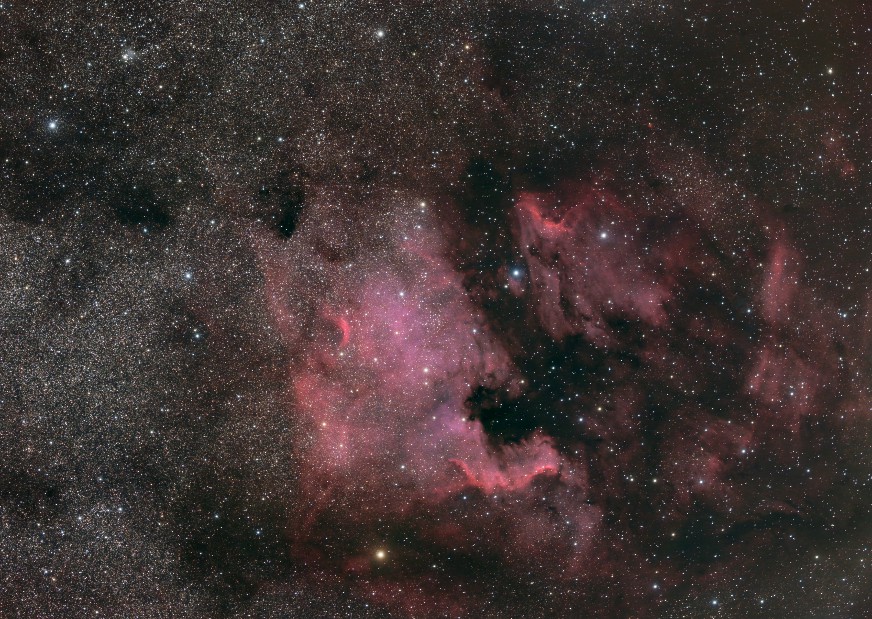
Click Filter, Color, Color balance. Drag Temperature to the right end and Green / magenta to the left end: +1 and −1. On the whole image the balance also warms the nebula; the next step keeps it off.
Why. Without flats the sky of this image is green. The balance brings it most of the way to neutral, at the ends of its sliders.
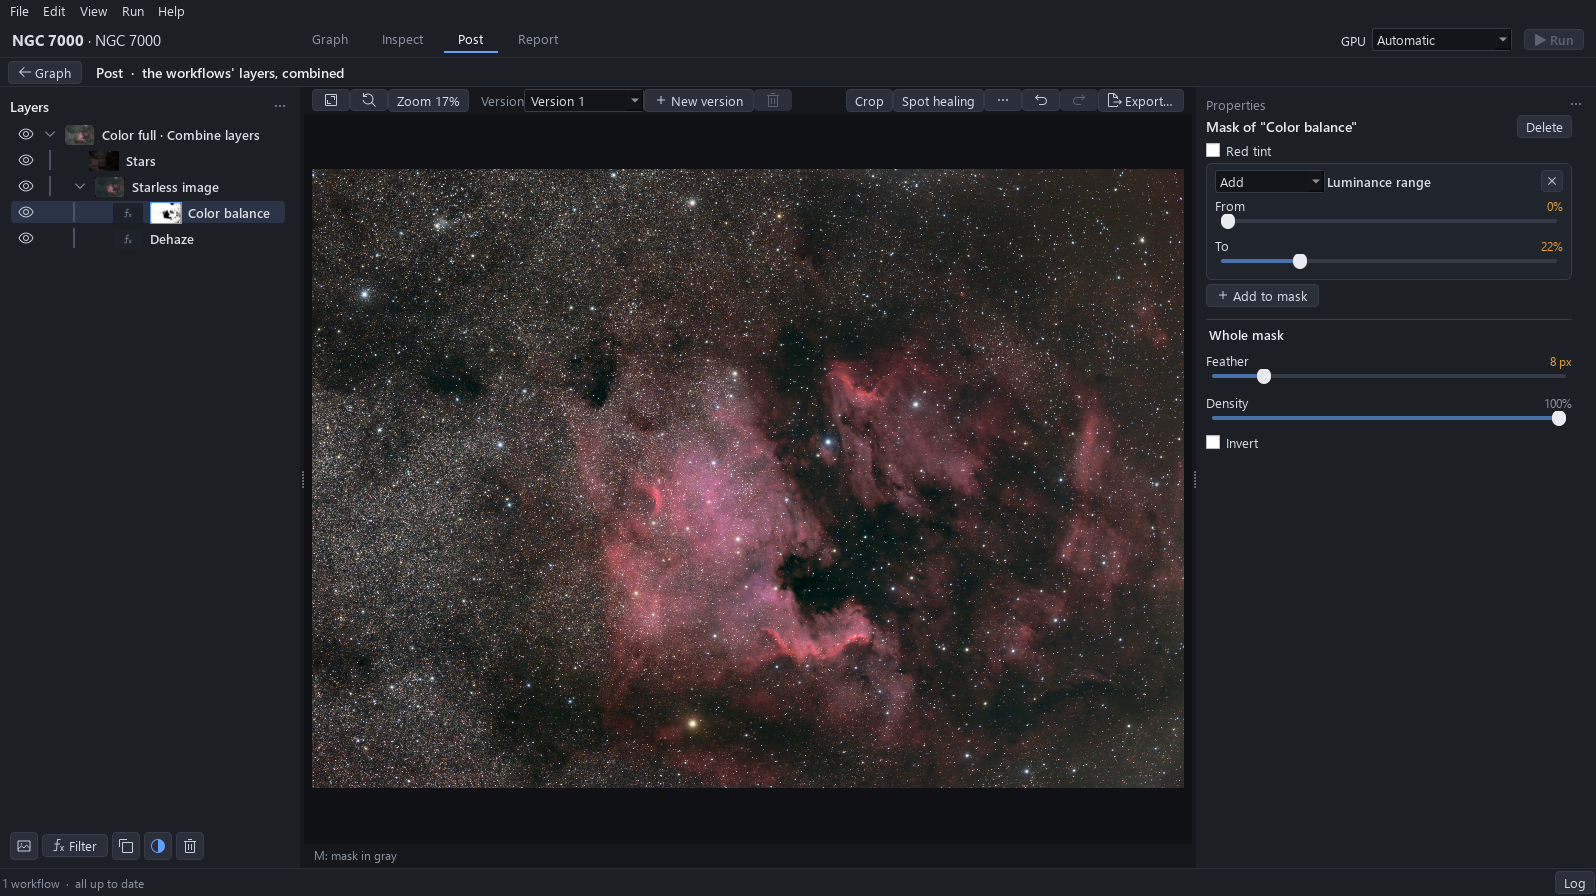
17Under a luminance mask
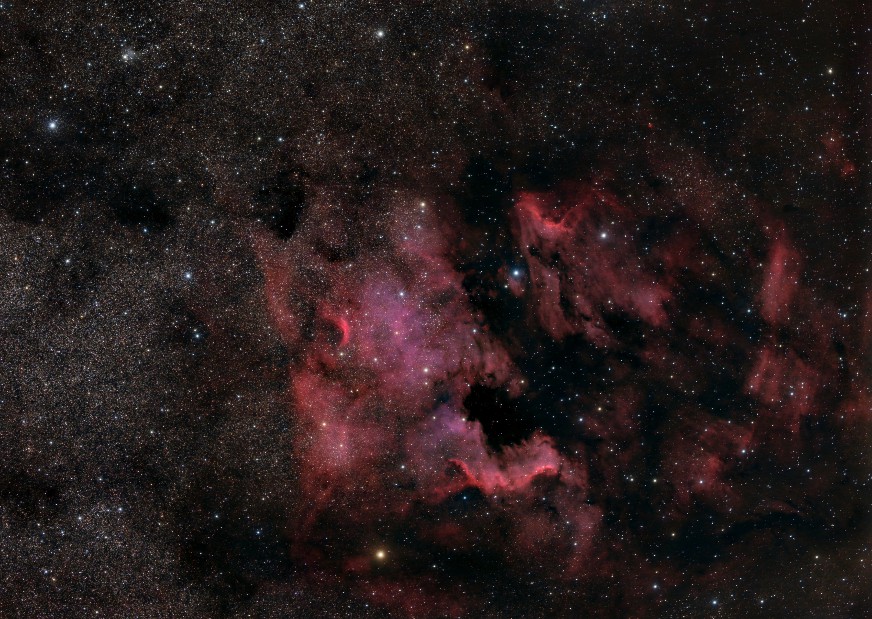
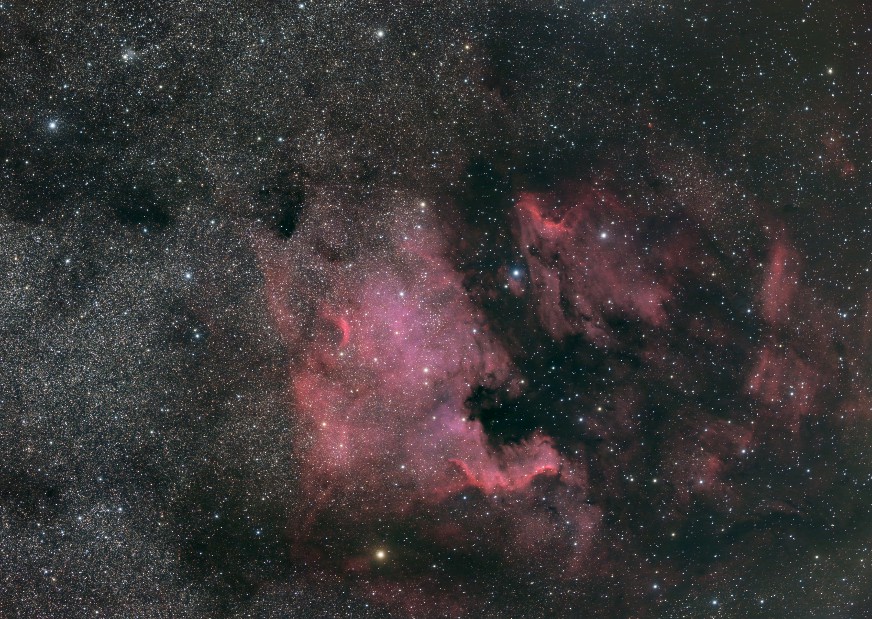
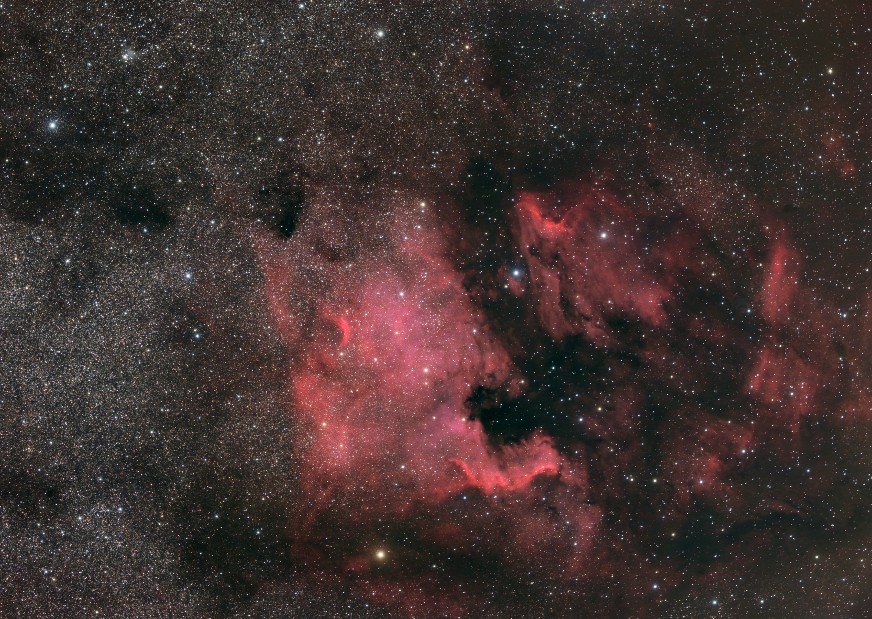
Click the mask button, Add to mask, Luminance range. Set the range from 0 to about 22 % so that only the sky is in it, and soften the edge with the feather: here about 8 px.
Why. The balance must act on the dark tones only: under the mask the sky turns neutral and the nebula keeps its red.
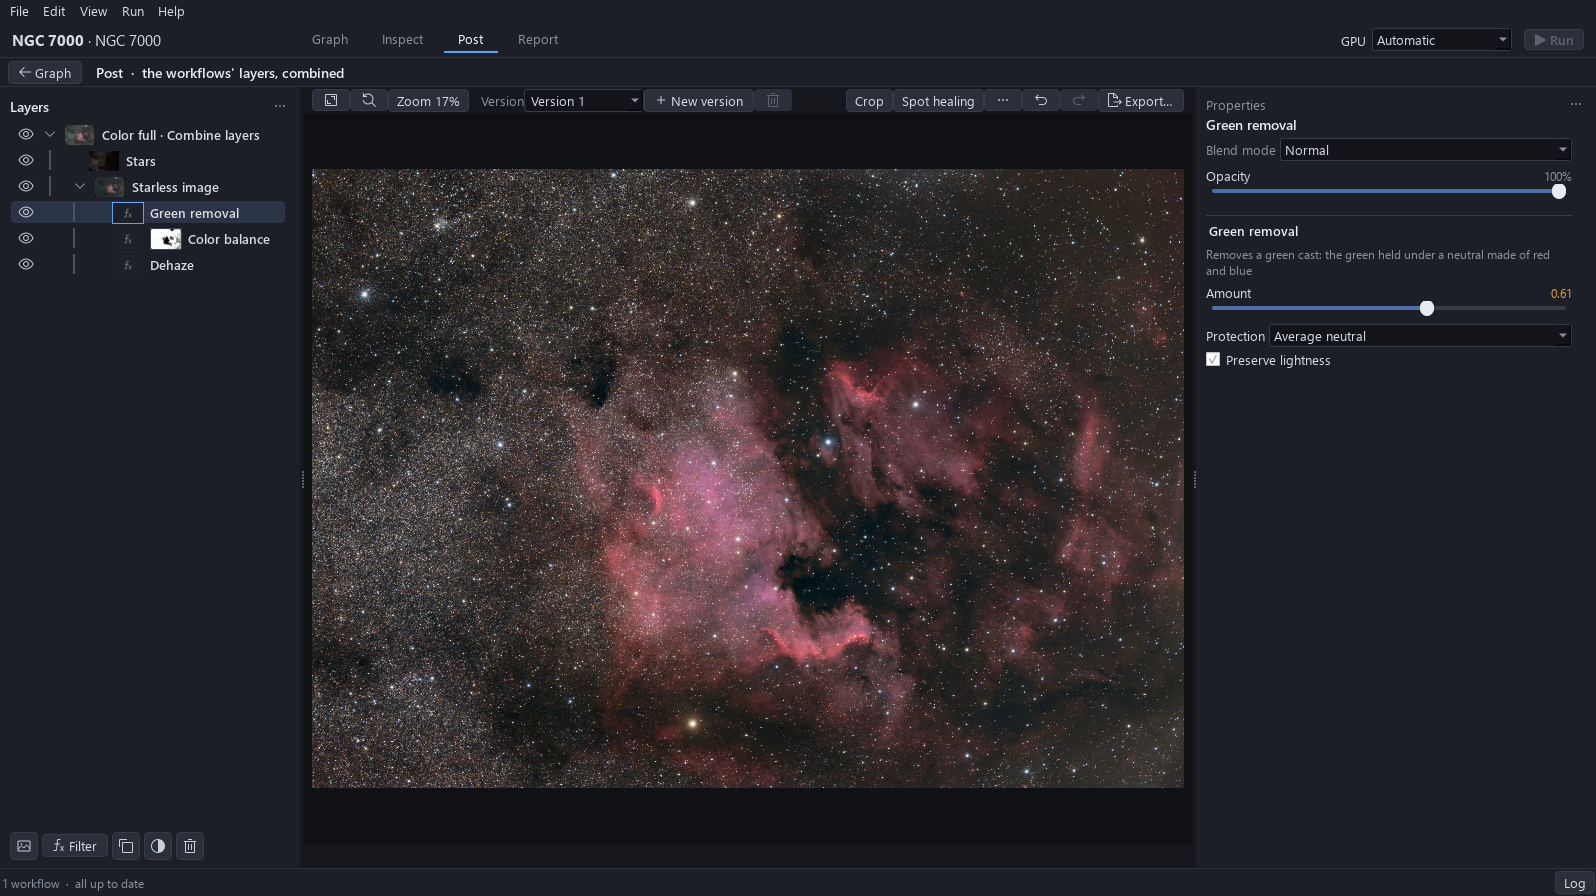
18Green removal
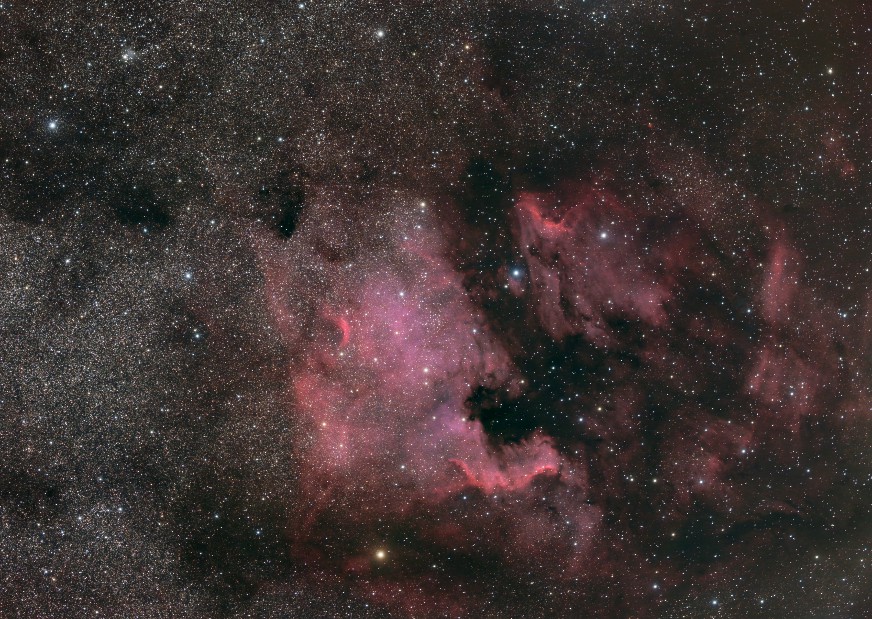
A little green is left in the sky. Click Filter, Color, Green removal, and drag Amount until the sky has no green left: here about 0.6. A mask does not copy from one filter to the next: draw it again the same way, with the mask button, Add to mask, Luminance range, from 0 to 22 %, feather 8.
Why. The balance finishes close to neutral and a little green is left; Green removal finishes it, and the mask keeps both filters off the nebula.
19The star sliders
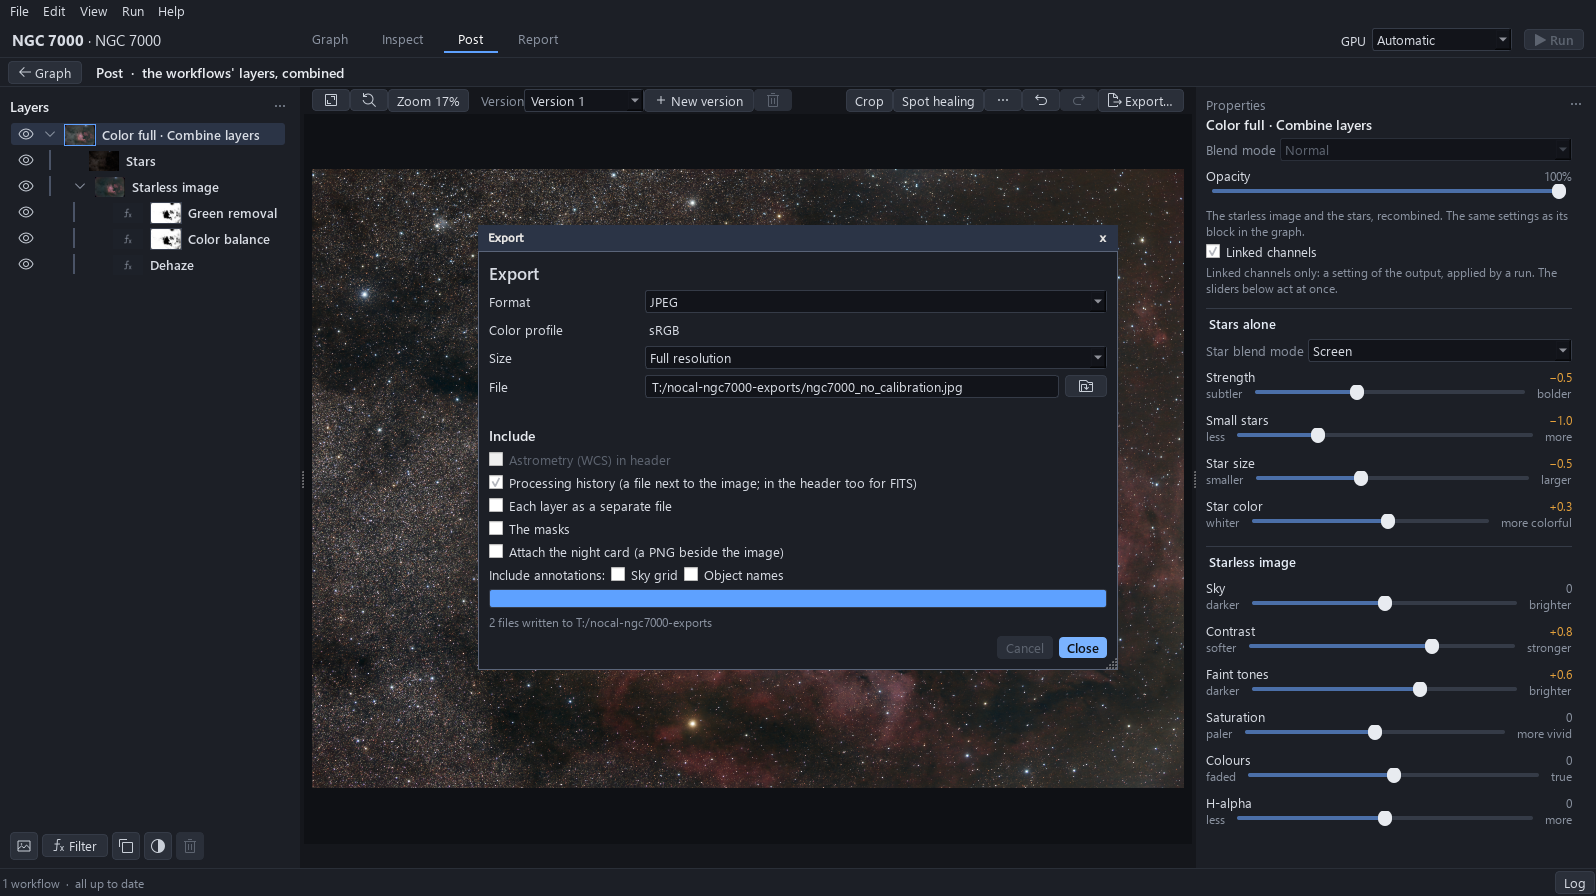
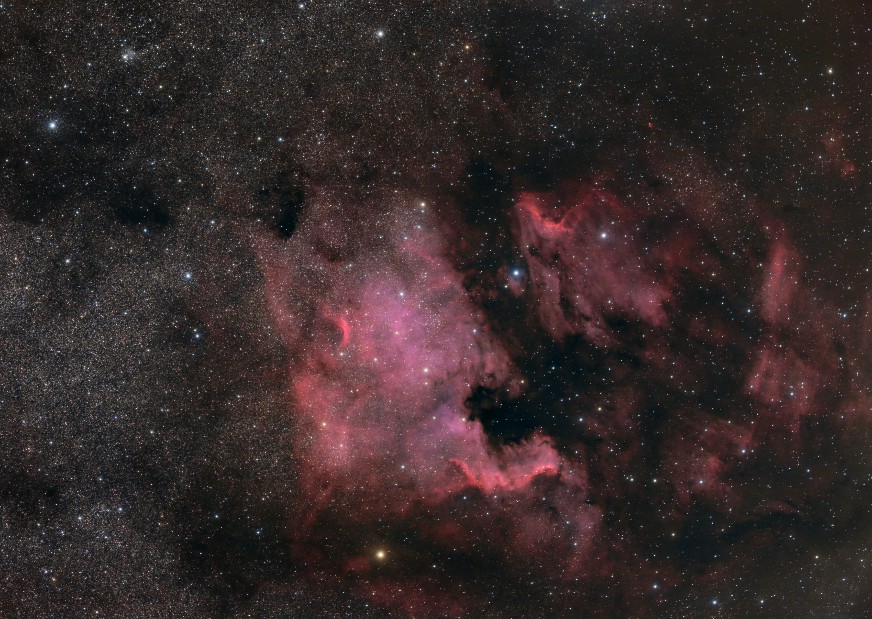
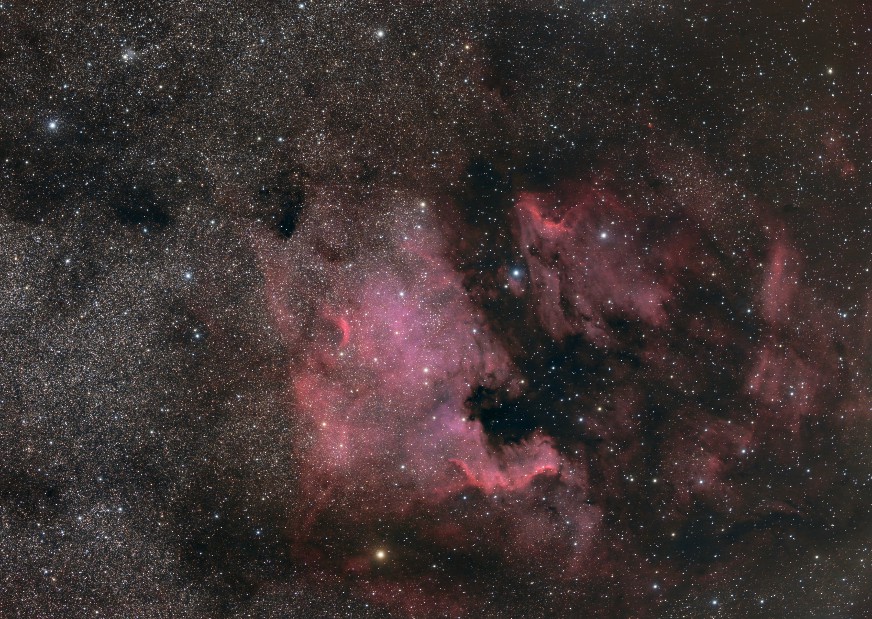
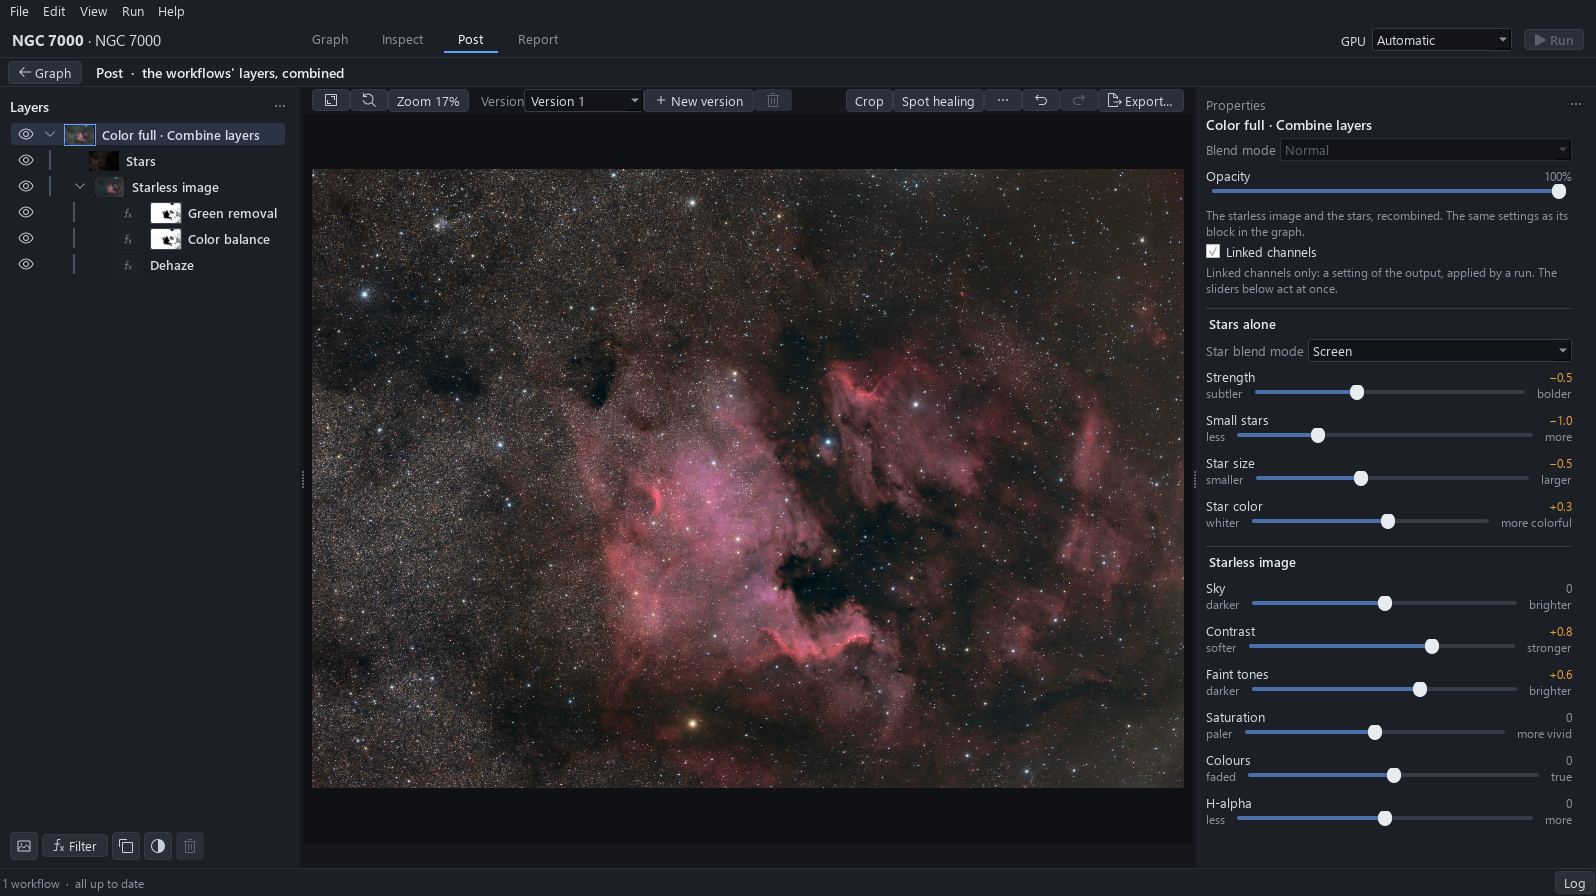
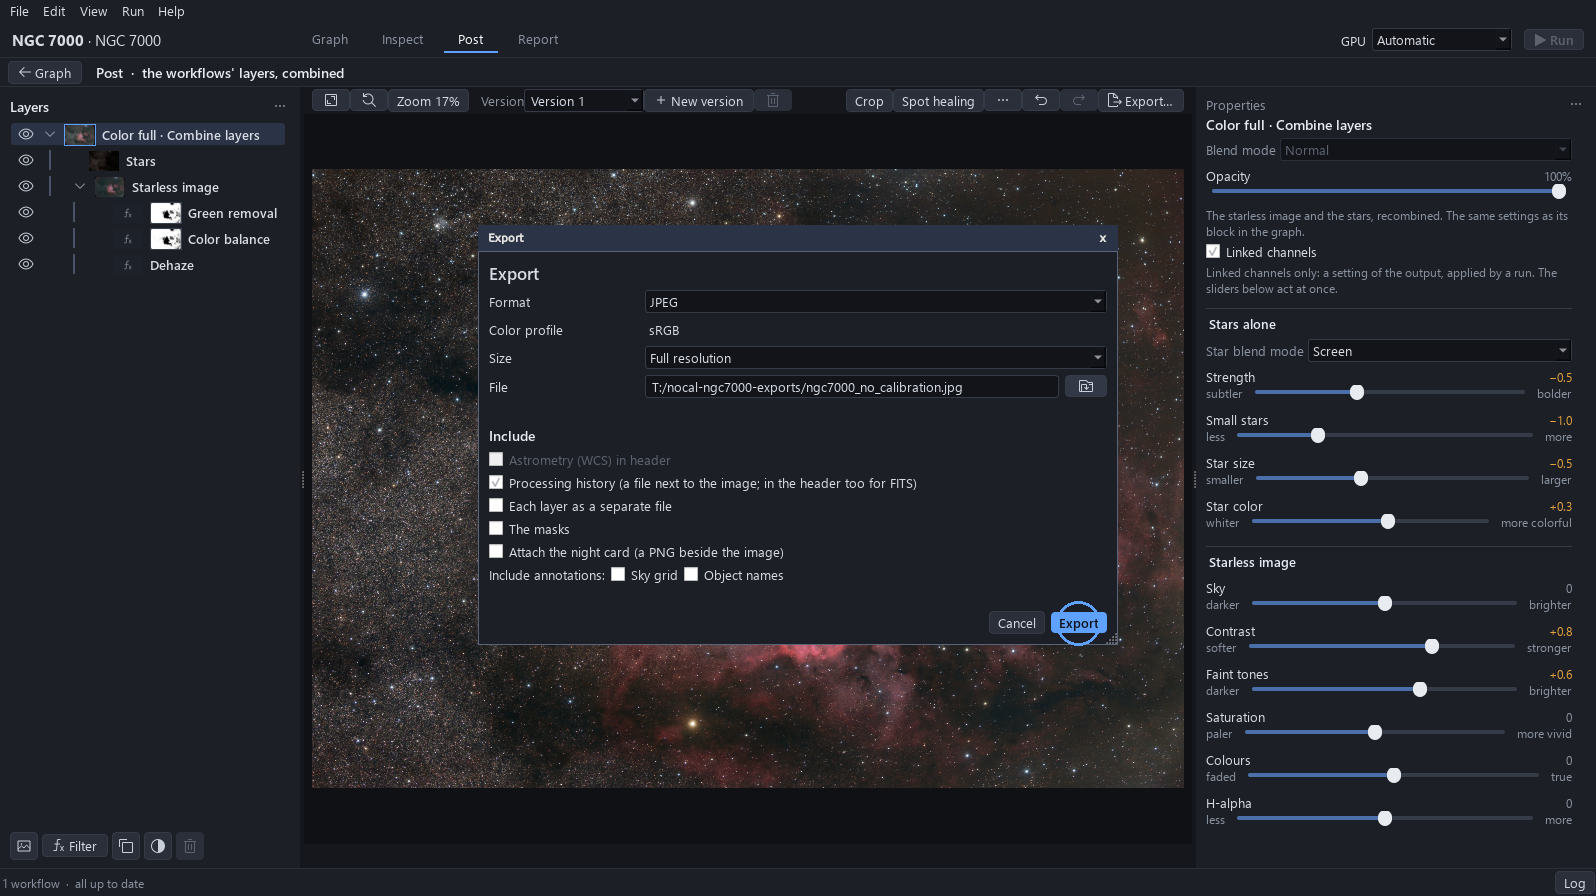
Click the top layer and drag the star sliders gently: Strength −0.5, Small stars −1.0, Star size −0.5, Star color +0.3. The gas shows through the dense star field.
Why. The Milky Way field is dense. Fainter, smaller stars let the gas show without changing the nebula, and a little more colour keeps the stars alive.
20Export
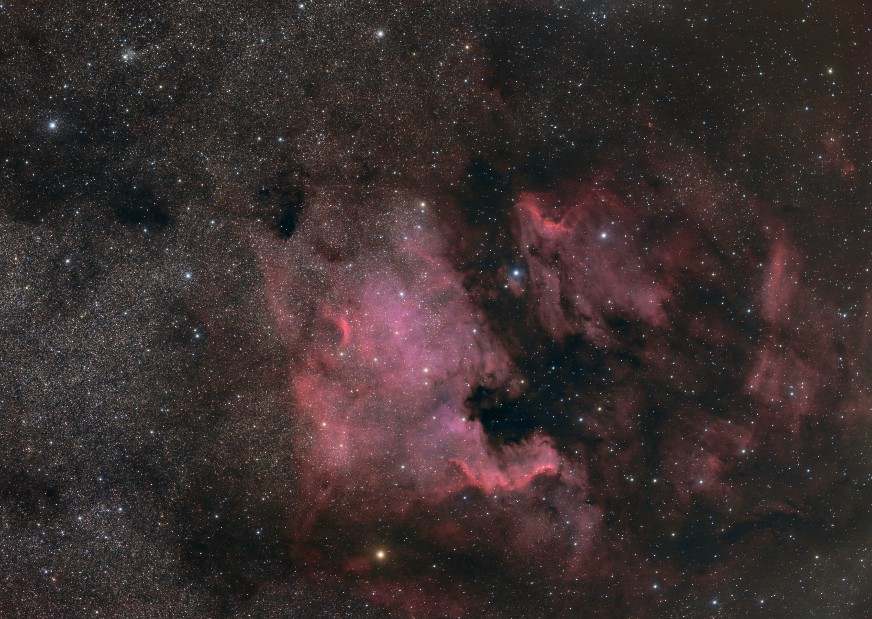
Click Export…, choose JPEG in Format, check the file, on the tutorial drive, then click Export.
21Exported and saved
The image is written, with its processing history beside it. Press Ctrl+S to keep the project.