The path · 1 Beginner
My first image
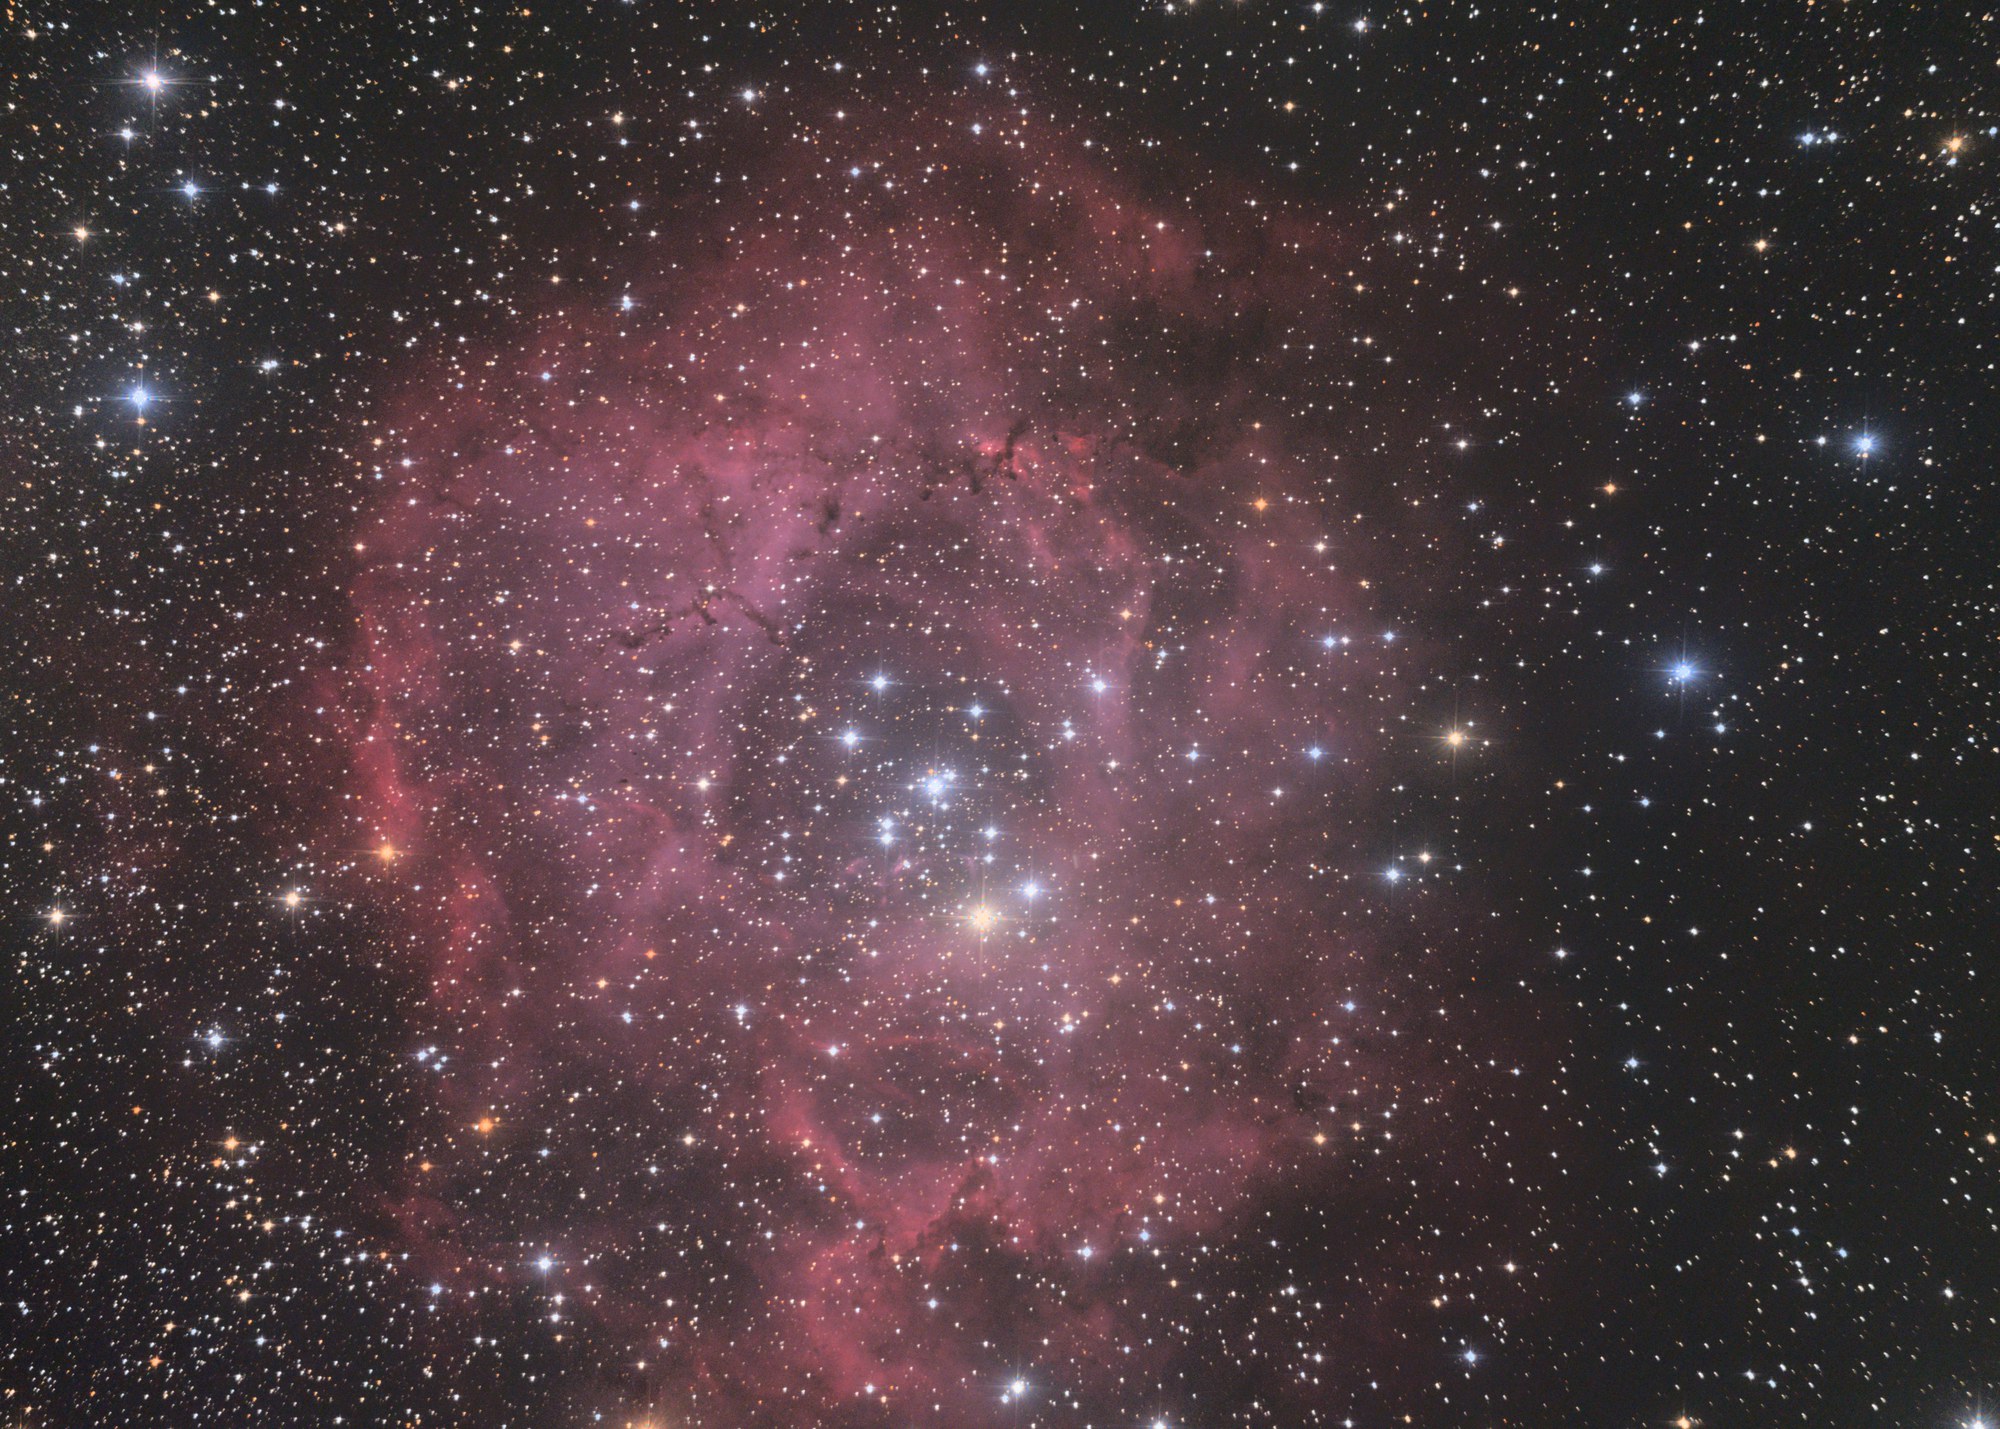
You create a project from the Color minimal template, give it the lights, darks and flats of the Rosette Nebula and run the workflow. In Post you read what is wrong with the image, correct it with three gestures, Sky, Faint tones and Crop, and export it.
| Duration | About 40 min, of which 35 min of computing, measured on a PC with an RTX 4060 Ti graphics card (16 GB) |
|---|---|
| Requirements |
|
| Data set | Rosette Nebula (NGC 2237) · Sony A7S, 15 s at ISO 4000 · 130/900 Newtonian · 436 lights (1.8 h), 48 darks, 62 flats, the authors of FLOAT; size 6.9 GB. The frames will be offered for download; the link will be given here |
1Home
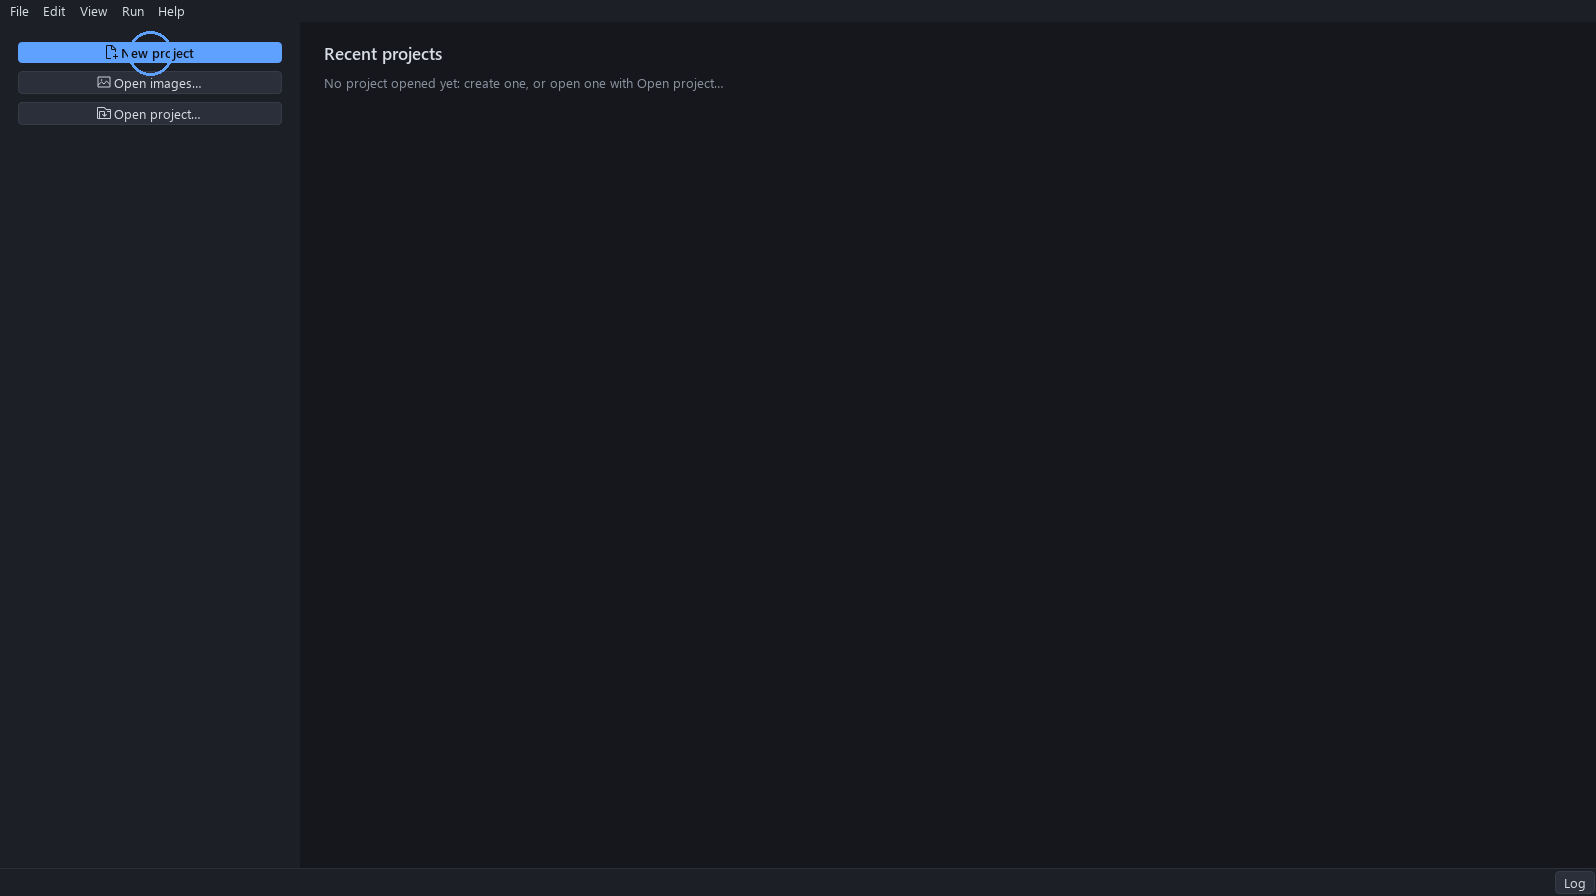
Start FLOAT. The Home screen lists the recent projects; on a first start there are none. Click New project.
2The template
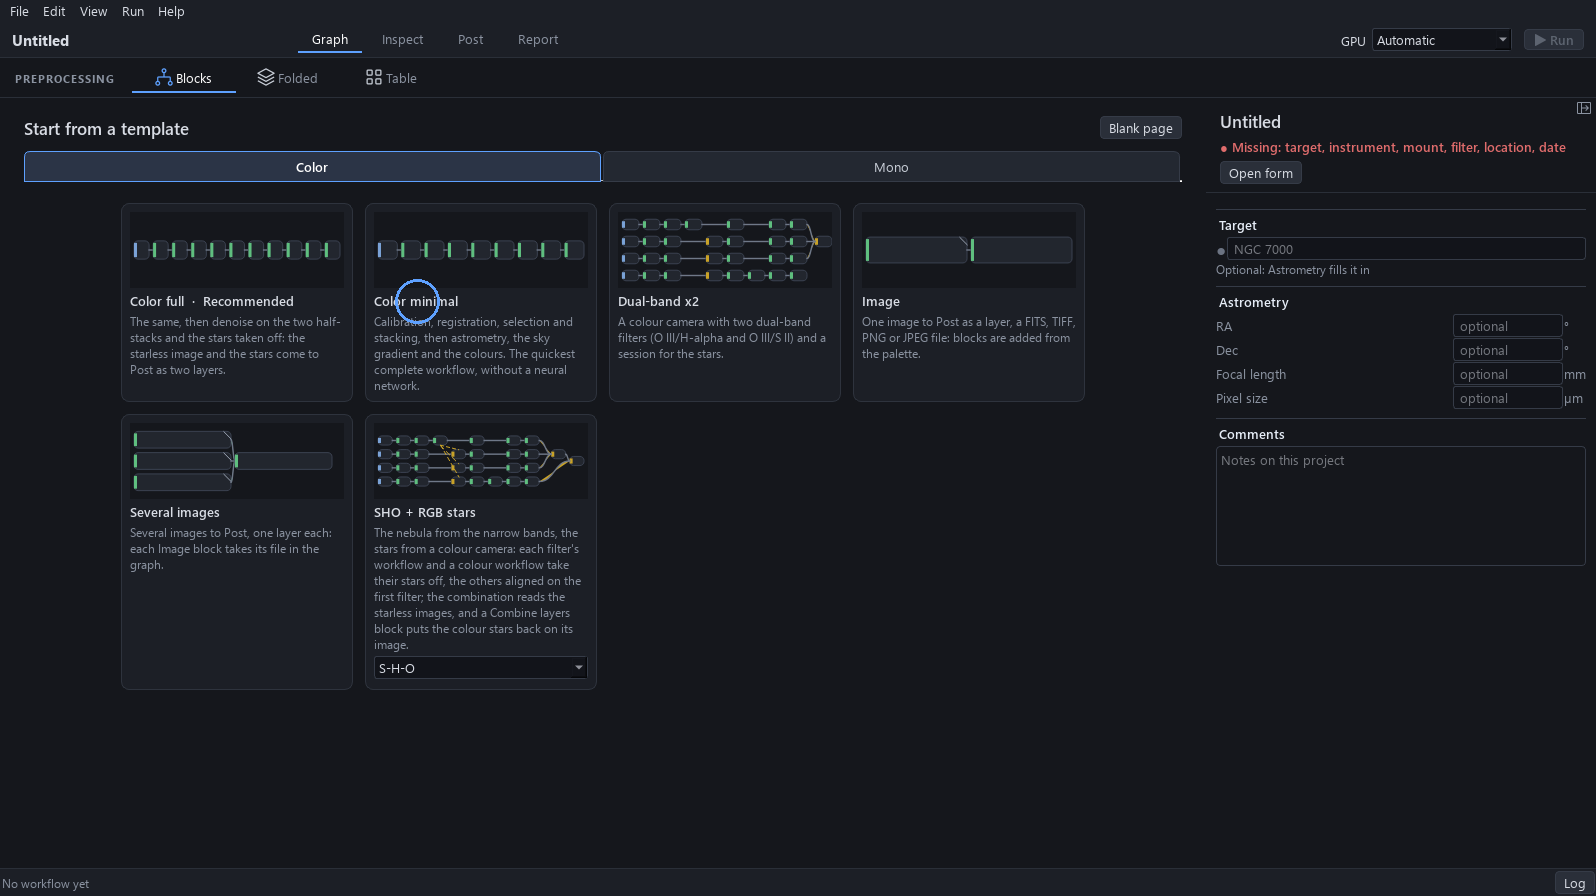
The new project opens on a blank page. Click From template, stay on the Color tab and click Color minimal.
Why. This is the smallest colour workflow: calibration, registration, selection, stacking, astrometry, gradient and colour. It has no denoising and no separation of the stars, so Post works on one single image, which is the right size for a first image.
To avoid. Color full sits next to it, marked Recommended: it adds denoising and the separation of the stars, and its image reaches Post as two layers. This tutorial needs the single image of Color minimal.
3The lights
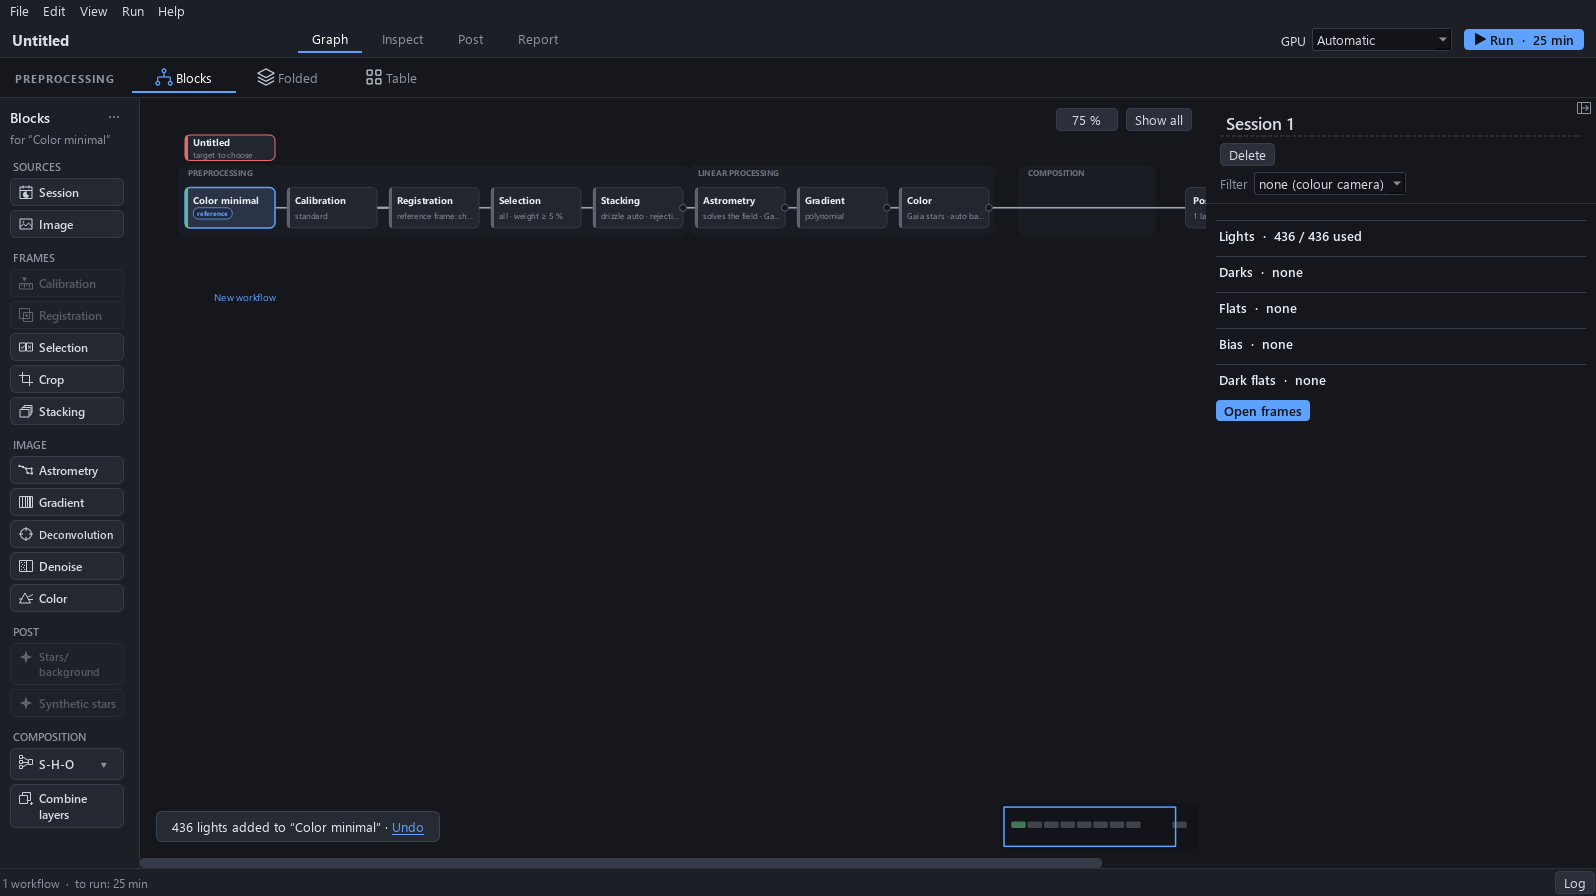
The template made a workflow and its session, Session 1, with one row per type of frame. Click Add lights and choose the 436 files of the night (Ctrl+A selects them all in the file window).
Why. The lights are the exposures of the target: here 436 exposures of 15 s, 1.8 hours of light in all.
Expected result. The row reads Lights · 436 / 436 used, and the Run button shows a time.
4The darks
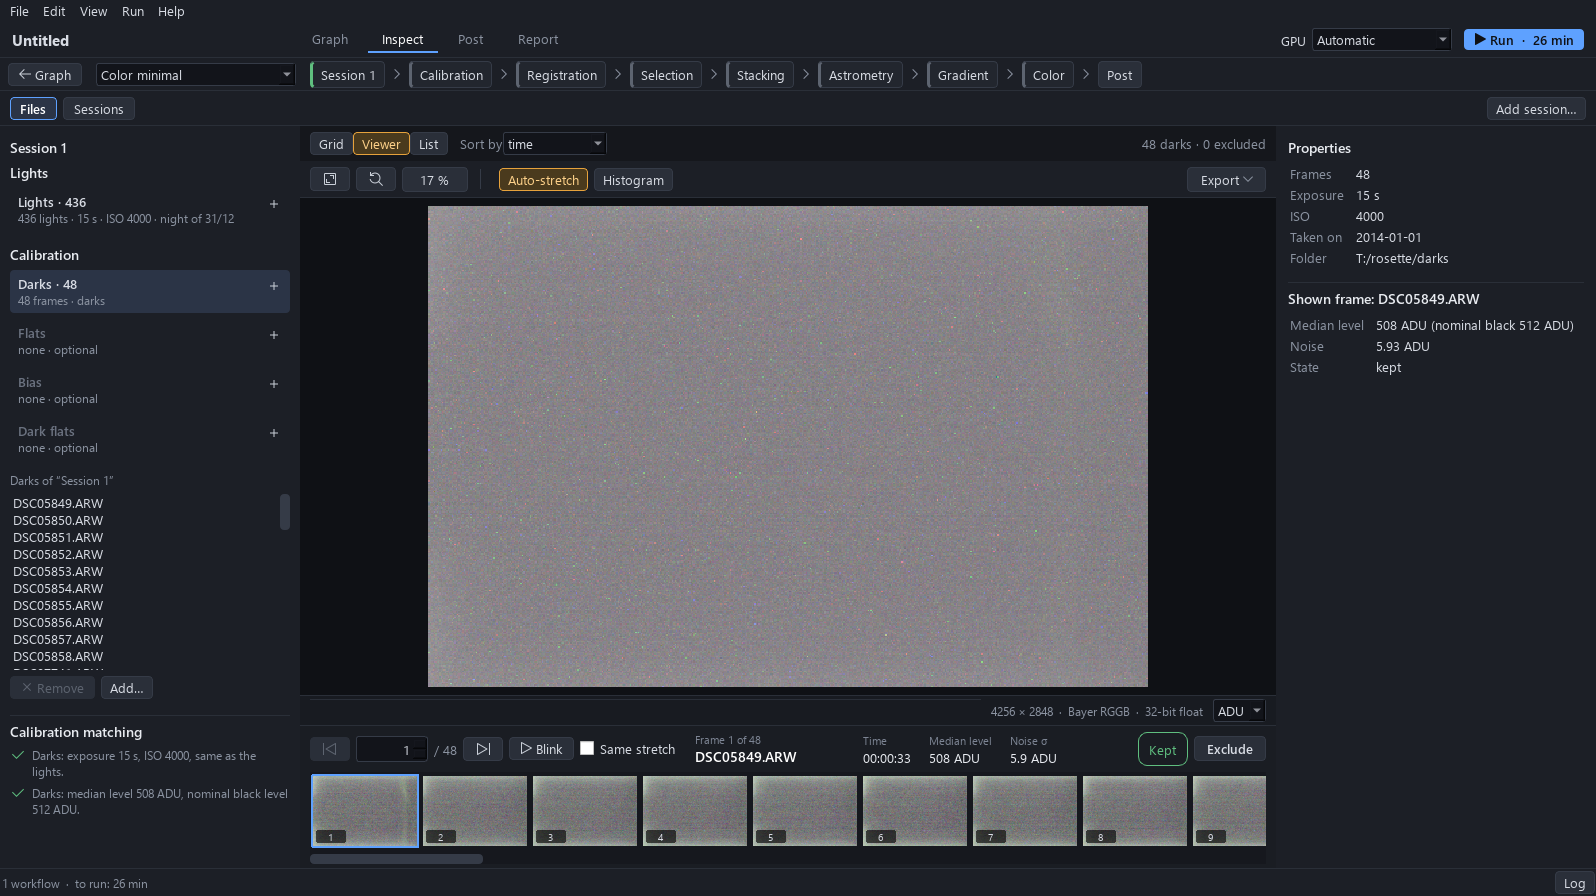
Click Open frames: the files of the session open in Inspect. On the Darks row click +, then Add folder…, and choose the folder of the 48 darks.
Why. At 15 s and ISO 4000 the sensor adds a signal of its own, and its warm pixels make coloured dots. The darks, taken with the lens covered, measure both so that FLOAT can take them off.
Expected result. The row reads Darks · 48.
5The flats
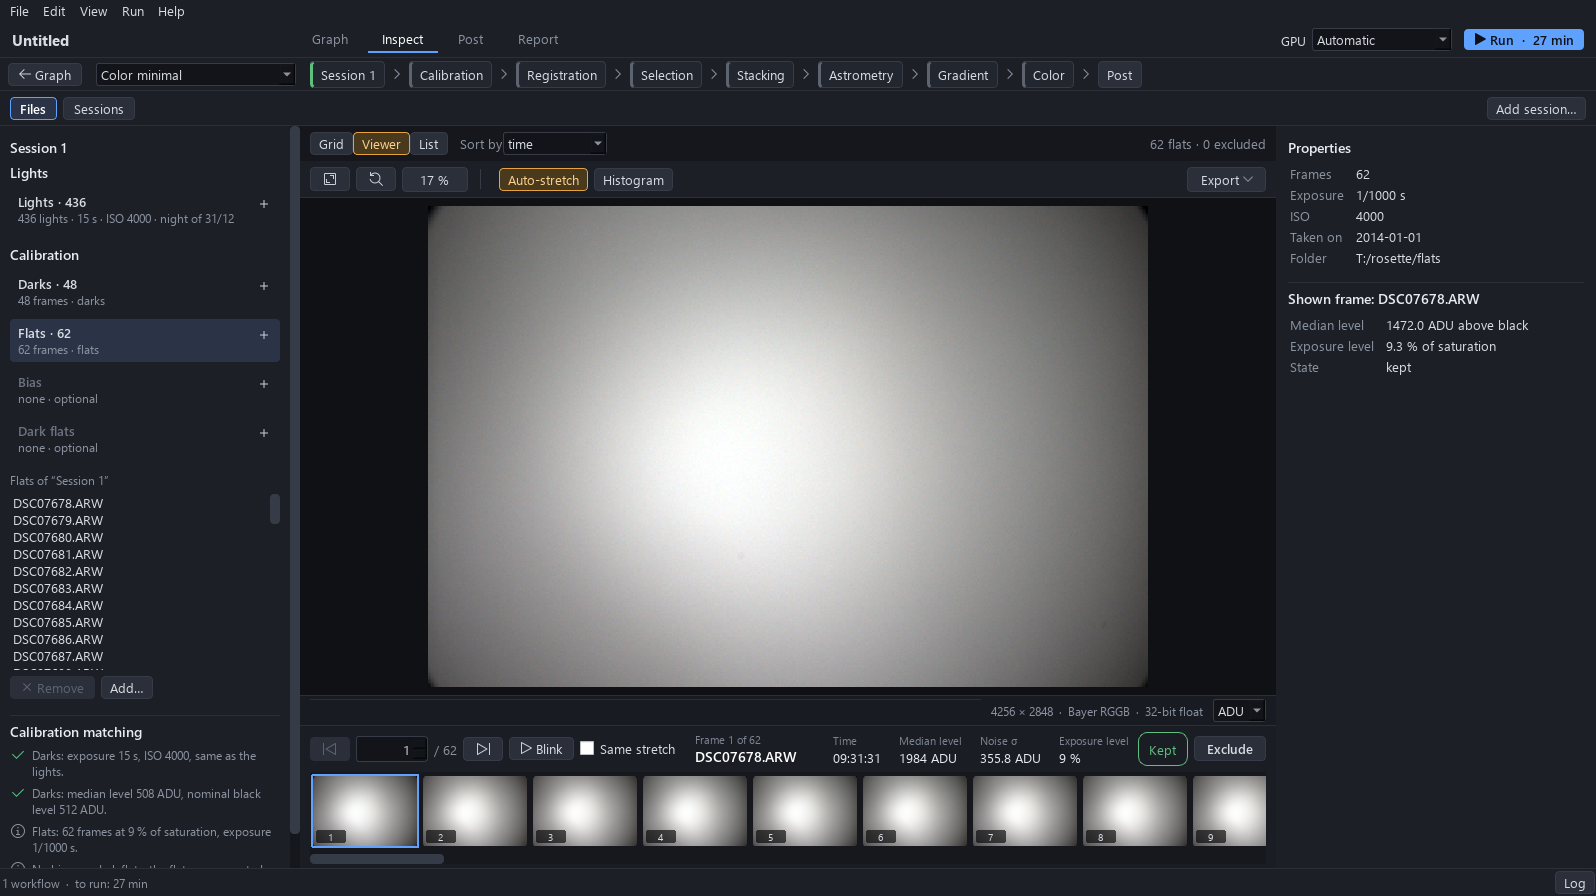
On the Flats row click +, then Add folder…, and choose the folder of the 62 flats.
Why. This telescope on a full-frame sensor lets only about 12 % of the light reach the extreme corners, and dust on the sensor casts shadows. The flats, taken on an even light, record both so that the corners are evened out and the stains go.
Expected result. The row reads Flats · 62.
6What FLOAT says about the frames
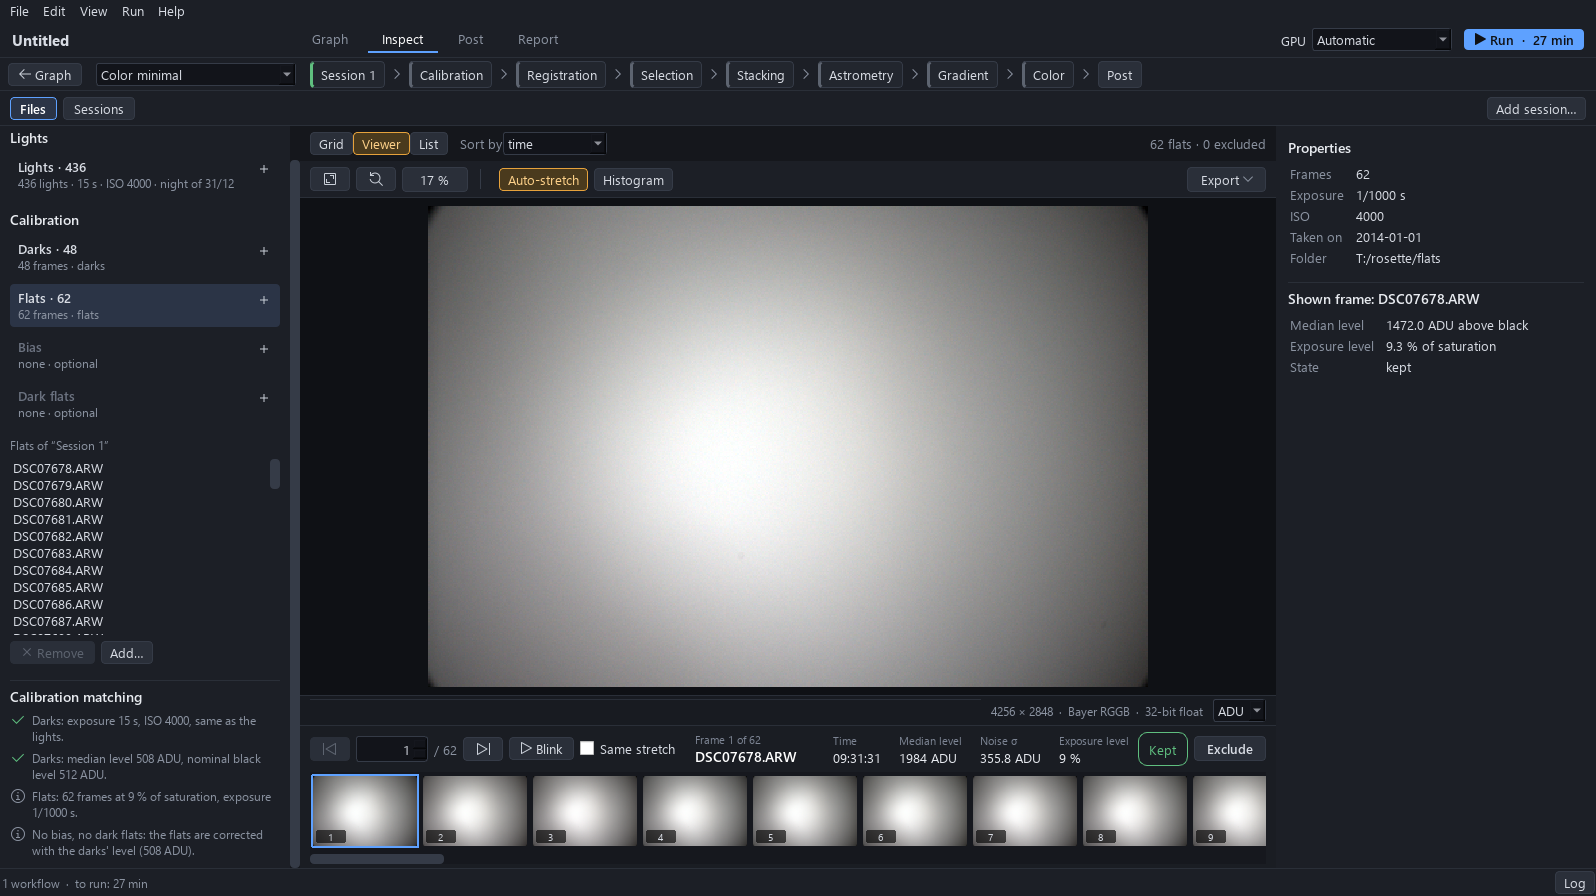
Scroll the left column of Inspect down to Calibration matching. It checks the darks and the flats against the lights: the darks have the lights’ exposure and ISO, and their level (508 ADU) is close to the sensor’s black level (512 ADU).
Expected result. Two green ticks for the darks, then two notes: the flats, and the fact that without bias frames or dark flats the flats are corrected with the darks’ level.
To avoid. The properties give the date of the frames as 1 January 2014: the camera’s clock was never set. FLOAT shows no warning for it, and it changes nothing to the processing.
7The target
Click Graph to go back to the workflow, click the project block at the top left, and type NGC 2237 in Target, then press Enter. NGC 2237 is the Rosette Nebula.
Why. Astrometry starts from the target’s position, so identifying the field takes seconds.
Expected result. The panel reads Found: RA 97.728°, Dec +5.049°.
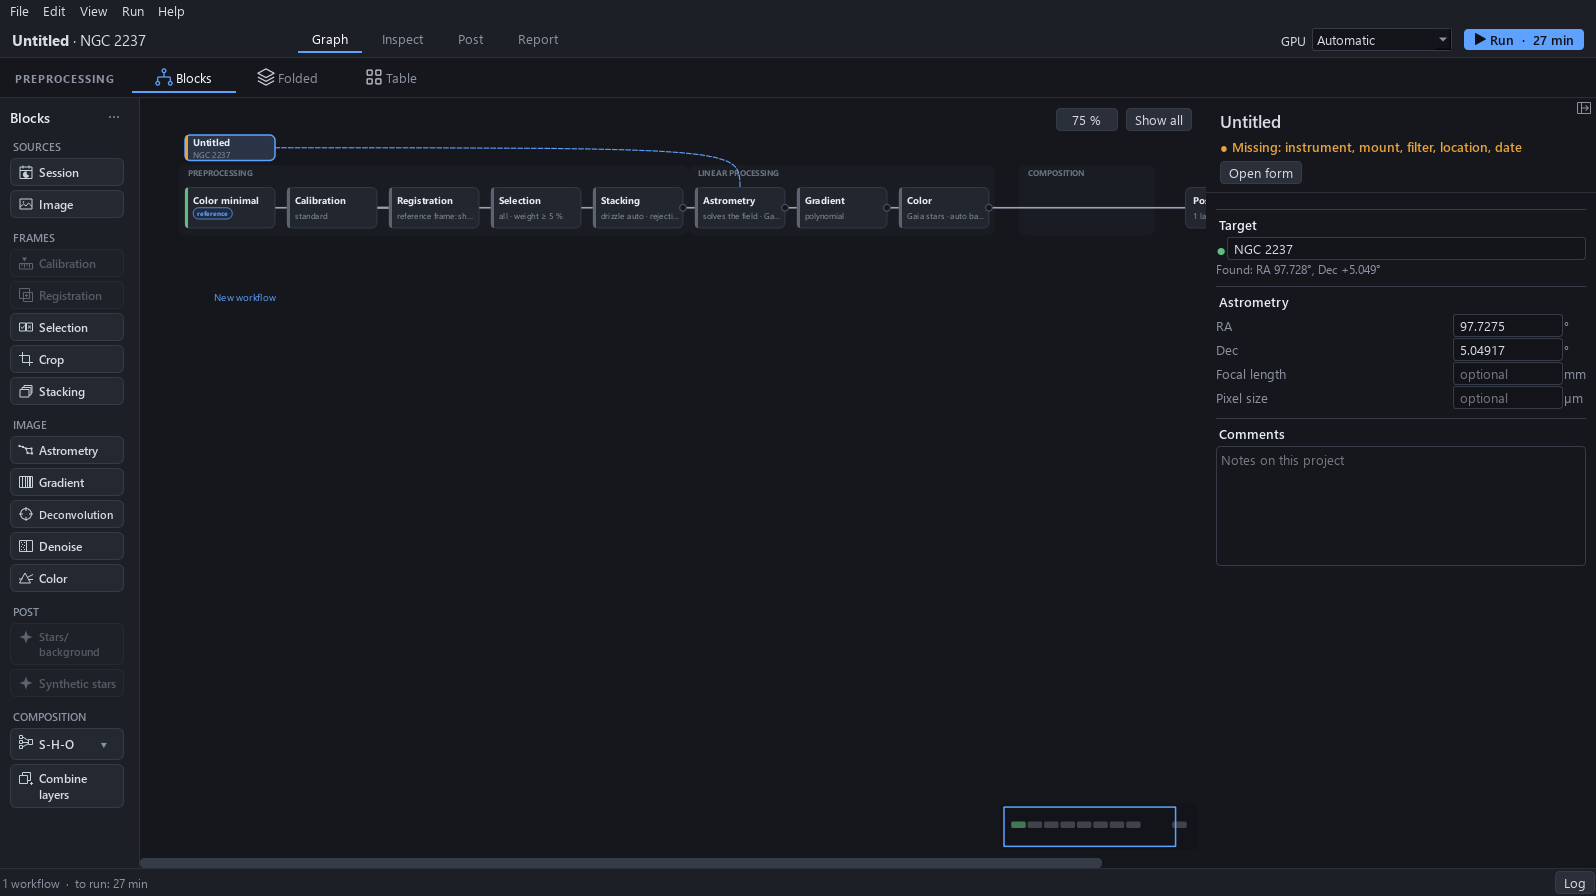
8Run
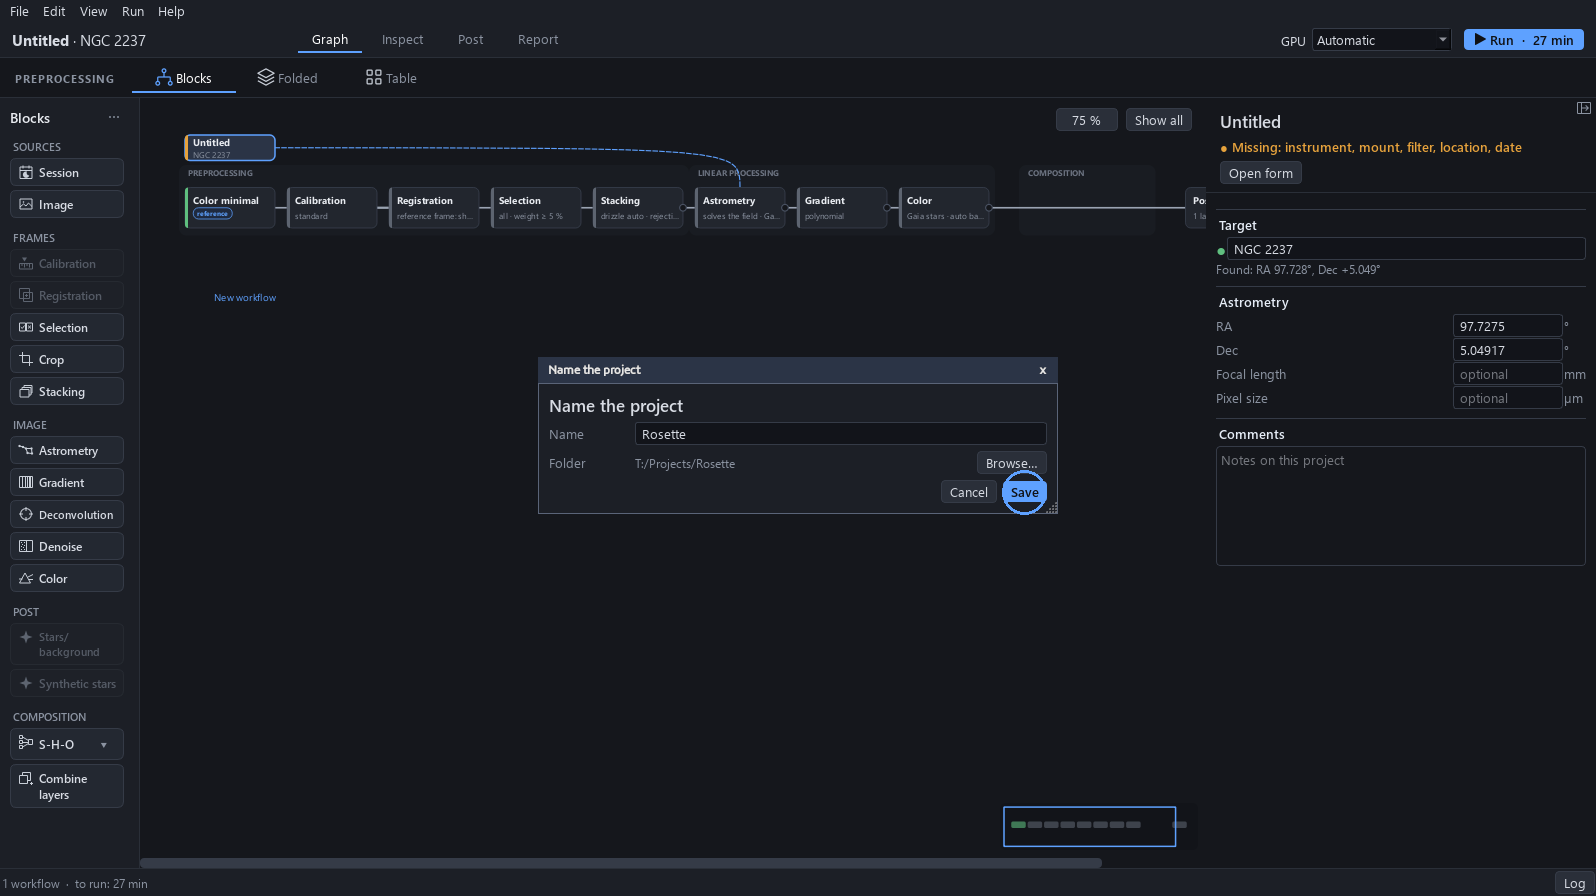
Click Run; the button gives the time the run should take. At its first run the project needs a name and a folder: type Rosette, choose the folder with Browse…, then click Save.
Why. One click runs every block of the workflow in order, each one once. A later change only runs again what follows the block changed.
To avoid. The time on the button is an estimate; the real run took 35 min here. The project’s folder keeps its results (1.1 GB) and the calibrated frames go to a cache folder (10.6 GB): choose a disk with room.
9The run starts
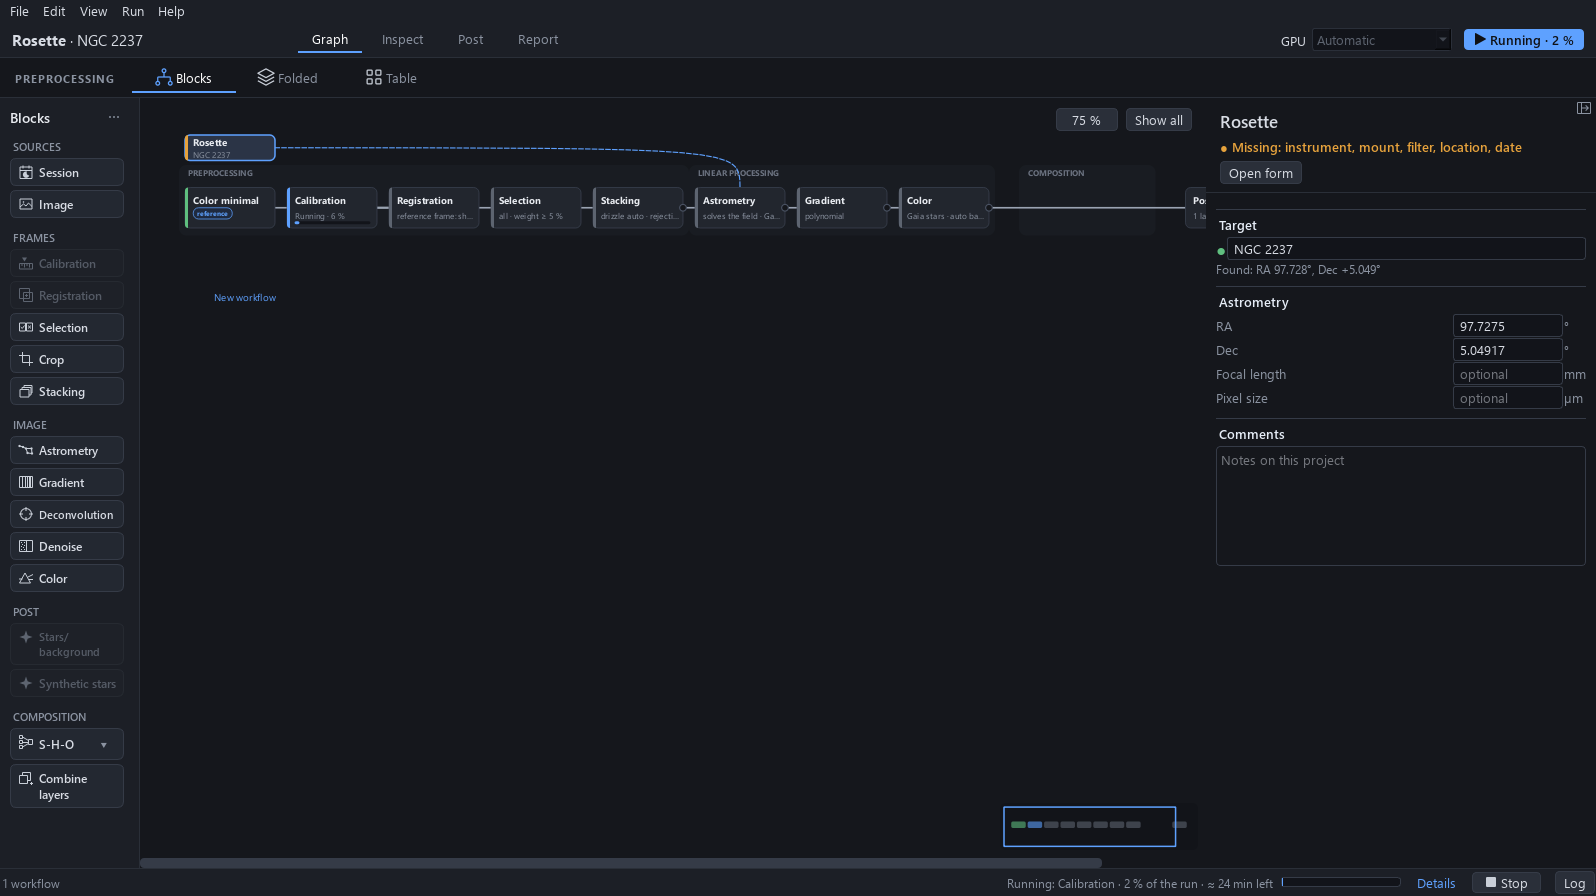
The Run project window lists the blocks to compute and the time each should take. Click Close: the run goes on, and each block of the graph shows its progress. Stop stops it.
10The run is done
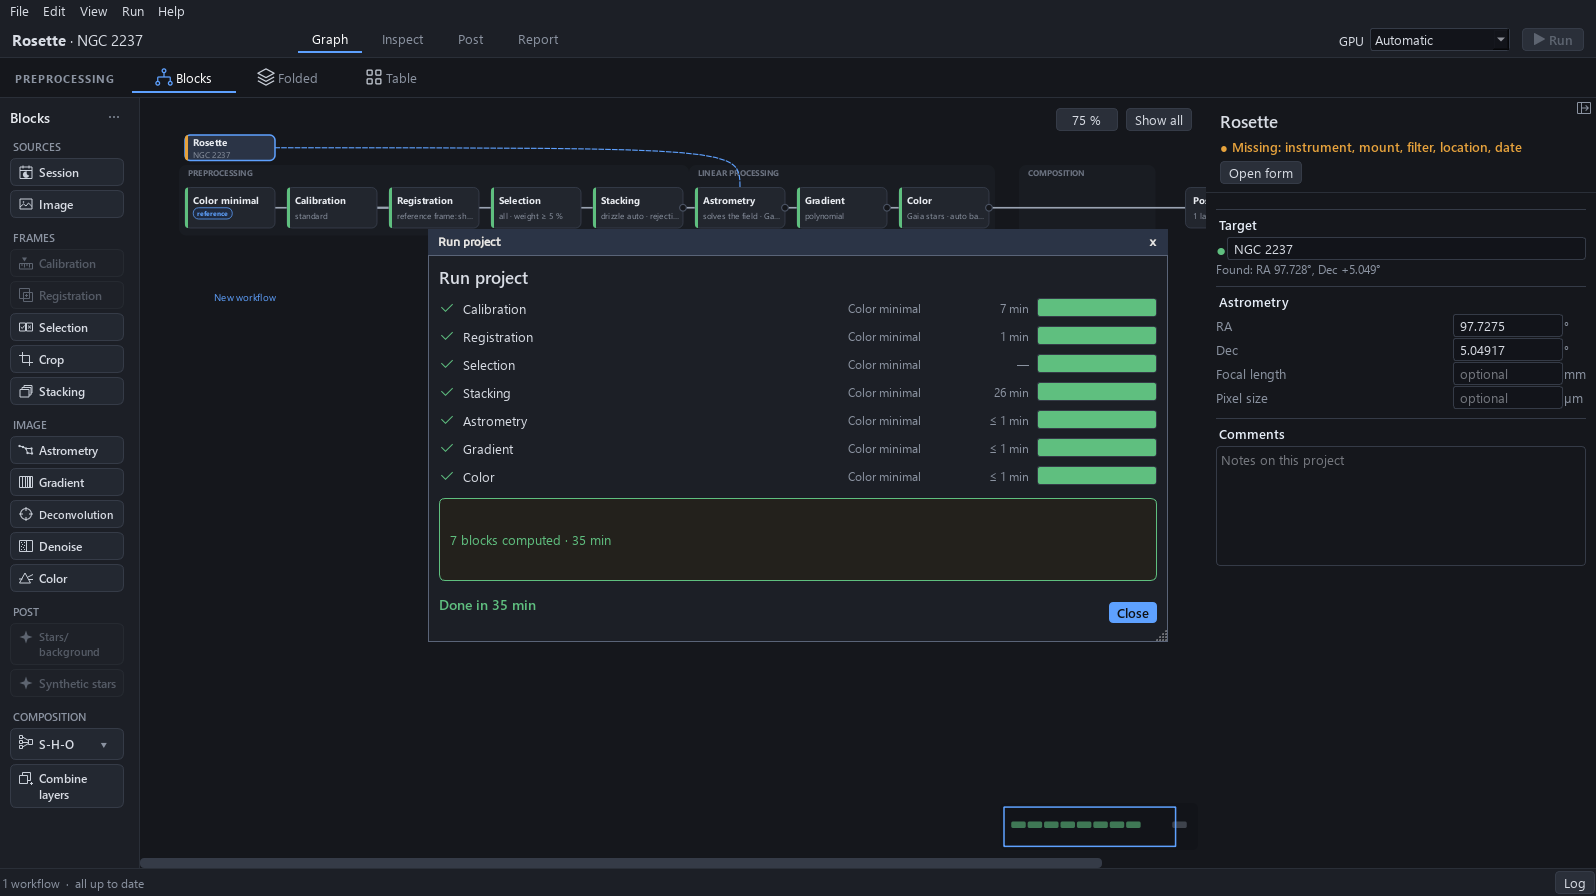
At the end the window comes back with a summary: 7 blocks computed in about 35 min on a PC with an RTX 4060 Ti graphics card. Calibration took 7 min, registration 1 min and stacking 26 min, the application’s card test having sent the stacking to the processor; the other blocks together took under a minute. 435 of the 436 frames were kept (1.8 h of light).
Expected result. The status bar reads all up to date, and each block carries its green bar.
11Diagnosis in Post
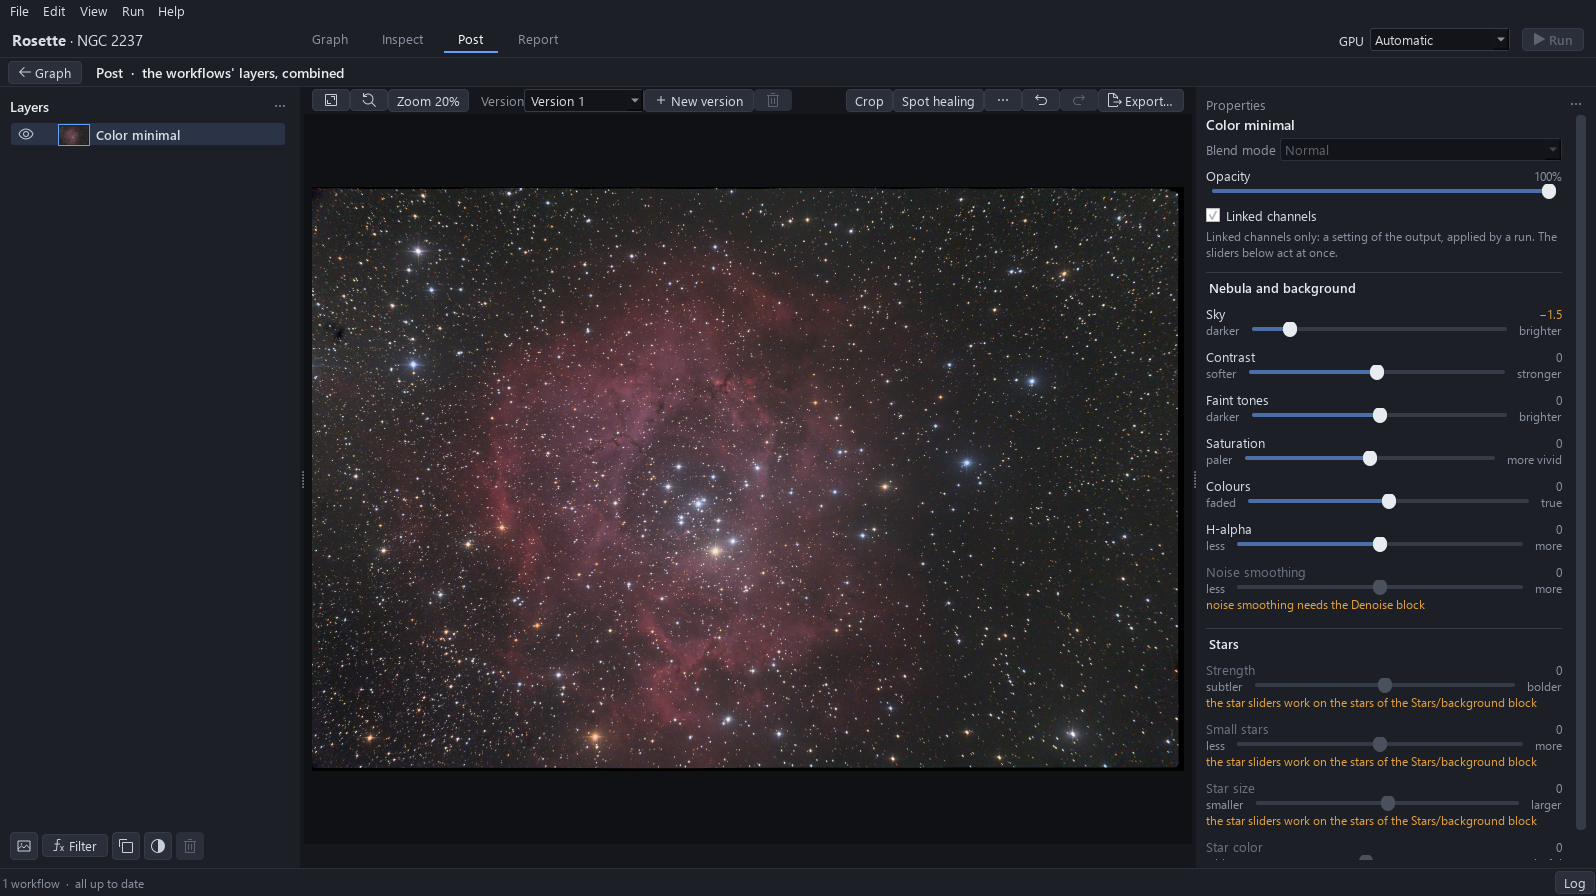
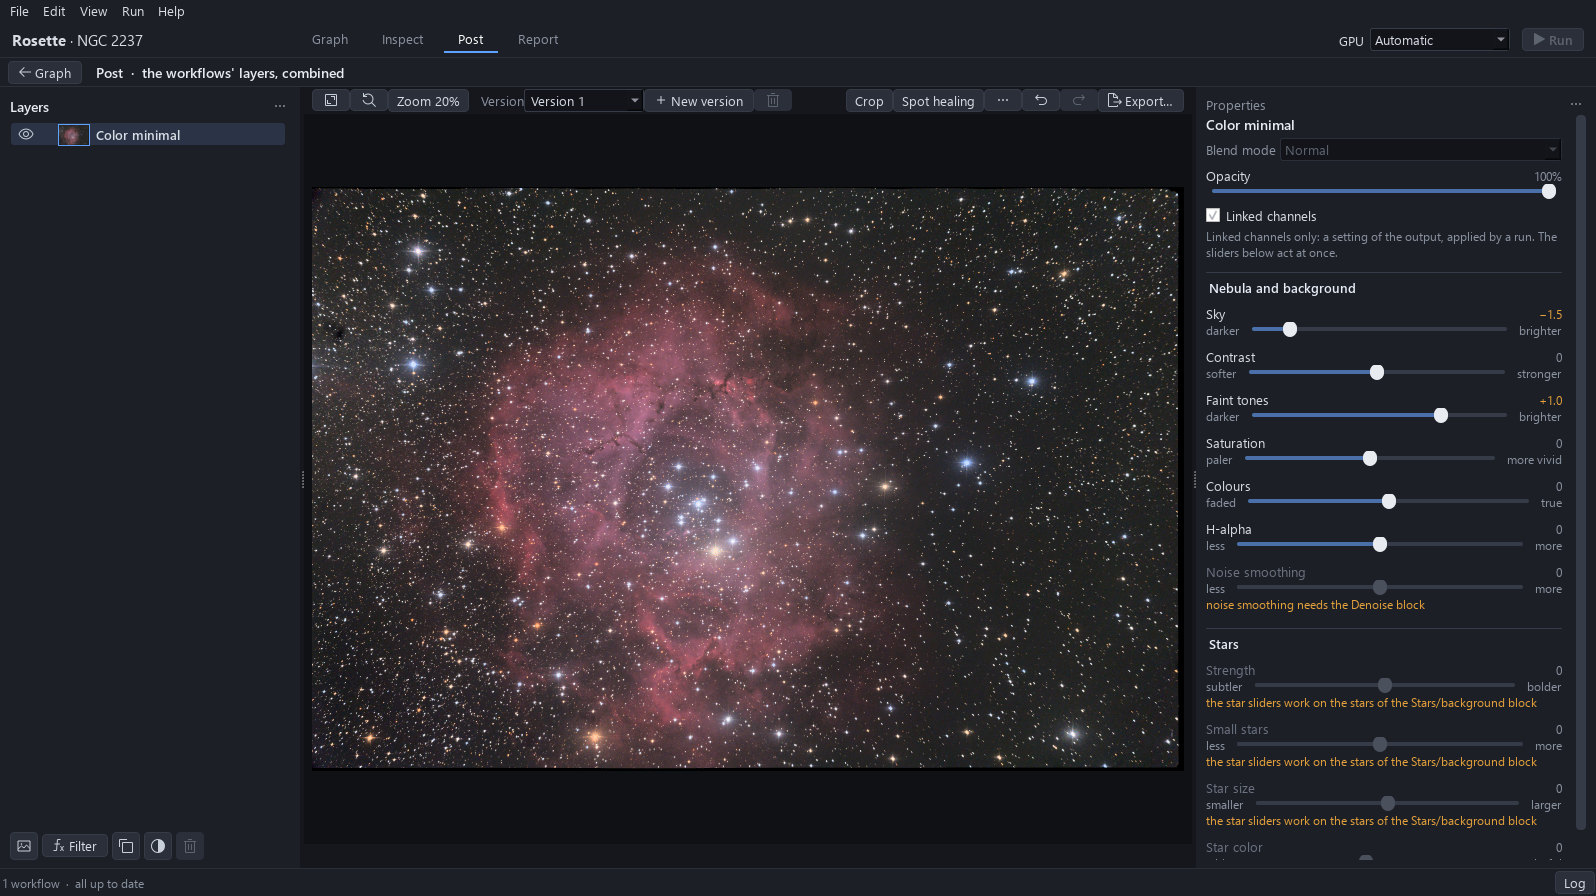
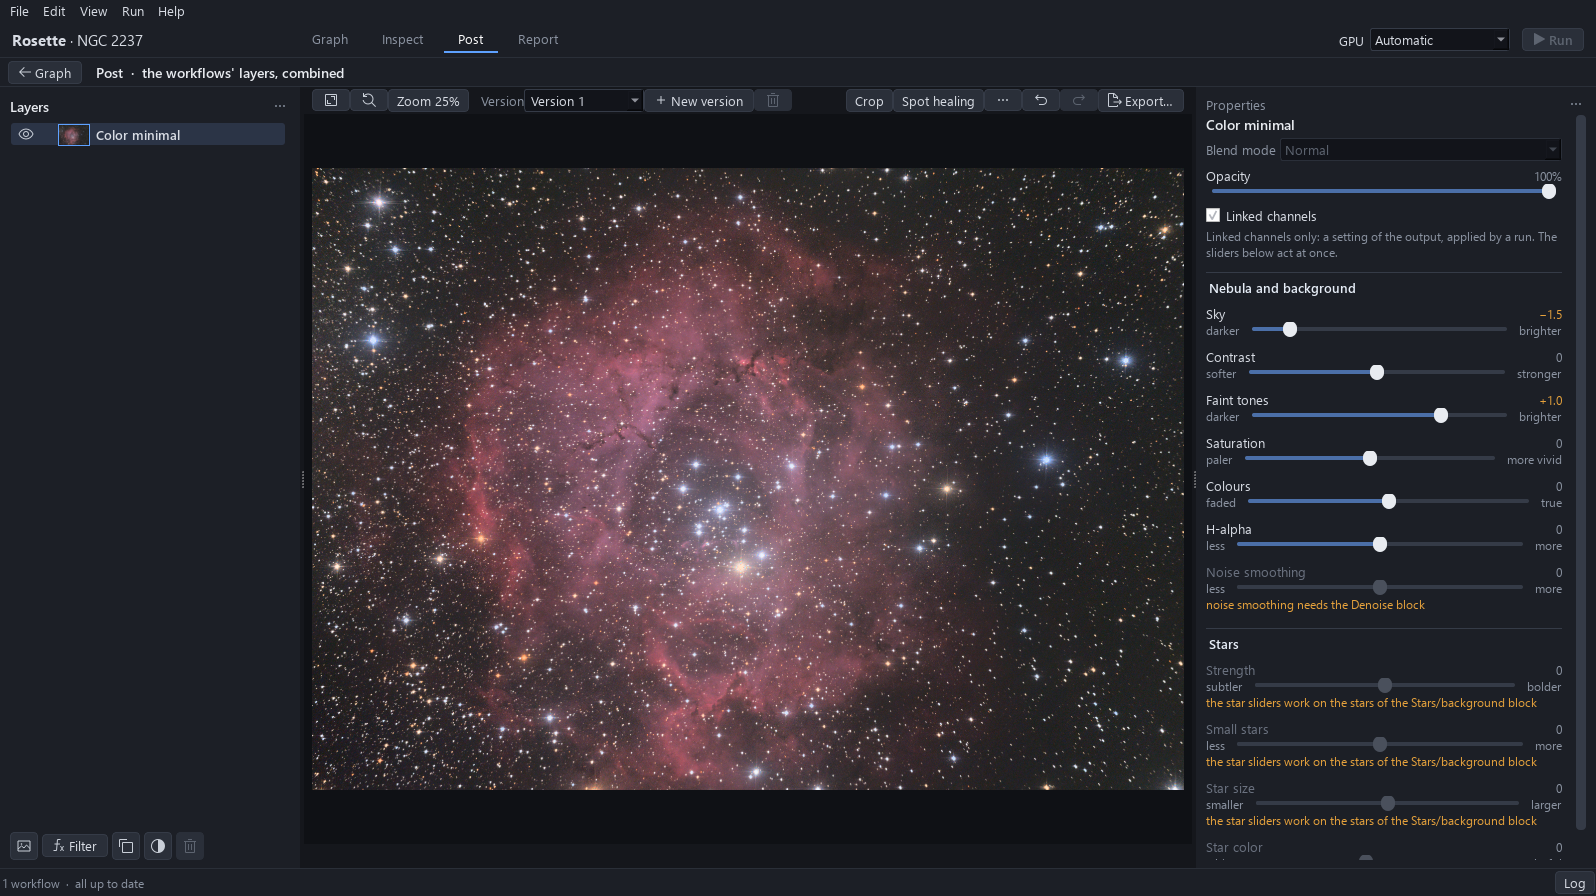
Click Post. The workflow’s image is already there as one layer, Color minimal. Before any gesture, look at what is right and what is wrong. Right, and to leave alone: the colours are neutral, the ring is pink-red and the stars of the cluster at its heart are blue-white. Wrong: four points, each with the gesture that corrects it.
Expected result. The layer Color minimal is already there, every slider reads 0, and the status bar reads all up to date.
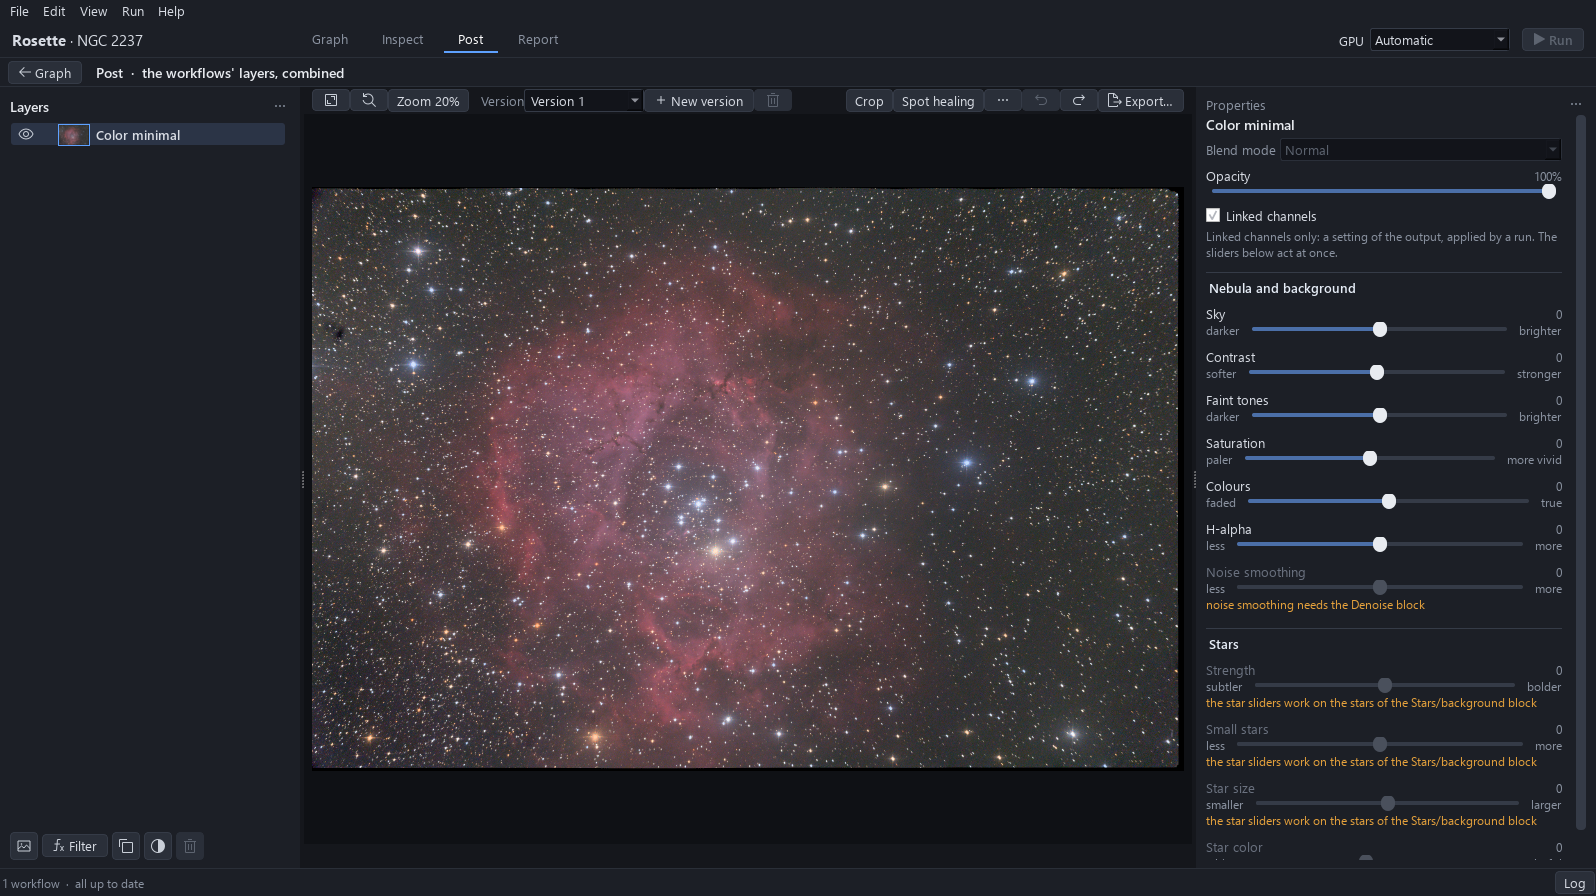
| What is wrong | How it is read | What corrects it |
|---|---|---|
| A grey veil lies over the whole picture: the empty sky is a mid grey instead of a dark one. | Look at the empty sky between the stars. On this picture it measures about 49 on a scale of 255, where a dark grey sky is about 34. Judge by eye: the sky looks milky. | Lower Sky. (step 12) |
| The outer filaments of the ring barely stand out of the sky. | Look at the edge of the ring, left and top: the filaments are almost the colour of the sky around them. | Raise Faint tones. (step 13) |
| Black lines run along the right and bottom edges: the registration of the frames leaves them. | Zoom to 100 % on the right edge (Ctrl and the mouse wheel over it, or the Zoom menu): a black band about 27 pixels wide; at the bottom edge about 13. | Crop inside the edges. (step 14) |
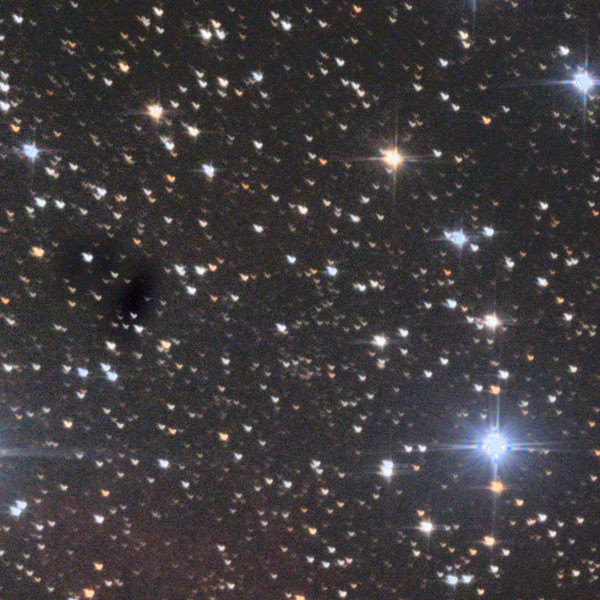
| A dark stain at the far left: the shadow of a dust grain. | Zoom to 100 % on the left edge, at about a quarter of the height: a dark, blurred spot among the stars. | Leave it out with the crop. (step 14) |
12Sky
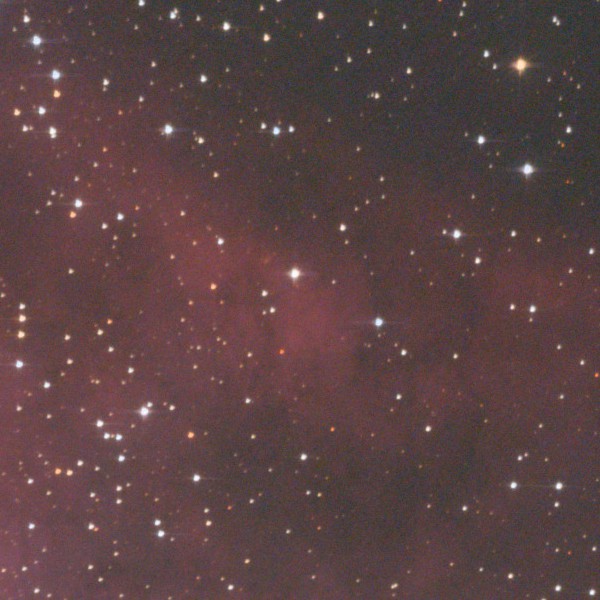
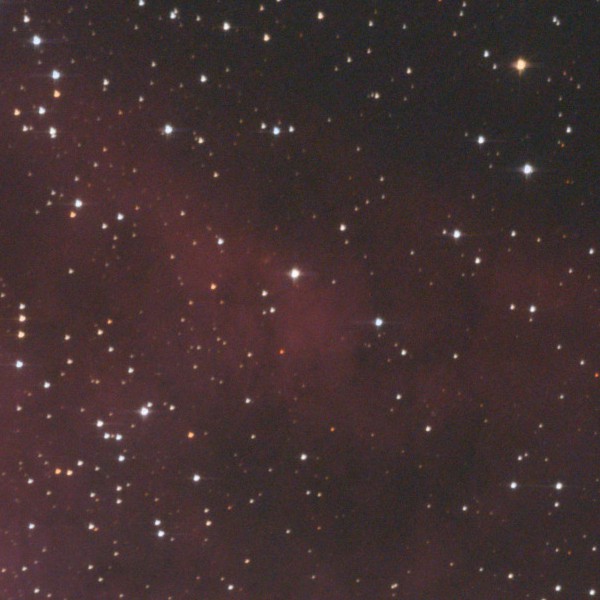
This corrects the grey veil. Drag Sky to the left until the veil is gone and the sky is a dark grey, here about −1.5. Wait until the picture is drawn again.
Why. Most imagers keep the sky a dark grey and neutral, never black. A black sky swallows the faint edges of the nebula and makes the object look cut out; a light grey sky looks like fog.
Expected result. The sky is a dark grey and the faint arc at the top of the ring is still visible.
To avoid. Do not push Sky to the end: the arc fades and the sky turns to grain. Even at the far left the slider keeps the sky a little above black on this image.
13Faint tones
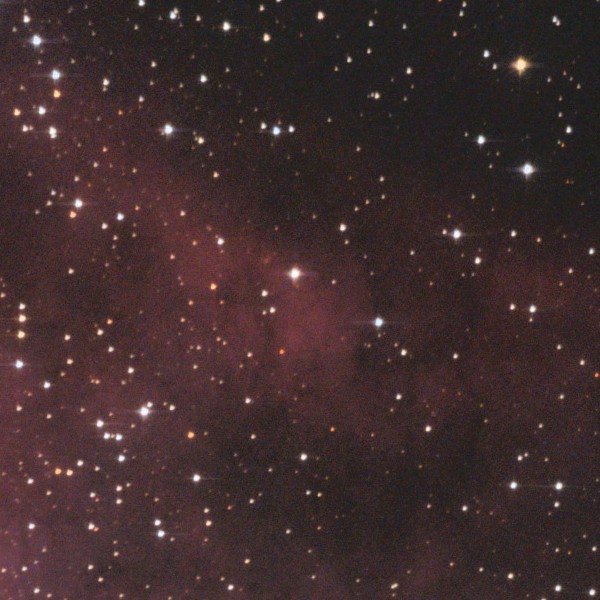
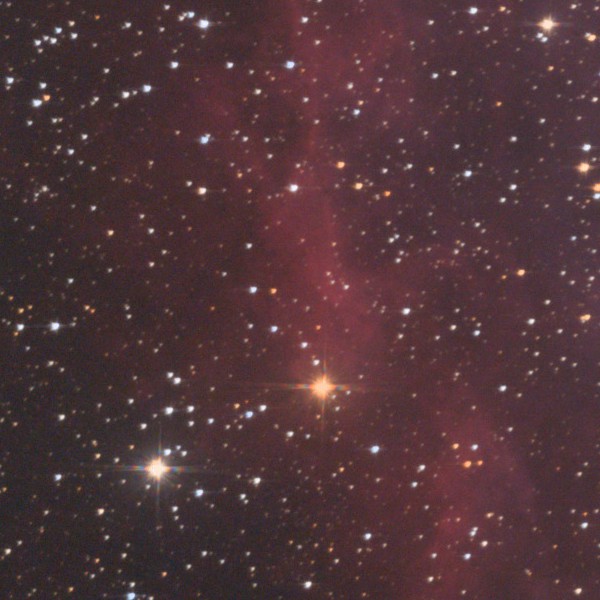
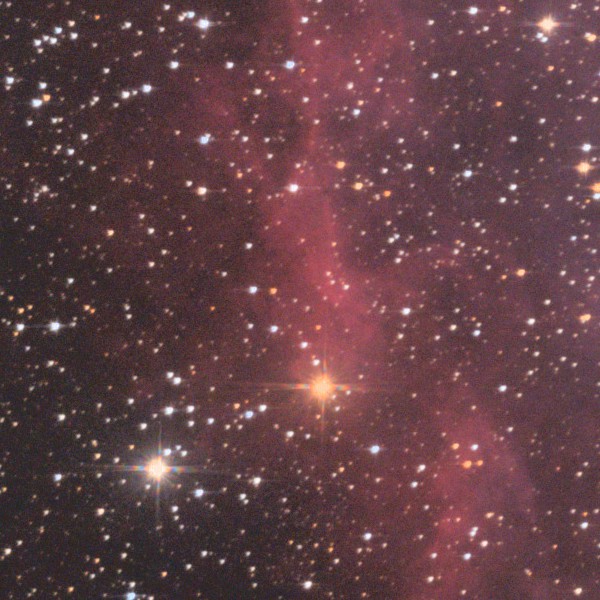
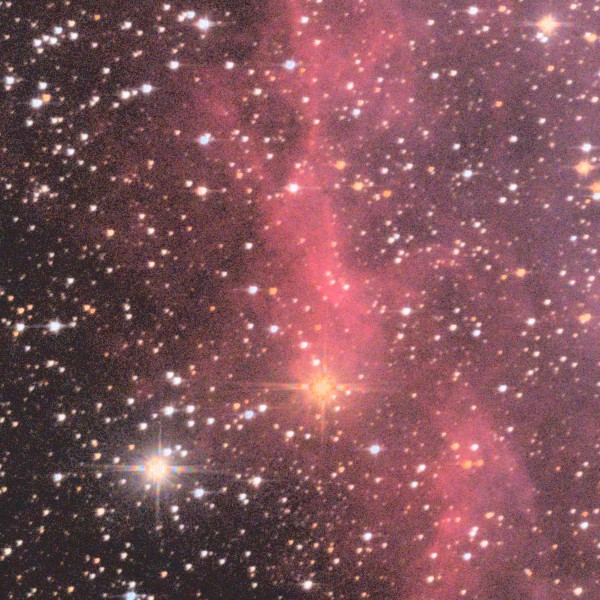
This corrects the filaments that barely show. Drag Faint tones to the right until the outer filaments of the ring, left and top, come up out of the sky, here about +1. The Rosette then shows its real size.
Why. The faint tones are the extensions of the nebula: they are what makes the Rosette a rose and not a disc.
Expected result. At 100 % the filaments are brighter. A fine grain appears in the sky; it is invisible on the whole picture and acceptable here.
To avoid. Further right the grain becomes plain and the red fades to pink. With no Denoise block in this workflow, lifting the faint tones lifts the grain too: a workflow with a Denoise block can smooth it.
14Crop
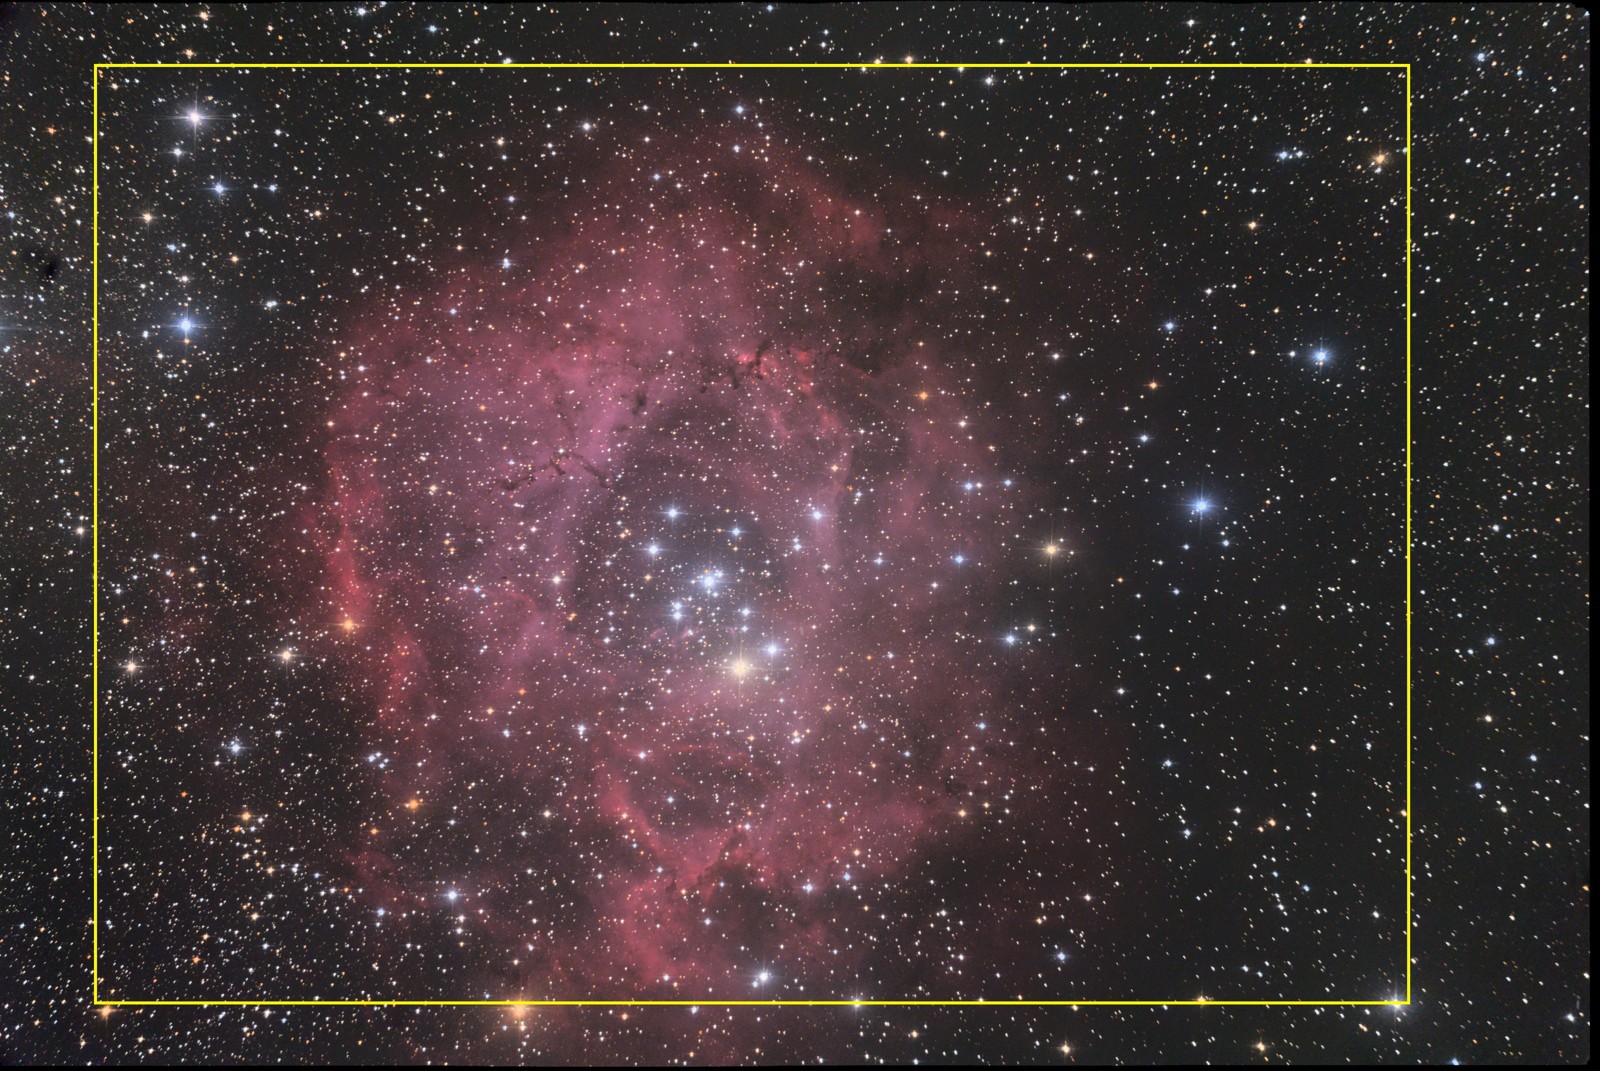
This corrects the black edges and the dust stain. Click Crop, drag the corners of the frame inward until it keeps the whole ring and leaves out the black lines and the stain (here the frame is about 3500 × 2500 pixels), then click Apply. Its tooltip reads Keep this crop (Enter).
Why. A black edge or a dark stain at the border is the first thing the eye catches. The crop also brings the ring nearer the centre.
Expected result. No black line on any edge at 100 %, and the dark stain is outside the frame.
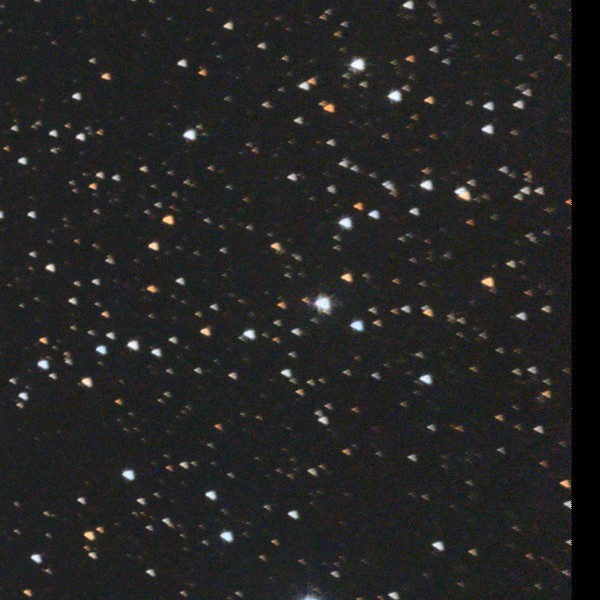
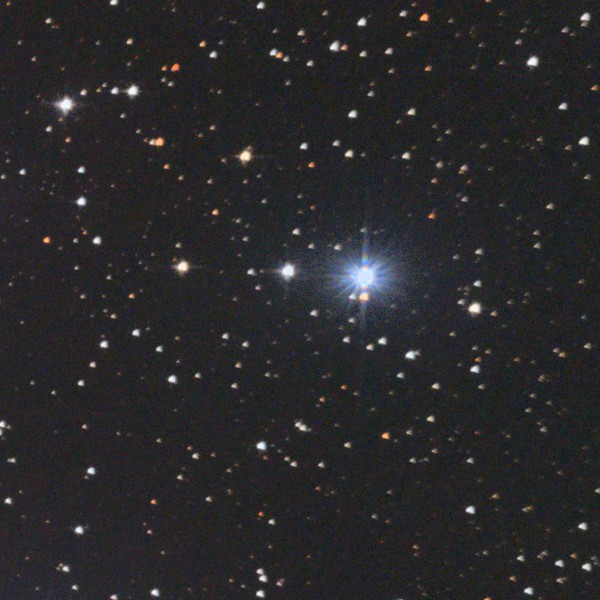
To avoid. The stars in the corners keep a comet shape: that is the coma of the telescope, not the processing. Cropping it all away would cut the field in half.
15Export
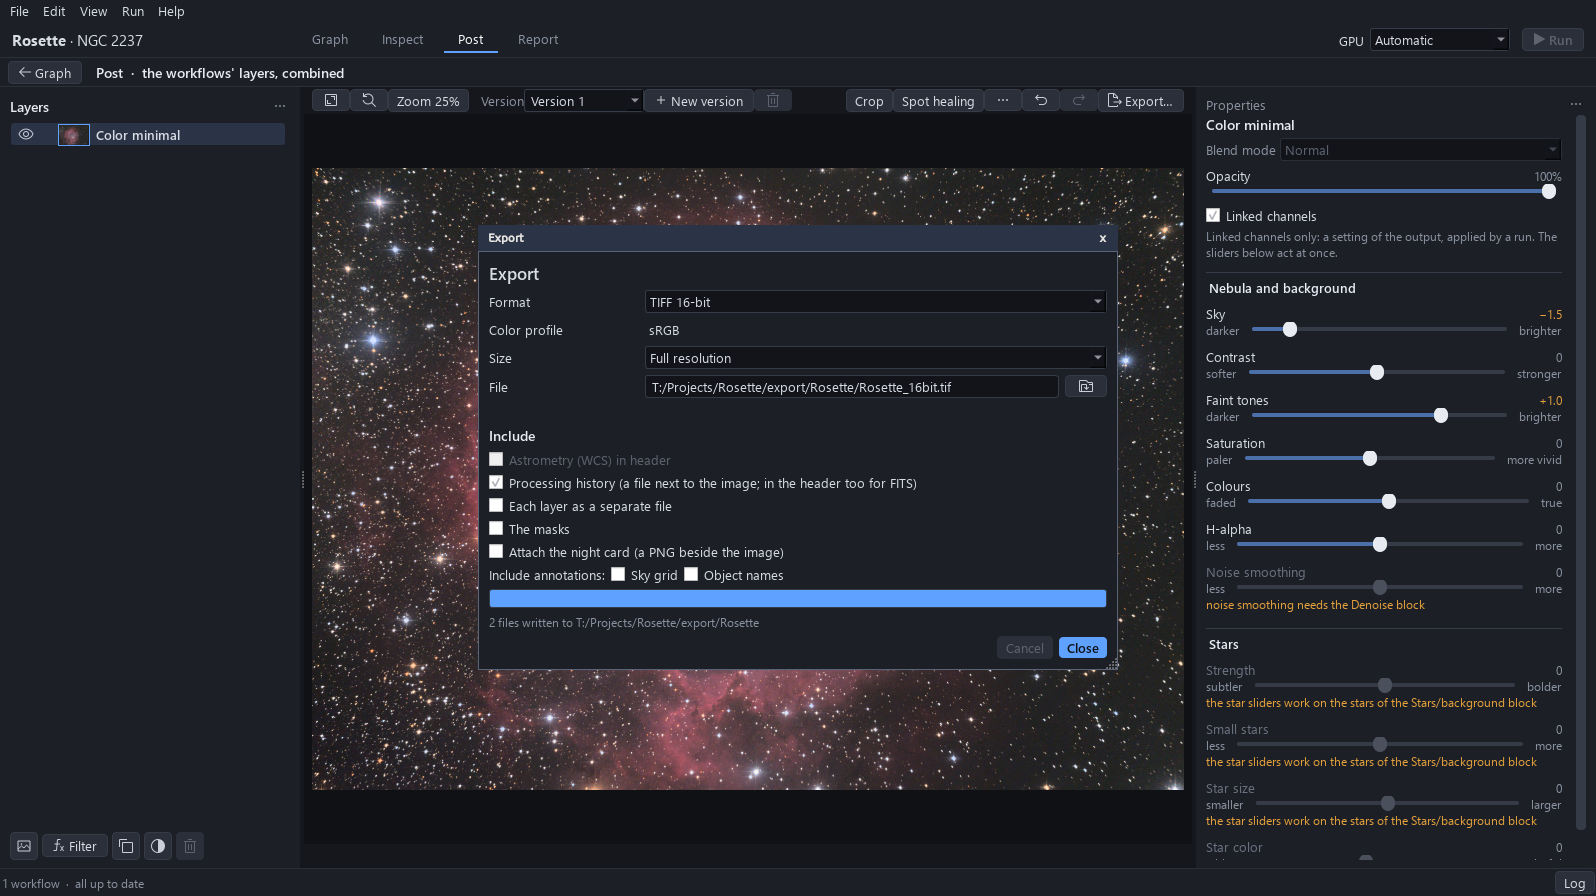
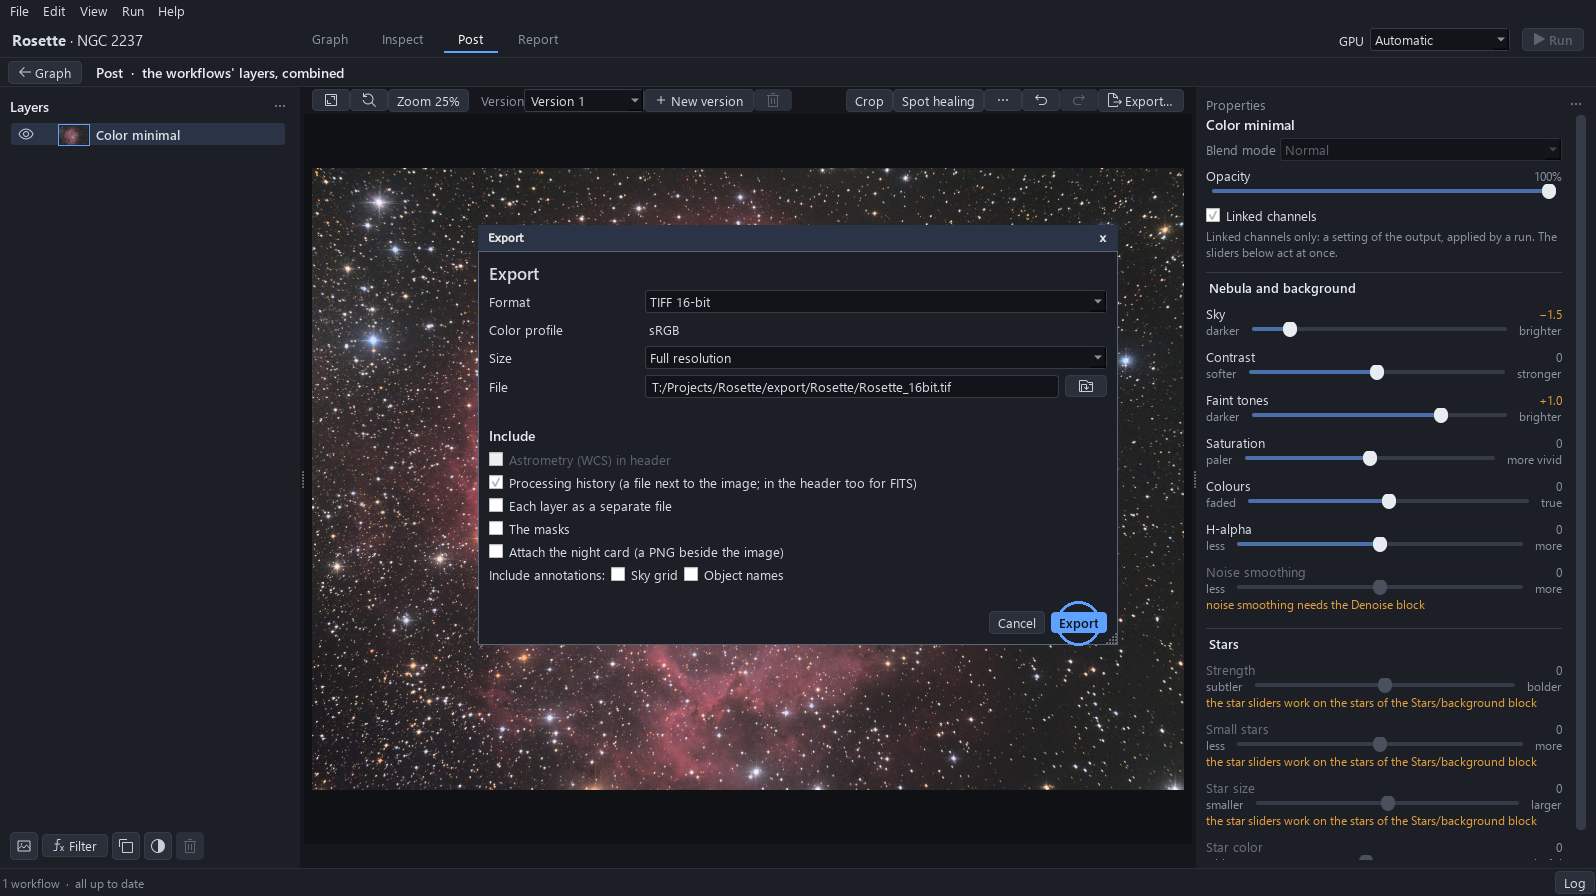
Click Export…. The default is TIFF 16-bit at Full resolution, with the processing history in a file next to the image. For a picture to publish, choose JPEG in Format. Click Export.
16The image is written
The window says how many files were written: the image and its processing history. Close it. Press Ctrl+S to keep the project with the three settings.