The path · 2 Intermediate
Try a variant
A variant of the workflow is started after Gradient to try the neural-network deconvolution (beta) beside the original. The two results are compared in Inspect and in Post, then the variant is deleted.
| Duration | About 10 min, of which 3 min of computing on a PC with an RTX 4060 Ti graphics card (16 GB) |
|---|---|
| Requirements |
|
| Data set | Rosette Nebula (NGC 2237) · Sony A7S, 15 s at ISO 4000 · 130/900 Newtonian · 436 lights (1.8 h), 48 darks, 62 flats, the authors of FLOAT; size 6.9 GB. The frames will be offered for download; the link will be given here |
1Open the project
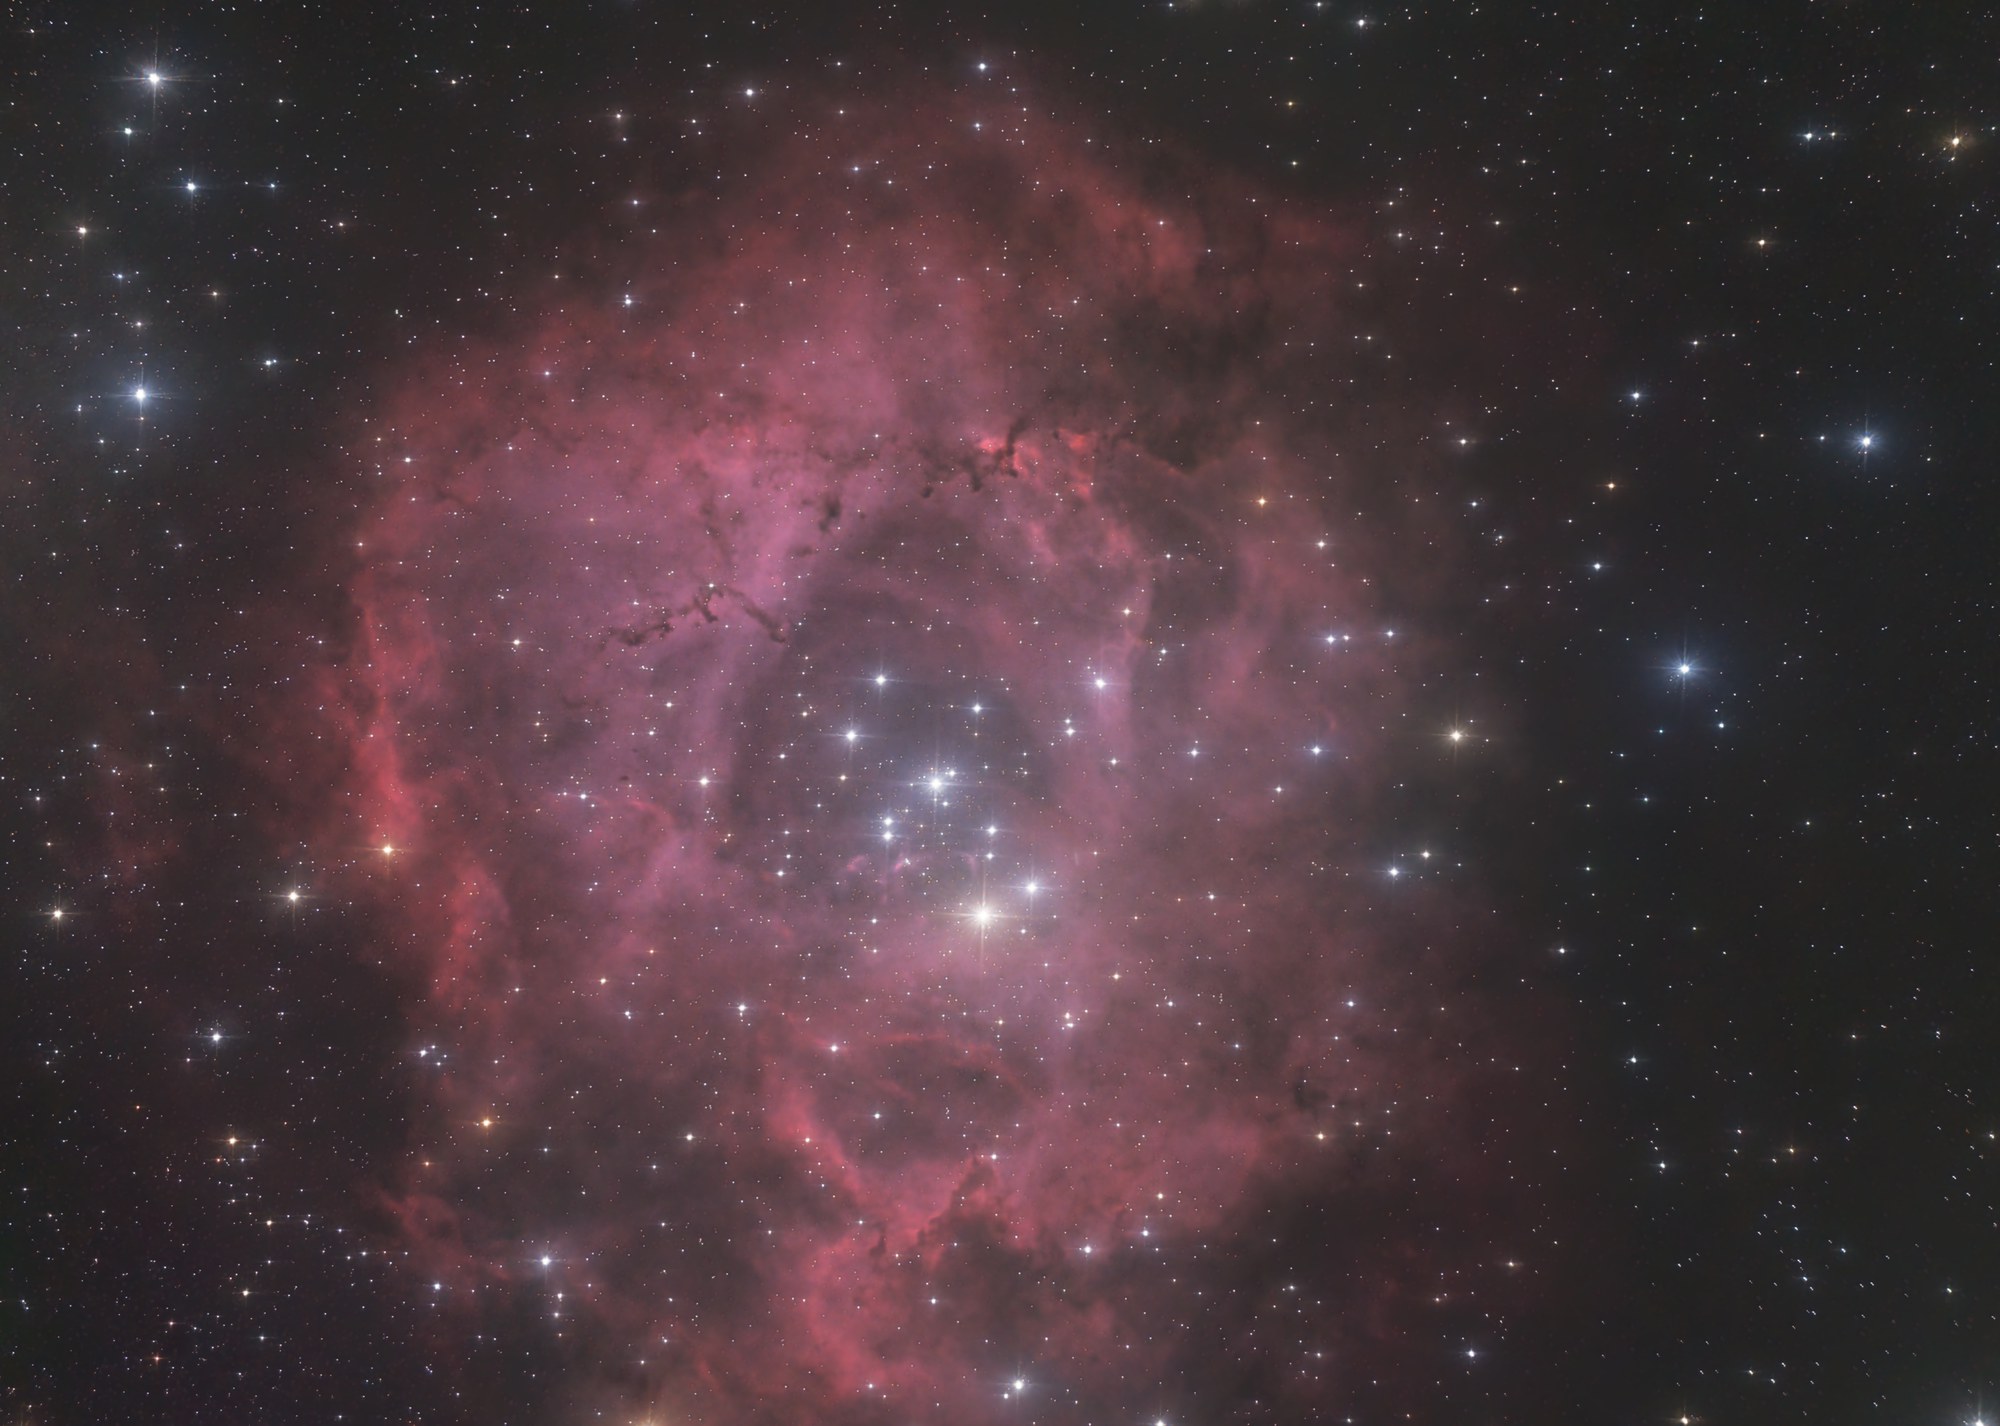
On the Home screen click Open project… and choose a copy of the finished project of the tutorial The full processing: stars apart. The project opens up to date: nothing is to be computed.
Expected result. The status bar reads all up to date, and the Run button is greyed.
2The diagnosis in Inspect
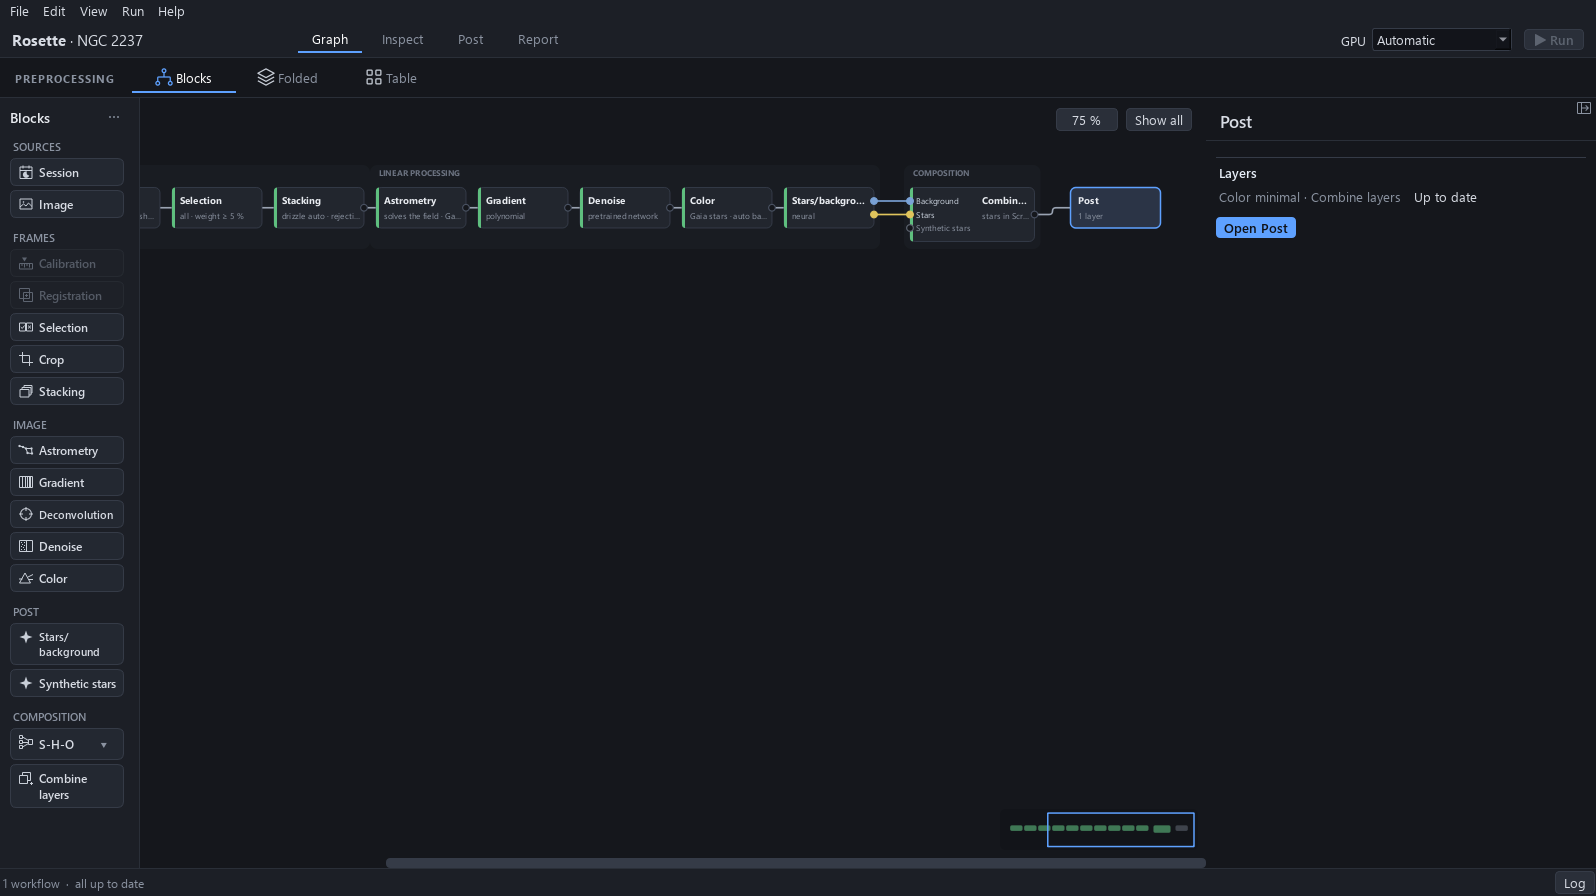
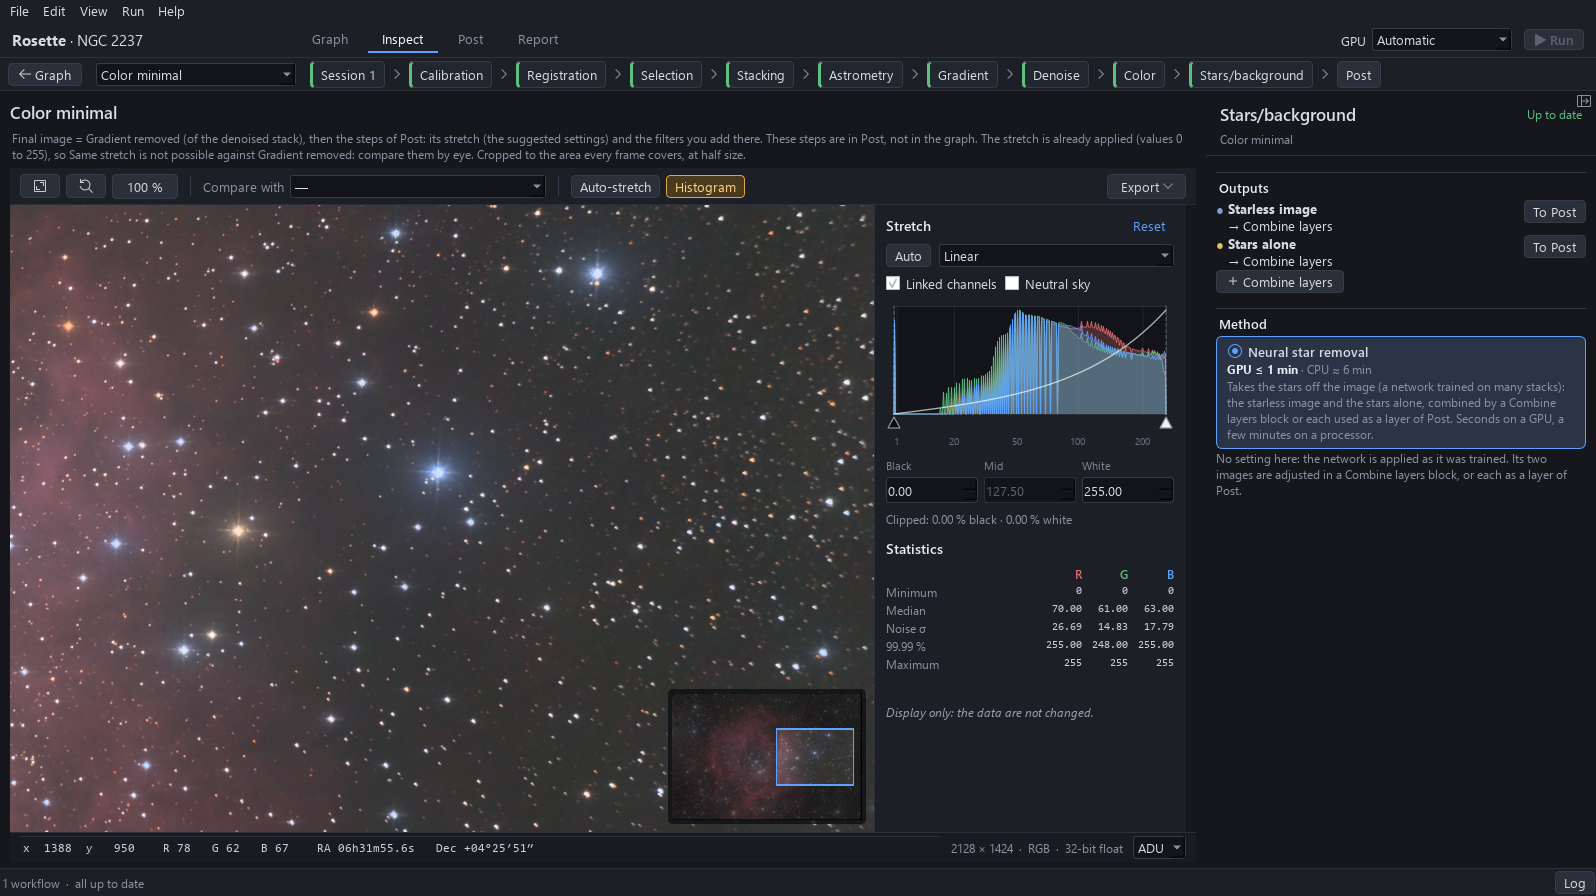
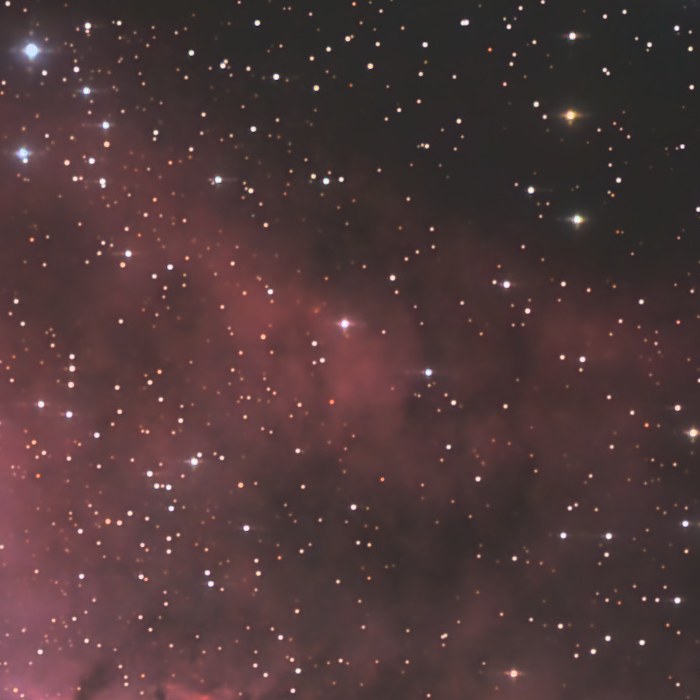
Click Inspect: the final image of the workflow is shown. Choose 100 % in the zoom list and drag the frame of the overview onto the star field to the right of the cluster. Right, and to leave alone: the gas and the sky level (35, 34 and 34 in red, green and blue).
Expected result. At 100 %, the stars of the field look a little soft.
| What is wrong | How it is read | What corrects it |
|---|---|---|
| The stars are a little soft. | At 100 % in the star field, the median width of the isolated, unsaturated stars measures 4.84 px. | Try the neural deconvolution in a variant, then measure again. (step 4) |
| Faint stars are lost in the blur. | In the same zone, 279 stars are detected, a star being detected when it stands 40 levels above the local background. | The same variant, counted again. (step 4) |
3Start a variant at Gradient
Click Graph, right-click the Gradient block and click Variant here. A second workflow, Color minimal 2, starts after Gradient, under the first one.
Why. Applying the block in the first workflow would make every result after Gradient outdated, and the picture the project has would be lost. A variant is a second workflow that shares everything before the block: calibration, registration and stacking are not computed again, and the first picture stays. A variant is also made from a setting changed on a block already computed: its bar then offers Apply, Try variant and Reset.
Expected result. The graph shows two rows after Astrometry, the second one under the label Color minimal 2, and the status bar reads all up to date.
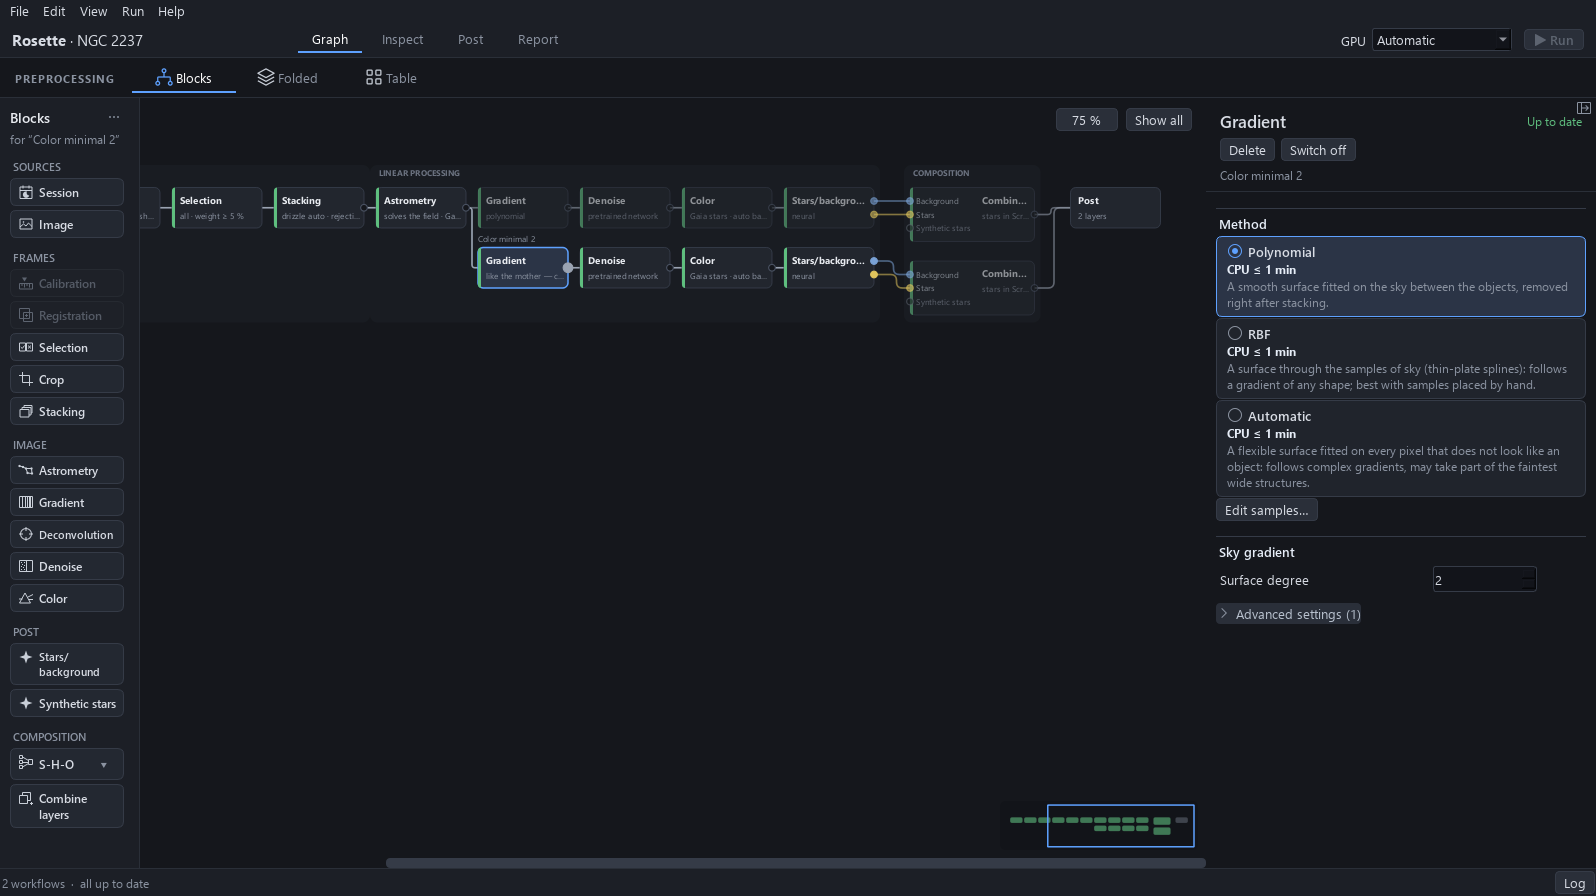
4Add the Deconvolution block
Double-click Deconvolution in the palette: the block is added to the variant, after Gradient and before Denoise. Choose Neural network (beta).
Why. The block goes before Denoise because a deconvolution sharpens the noise too, and Denoise then cleans what it sharpened.
Expected result. The status bar reads to run, and the Run button shows the estimate of the computation.
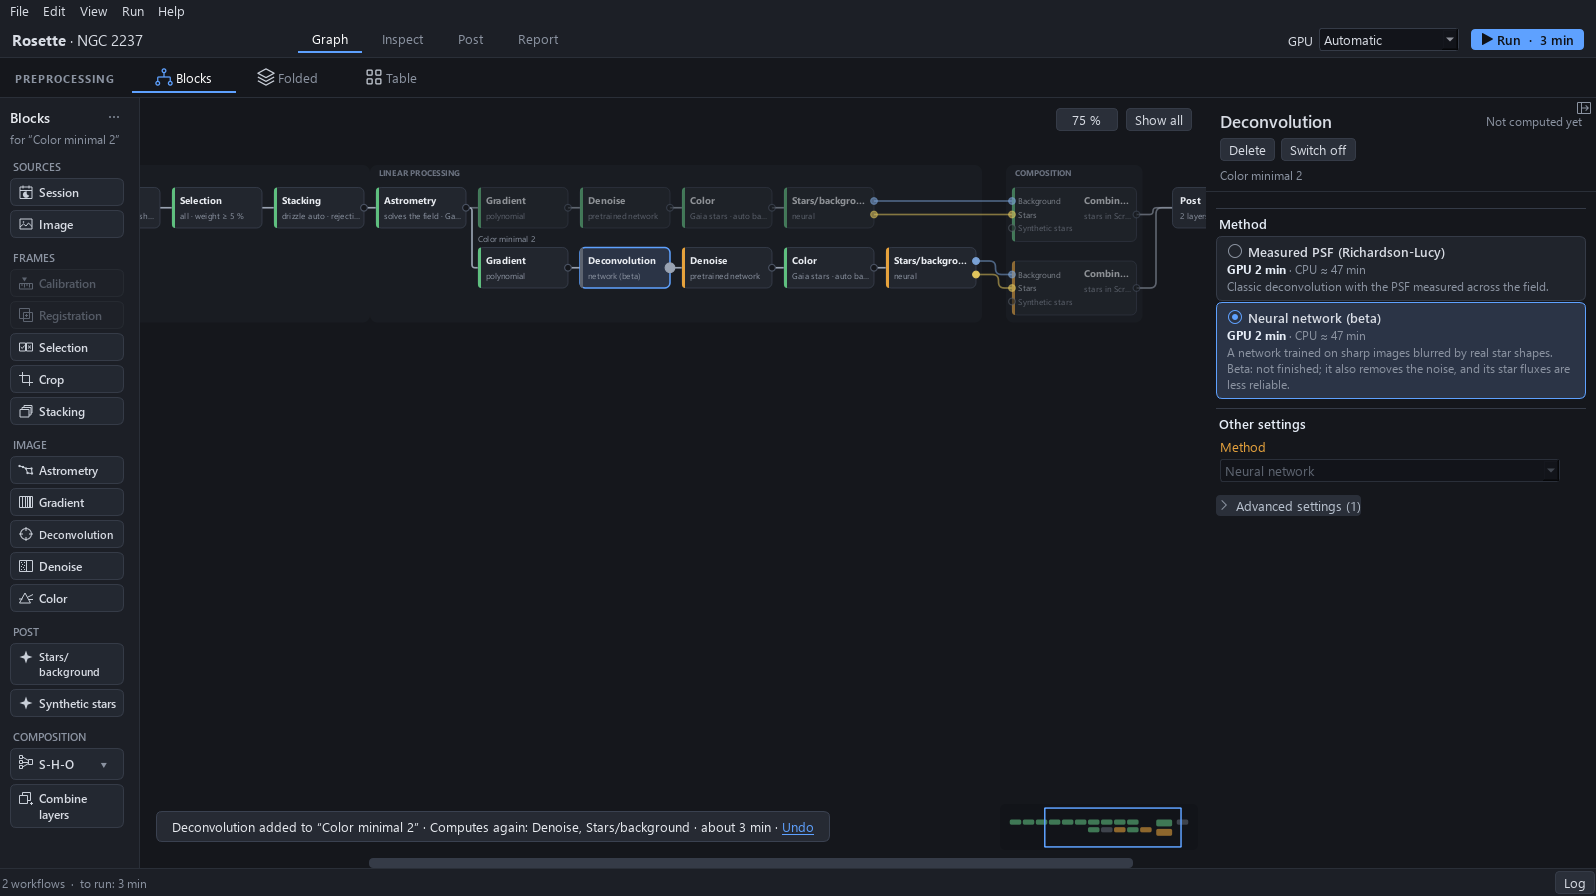
5Run the variant
Click Run. The Run project window lists every block: the shared blocks and the first workflow are up to date, and only the variant’s Deconvolution, Denoise and Stars/background are computed. The computation takes about 3 min on an RTX 4060 Ti graphics card (16 GB), about 2 min 20 s of it for Deconvolution.
Why. Each block is computed once, and a change only runs again the blocks that follow it: nothing else is recomputed.
Expected result. The window ends with 3 blocks computed, and the status bar reads all up to date.
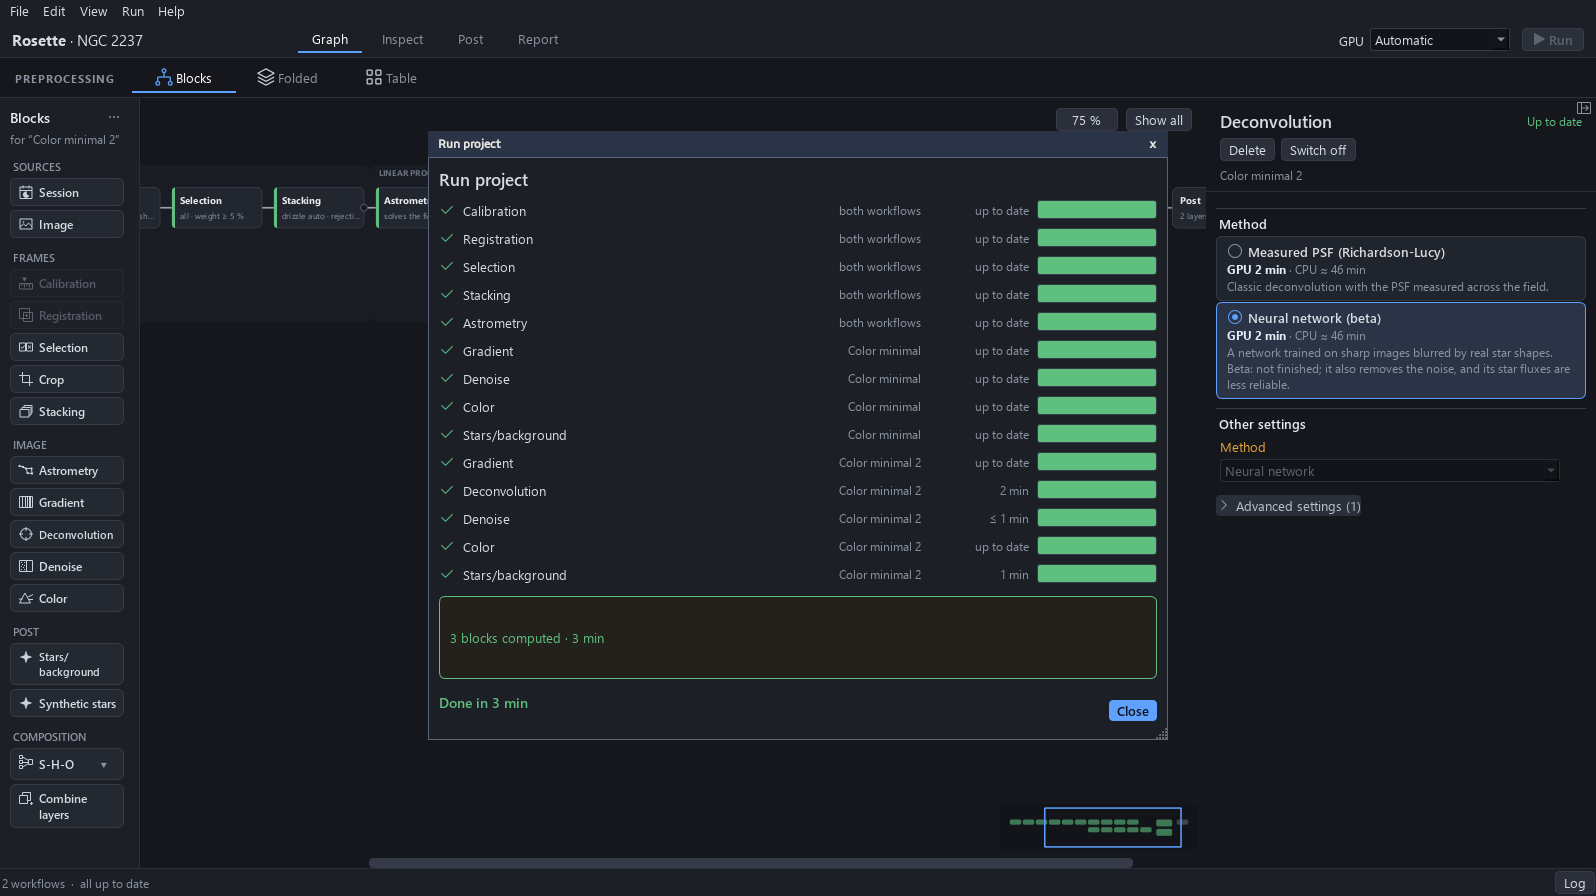
6Compare in Inspect
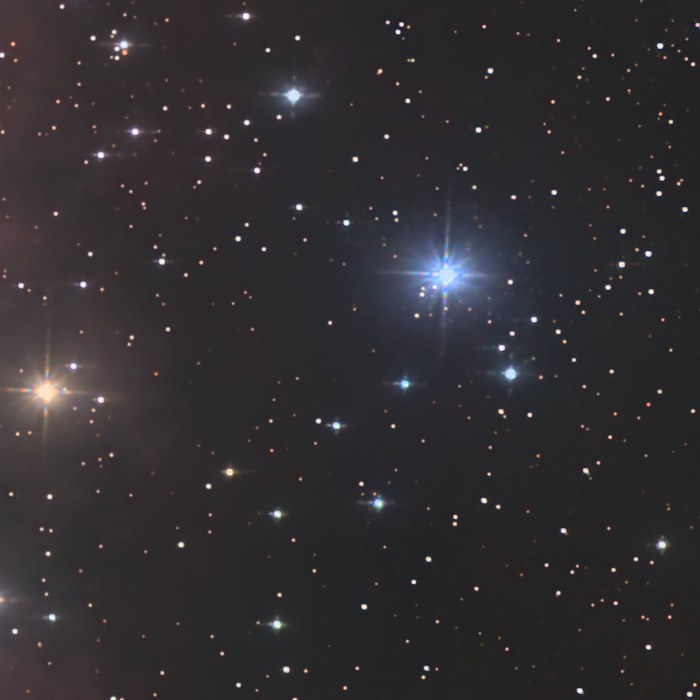
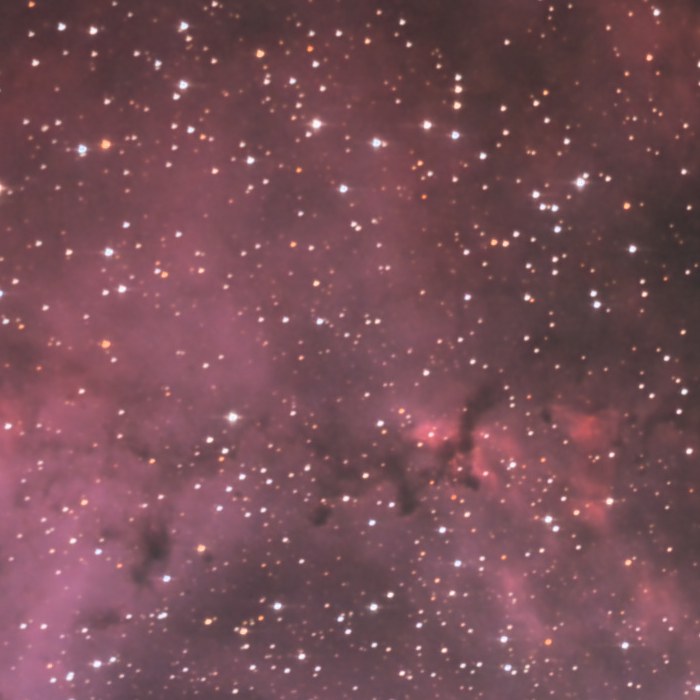
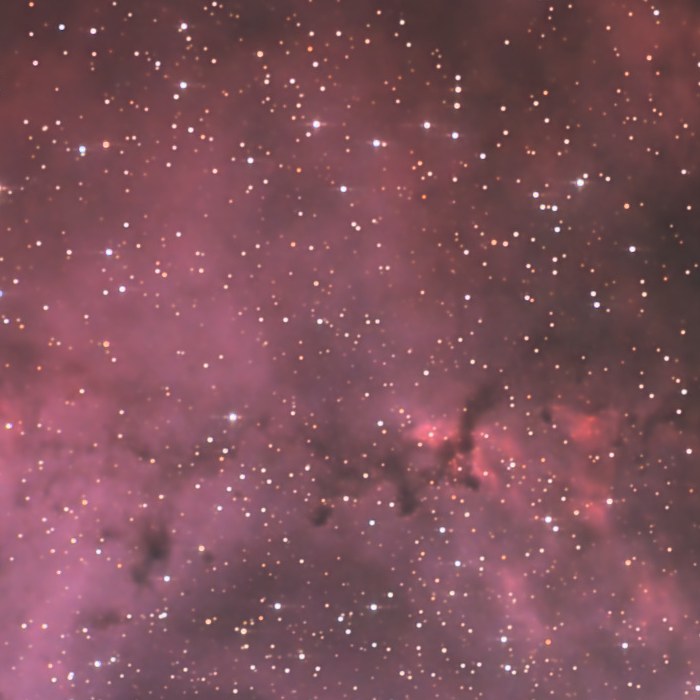
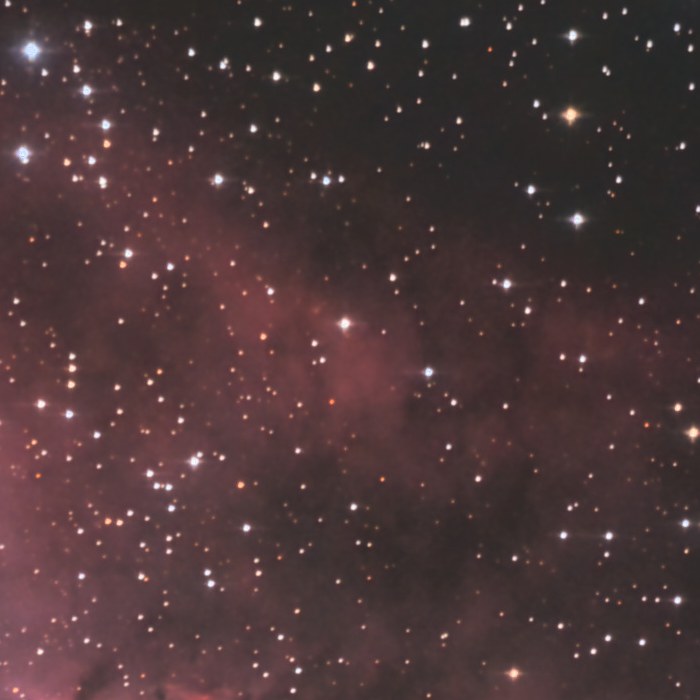
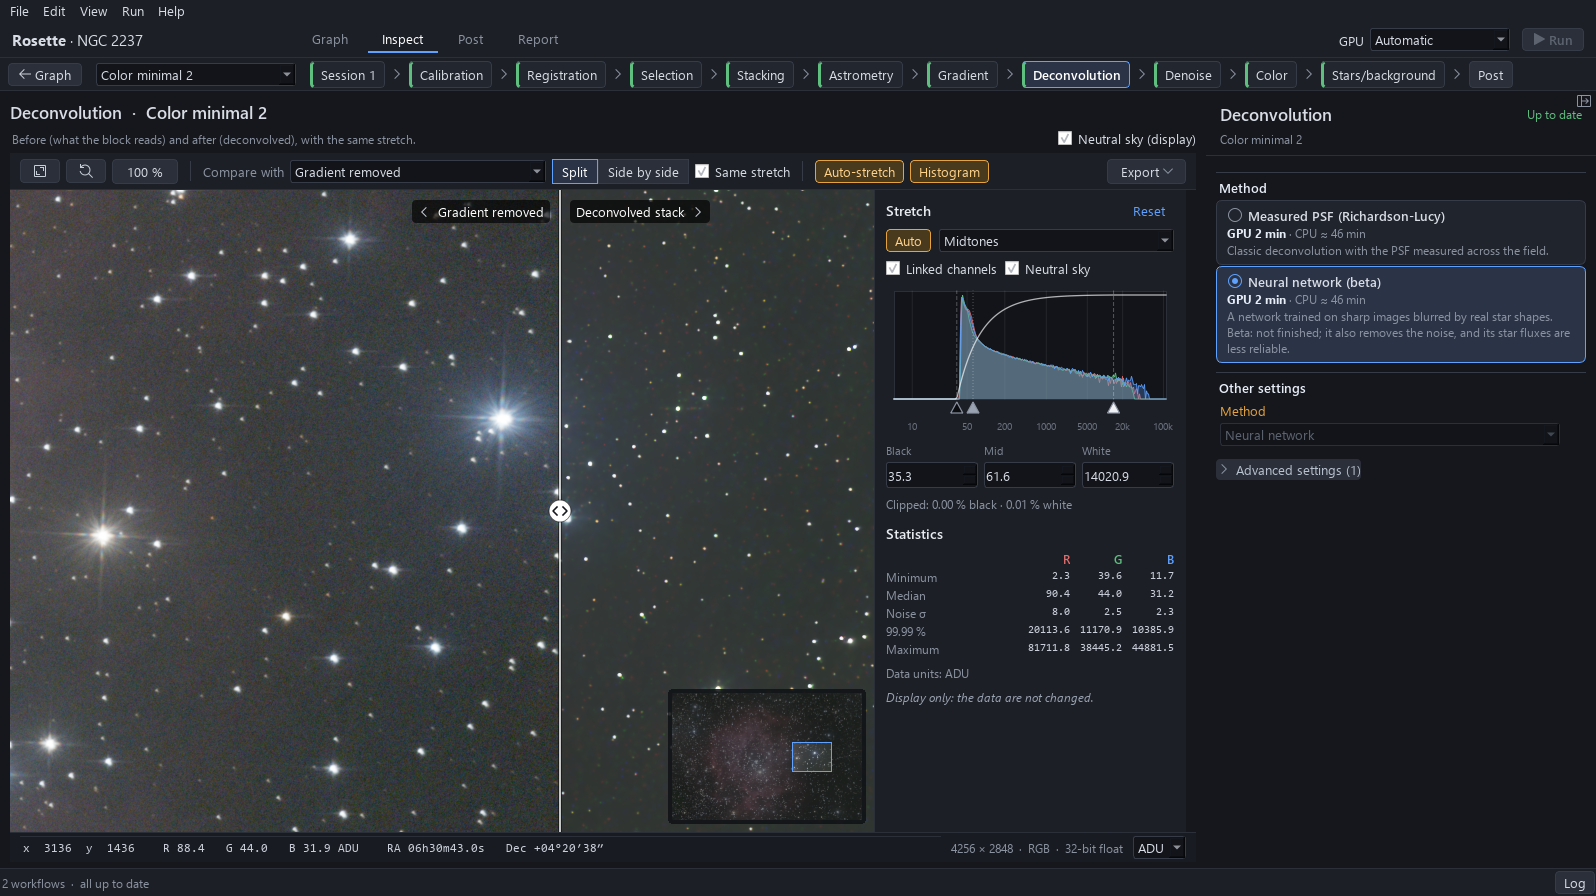
Click Inspect: the page opens on the variant’s Deconvolution block, with the stack before the block on the left of a divider and after it on the right. Choose 100 %, drag the frame of the overview onto the same star field and drag the divider across the stars. Measured on the pictures of the two workflows: the median star width goes from 4.84 to 4.19 px (−13 %) and the stars detected from 279 to 382 (+37 %); in the faint arc the width goes from 4.95 to 4.53 px and the count from 395 to 530. The gas and the faint arc are unchanged.
Expected result. Left of the divider the stars are soft, right of it they are tighter; the nebula looks the same on both sides.
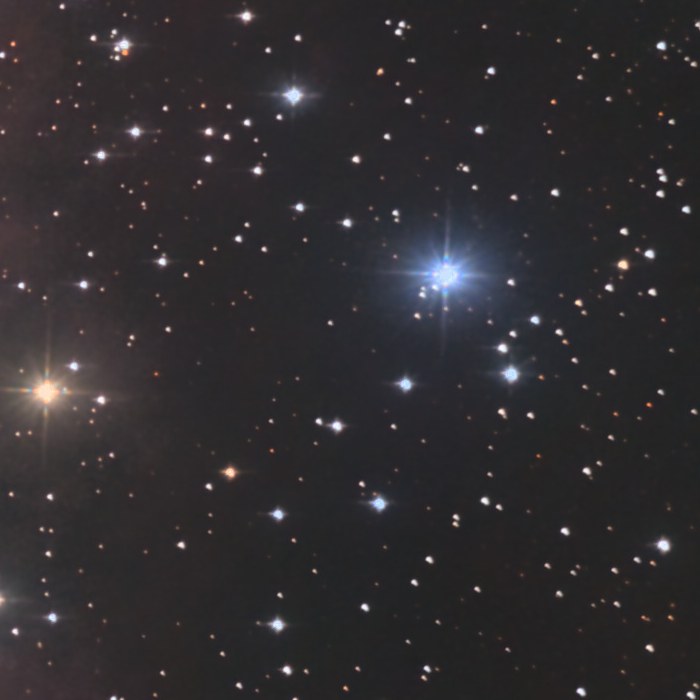
7Compare in Post
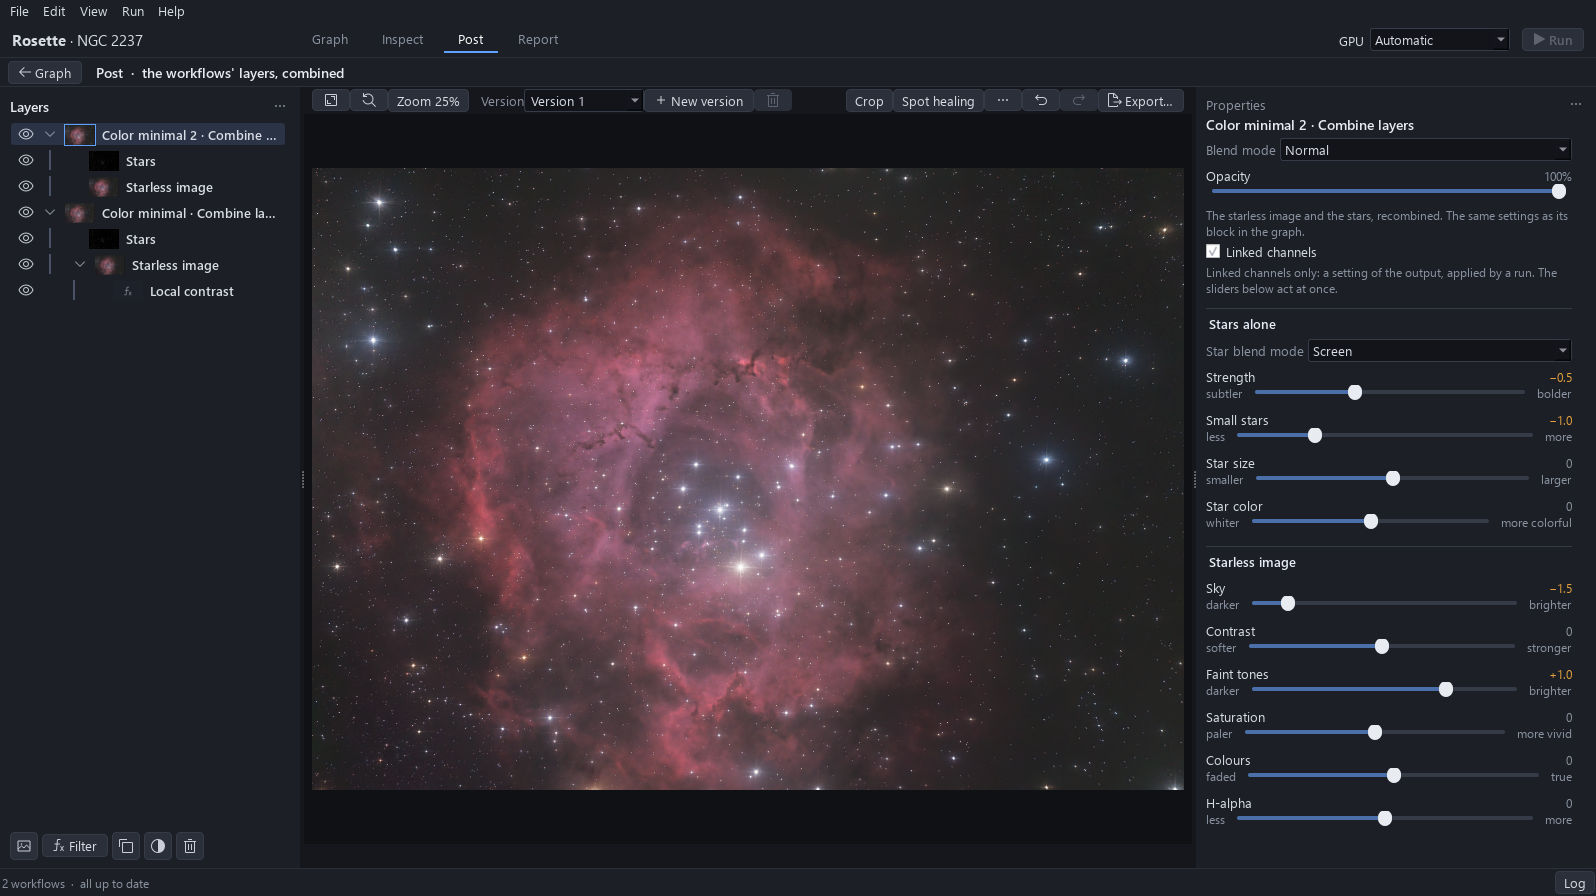
Click Post: the two workflows give two layers, the variant’s on top with its eye switched off. Click the variant’s layer and give it the settings of the original’s: drag Strength to −0.5, Small stars to −1.0, Sky to −1.5 and Faint tones to +1.0. Click the eye of the top layer: the variant covers the original.
Why. With the same stretch and star settings on both layers, the comparison is about the stars and not about a different stretch.
Expected result. On the fitted view the two pictures are almost the same.
8The difference is at 100 %
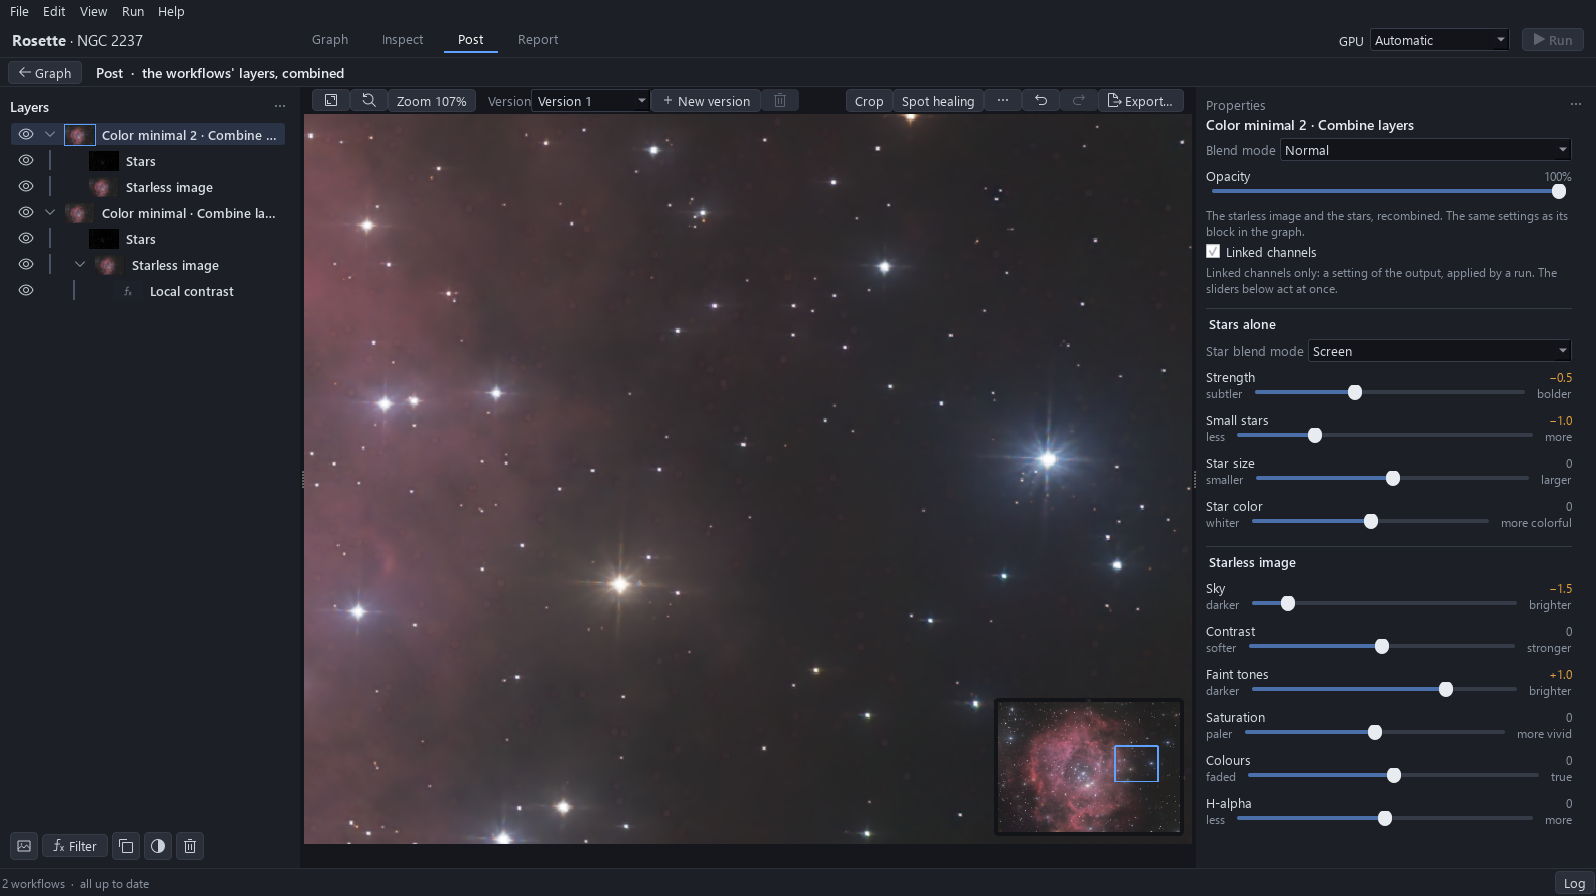
Zoom to about 100 % on the star field (Ctrl and the mouse wheel), then click the eye of the top layer off and on: the original’s stars are softer, the variant’s are tighter. The gain shows at 100 %, so the choice between the two depends on the use of the picture: a screen view or a large print.
Expected result. Between the two states of the eye the stars change: tighter with the variant, softer with the original.
9Delete the variant
Click Graph, right-click a block of the variant, point at the Workflow “Color minimal 2” entry and click Delete workflow. Press Ctrl+S to save the project.
Why. Either workflow can be deleted at any time: trying costs nothing. Without the variant the project is as it was, which is the starting point of the following tutorials.
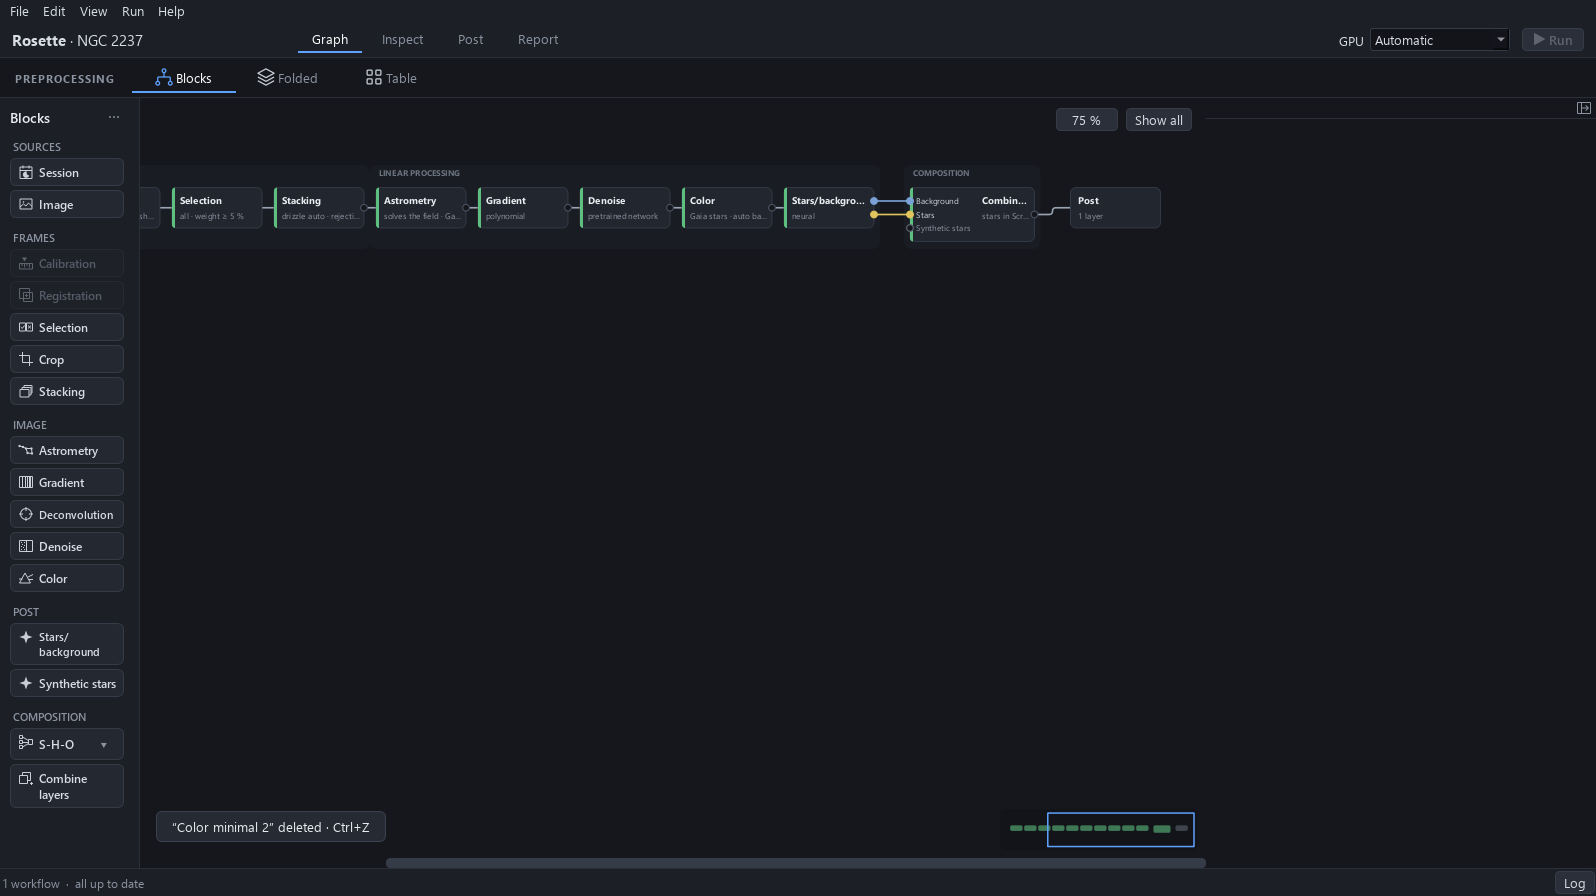
Expected result. The notice reads “Color minimal 2” deleted, with Ctrl+Z to take it back, and the status bar reads 1 workflow.