Post
Post: the essentials
The picture of the first tutorial is read in Post before any gesture, then corrected with three gestures: Sky, Faint tones and Crop. Zoom, before and after, undo and redo, and the export complete the tour of the page.
| Duration | About 10 min, with no computing |
|---|---|
| Requirements |
|
| Data set | Rosette Nebula (NGC 2237) · Sony A7S, 15 s at ISO 4000 · 130/900 Newtonian · 436 lights (1.8 h), 48 darks, 62 flats, the authors of FLOAT; size 6.9 GB. The frames will be offered for download; the link will be given here |
1Open the project
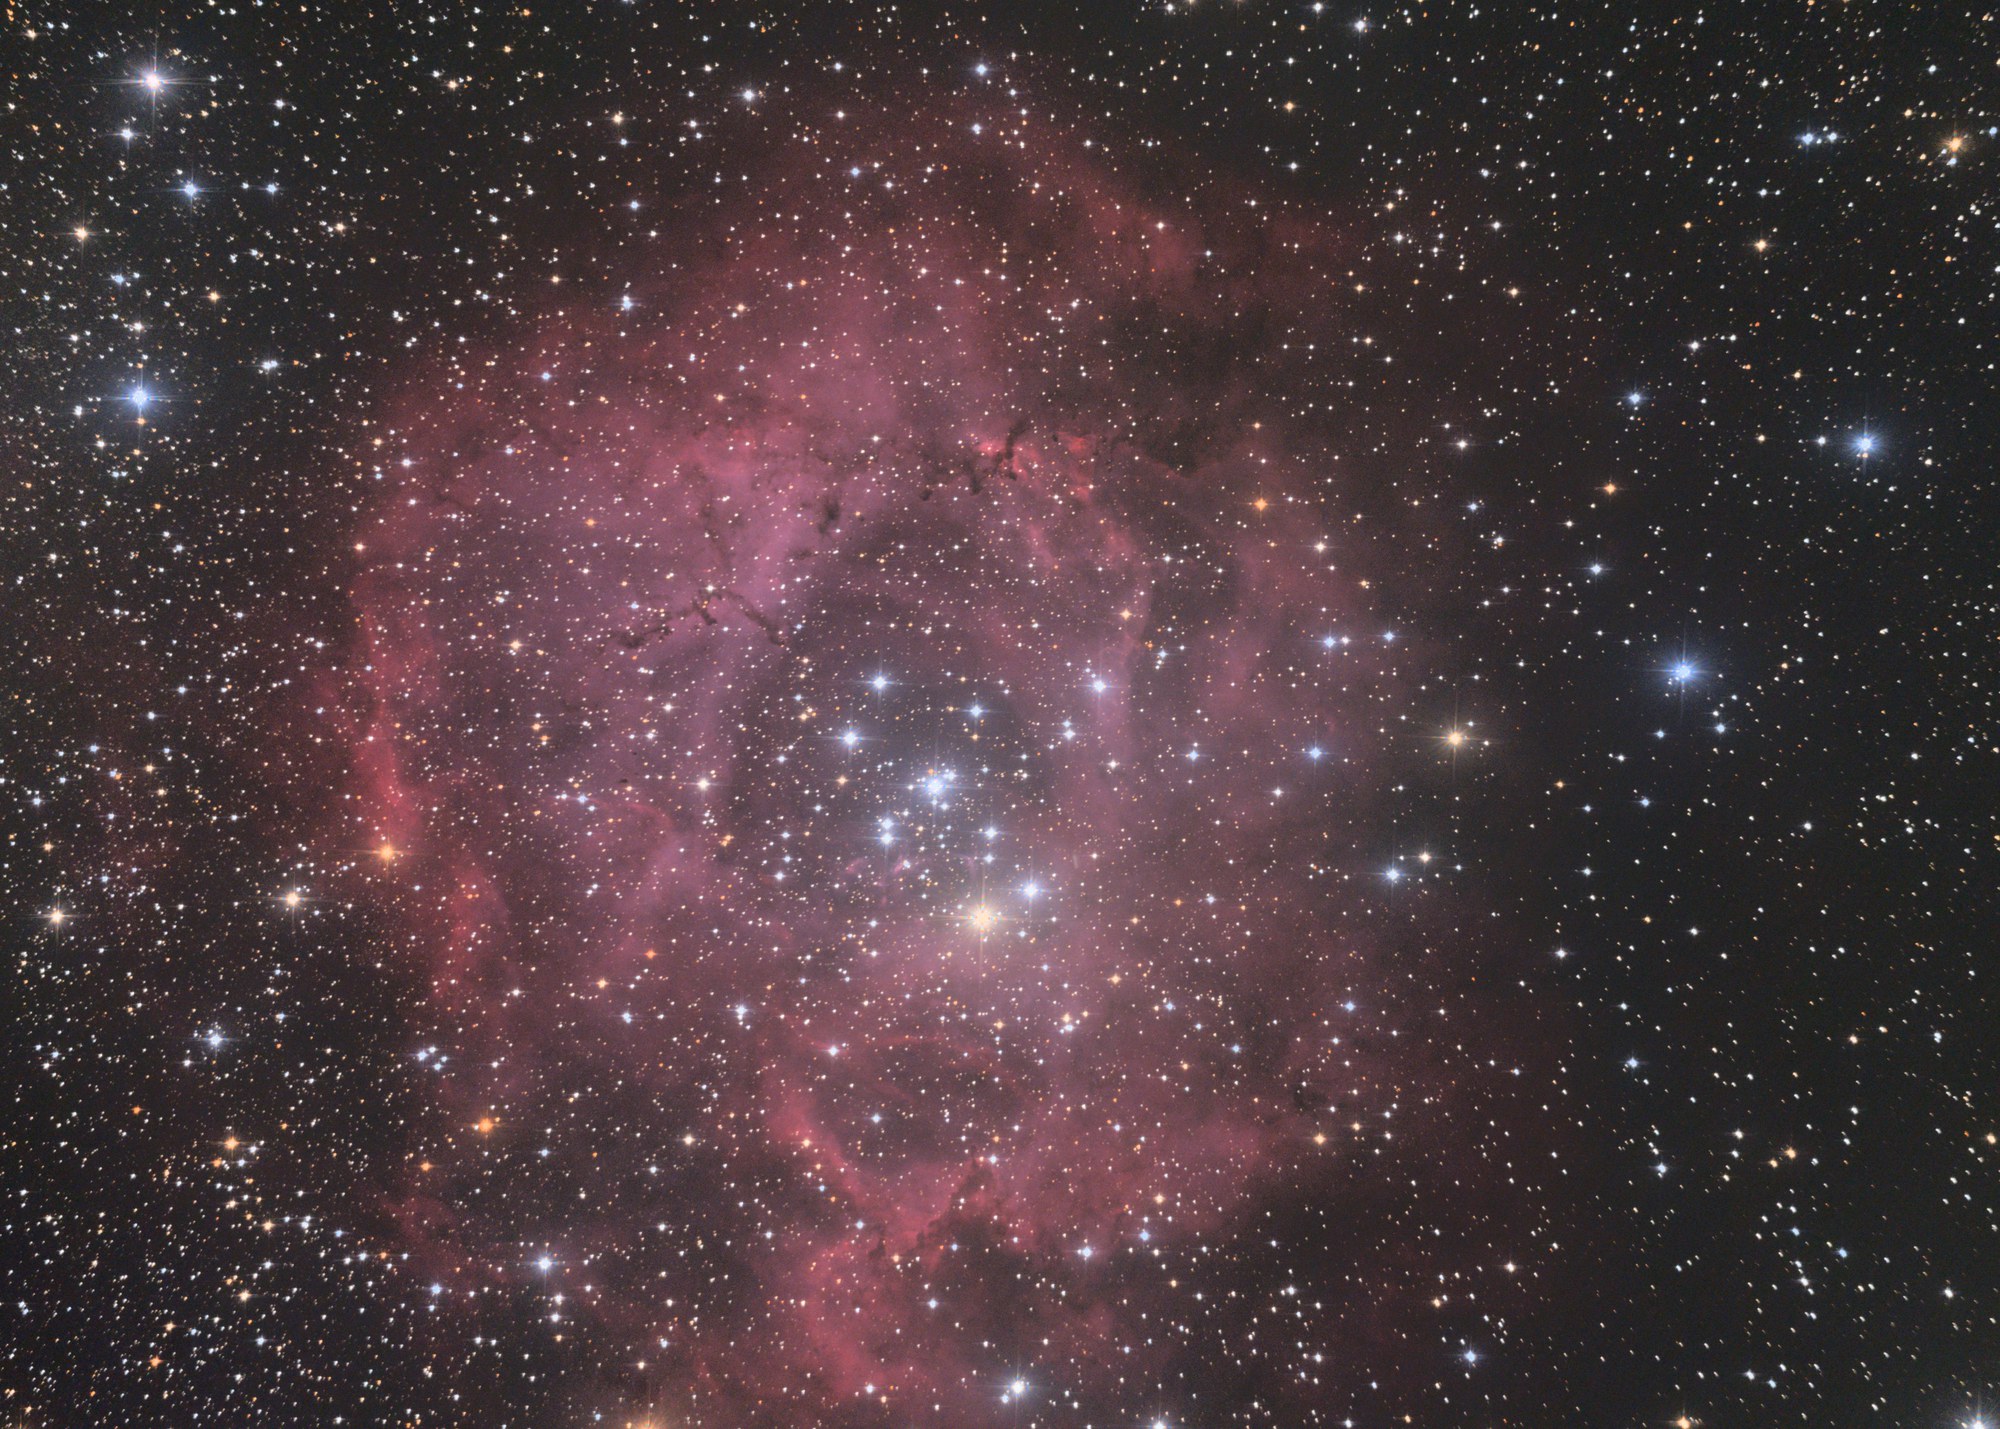
On the Home screen click Open project… and choose a copy of the finished project of the tutorial My first image. The project opens up to date: nothing is to be computed.
Expected result. The status bar reads all up to date, and the Run button is greyed.
2The diagnosis, before any gesture
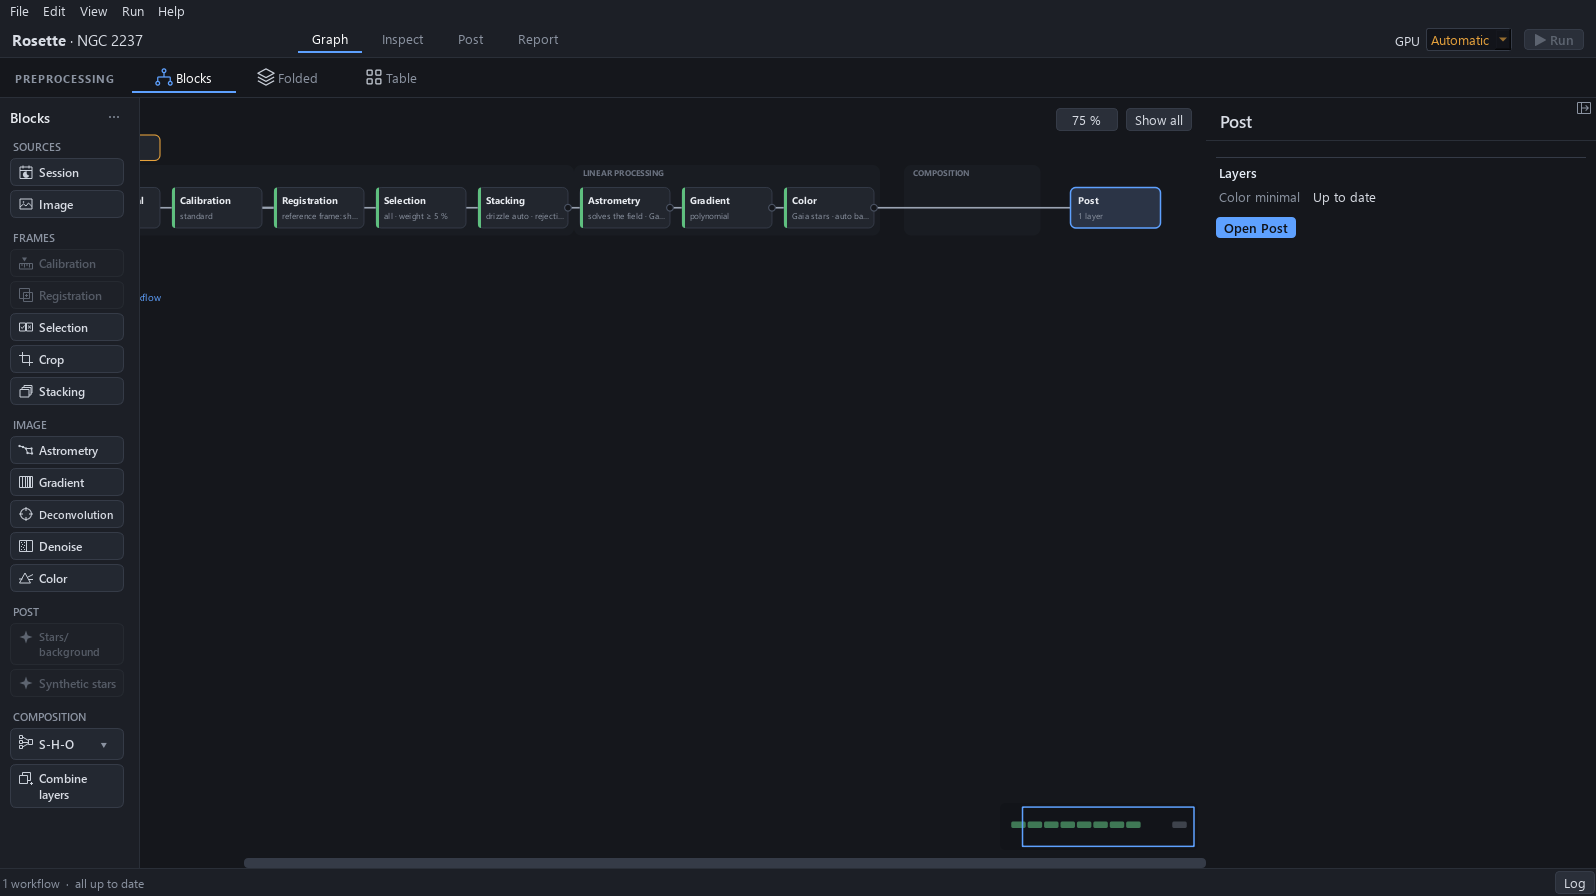
Click Post. The picture is the image of the workflow as it comes out of the processing, with the layer at its suggested settings, every slider at 0: a good picture already, with neutral colours, the ring pink-red and the stars of the cluster blue-white. Right, and to leave alone: the colours, the stars and the other sliders. Three points are to be corrected, read as in the table.
Expected result. The sky is a light grey, the right and bottom edges have a thin black line.
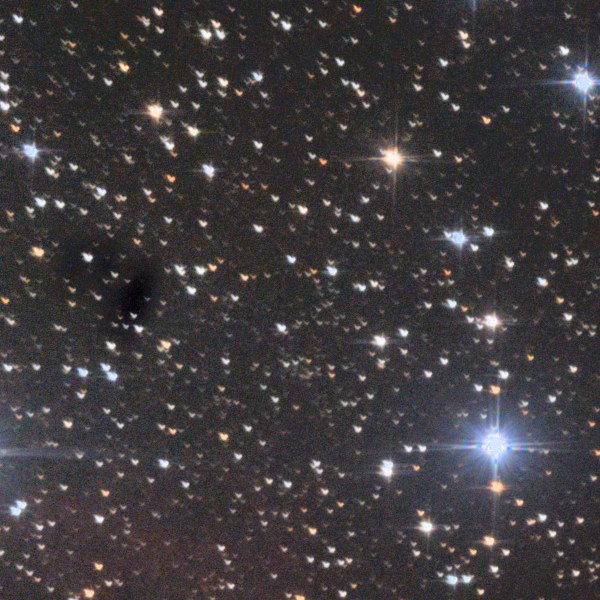
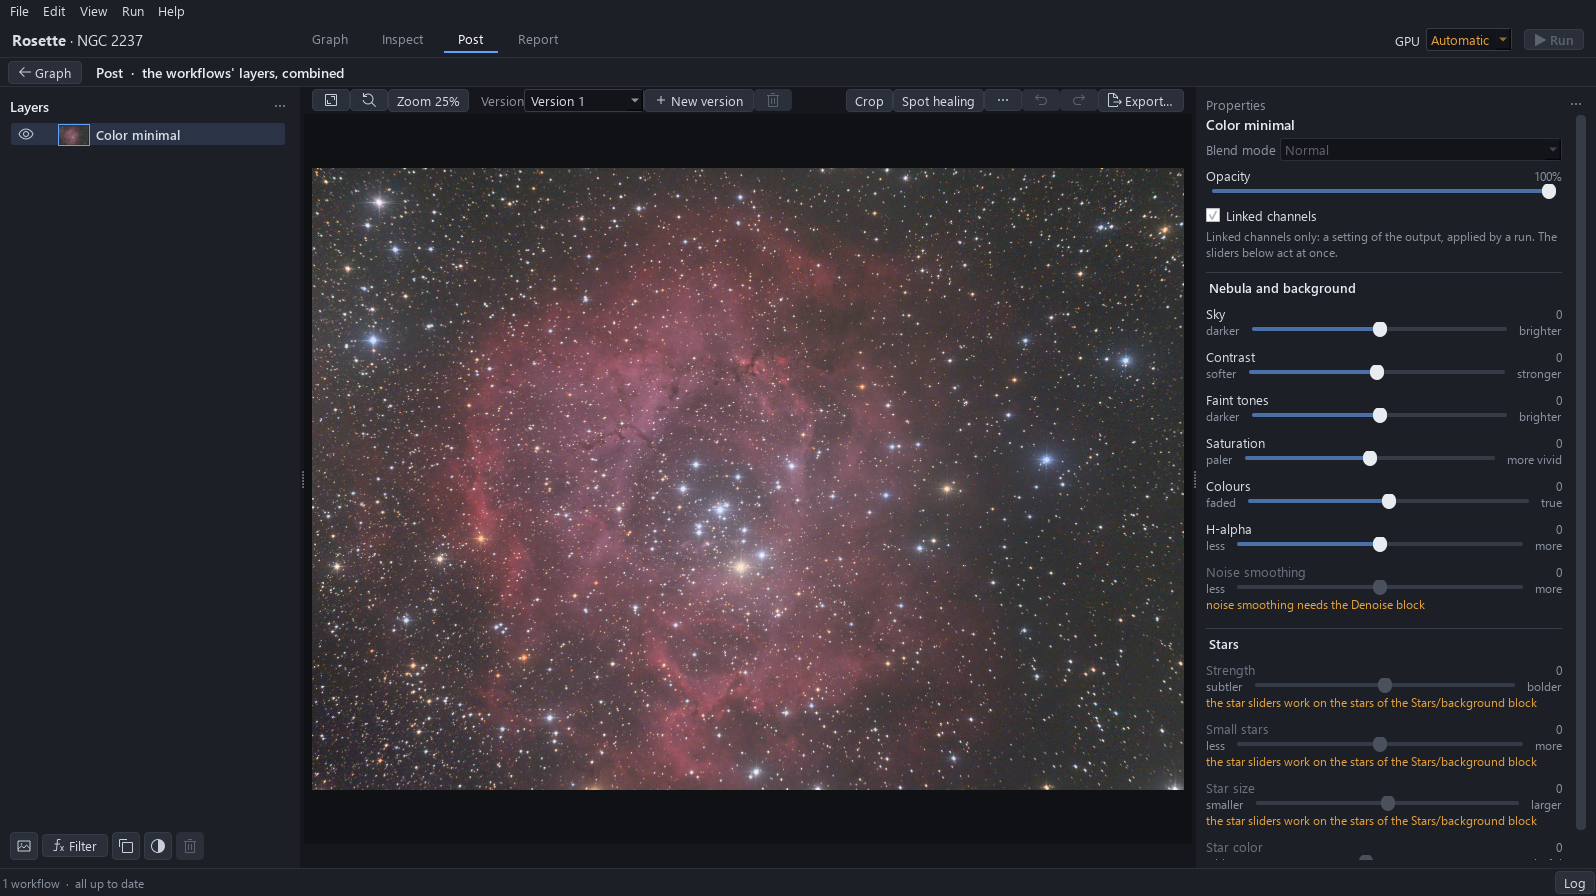
| What is wrong | How it is read | What corrects it |
|---|---|---|
| A grey veil over the sky. | The sky looks grey and not dark. On the exported picture the sky measures 49, 49 and 49 in red, green and blue, on a scale of 255. | Bring the sky down with Sky. (step 4) |
| The outer filaments of the ring are lost in the sky. | Left and top of the ring, the nebula stops early: the Rosette looks smaller than it is. | Lift the faint tones with Faint tones. (step 5) |
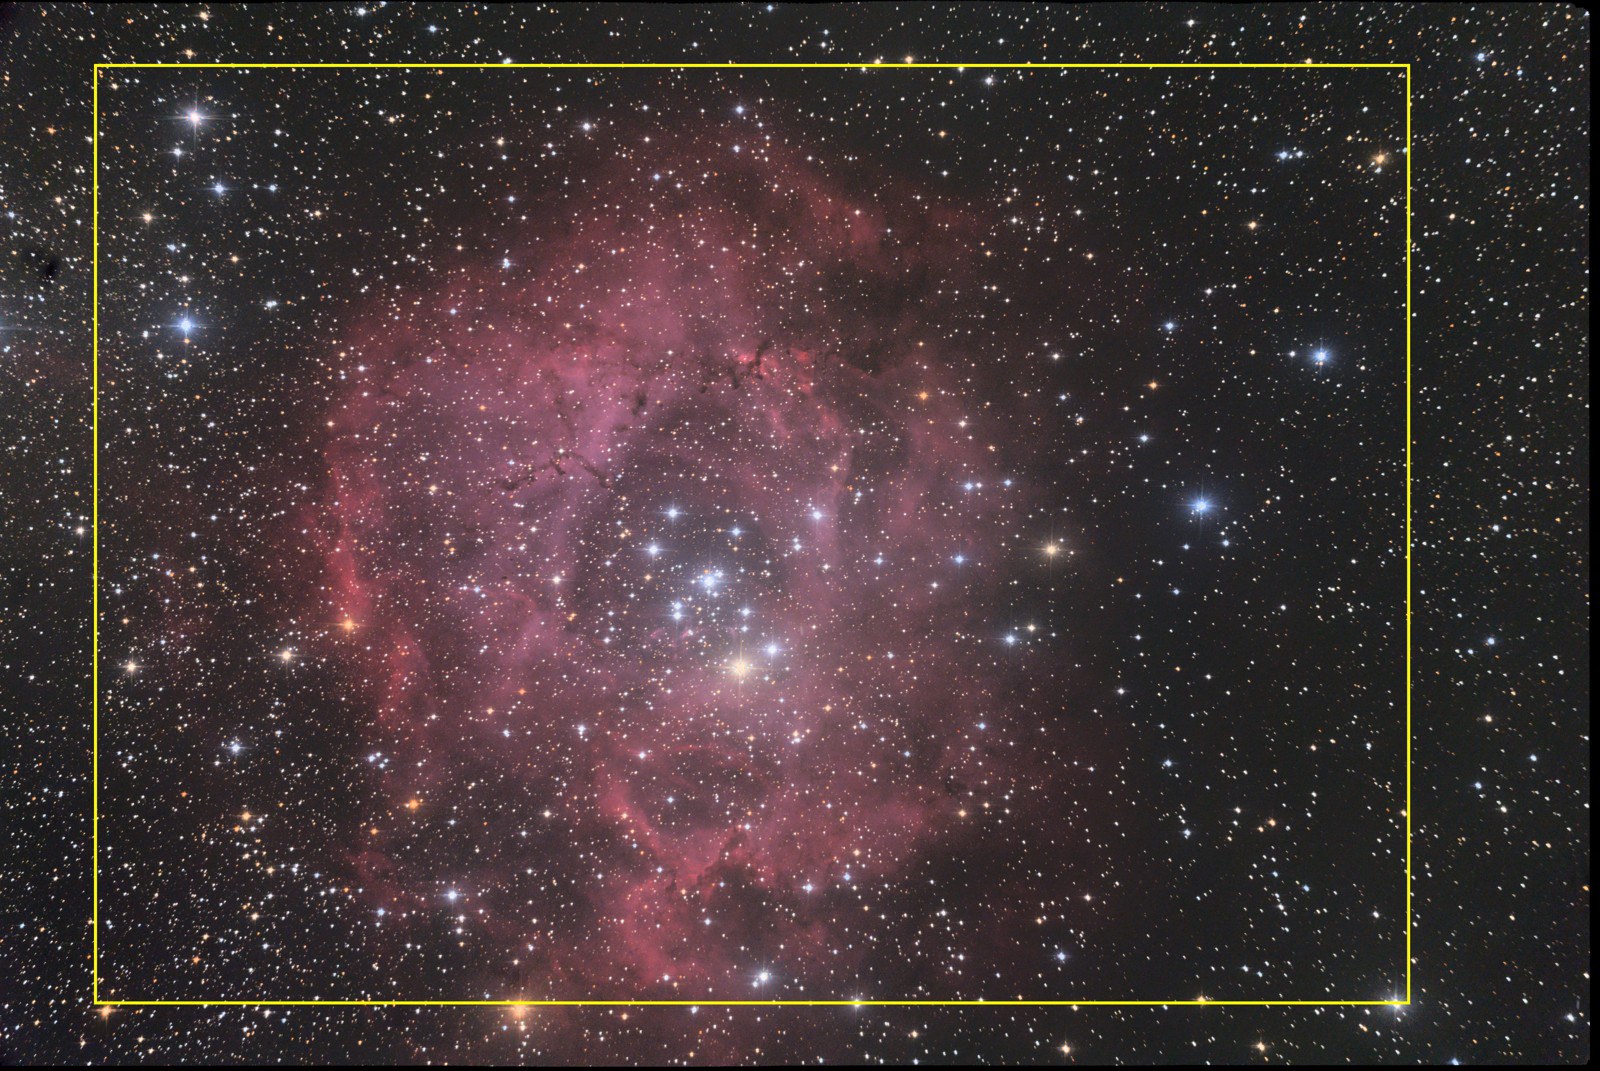
| Black lines on the right and bottom edges, a dark spot at the far left. | At 100 % on the edges: the black borders left by the alignment (27 px on the right, 13 px at the bottom, about 8 px at the top) and the shadow of a dust grain at the left edge. | Crop the picture. (step 8) |
3The workflow’s image is a layer
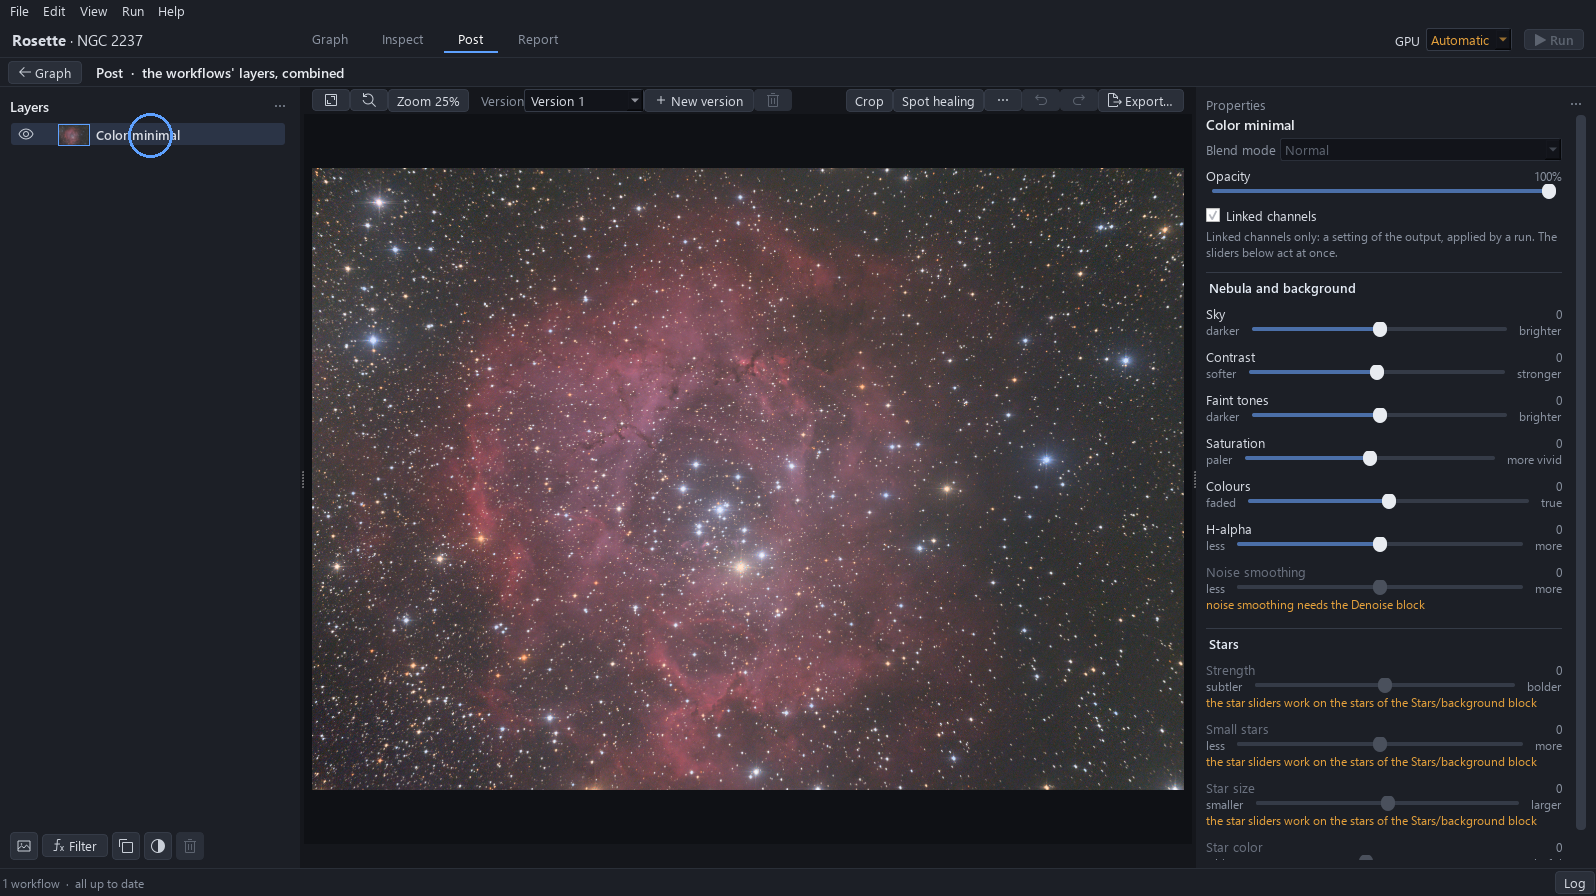
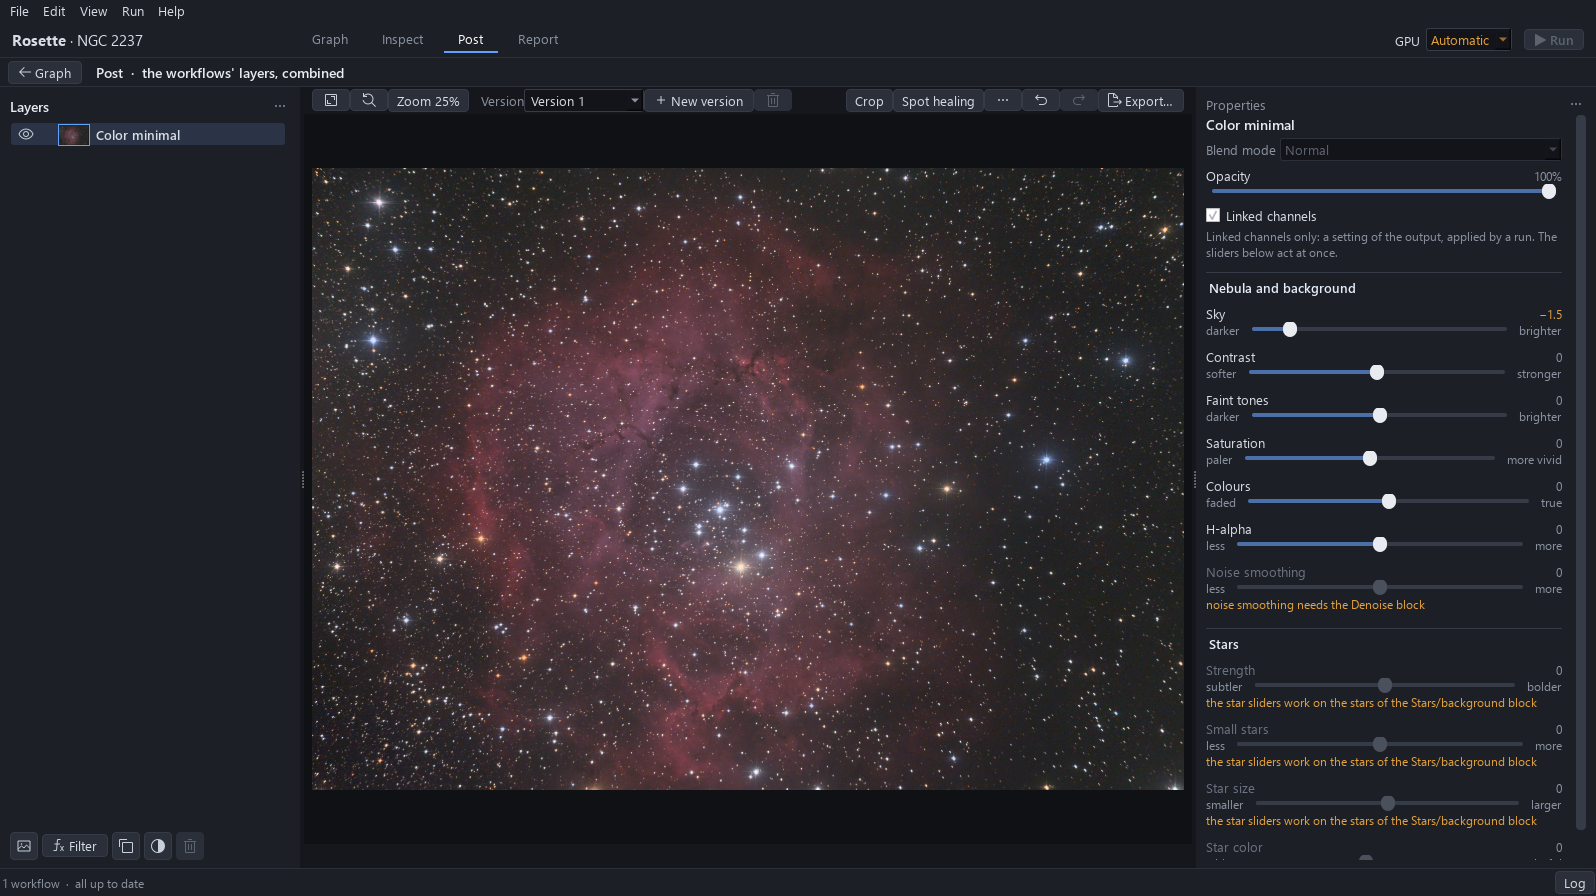
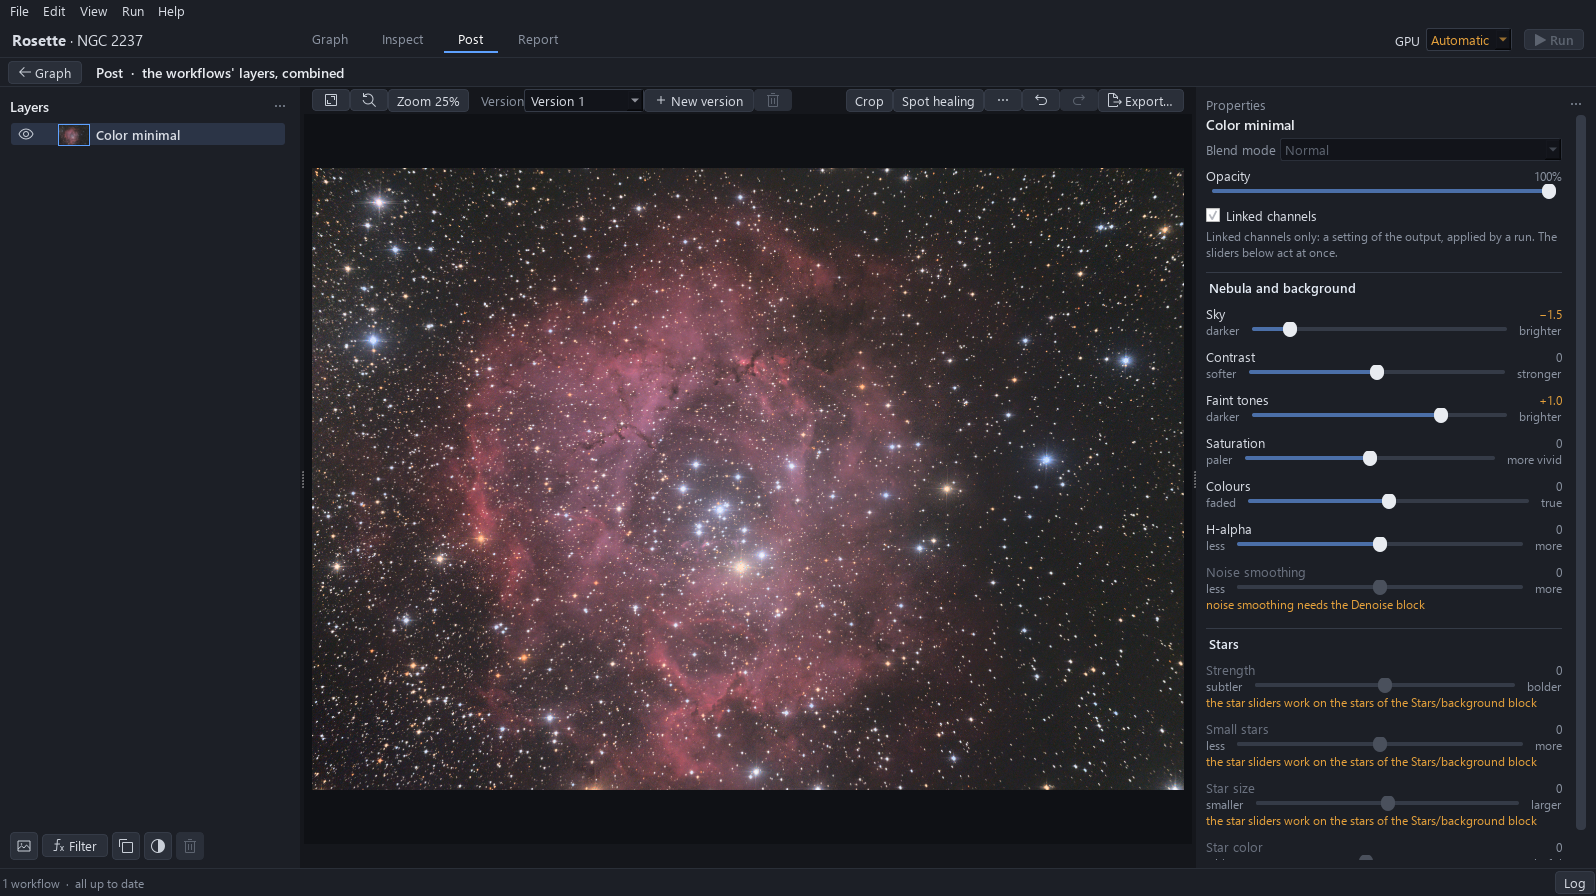
The page holds the layers on the left, the picture in the middle and the Properties on the right. The image of the workflow is one layer, Color minimal; its eye shows or hides it, and its sliders are the Properties.
Expected result. One layer, Color minimal, with its eye on; the sliders Sky, Contrast and the others at 0.
4Sky: bring the sky down
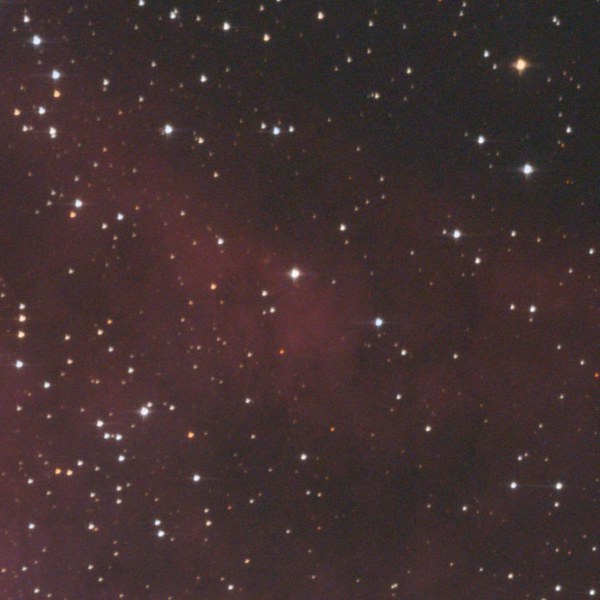
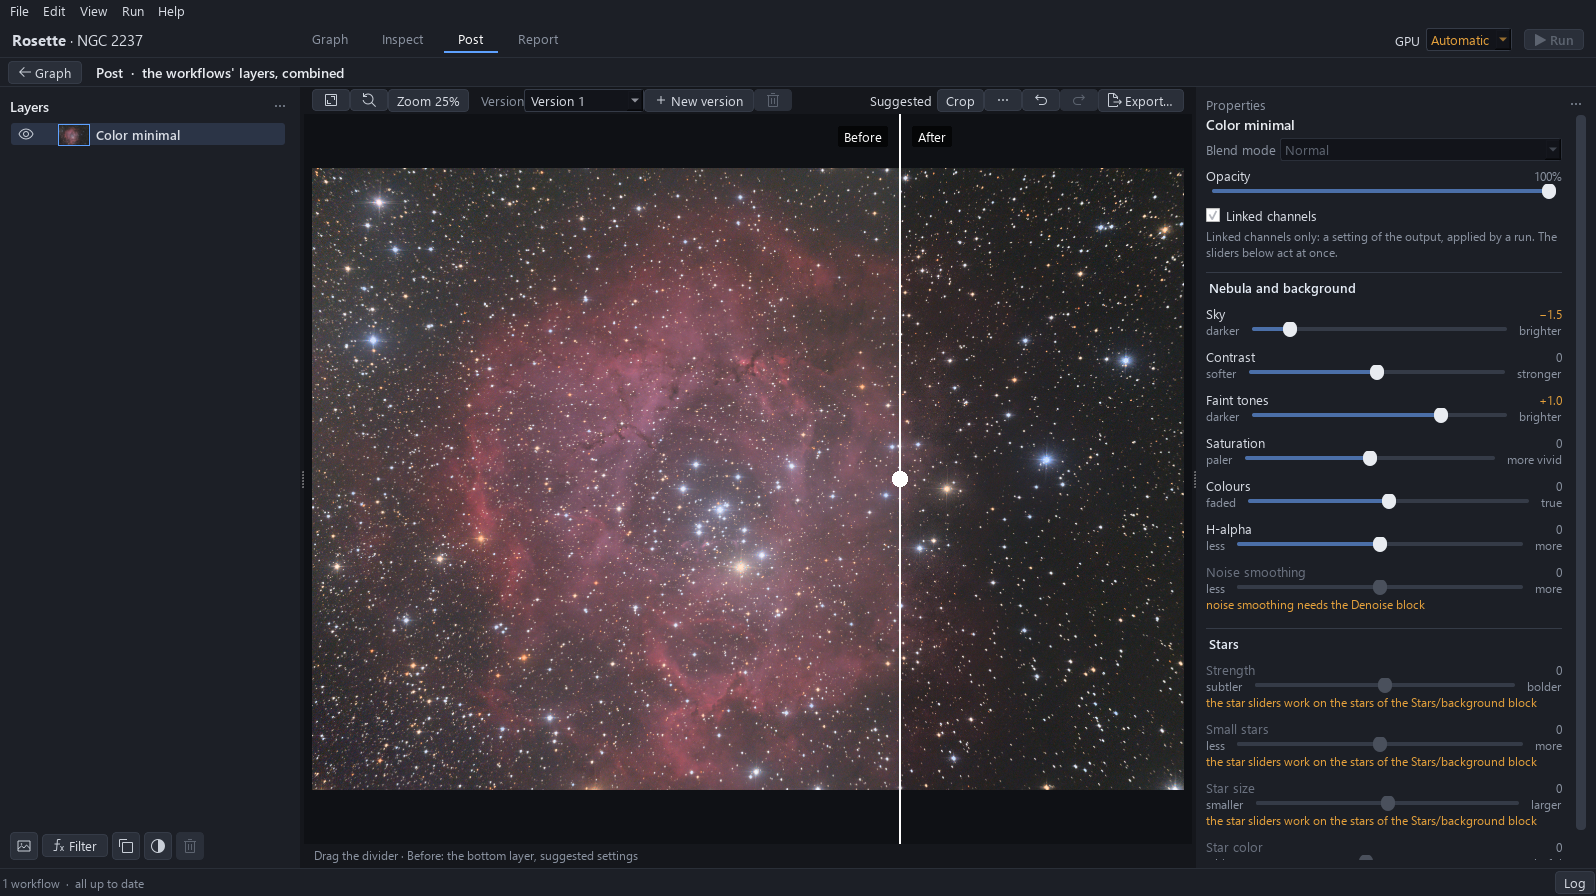
In the group Nebula and background, drag Sky towards darker, about a quarter of the way, here −1.5, until the grey veil becomes a dark grey sky.
Why. A sky kept dark grey and neutral, never black, is what most imagers keep: a black sky swallows the faint edges of the nebula and makes the object look cut out, and a light grey sky looks like fog.
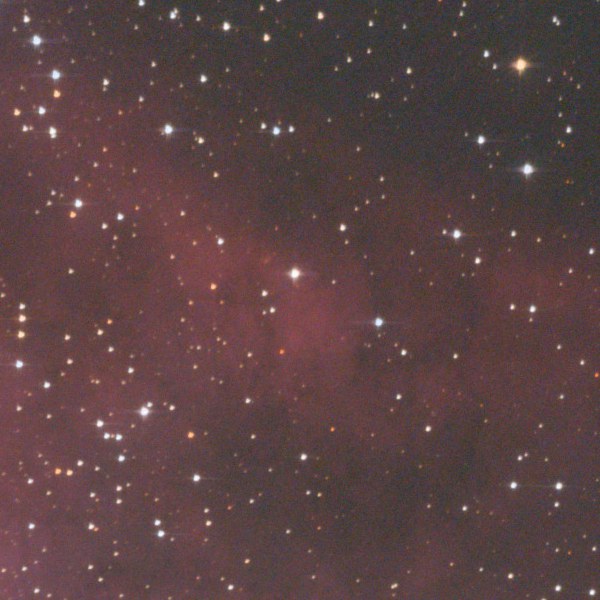
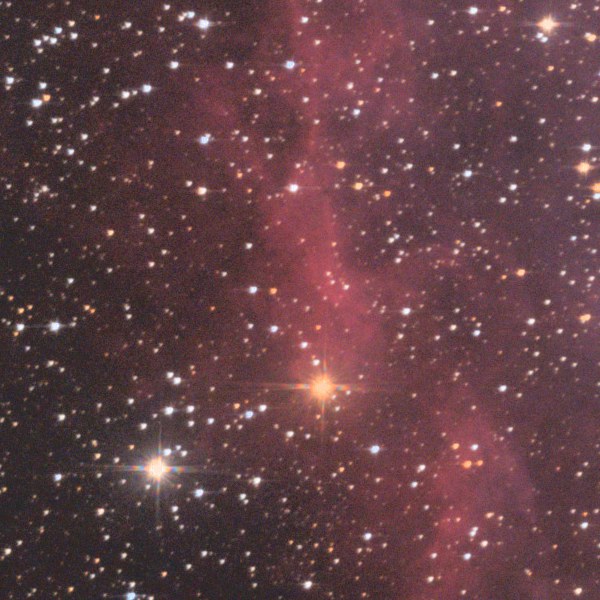
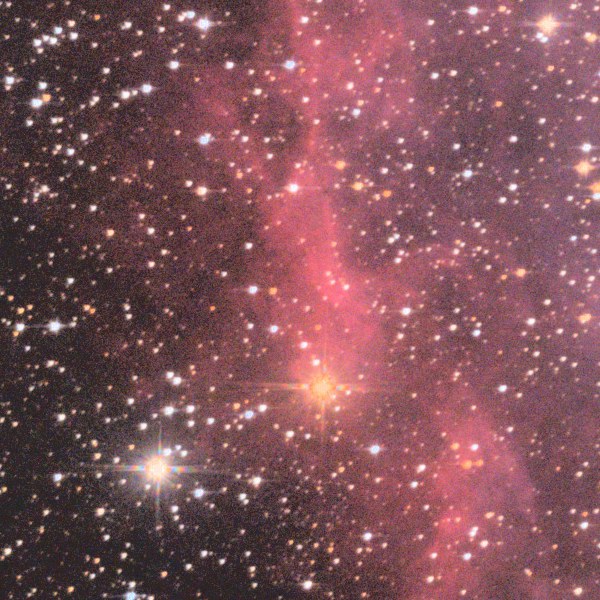
Expected result. The veil is gone: on the exported picture the sky measures 34, 34 and 34. The outer nebula looks fainter, and the faint arc stays visible at 100 %.
To avoid. Pushed to −2.0, the faint arc fades and the sky turns to grain.
5Faint tones: bring the outer filaments up
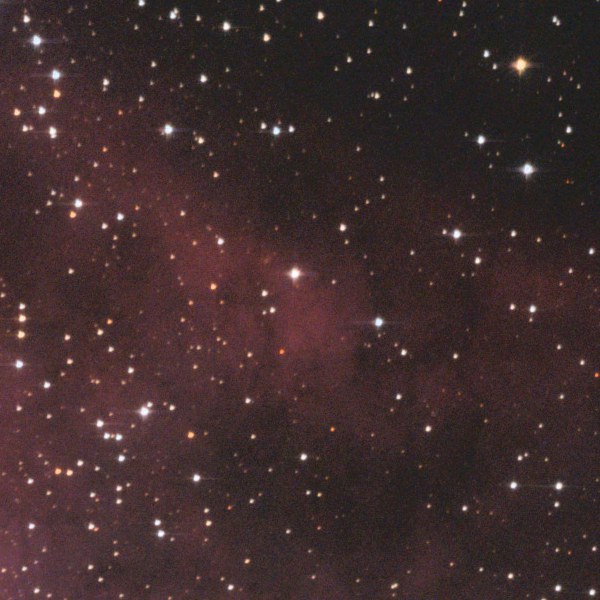
Drag Faint tones towards brighter, here +1.0, until the outer filaments of the ring, left and top, come up out of the sky and the Rosette shows its real size.
Why. The faint tones are the extensions of the nebula: they make the Rosette a rose and not a disc.
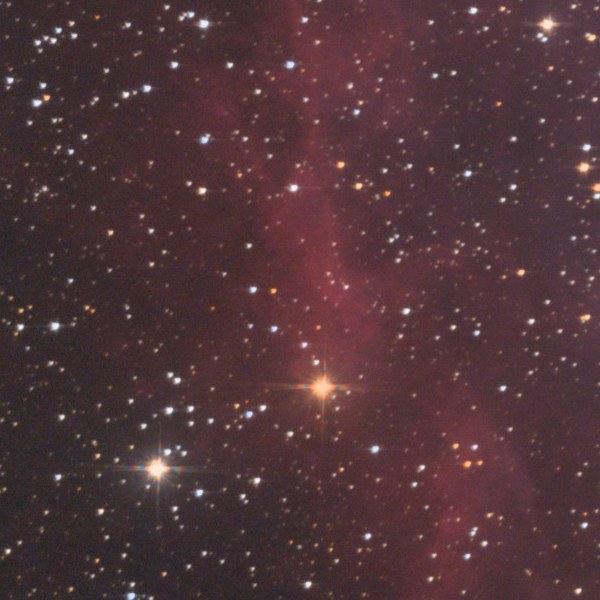
Expected result. The sky stays at 34. At 100 % the left filament is brighter and a fine grain appears in the sky, which does not show on the fitted view.
To avoid. At +2.0 the grain is plain and the red fades to pink: too far.
6Zoom and fit
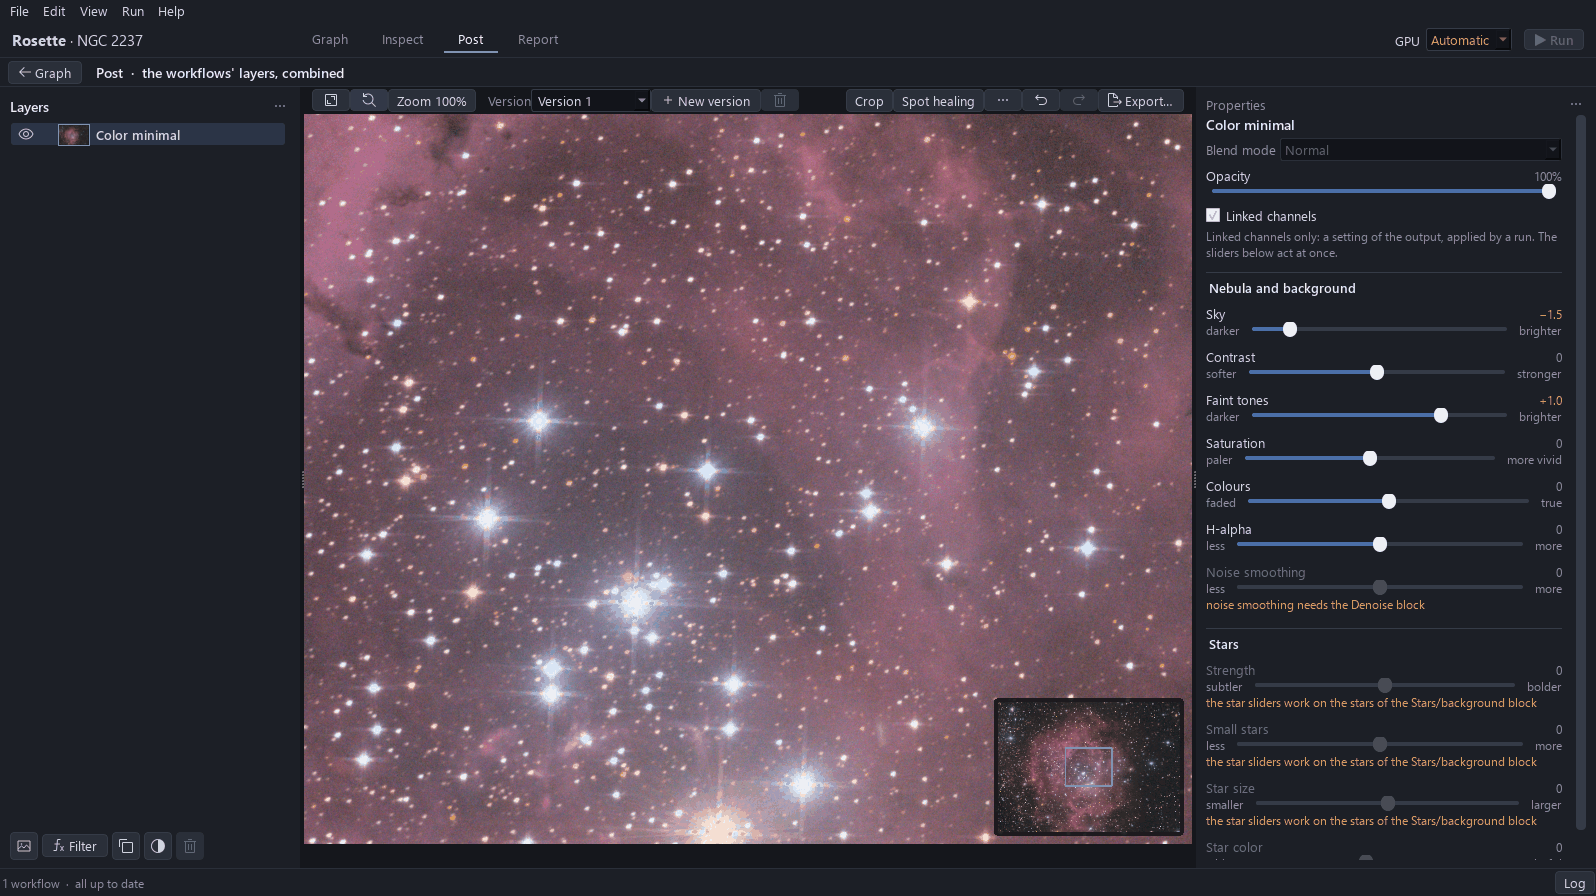
Click Actual size (1) to see the pixels at 100 %, then Fit (F) to see the whole picture again.
Why. The checks of the gestures above are made at 100 %: the grain of the sky and the faint arc only show there.
Expected result. The zoom reads 100 % after the first click, and the whole picture is back after the second.
7Before and after
Open the … menu and click Before / after, then drag the divider: the layer with its suggested settings on one side, the settings made on the other. Press C to leave the comparison.
Expected result. The veil is on one side of the divider and the dark sky on the other.
8Crop
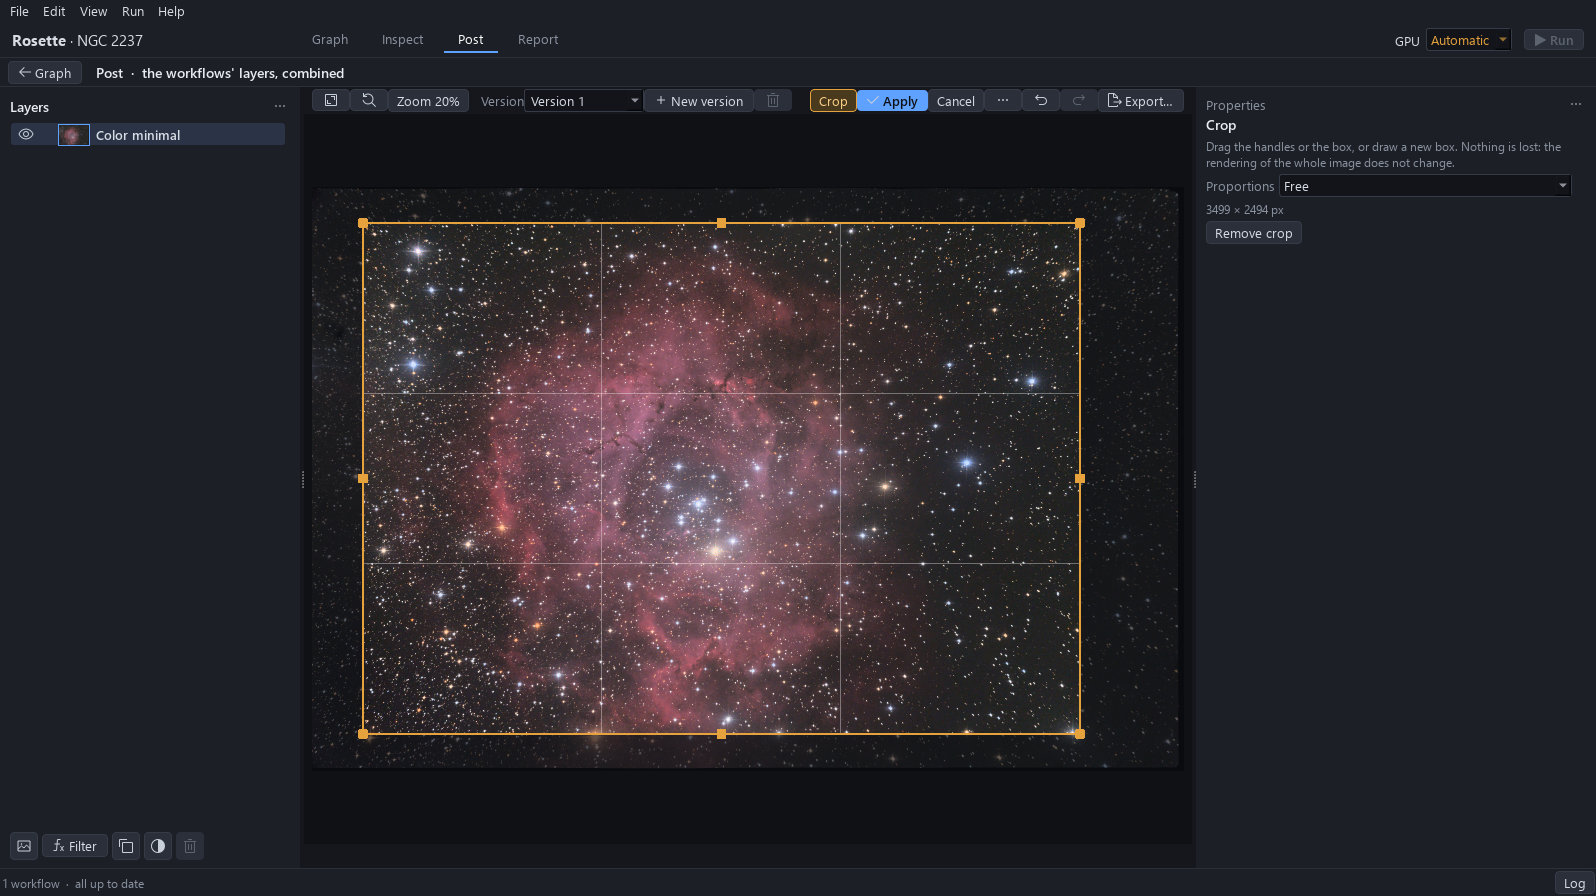
Click Crop. The frame covers the picture without the black borders, the dust spot and the outer band, about 3,500 × 2,500 px, and the ring comes nearer the centre. Click Apply.
Why. A black edge or a dark stain at the border is the first thing the eye catches. The crop takes out the black borders of the alignment, the dust shadow at the left edge, and brings the ring nearer the centre.
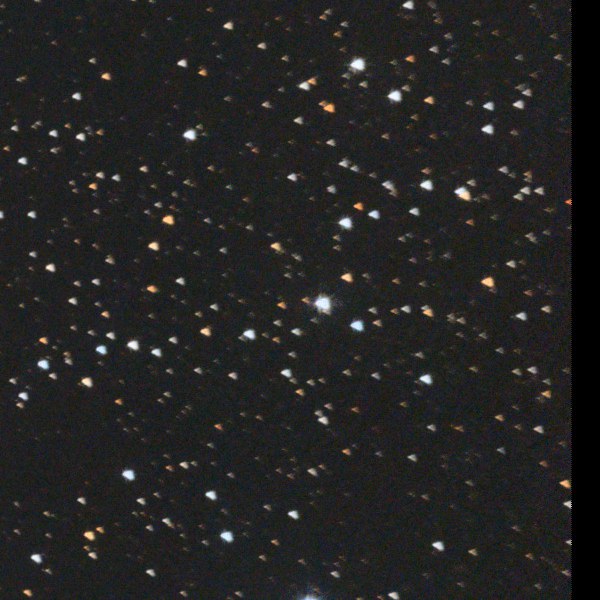
Expected result. No black line on any edge, the dark spot is outside, the sky reads 34 to 36, neutral. The corners keep comet-shaped stars: that is the coma of the telescope, and the tutorial Repair instead of cropping treats it.
9Undo and redo
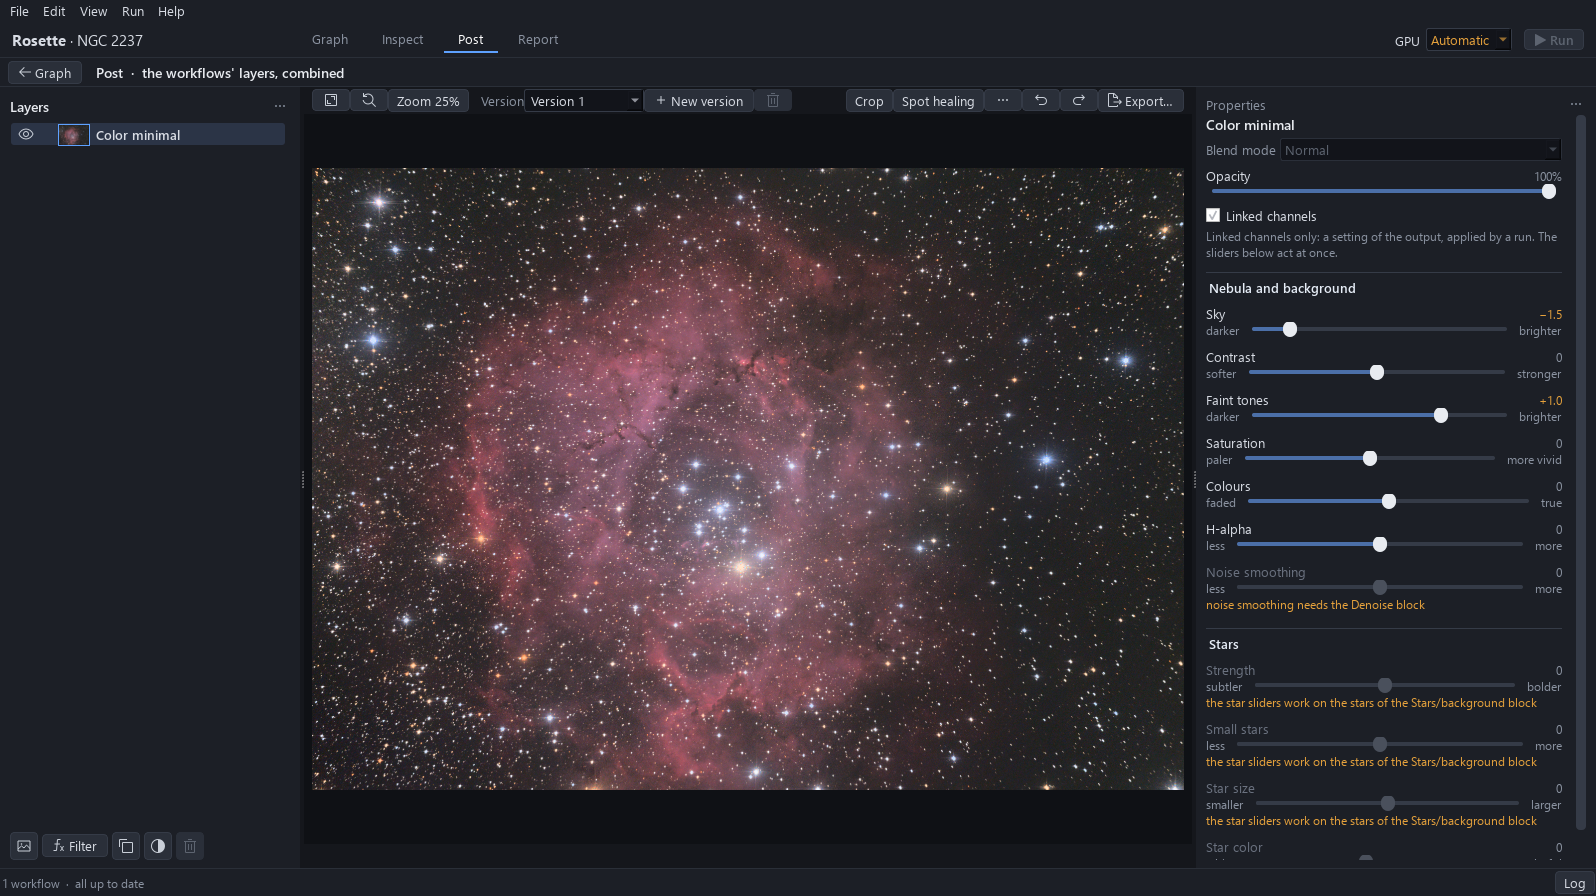
Drag Contrast towards stronger, to see, then press Ctrl+Z: the last change of the page is undone. Click Redo (Ctrl+Y) to bring it back, and Ctrl+Z again to leave Contrast at 0.
Why. Contrast is left at 0: tried at +0.4, it only darkened the sky by 3 levels, with no visible change at 100 %.
Expected result. The status bar names the change undone, Contrast of Color minimal, and the slider is back at 0.
10Export: the format
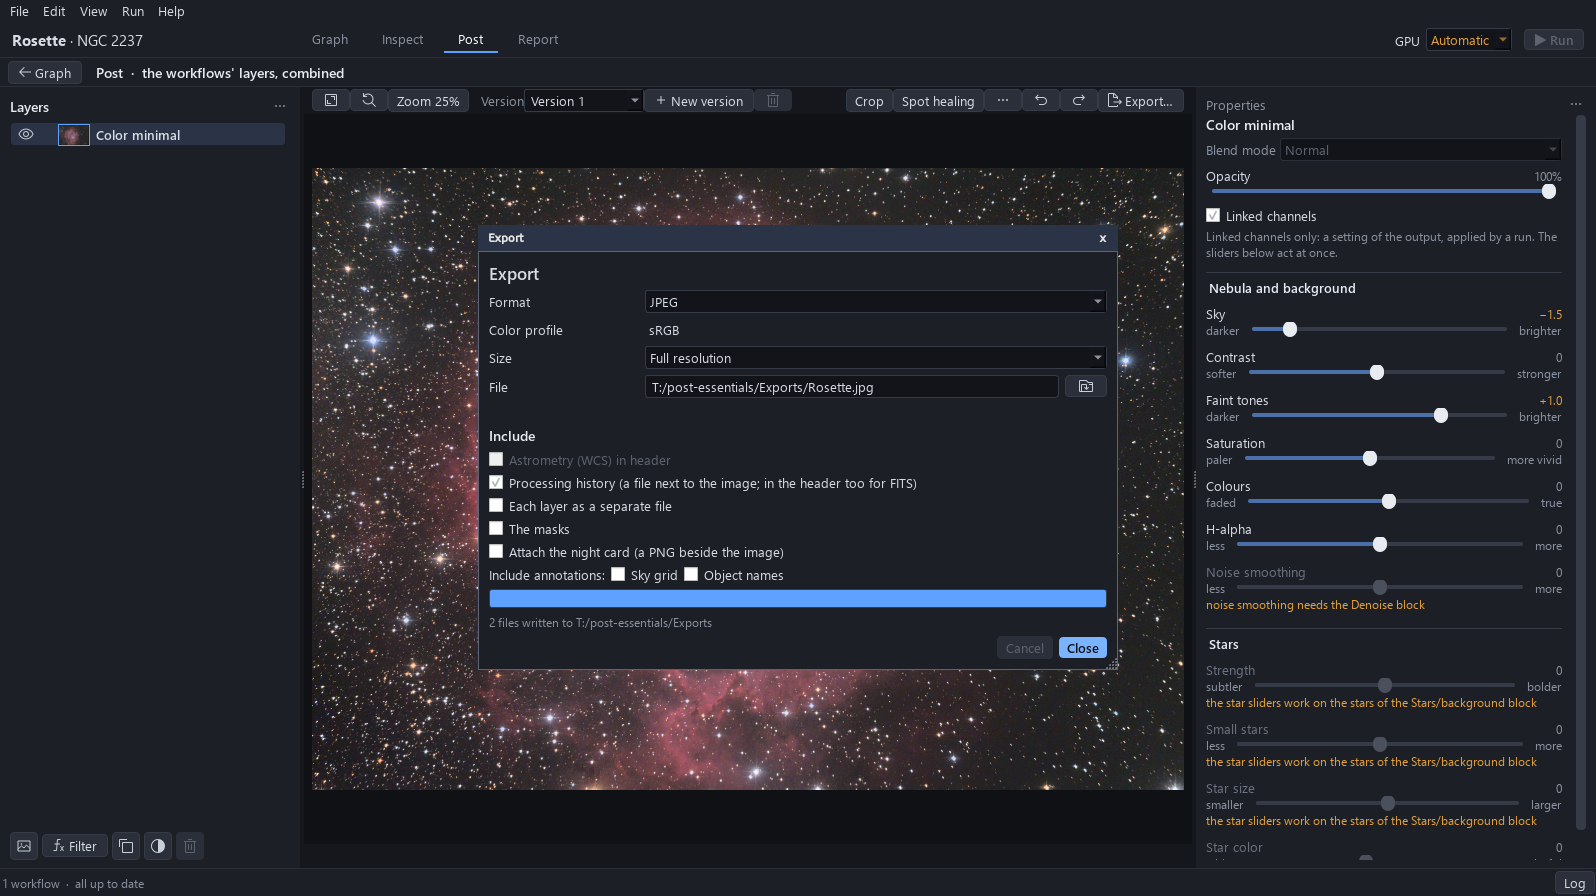
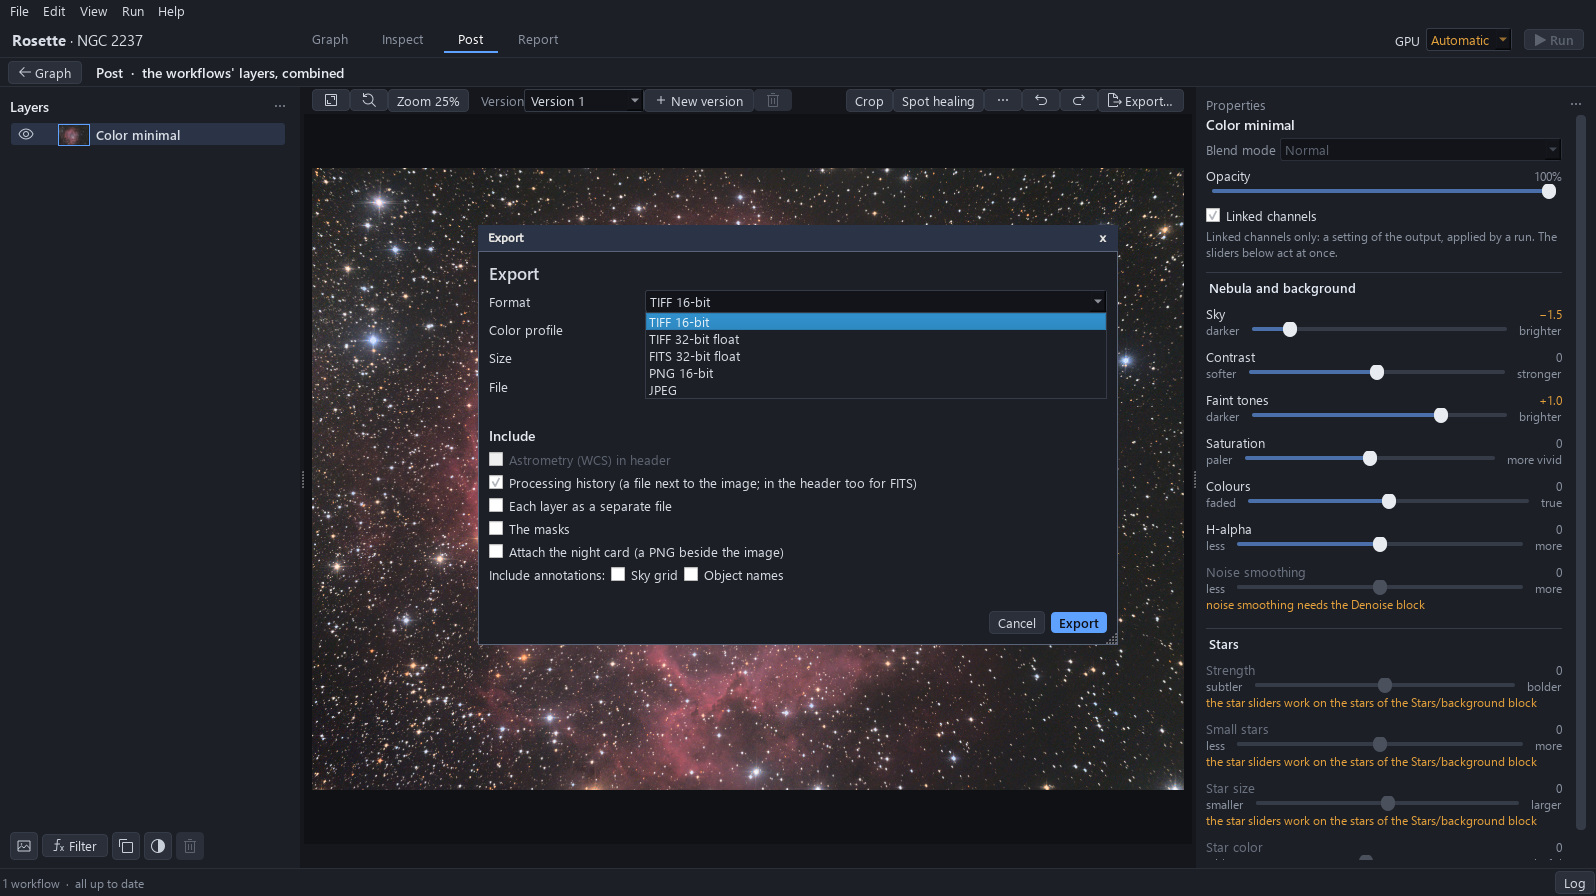
Click Export…, choose the file with the folder button, then open the Format list: TIFF 16-bit, TIFF 32-bit float, FITS 32-bit float, PNG 16-bit and JPEG. Choose JPEG.
Expected result. The Format field reads JPEG.
11Export: the size and what is included
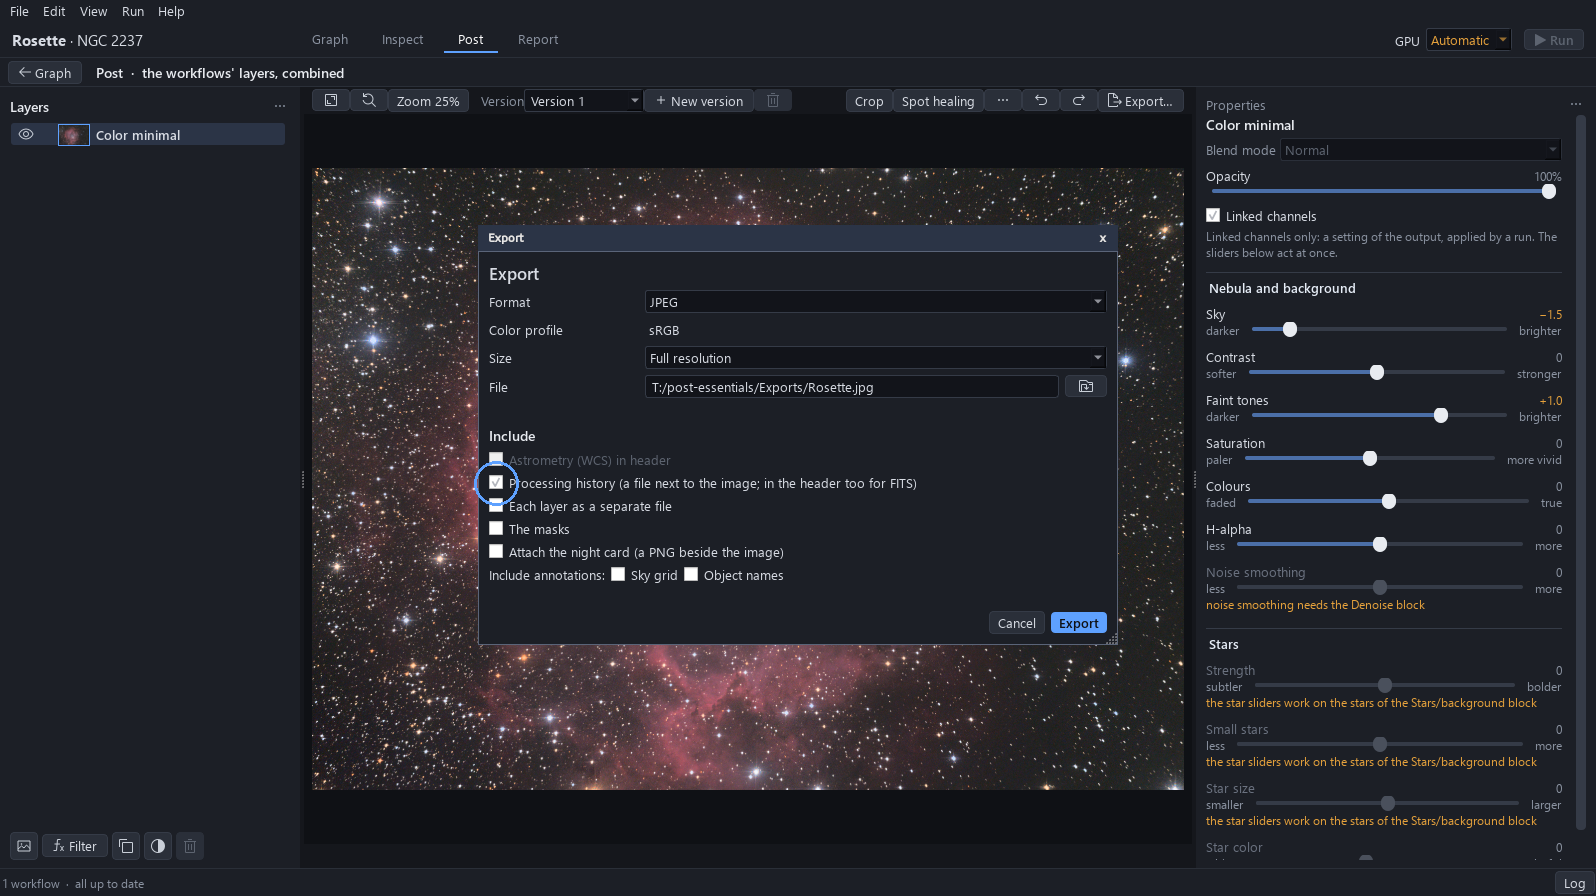
Open the Size list: full resolution, or Web with the longest side at 2048 or 4096 px. Under Include, the processing history is ticked, a file written beside the picture; layers, masks and the night card are off.
Expected result. The size reads full resolution.
12The file written
Click Export. The window says how many files were written, and where: the picture and its processing history. The processing stays in the project: every setting can be changed again.
Expected result. The window reads 2 files written.